Homemade Phyllo Cups
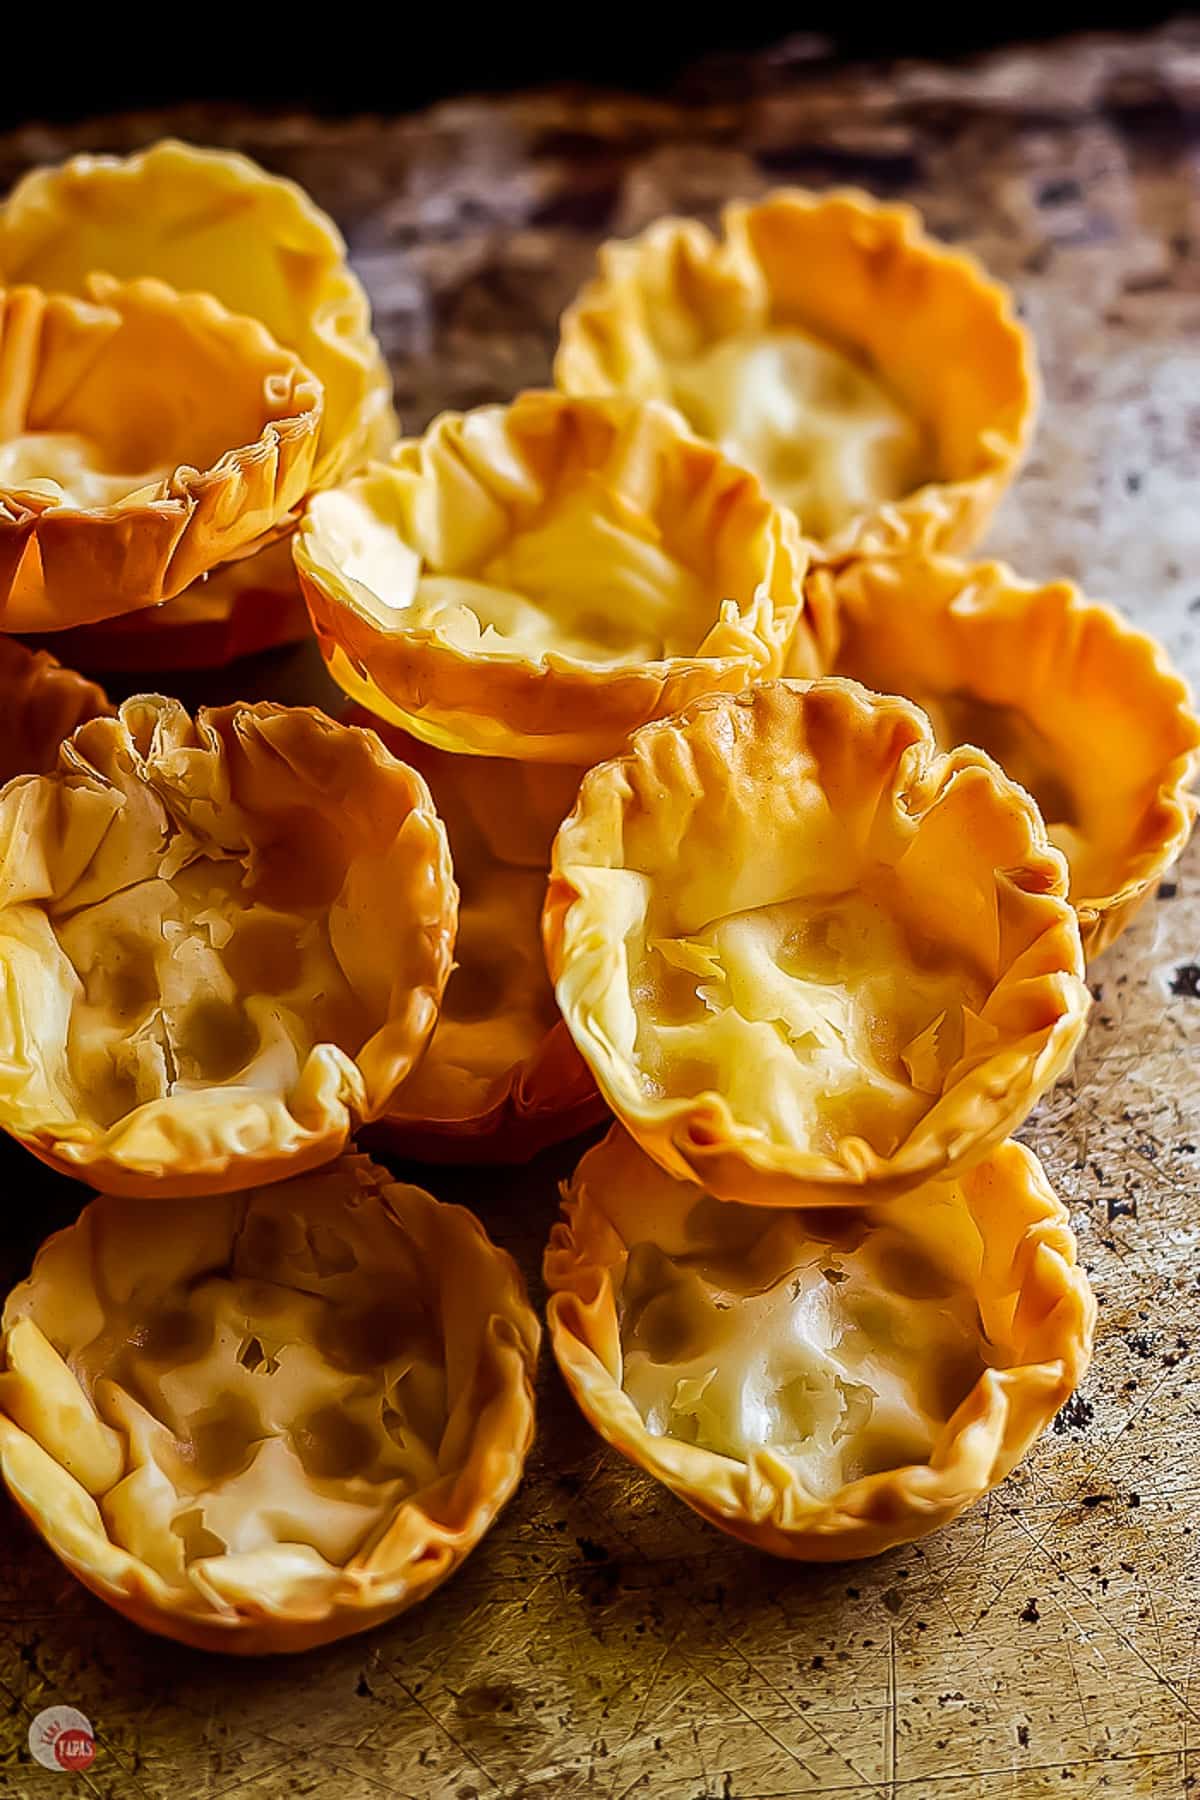
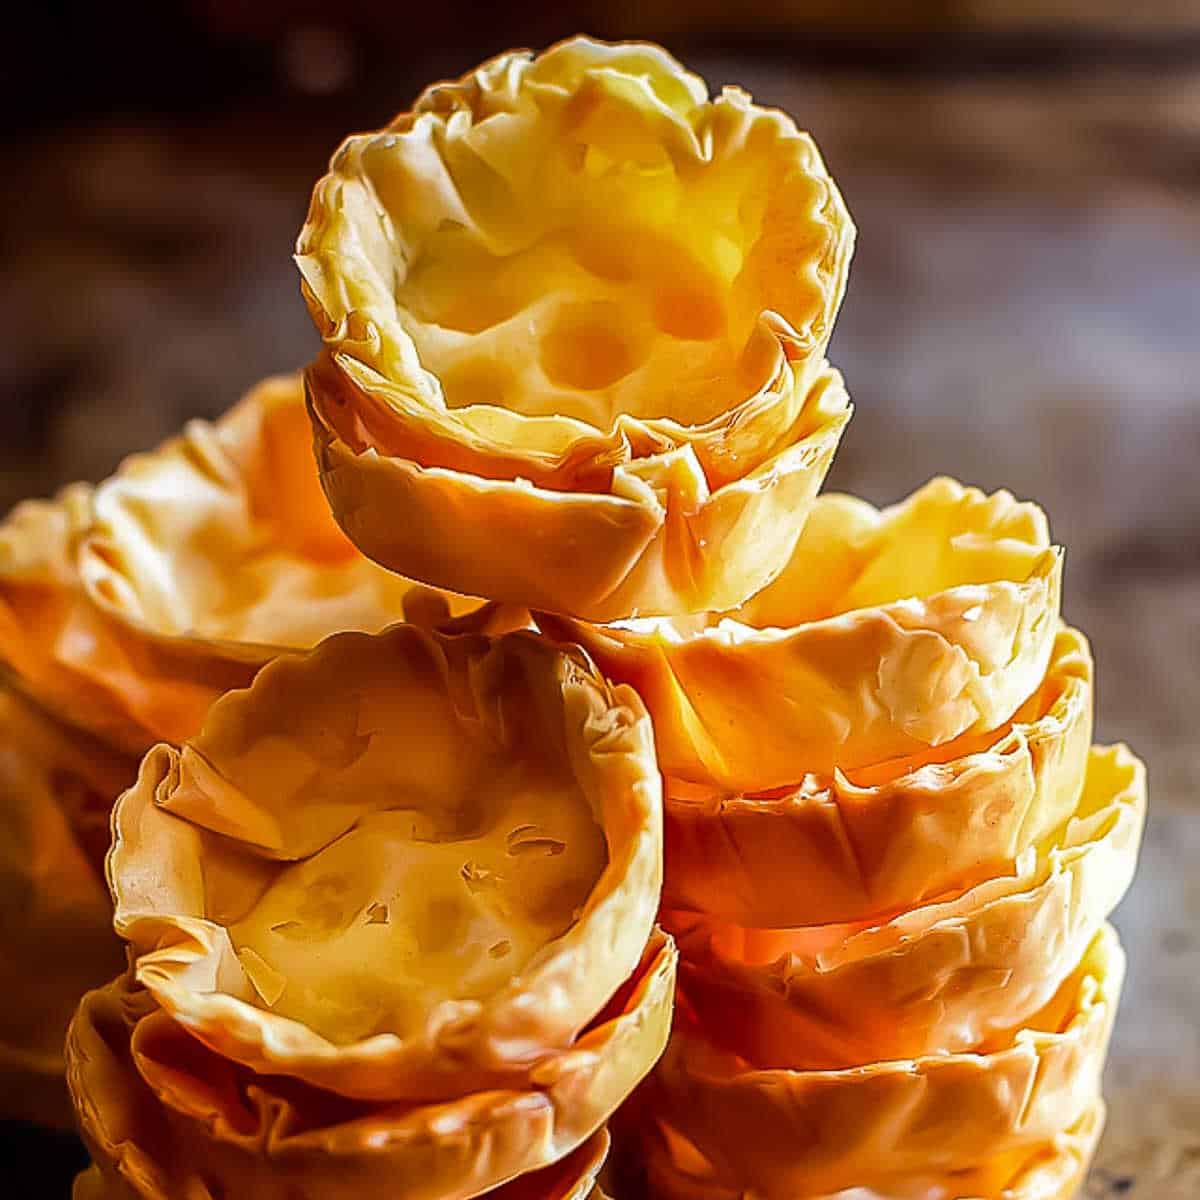
These light and flaky mini phyllo cups are crisp, buttery, and can be filled with sweet or savory ingredients to make the perfect finger food. Easy to make ahead, these easy phyllo shells can be stored in the freezer and turned into crowd pleasing appetizers or desserts!
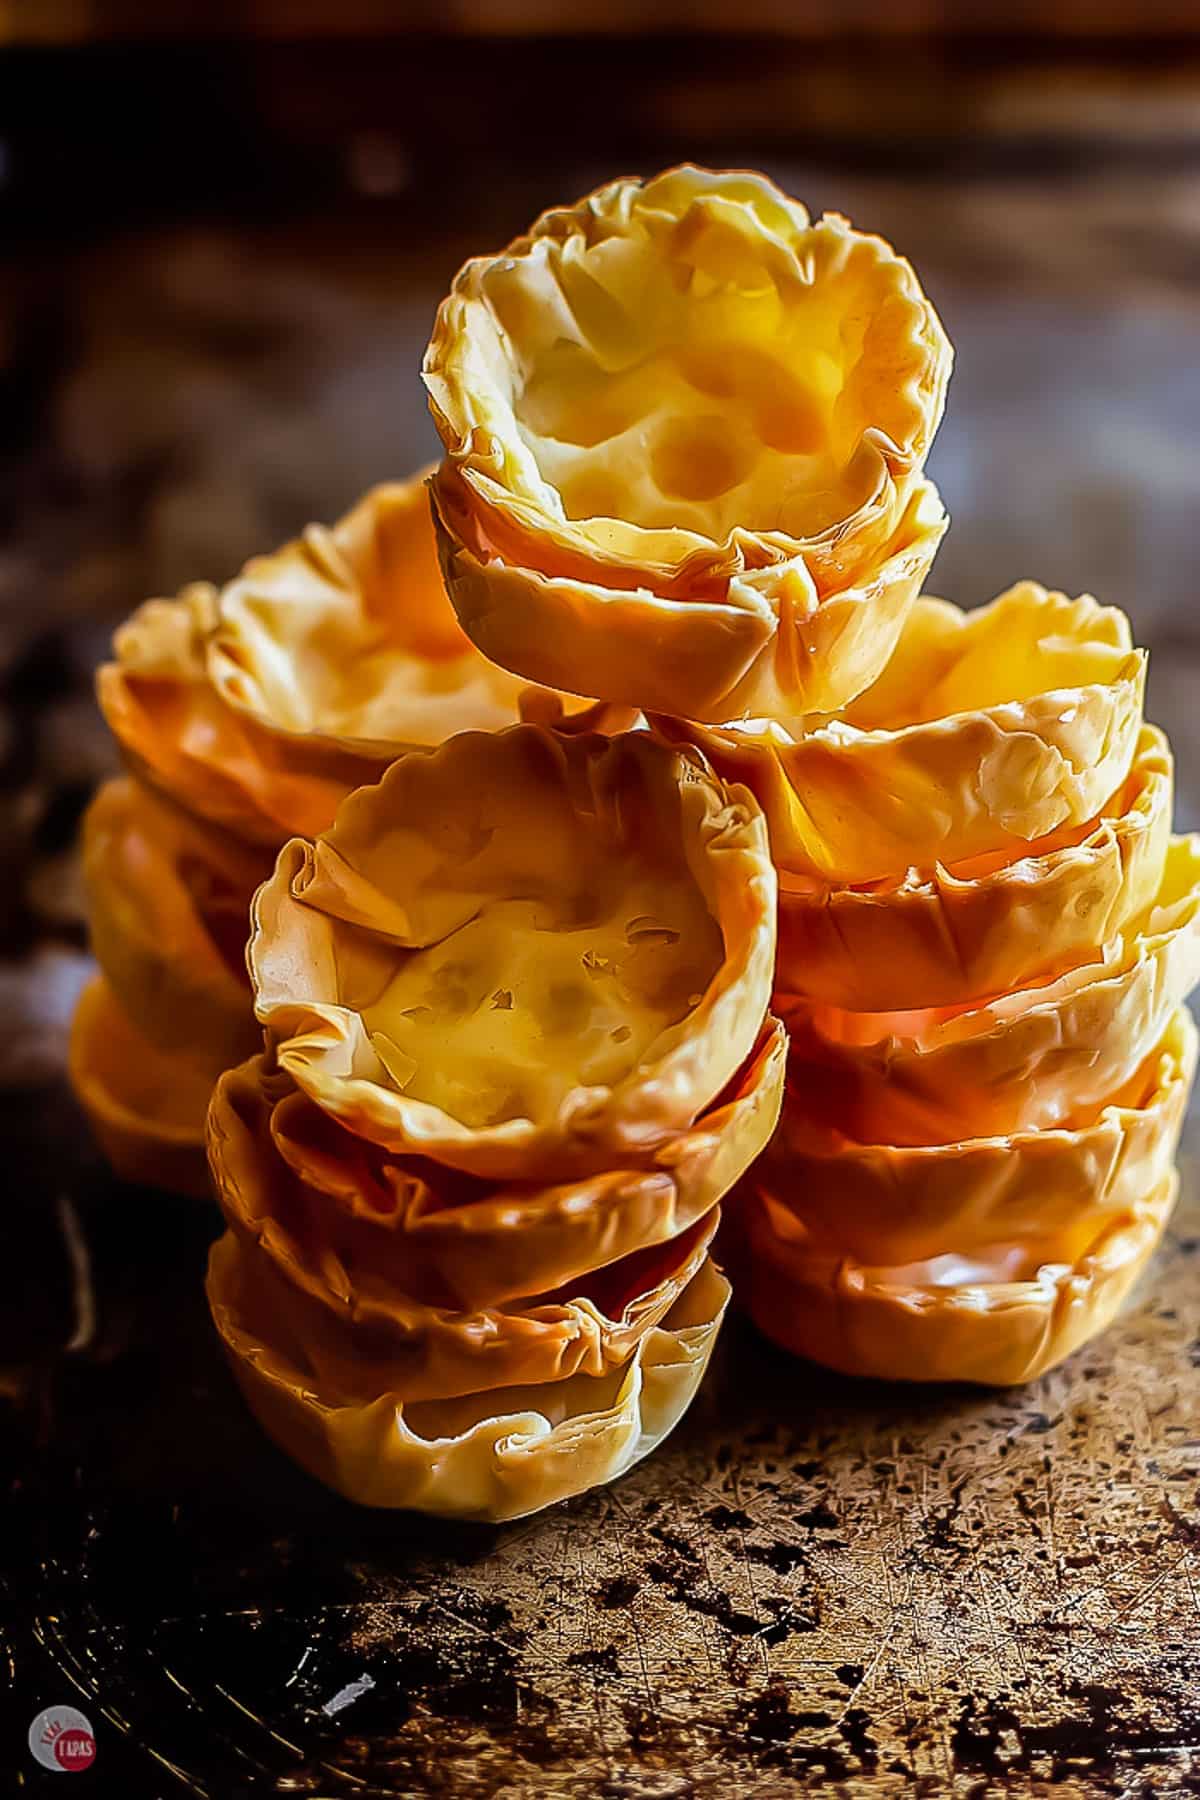
Phyllo cups for appetizers and desserts. The light and crunchy phyllo dough easily bakes in mini muffin tins to form phyllo shells.
Homemade phyllo cups for appetizers put that special spin on your dish. It can take a basic appetizer and make it amazing.
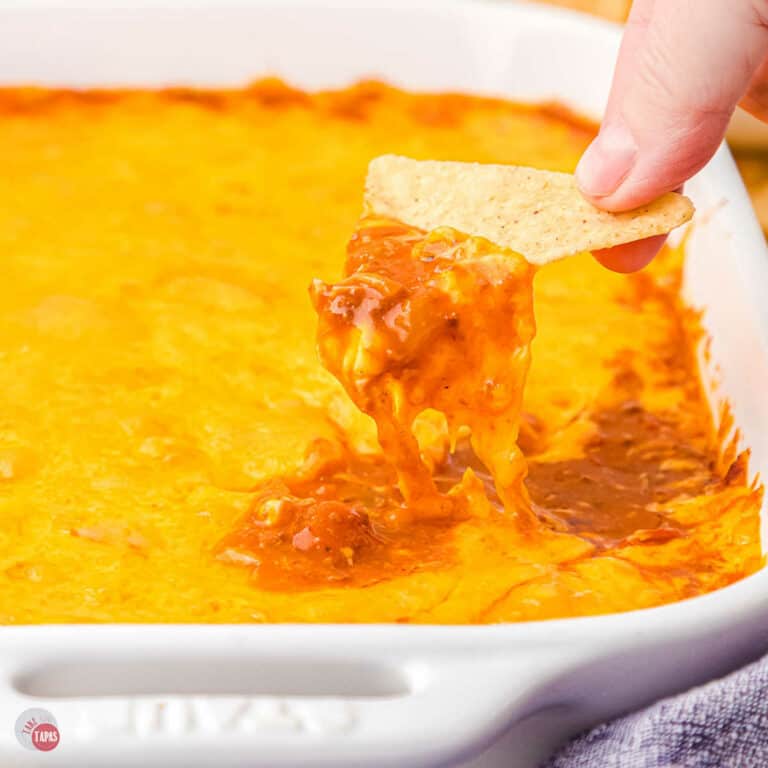
The fillings can be savory or sweet. There are so many different directions you can take like cheesy, meaty, creamy, custardy, or veggie. No matter which way you go you can’t go wrong. Best of all, they take so little time to make!
This post may contain affiliate links. As an Amazon Associate, I earn from qualifying purchases at no additional cost to you. Read my disclosure policy.
Ingredients Needed
Phyllo dough – Use the store bought phyllo dough, not puff pastry. Thaw in the fridge before working with it.
Butter – Use unsalted butter or substitute olive oil if needed.
How to Make Phyllo Cups
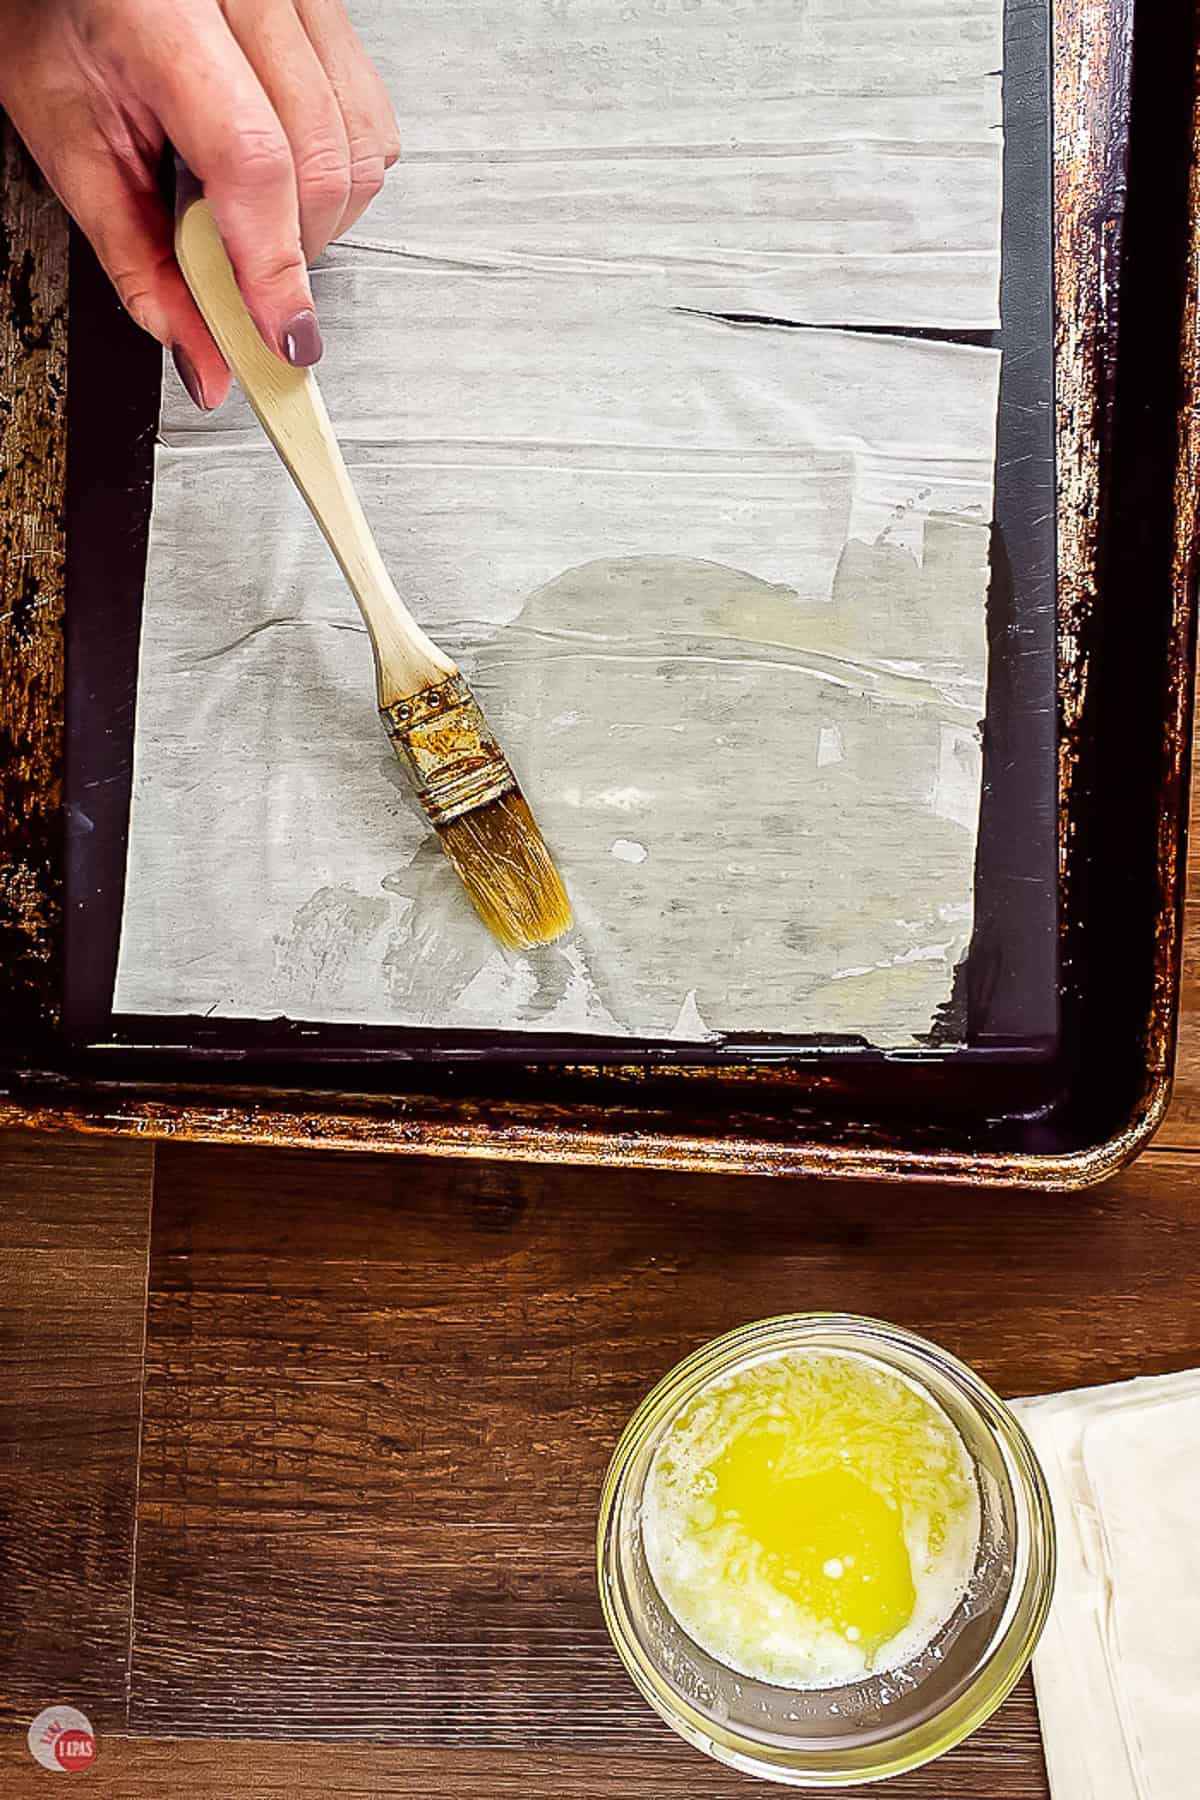
First: Start by placing a sheet of phyllo on the pan, making sure to cover the stack of sheets again so they don’t dry out. Brush it with butter – it doesn’t have to be perfect – and then layer with another sheet. Press gently to get them to stick together.
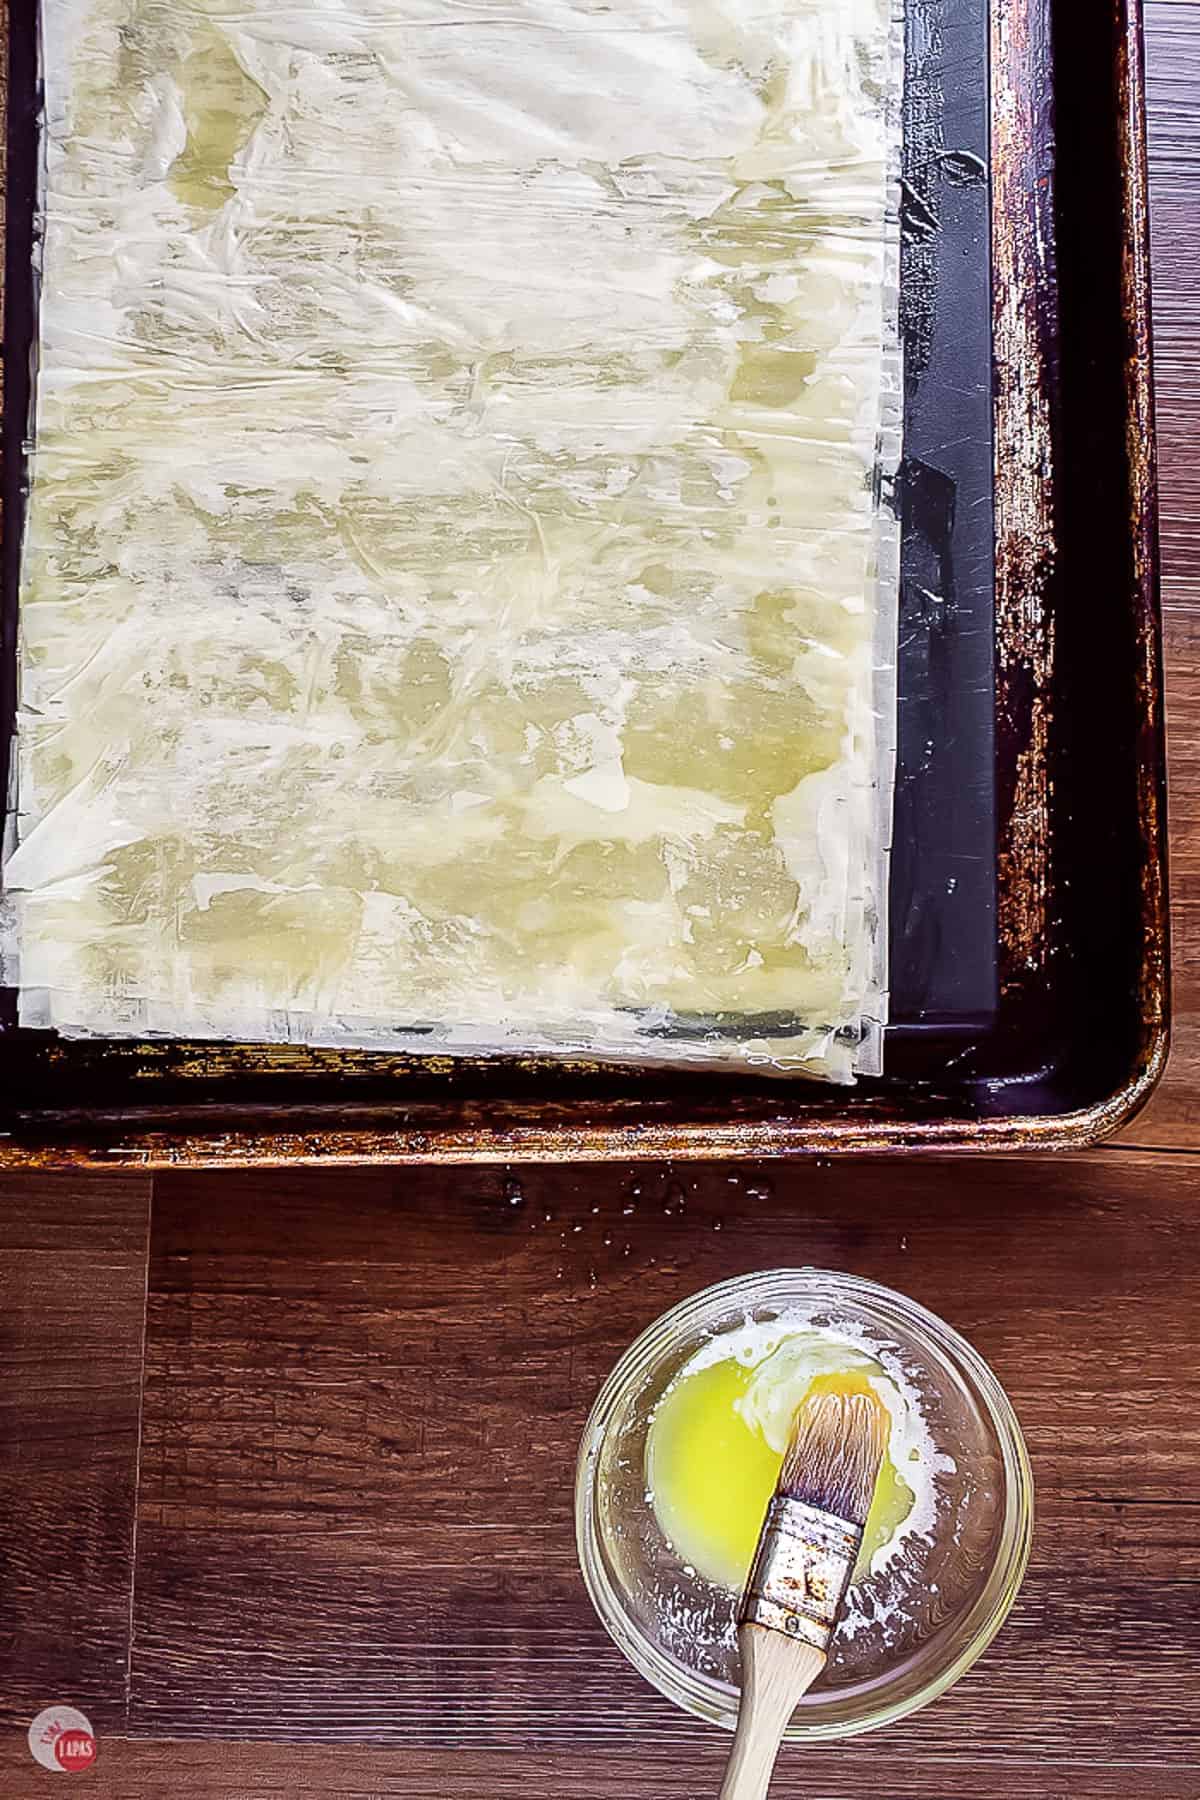
Brush the top sheet with butter. Continue this process until you have a stack of 6 tissue thin sheets, with layers of melted butter between them.
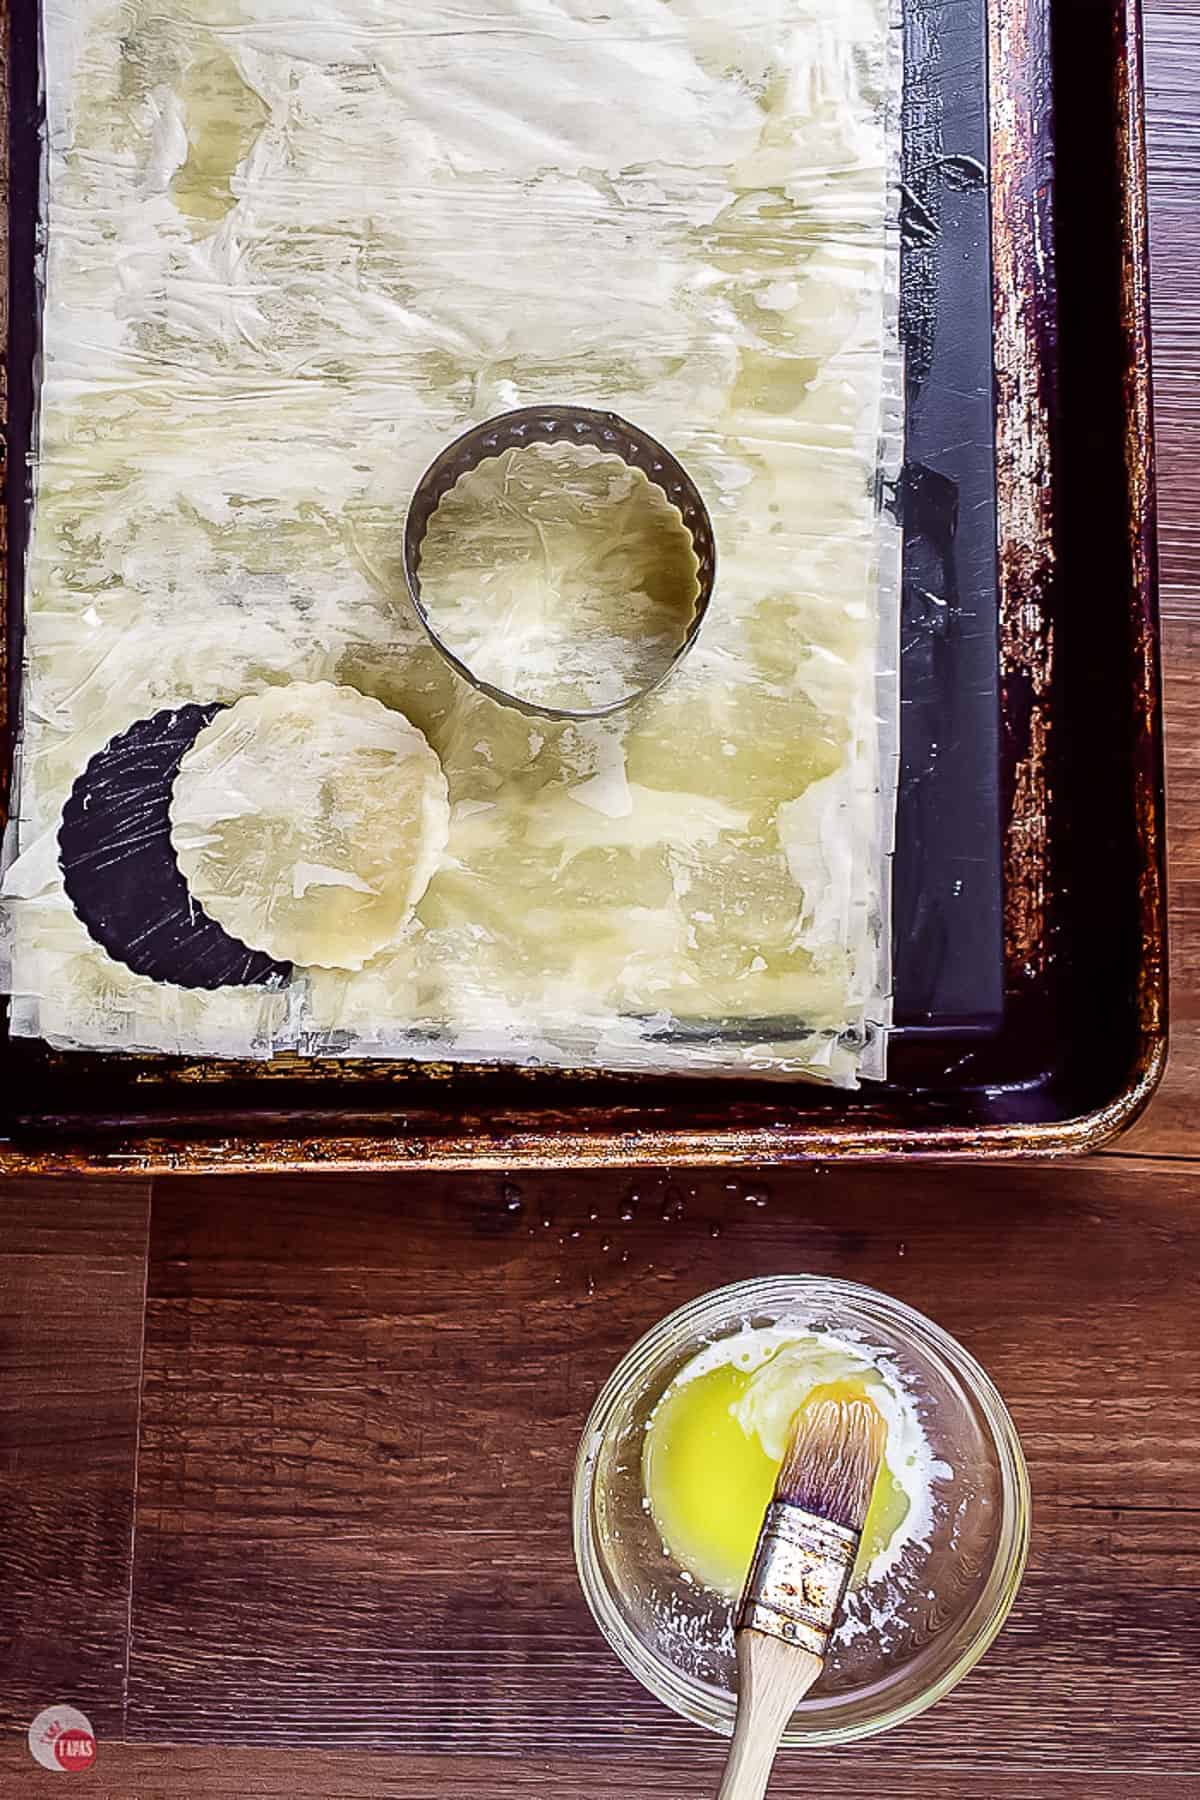
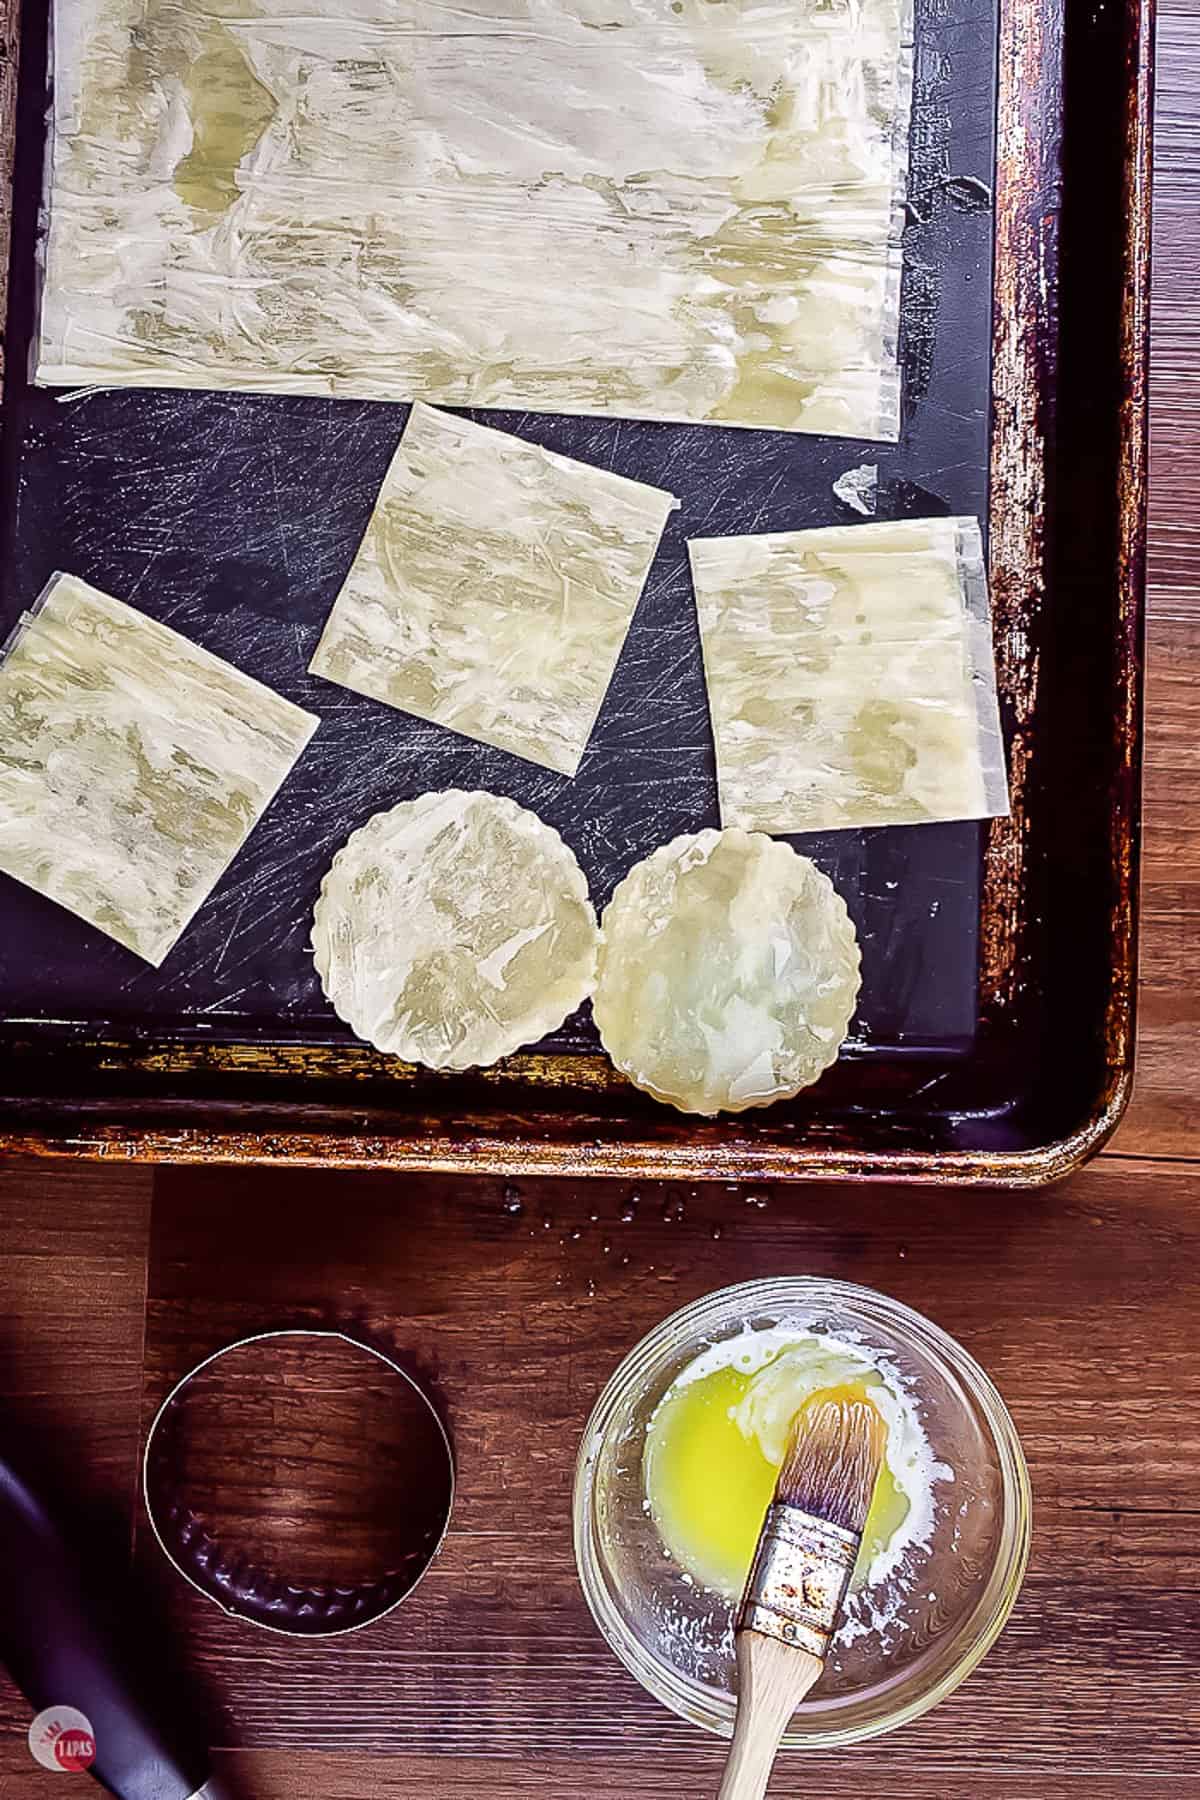
Second: Once the stack is assembled, cut into the desired shapes. Squares are easiest to cut and don’t leave any “scraps” to deal with. I personally think the circle cups are prettier.
You can safely get 12 cups (circles or squares) from each stack.
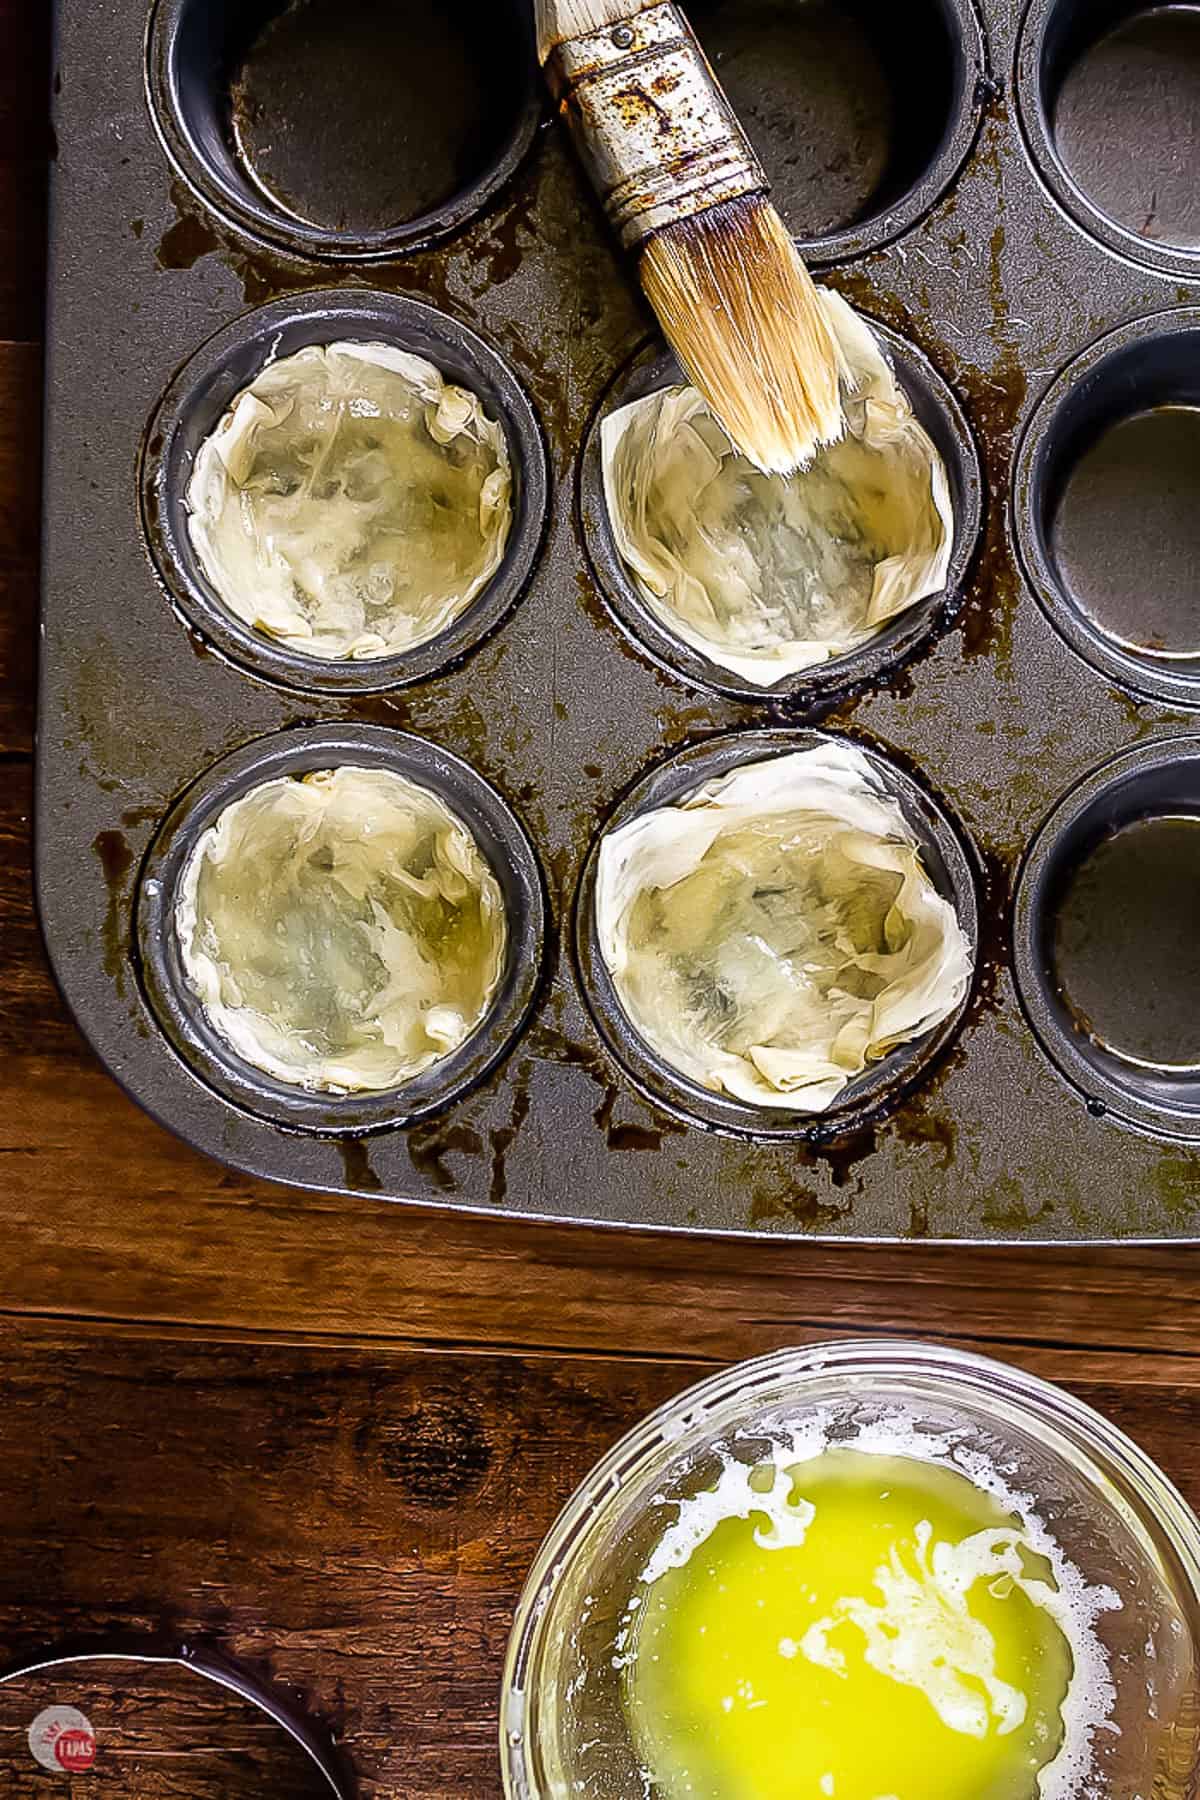
Third: Brush a little butter inside each of the wells of the muffin pan. Gently press the phyllo shapes into the well making sure to press into the edges to avoid air pockets and misshapen cups.
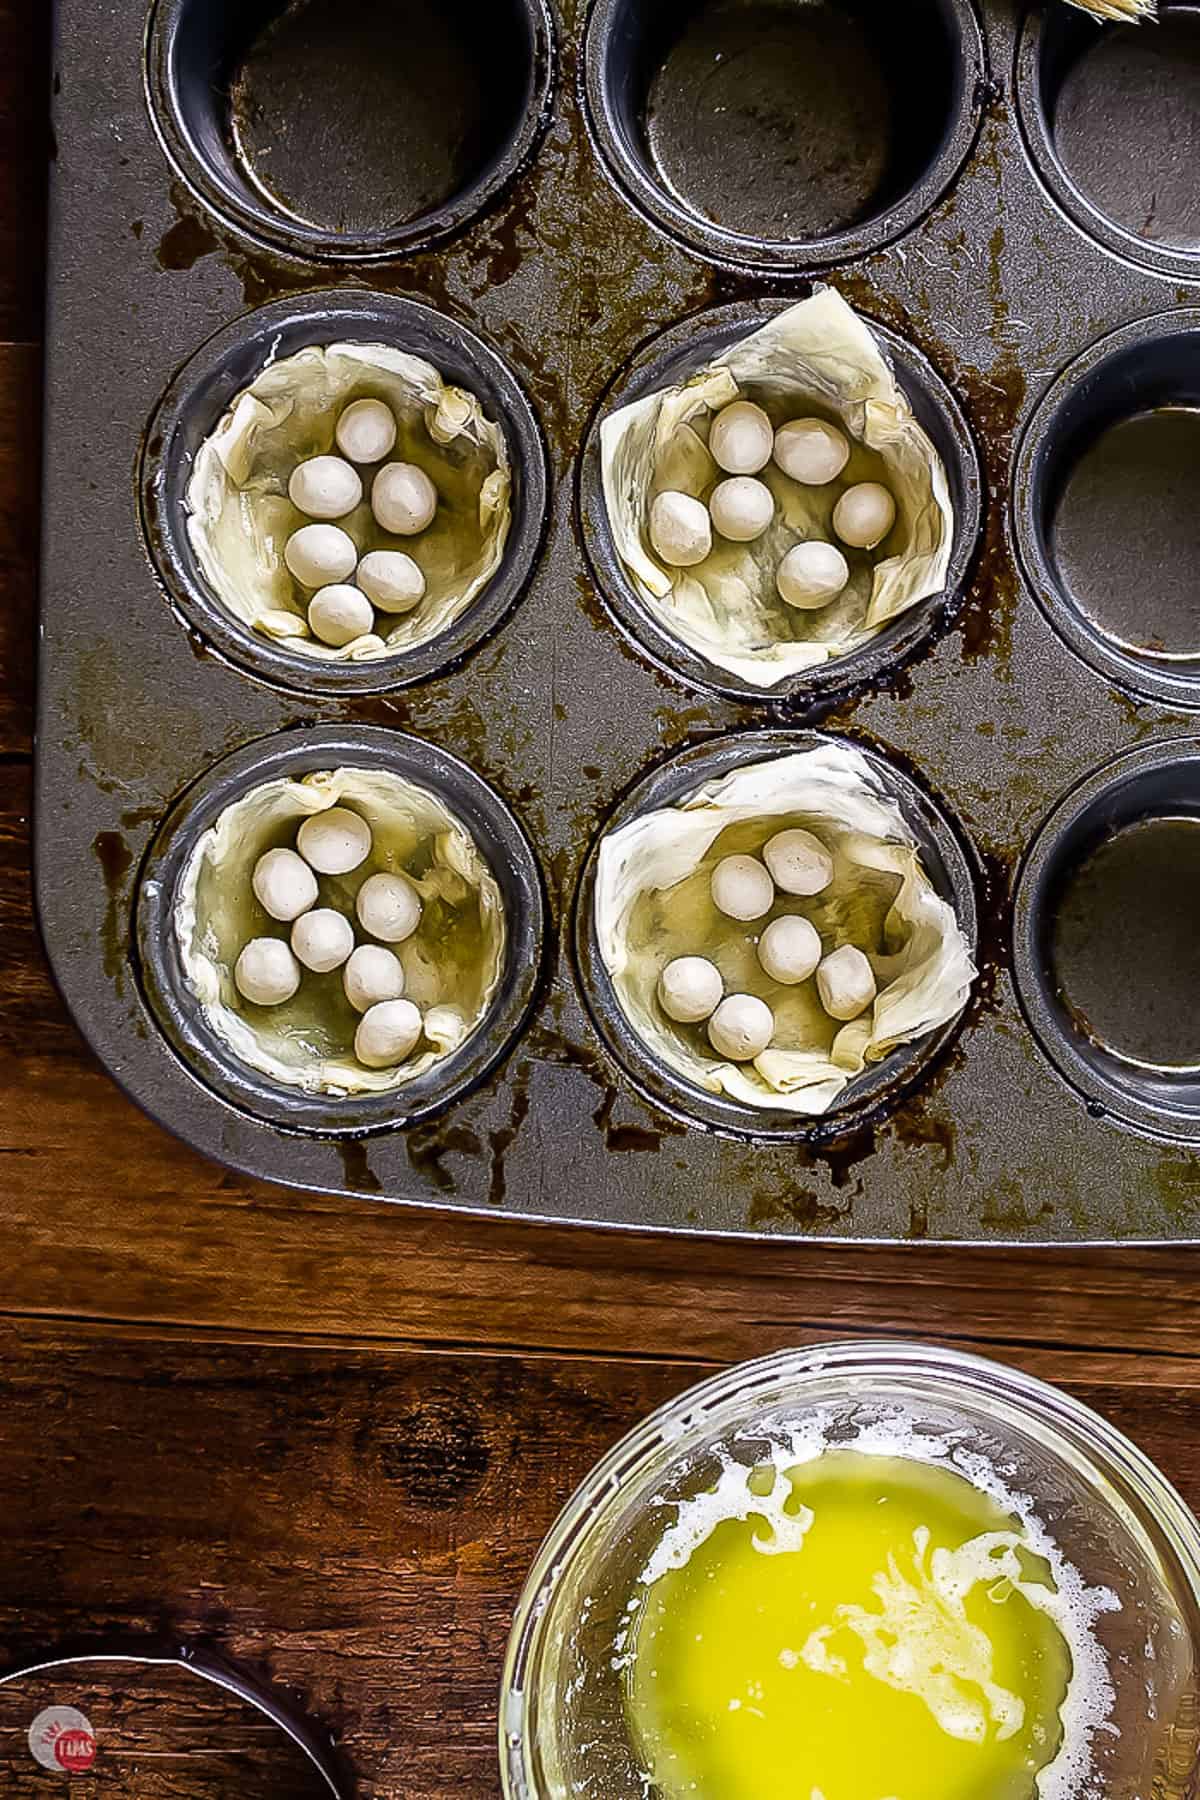
Fourth: Fill phyllo cups with pie weights or dried beans. Bake at 400F for 4-6 minutes.
Dessert shells or recipes that are not going to be cooked again can be completely baked the first time (appx 6-8 mins).
If you are making hot appetizers that will need to be cooked a second time, only bake until half or 3/4 done (appx 4-6 mins). That way they won’t be over cooked during the second time in the oven.
For the full recipe and detailed instructions, please refer to the recipe card at the bottom of the post.
Cooling and Storing
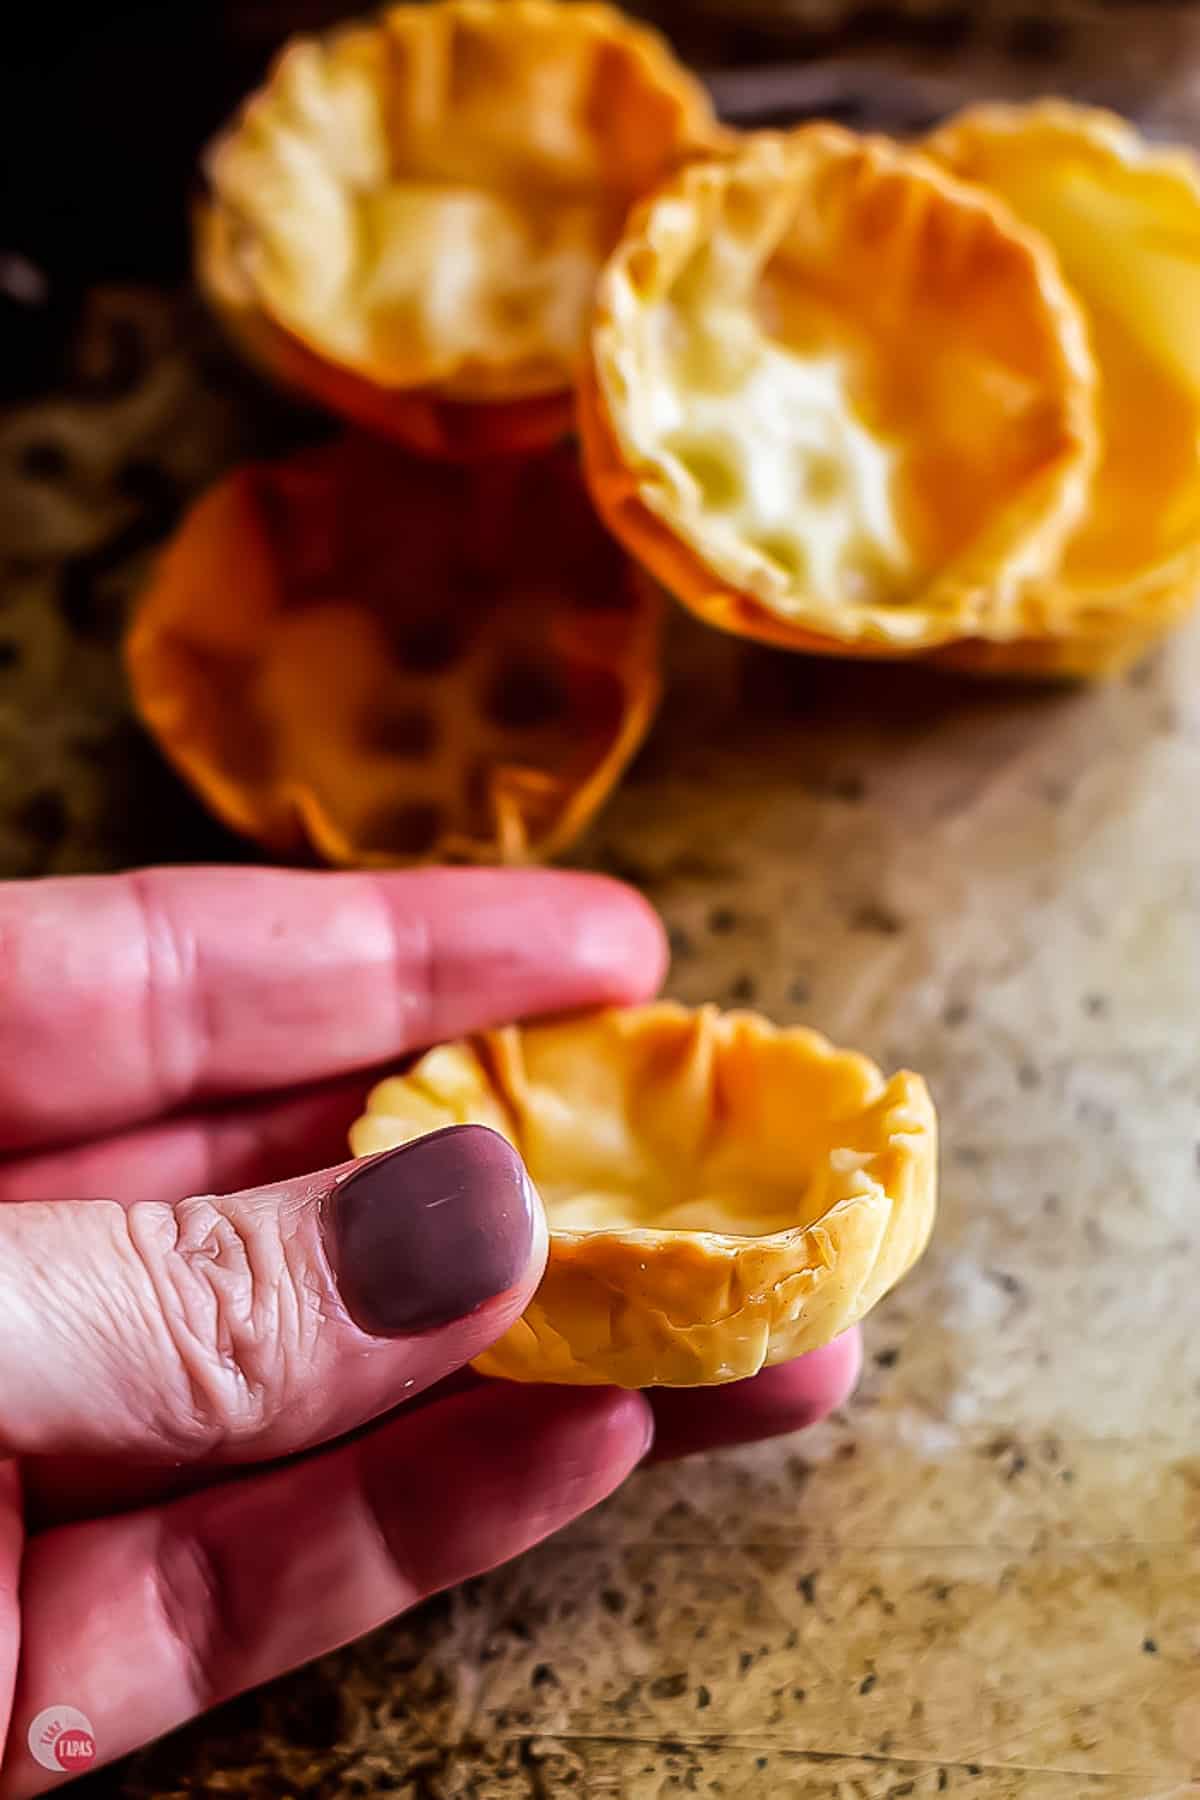
Cool: Once the shells are baked, remove from the oven, and carefully remove the weights. They are going to be super hot so be careful.
You will want to let them cool for a minute or two but then be sure to remove them from the mini muffin pan as soon as possible and cool completely on a wire cooling rack.
If you let them cool in the muffin pan, all the melted butter will solidify again in the bottom of the well, making it harder to remove the phyllo cup and the phyllo cup will be soggy and not as crisp on the bottom.
You don’t want that to happen!
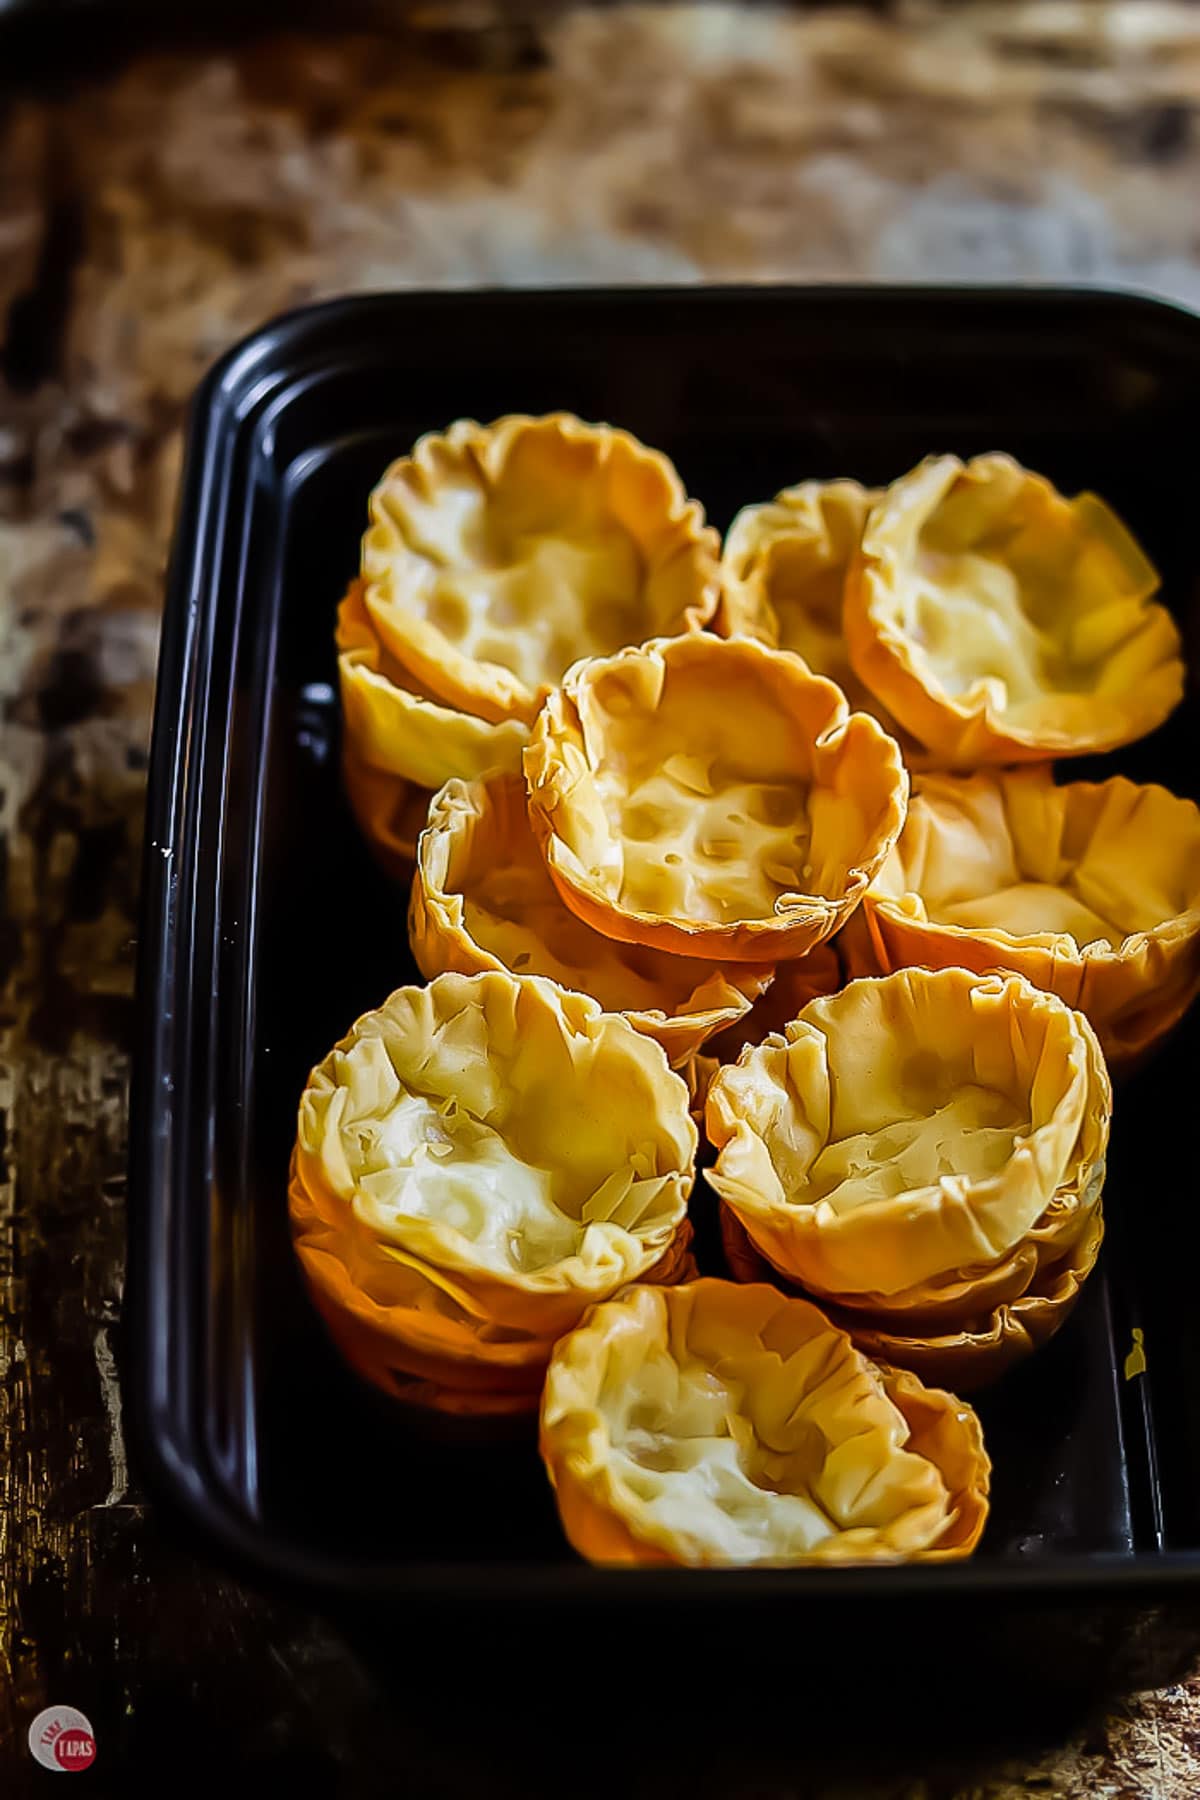
Store: I recommend storing them in something other than a bag so they don’t accidentally get smashed in the freezer while being stored. I prefer plastic “meal prep” containers because I can safely get over a dozen in it.
Think about the recipes that you might be making and see how many cups they make, then you can portion them out.
How do I reheat them?
Heat them back up in a 350F oven until crispy again.
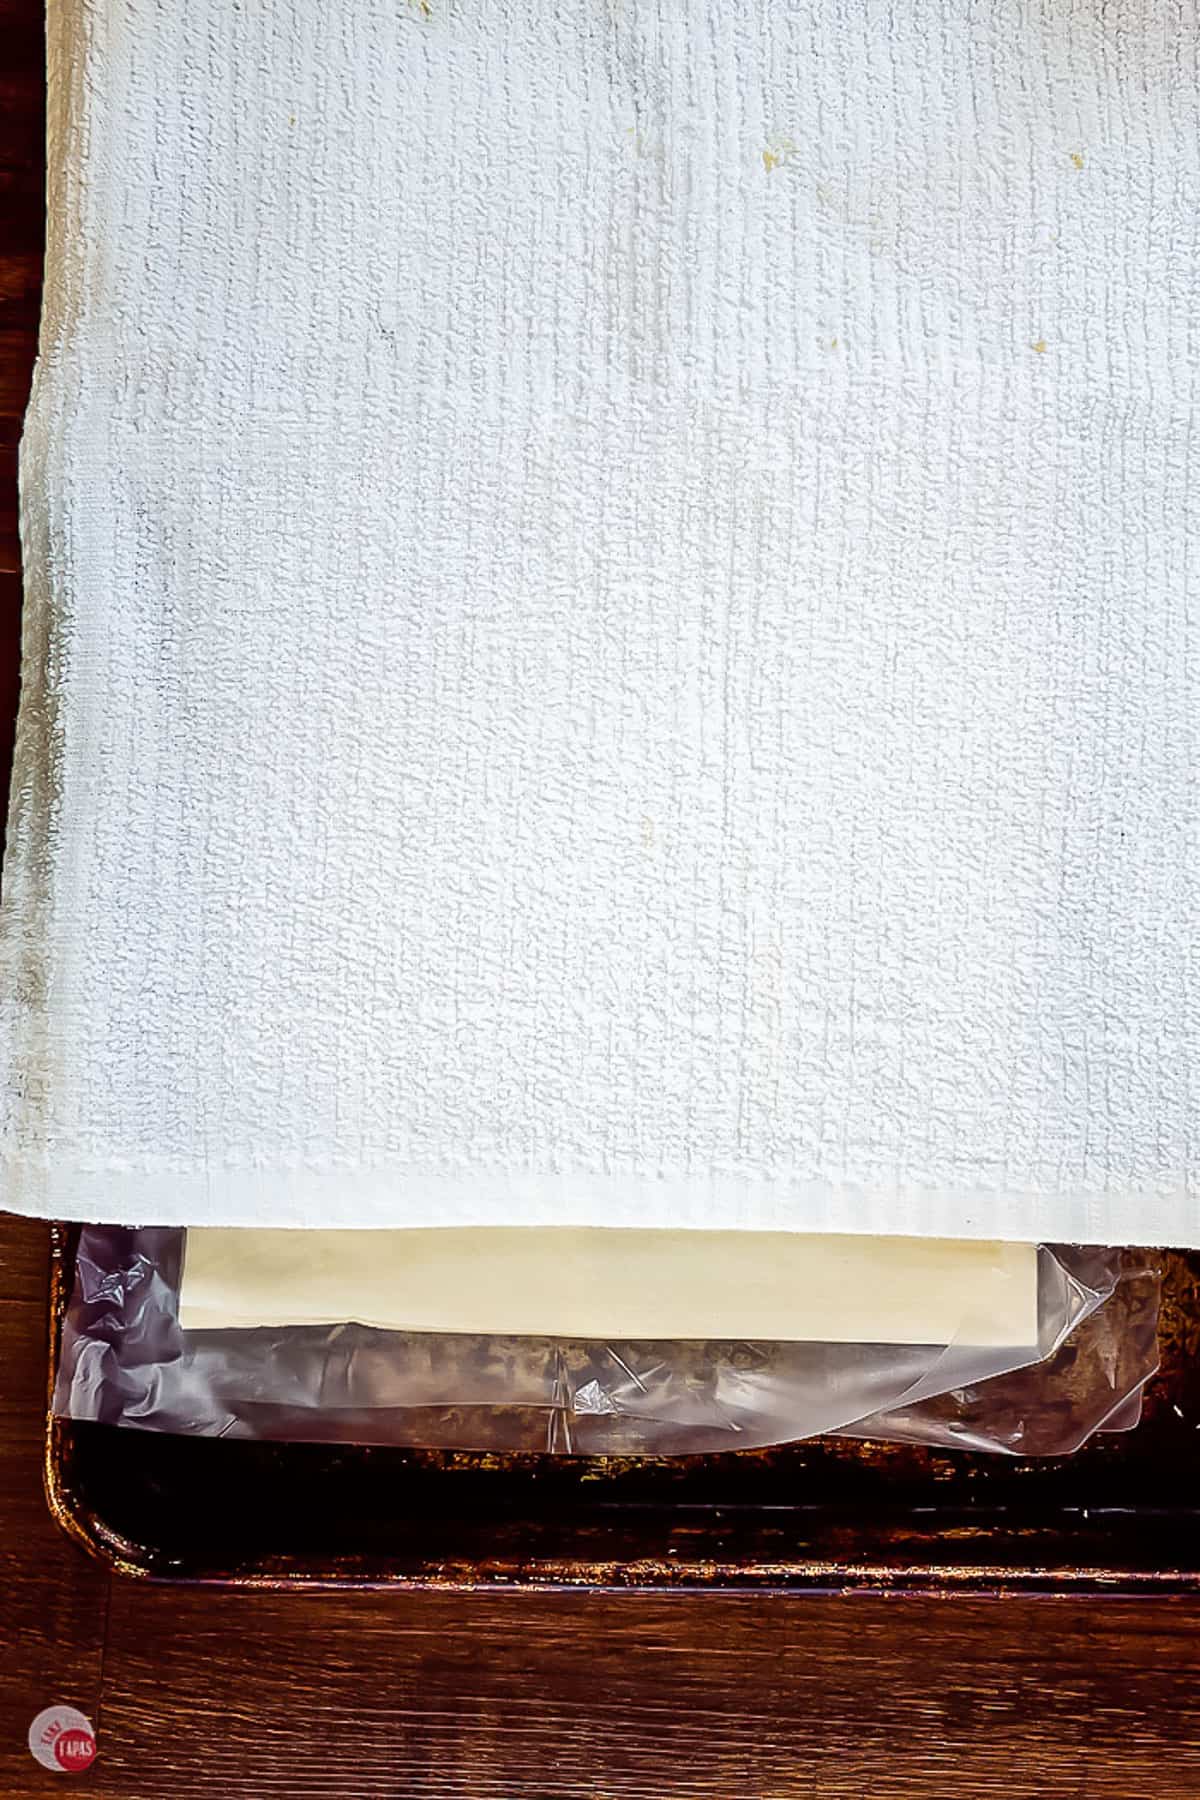
How do you keep filo pastry from drying out?
It’s very important to keep the filo sheets moist so they don’t dry out while working with the dough.
The easiest way is to take a clean towel, saturate it with water, WRING IT OUT COMPLETELY, and then lay over the unrolled filo sheets.
What is the fastest way to thaw phyllo dough?
If you are in a hurry, or forgetful like me, you can use the microwave. This is a last resort in my opinion but it can be done.
Can I defrost it in the microwave?
If you need to thaw rolls of phyllo dough, microwave it on high in the microwave for 60 seconds. If you’re only using one roll, half it to 30 seconds.
Can filo pastry be refrozen?
Phyllo dough is sold frozen. You can refreeze it if you remember to cover the dough with a damp cloth while it is thawed.
Just wrap the phyllo sheets in some plastic wrap and place in a tightly-sealed freezer bag. The dough will keep for 2 months.
If you don’t use all the phyllo dough once it’s opened, just roll it back up, place in a zip-top bag and place in the refrigerator for up to 1 week.
You can refreeze opened phyllo for up to 2 months.
If you take some out and your plans change, you can keep thawed, UNOPENED, phyllo dough in the fridge for up to 4 weeks. Plenty of time to do your batch phyllo shells baking next weekend!
For more insider tips, tricks, and a behind the scenes look, follow me on Pinterest, Facebook, Instagram, & X.
How many layers of phyllo dough should I use?
First thing to decide is what you are making the phyllo cups for. If you are planning on making savory phyllo cup appetizers, I would recommend using 6 sheets.
The thicker cup is better equipped for handling cheesy and meaty type party foods.
If you are planning on using sweet phyllo cup dessert recipes than I would say 4 sheets is a great number.
Phyllo shells that are lighter really let the ingredients be the star while supporting them with a crispy crunch.
Pie Weights vs. Docking
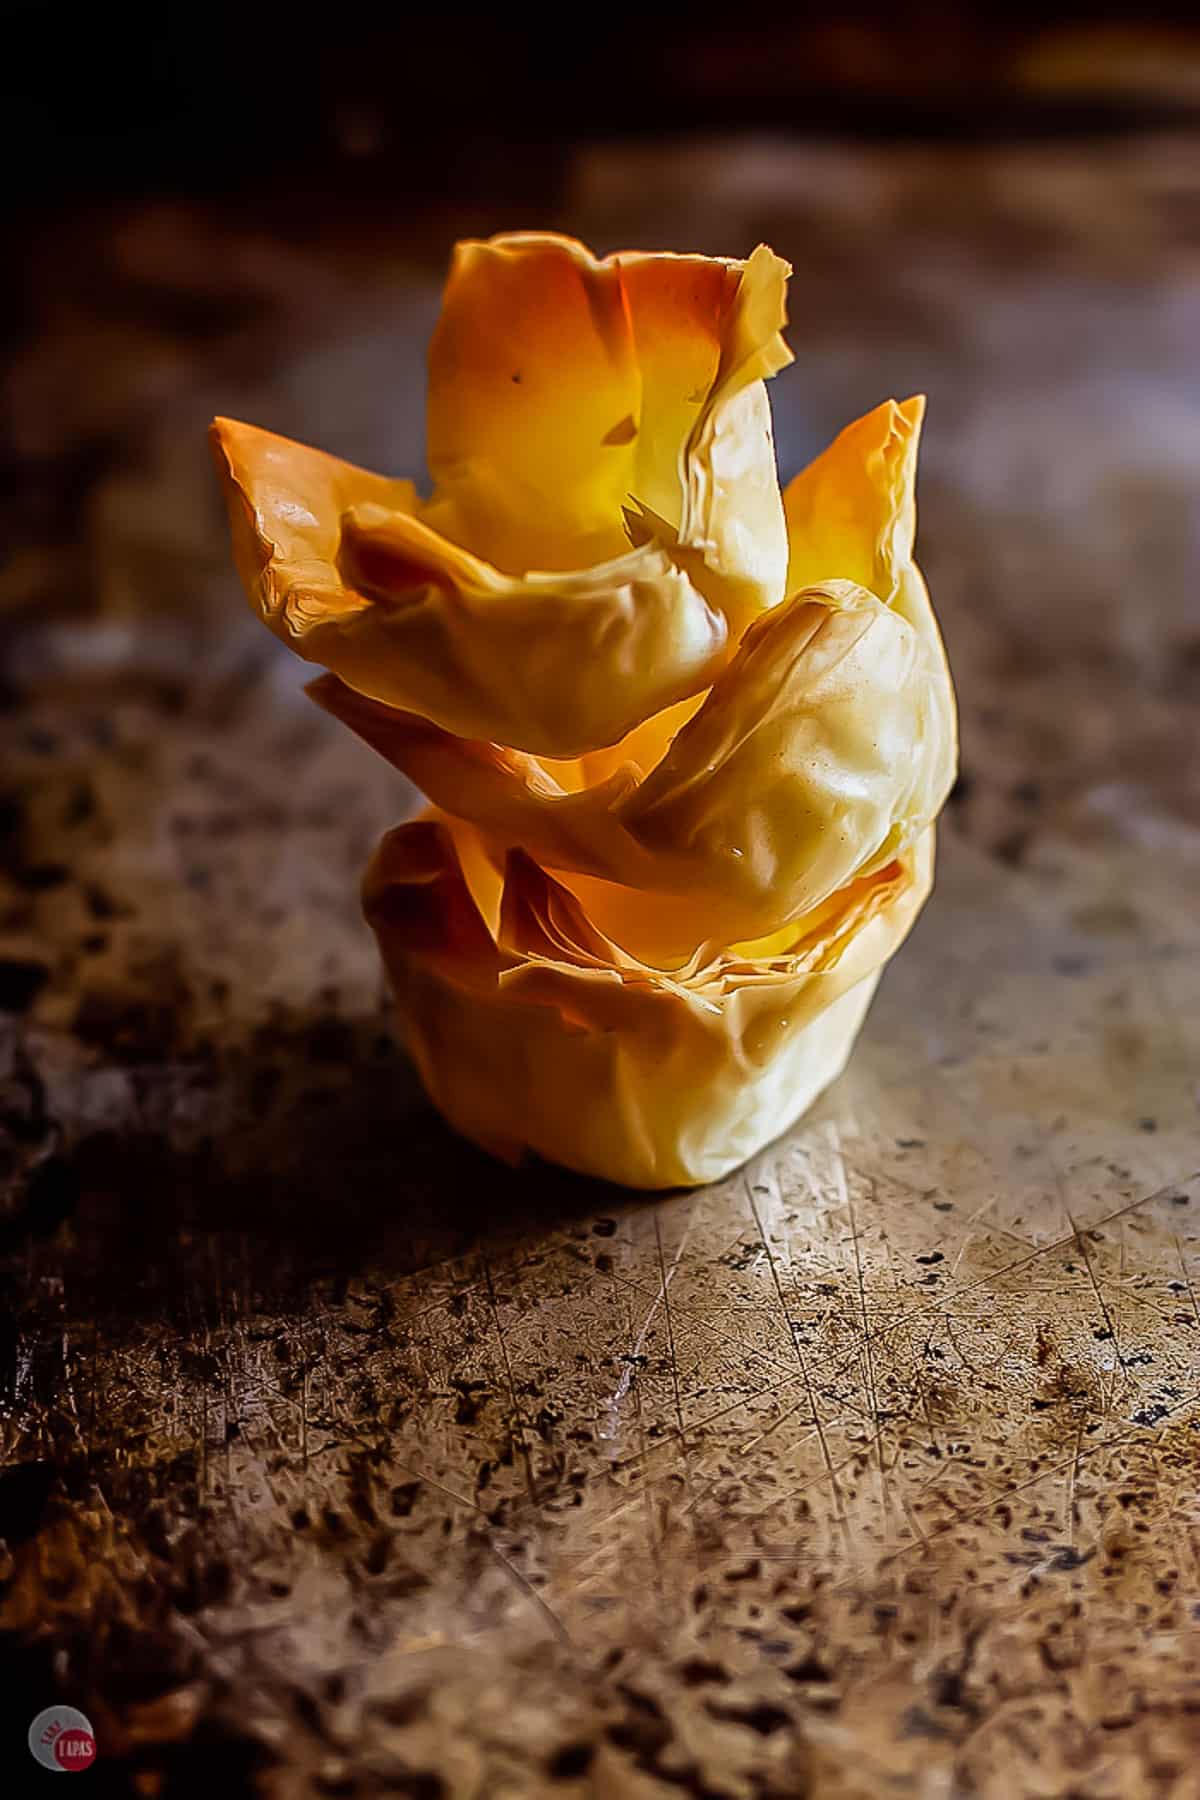
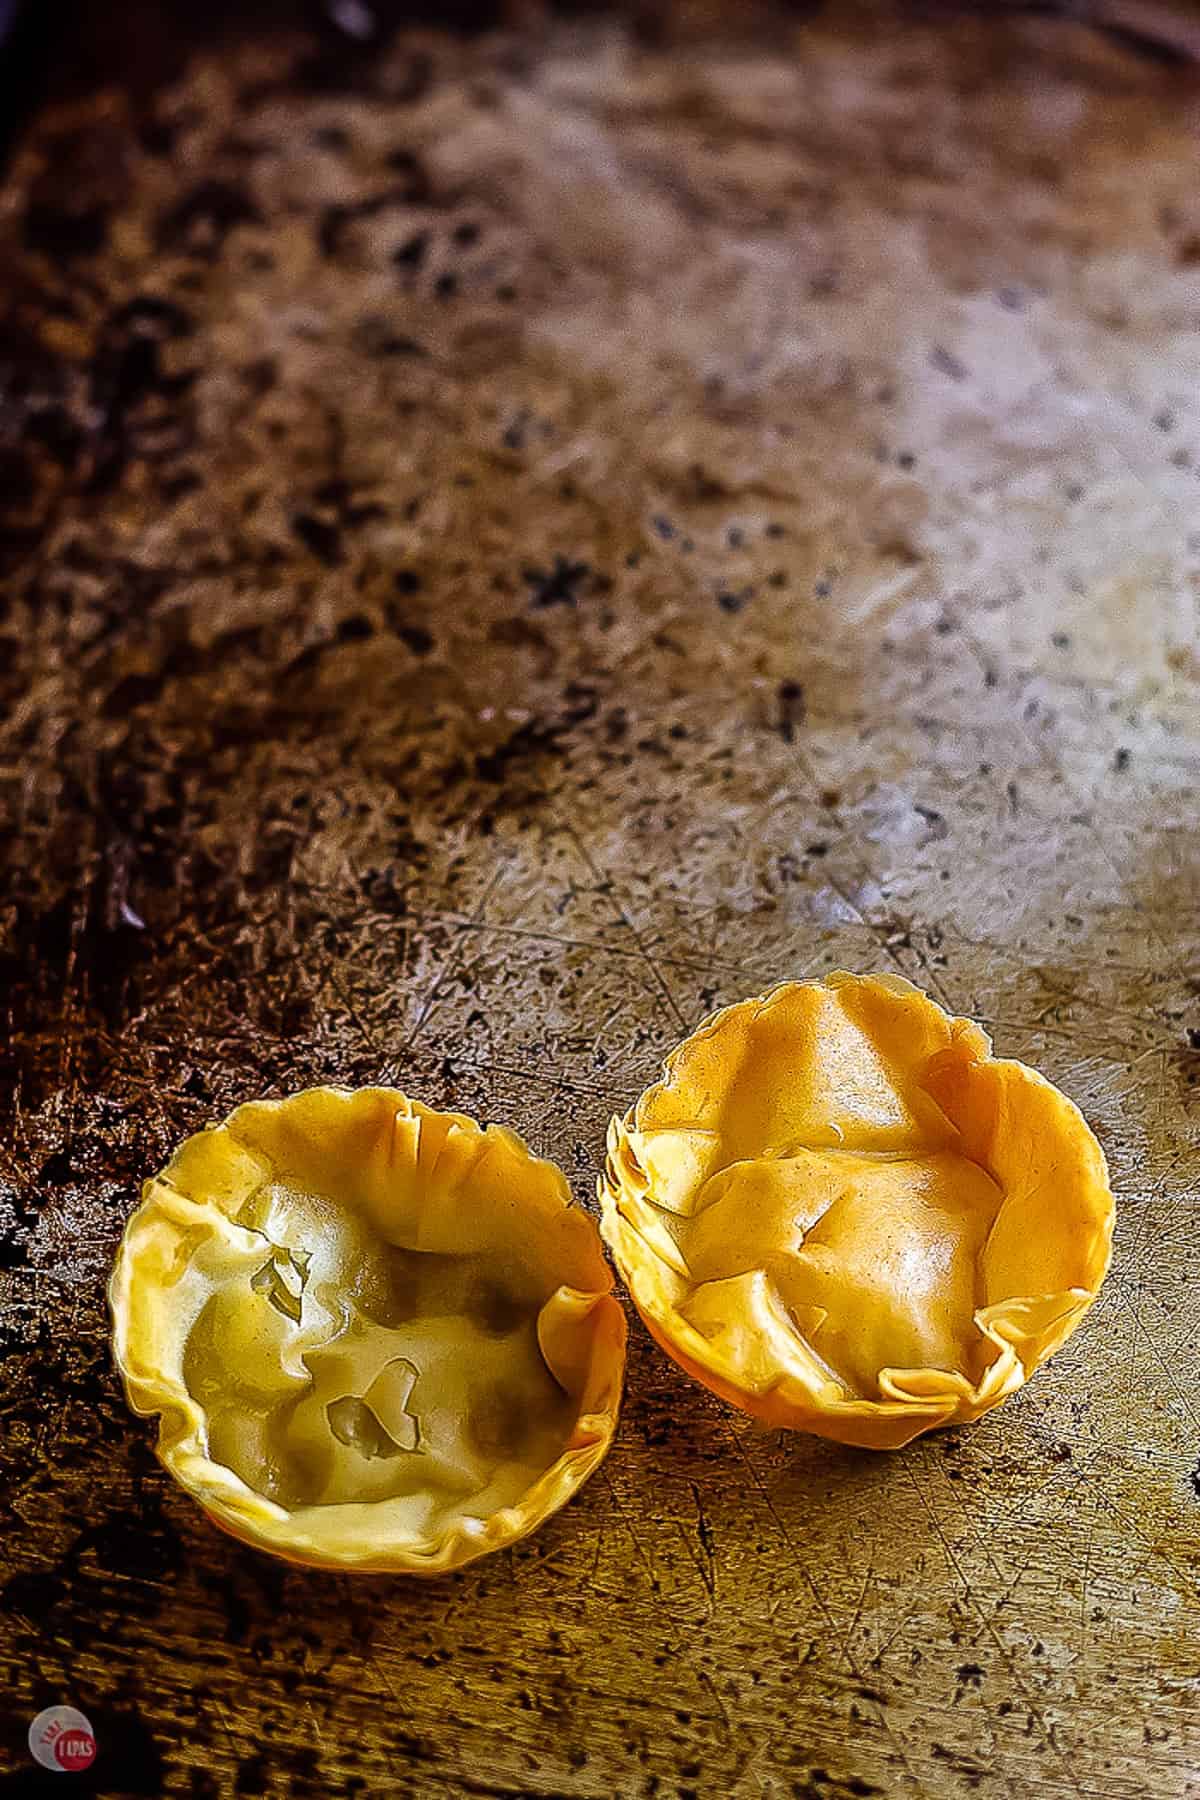
We don’t want the layers to puff up too much and “fill” up the cups. We need a place to put all the yummy fillings so we need to keep the inside well as as deep as possible.
Once you have all the wells filled up, add a few dried beans or pie weights to keep the bottom as flat as possible while the shells are baked.
I have dried “docking” or poking a few holes in the bottom to let the steam escape but it doesn’t work as good as weighting the bottom down.
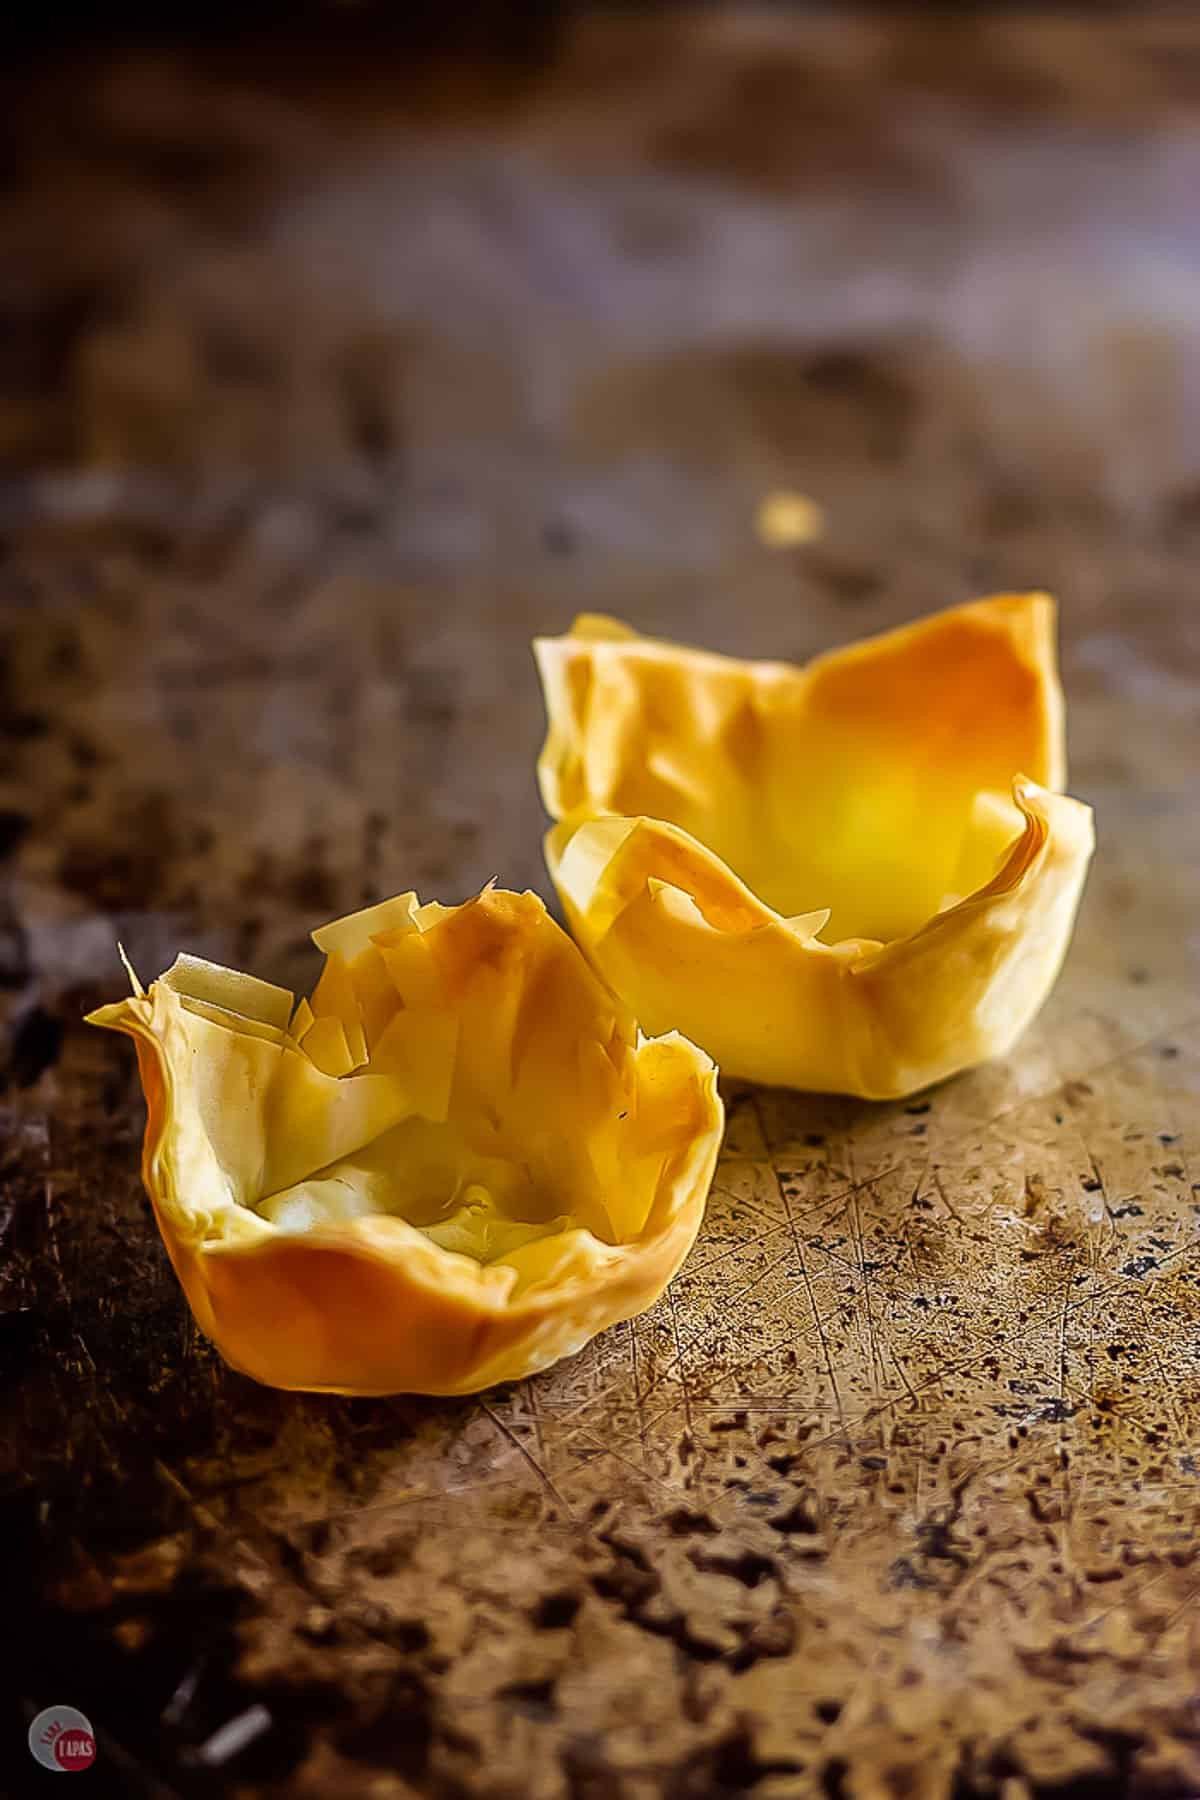
You can see from the picture below that the cup without the weights puffed up in the middle.
This puffing up means that the bottoms with crack easier and open the possibility of the fillings running out while serving or cooking them the second time.
Is Phyllo the same as Filo?
Why, yes they are! Just two different spellings for the same thing. The word means “leaf” in Greek if you are interested in that sort of thing.
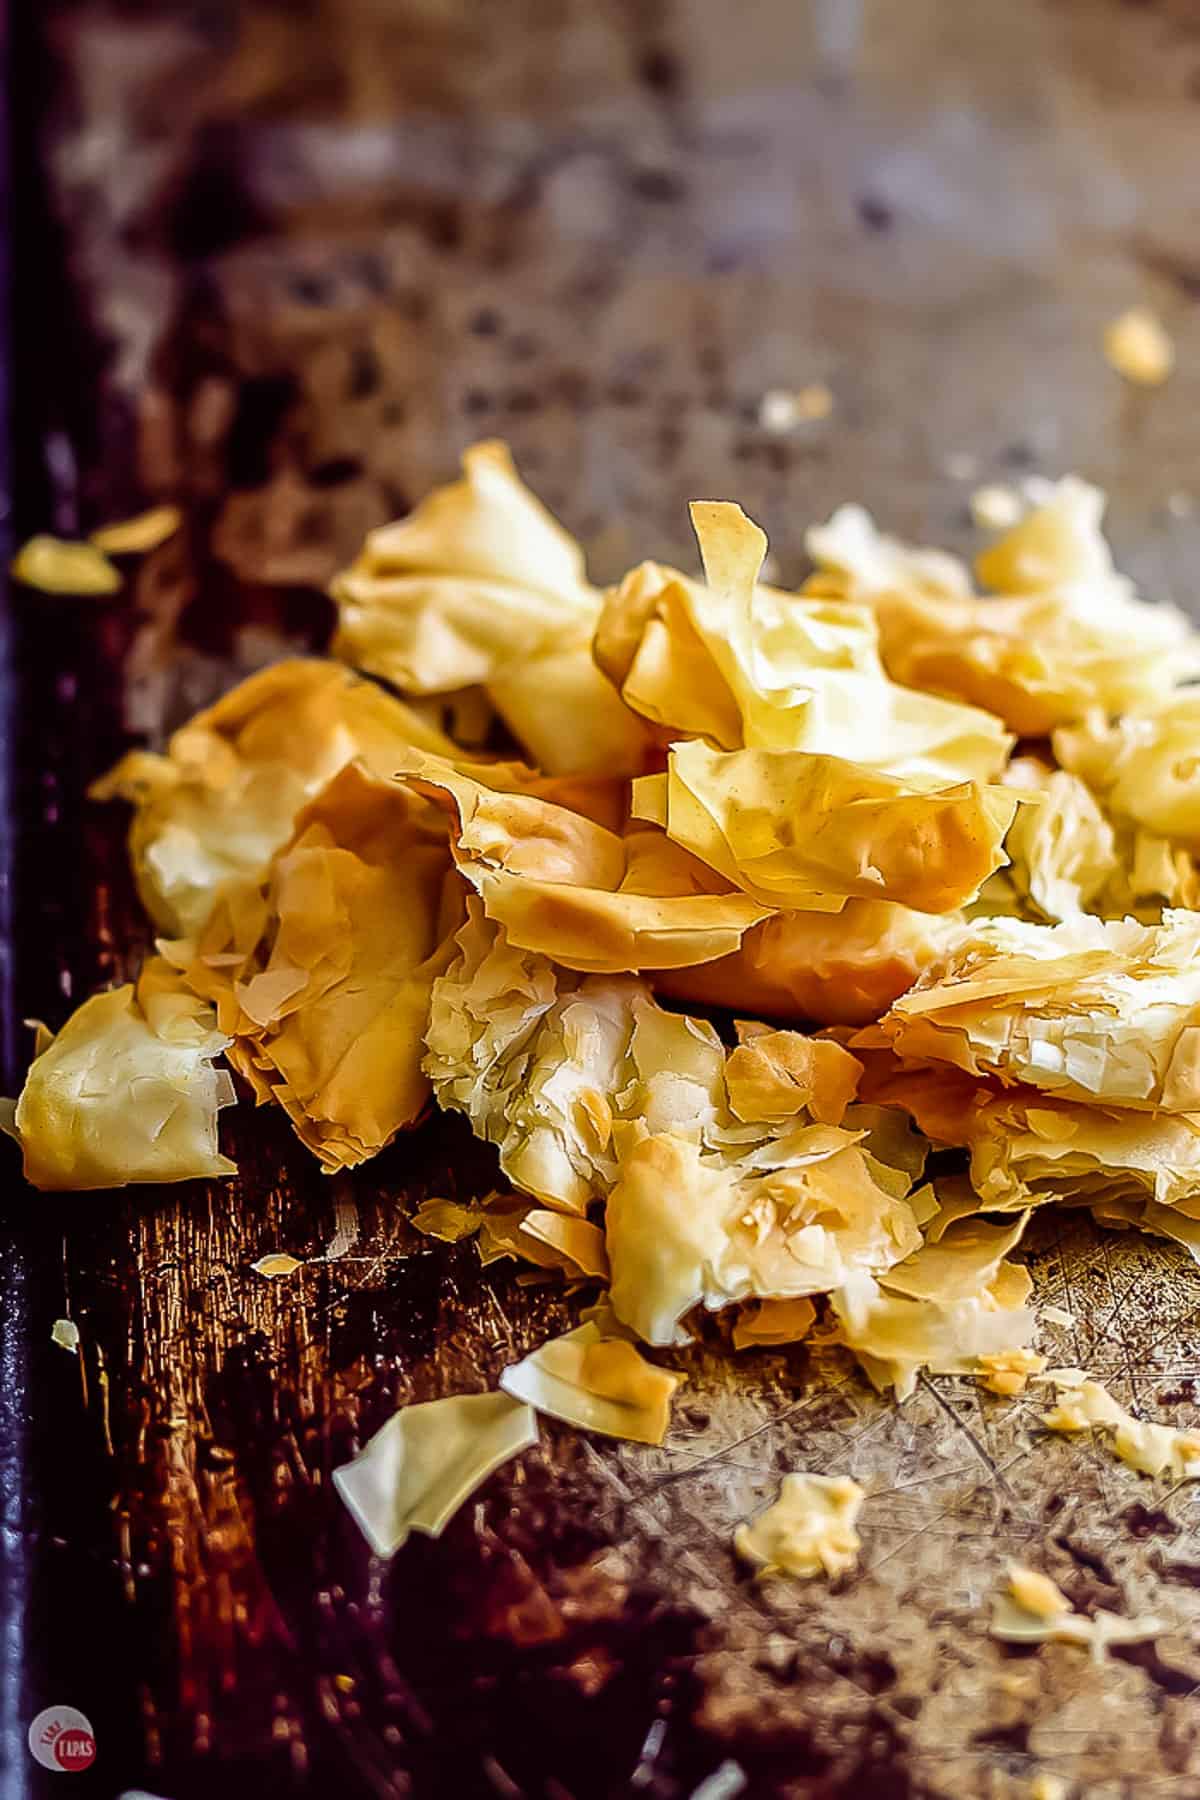
What do you do with phyllo dough scraps?
Don’t throw away all those scraps of layered phyllo dough that is left over from the circles, put it to good use!
If you have some empty wells in the muffin pan, or use a totally different muffin pan, add the scraps to it. I cut mine into small pieces but you don’t have to.
Bake them just like you would the pastry shells, and then remove from the oven. You will have a pile of crunchy, buttery, filo flakes that make great toppings that not only taste good but are so pretty.
Try these on top of ice cream, yogurt, pies, frosted cakes, frosted brownies, or even a baked custard. Look how pretty they look!
How many phyllo sheets come in a package?
There are approximately 40 sheets per 1 pound package: 20 sheets per 8 ounce roll. And the sheets are roughly 9 inches by 14 inches.
Fillings for Phyllo Cups
Do you want to go sweet or prefer a bit of savory? Whether you aim for the entree, the appetizer, or dessert side of things, the options are unlimited.
Sweet Phyllo Cup Ideas
- caramel corn & cream cheese
- apricot, pistachio & brie
- raspberry & brie
- whipped cream & fresh berries
- cinnamon & cream cheese
- goat cheese & fig jam
- pudding & various toppings
- ice cream & caramel sauce
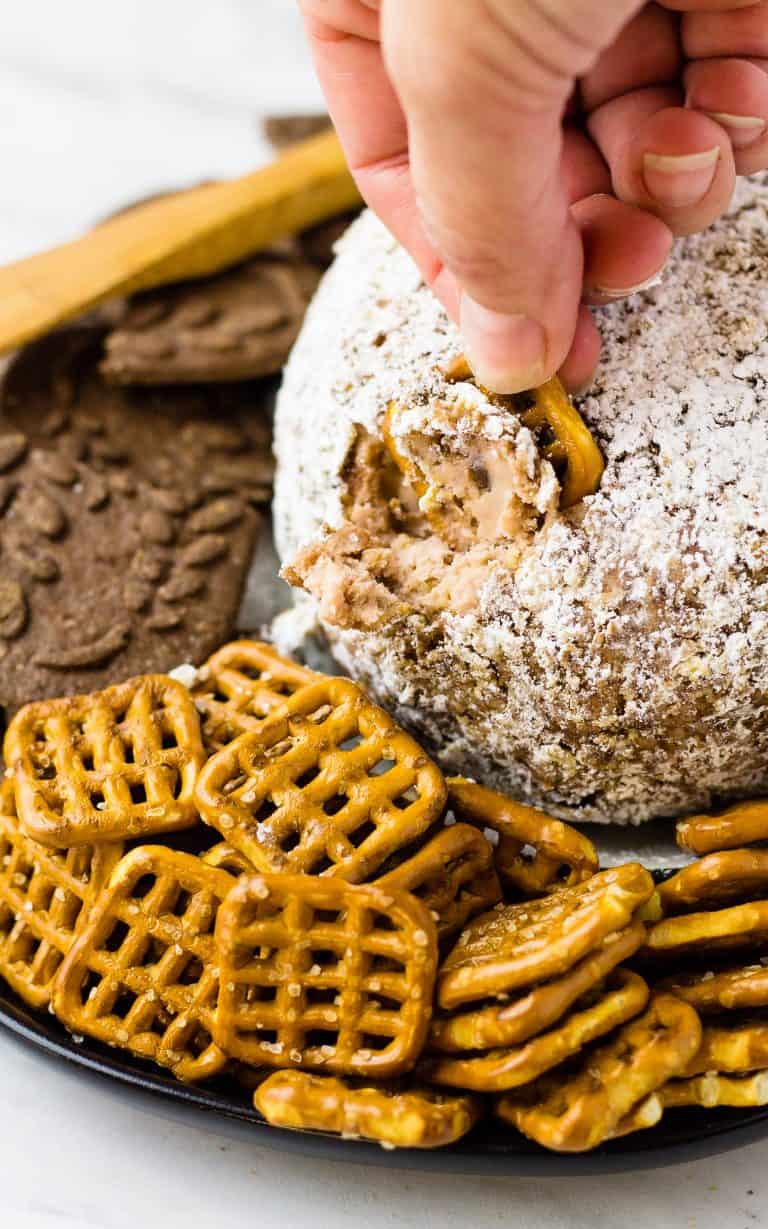
- buckeye snack mix
Savory Phyllo Cup Ideas
- brie cheese & bacon
- cream cheese & salami
- goat cheese & olive tapenade
- pumpkin & goat cheese
Tapas Tips & Tricks
- If you chose to make circles, don’t throw away the scraps, I am going to show you what to do with those at the end.
- To assemble the mini phyllo shells, set up your working area first. Being organized and prepared will help the process go easier and faster.
- I like to work inside a baking sheet with a rim to keep the melted butter from running onto the counter and the floor. This avoids any slips and falls later on.
- Have your phyllo sheets, unrolled, and covered with a damp towel, on one side of your workspace. Place your melted butter and brush on the other.
If you love this recipe as much as I do, please leave us a ⭐️⭐️⭐️⭐️⭐️ five-star review in the comment section below. Thanks!
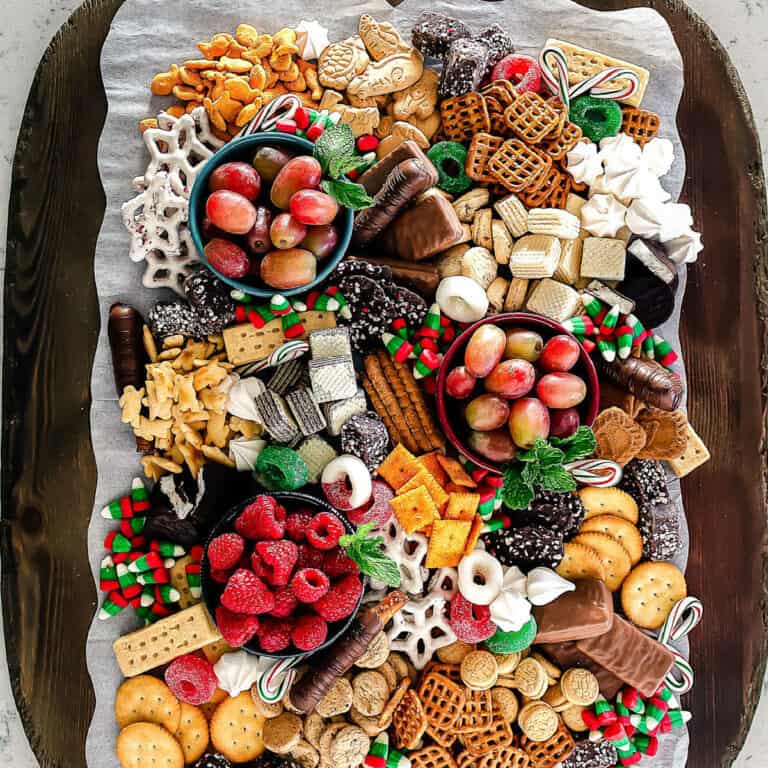
These bite sized appetizers are such a staple at parties because they are the ultimate finger food and are super versatile. They make a great appetizer alongside a Cheese Board, a Relish Dish, or a Vegetable Crudite platter.
Prep for your party with these shortcuts:
- Homemade Frozen Meatballs for the Crockpot
- Roasted Pecans for Holiday Baking
- Complete Guide to Making Perfect Deviled Eggs
- Cookie Decorating Party
Homemade Phyllo Cups
Ingredients
- 1 package Phyllo Sheets
- 1 cup melted butter
Instructions
Prepare the ingredients
- Prepare by thawing phyllo sheets in the refrigerator for at least 2 hours.
- Gather your ingredients and tools.
- Melt butter.
- Remove phyllo sheets from refrigerator, unwrap, and cover with a damp towel to prevent drying out while working.
Assemble the phyllo cups
- Place one phyllo sheet on a cutting board or baking pan.
- Brush with melted butter.
- Cover with another phyllo sheet and brush with melted butter.
- Continue until you have 6 layers of phyllo and butter (4 layers if wanting lighter cups).
- Cut cups out of layered phyllo sheets in desired shapes.
- Press into mini muffin pan.
Bake the phyllo cups
- Preheat oven to 400F.
- Fill phyllo cups in muffin pan with dried beans or pie weights to keep from puffing up in the middle.
- Bake for 6-10 minutes or until lightly golden brown.
- When baked to desired doneness, remove from the oven and let cool for a few minutes.
- Remove the weights and remove the cups from the pan to a cooling rack to cool completely.
Store the phyllo cups for future parties
- Place cups in an airtight container or zip-top bag in portions needed in the future.
- Store in the refrigerator for up to one week or the freezer for up to 3 months.
- When ready to use, remove from the freeze, let come to room temperature, fill with delicious filling, and serve or bake as you need!
Video
Notes
Nutrition
©TakeTwoTapas.com. Content and photographs are copyright protected. Sharing of this recipe is both encouraged and appreciated. Copying and/or pasting full recipes to any social media is strictly prohibited.

I,ll try to make my shells, but I have a question, can I put nuts at the top and take the shells to the oven, covering with more layers of phillo?
Are you wanting to bake the nuts in the shells? Not quite sure that you are asking?
What size do you cut your circles/squares for the cups?
The cutter I use is 2.5 inches in diameter.
These instructions were dead-on right for a mini-muffin pan. Cutting circles is much neater than squares, but getting a cookie cutter through six layers of phyllo was a chore.
Meant to buy ready made phyllo cups but they were out. Made these and so pleased because easy and delicious.
Turned out perfect. Just waiting to be filled. Super easy to make. Thanks for the great instructions.
So glad you liked them!! Make an extra batch and keep stored in the freezer:)
Five Stars! I made these for New Year’s Eve when I couldn’t find the prepared cups at any store. They were actually very easy and turned out great! Thanks for the step by step directions and the recipe! I used olive oil instead of butter as you suggested for a substitute and followed your directions exactly as written. I’ll definitely make these again. I filled my cups with small cubes of Brie cheese topped with a cranberry pepper jam. I can’t wait to try your filling recipes!
I am so glad you liked them!! I think they taste much better than the frozen one anyway!
Worked pretty well but the bottoms of my cups are still not browned and are soggy. I cooked them for 5 min at 400 and took them out as the color was good and I am going to bake them a second time tonight with the fillings. What can I do to get the bottoms as golden and crispy as yours seem to be?
I am sorry that you are having trouble. Sometimes if there is too much butter it can keep them from getting crispy. Since you have already baked them I would suggest taking them out of the muffin pan, placing them on a cooling rack, placing a very loose layer of foil over the top and baking them at 350 for 5 minutes while on the cooling rack. This will allow any butter/moisture to run off the cups and allow them to crisp up. The foil should keep the tops from getting too brown. And when baking with the filling I suggest the same thing. Fill them and then bake them elevated off of the pan.
I hope this works for you!
Thank you so much! I live in Australia and ready made fillo cups are not available. I’m making baklava cups, so should I bake the cups first for maybe 4-5 minutes and then bake again after filling them with the nuts mixture?
Yes, I would bake them for 4 minutes before adding the filling. I love baklava!!
Wow, so easy and so yummy! And they can be made ahead and stored – I loved that, since it solves the problem of too much phyllo dough for one use. I filled my prebaked cups with a chili chili cream cheese filling and baked them again until the filling was done. It worked great. Thanks! p.s. thanks also for the tips, super-helpful for a beginner like me.
Thanks for giving ALL the details and pictures! I love working with FILO dough to make baklava. When the grocery stores were emptied of FILO cups and small pastry cups, I knew I would have to make something myself that would work. This recipe is just right! I’m filling the cups with Brie topped with peach jam and pistachios.
That sounds delicious`!