Day of the Dead Hats
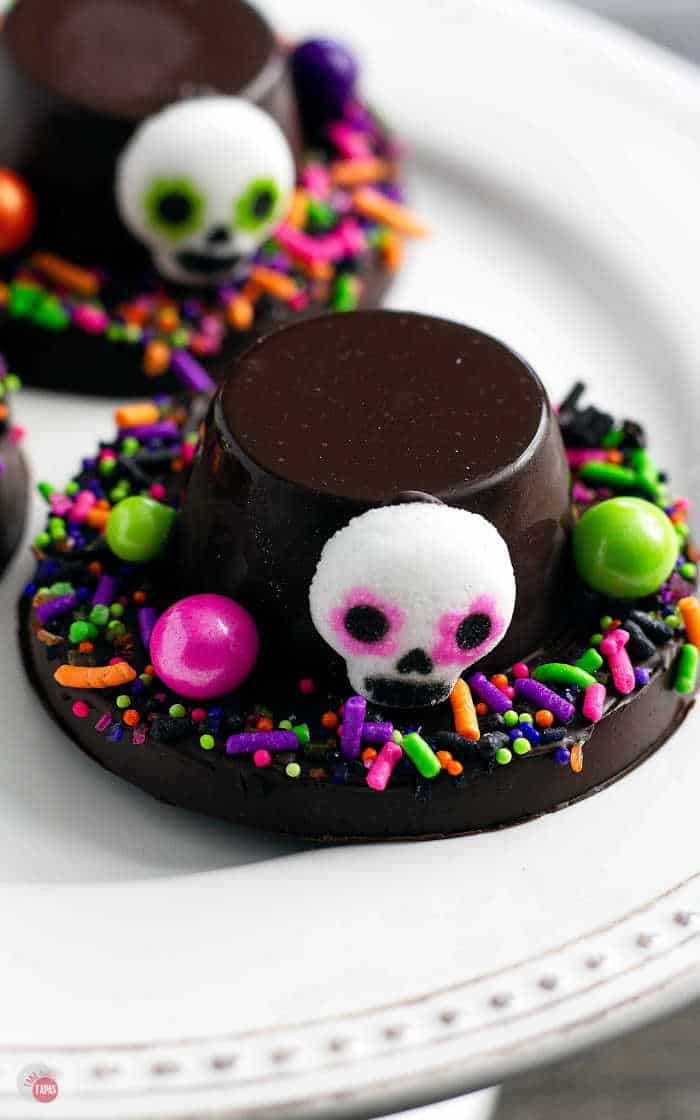
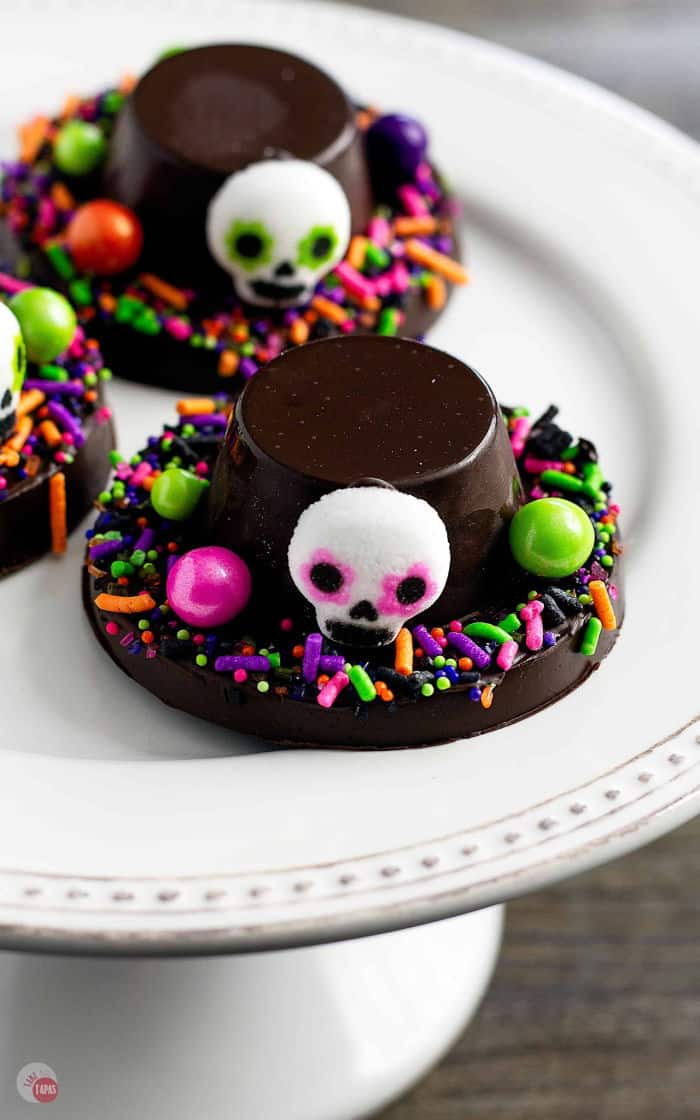
Celebrate the Day of the Dead with these festive Día de Muertos Chocolate Hats! A dark chocolate peanut butter cup dressed up with sprinkles and sugar skulls.
The Day of the Dead is a Mexican holiday celebrated throughout Mexico and by people of Mexican heritage worldwide. The holiday spans a few days and is a time to gather with friends and family and remember loved ones that have passed on.
This is said to help their spiritual journey on the other side.
Celebrations start on October 31, or Halloween, and continues to November 2. During the three days, people construct altars honoring their deceased loved ones with their favorite foods and drinks, marigolds, and skulls.
They also visit the graves of their loved ones and leave gifts as well.
The most famous symbol of the Day of the Dead is by far the brightly decorated skulls.
This Día de Los Muertos, I’m not making the sugar skulls, I am making festive Mexican hats, Día de Muertos Chocolate Hats, that are worn during the celebrations too!
This post may contain affiliate links. As an Amazon Associate, I earn from qualifying purchases at no additional cost to you. Read my disclosure policy.
Aside from the brightly colored dresses, fancy suits, bright skull masks, and bright tissue flowers, hats are also worn.
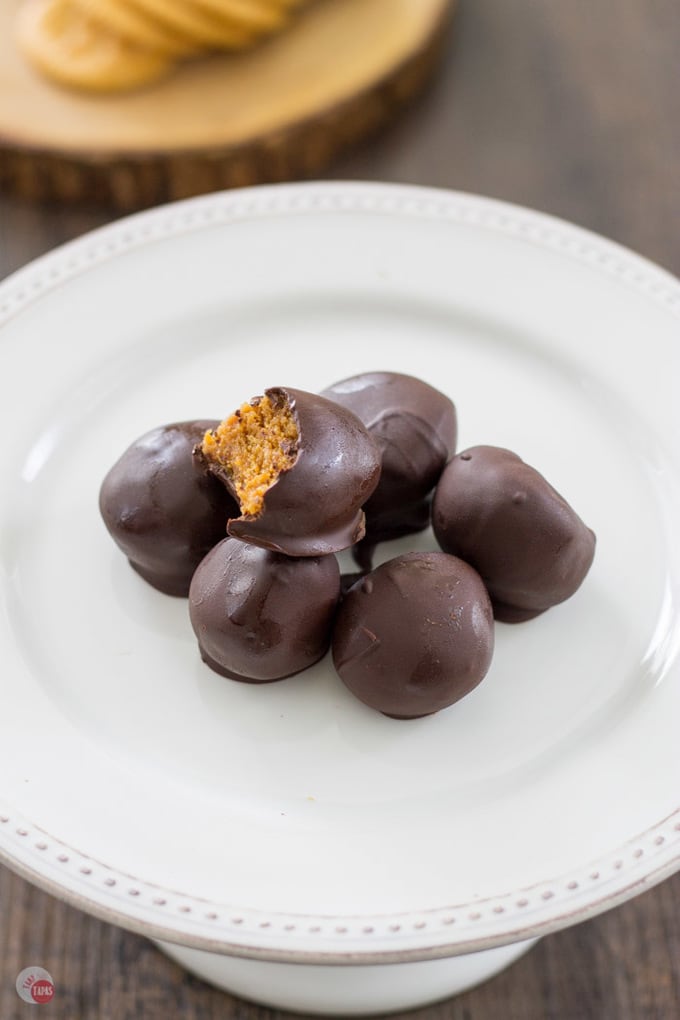
I love seeing how the men decorate their hats in preparation for the holiday. These are just chocolate, they are actually a chocolate peanut butter cup.
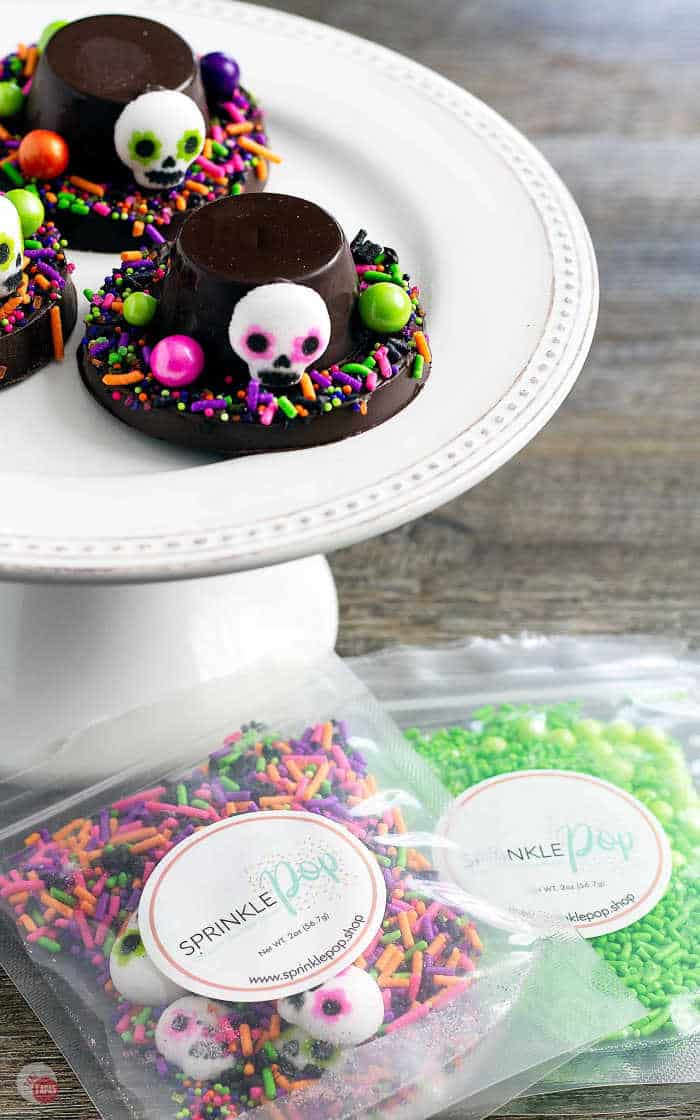
To make them just as festive as the sugar skulls and other parts of the costumes, I am using colored sprinkles from Sprinkle Pop! Sprinkle Pop creates custom bespoke sprinkle blends, dyed in-house, to match any idea a customer may have. If you can dream it, they can create it as a sprinkle mix.
When I was looking for ideas to make the hats, I was excited to see that Sprinkle Pop had a Day of the Dead Sprinkle mix complete with small sticks, brightly colored balls in varying sizes, and small sugar skulls.
All of these sprinkles bring the Día de Muertos Chocolate Hats to life.
How To Make Day Of The Dead Hats
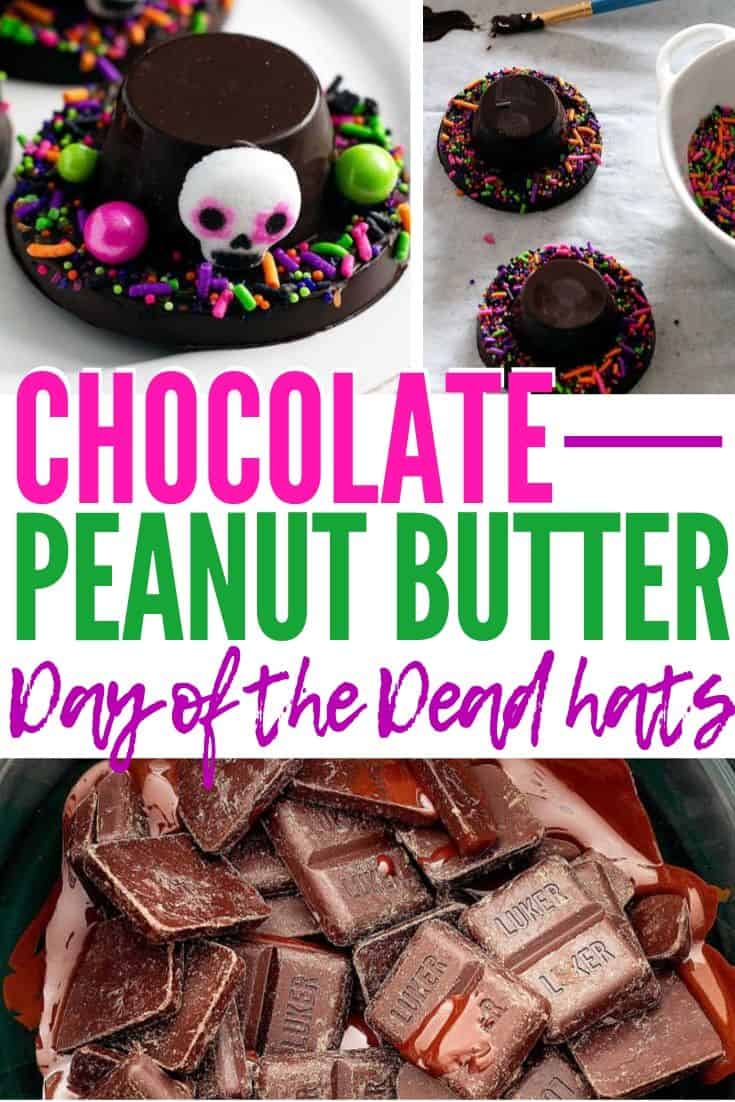
These Día de Muertos Chocolate Hats come together pretty quickly with the help of some simple candy molds and a pound of dark chocolate. Using two different molds, it’s as simple as melting the chocolate and then letting it cool in the new shapes.
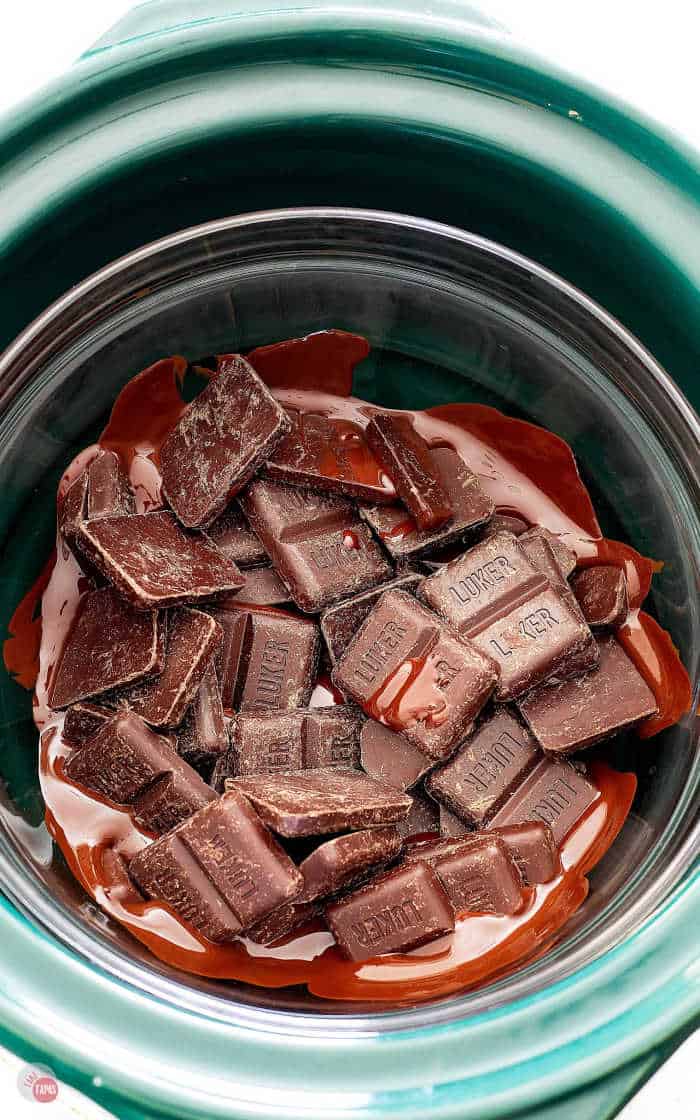
Start by melting your chocolate. I prefer to use a dark chocolate (85% cacao) to keep the sweetness level in check.
Once the chocolate is melted, I add a scoop to the 3-inch molds and this will form the base or brim of the Día de Muertos Chocolate Hats.
Next, I fill the smaller cup molds with chocolate and place it in the fridge for about 8 minutes to let the outside edges of the cup form but take it out before the center solidifies, and pour out the still melted chocolate.
This forms a “cup” of dark chocolate leaving the center empty. This is where the peanut butter filling goes.
Once the peanut butter filling is added and leveled out, I fill in the cup with more melted chocolate to seal the filling in.
After they completely cool in the fridge they are ready to pop out of the molds. Now is when the fun really starts!
For more insider tips, tricks, and a behind the scenes look, follow me on Pinterest, Facebook, Instagram, & X.
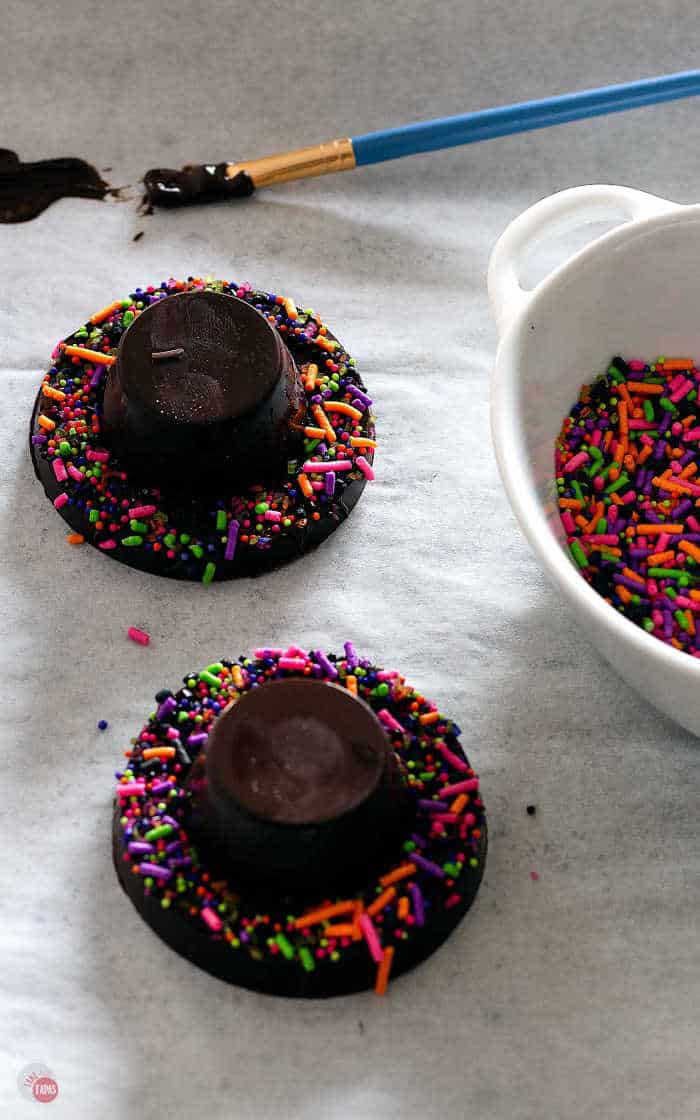
Keeping some melted chocolate and a small paint brush handy, it’s time to decorate and assemble the hats. Take a small amount of melted chocolate and place it in the center of the brim.
Place one of the peanut butter cups upside down, in the center of the brim. Let cool so the two pieces stick together. Continue with the remaining hats.
Once they are all cooled, brush a bit of melted chocolate around the rim or outside of the brim. Sprinkle with colored sprinkles so they stick to the melted chocolate.
The larger round shapes I dab with some melted chocolate and place them with tweezers or my fingers.
Lastly, dab some melted chocolate on the back of the sugar skulls and place them on the hats. Let everything set up so you can make sure the decorations are stuck to the hats.
Store in a cool place (or the fridge if it’s too hot) in an air-tight container until ready to serve!
Recipe Tips & Tricks
- I use this silicone candy mold for the top of the hats.
- I use this silicone candy mold for the base/brim of the hats.
- Don’t spray the molds with nonstick spray, the chocolate shapes will pop out without any trouble.
- I keep my chocolate in a bowl in my crockpot with a little bit of water on low. This keeps me from having to microwave it multiple times to make the shapes.
- Be careful not to get any water in your melted chocolate or it will seize up and turn grainy.
- You can feel free to fill the cups with a different filling if you don’t want peanut butter. Or you can make the “cups” solid chocolate. Much like the solid chocolate eggs or bunnies during Easter.
- Try to hold the hats from the underside or on the edges as the heat from your fingers can leave fingerprints or dull spots on your hats.
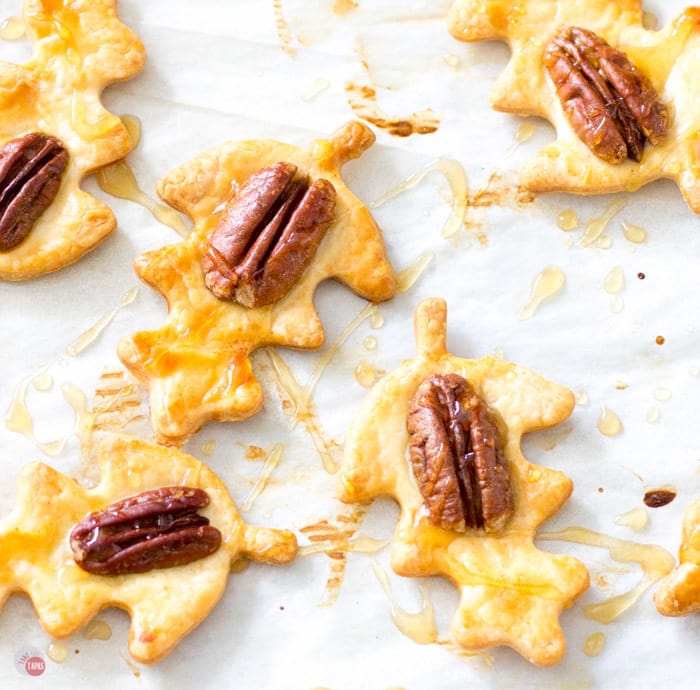
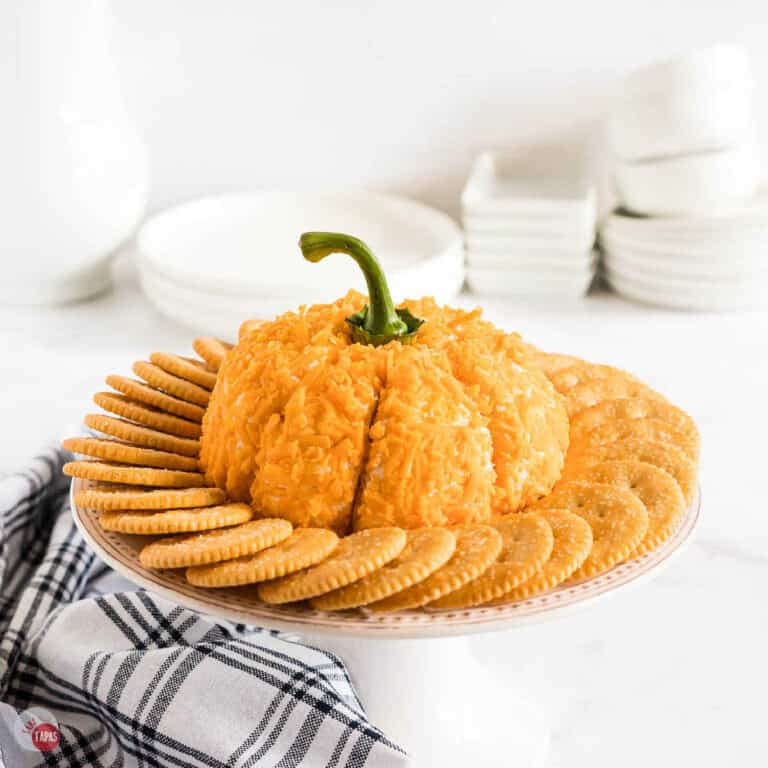
Looking for other Día de Muertos – Day of the Dead recipes or ideas for your celebration? Check out my Pinterest Board for more ideas!
If you love this recipe as much as I do, please leave us a ⭐️⭐️⭐️⭐️⭐️ five-star review in the comment section below. Thanks!
Día de Muertos Chocolate Hats
Ingredients
- 1 lb dark chocolate or semi-sweet
- 1/4 cup peanut butter
- 1/8 cup powdered sugar
- 1/2 tablespoon butter
- 1 teaspoon salt
- Assorted Sprinkles
- Día de Muertos sugar skull candies
Instructions
Make the Hat Molds
- Melt your chocolate in a slow cooker or in the microwave.
- Add 1 tablespoon of melted chocolate to each of the 6 molds in the 3-inch mold.
- Set in the fridge until solid.
- In the smaller mold, fill 6 molds with melted chocolate.
- Place in the fridge for 8-10 minutes or until the edges of the cups are solid but the middle is still melted.
- Pour out the middle melted chocolate. I put this chocolate back in the slow cooker so I don’t waste it.
- Set back in the fridge until solid.
- While the cups are solidifying, make the peanut butter filling.
Make Peanut Butter Filling
- Combine the peanut butter, powdered sugar, butter, and salt.
- Mix until smooth.
- Place in a piping bag or zip top bag or use a spoon to fill.
Fill the Hats
- Remove the cup molds from the fridge, add 1 tablespoon peanut butter filling, or enough to fill the dup about 80 %.
- Pour melted chocolate over the peanut butter filling to fill the entire cup. Make sure that the peanut butter filling doesn’t go to the edges or the cups won’t have solid chocolate walls.
- Place back in the fridge to solidify.
- Once these are done, remove the cups and the hat brims from the molds.
Decorate the Day of the Dead Hats
- Assemble with melted chocolate and decorate with your sprinkles and sugar skulls!
- Enjoy!
Notes
- I use this silicone candy mold for the top of the hats.
- I use this silicone candy mold for the base/brim of the hats.
- Don’t spray the molds with nonstick spray, the chocolate shapes will pop out without any trouble.
- I keep my chocolate in a bowl in my crockpot with a little bit of water on low. This keeps me from having to microwave it multiple times to make the shapes.
- Be careful not to get any water in your melted chocolate or it will seize up and turn grainy.
- You can feel free to fill the cups with a different filling if you don’t want peanut butter. Or you can make the “cups” solid chocolate. Much like the solid chocolate eggs or bunnies during Easter.
- Try to hold the hats from the underside or on the edges as the heat from your fingers can leave fingerprints or dull spots on your hats.
Nutrition
©TakeTwoTapas.com. Content and photographs are copyright protected. Sharing of this recipe is both encouraged and appreciated. Copying and/or pasting full recipes to any social media is strictly prohibited.
I made these for bunco last year, and they are already asking if I am making them again this year!! LOVED them!
We just LOVE these little sweet treats!
These are easy and SO fuN!!
These hats are adorable and your instructions are amazing to follow. I love having making party treats and this is going to be perfect for our Halloween party!
These are adorable! My niece looked at them this am and is super excited to make them…. now to find the sprinkle pops in my area in stock since halloween/ day of the dead is this week.
Made these for my BFF — she loves all things “Day of the Dead!” They were a huge hit!
Such a festive fun recipe, I just love these little treats!! So creative and tasty too!
Love the peanut butter filling you added to these festive hats and the sprinkles are so vibrant! Thanks for adding the links to the molds too. Makes gathering the ingredients a lot easier!
These are super adorable! I can’t get over how cute & creative this is! Thanks for the idea!
These are seriously too cute! I love the sprinkles!
Made these for my BFF — she loves all things “Day of the Dead!” They were a huge hit!
These are the cutest little hats and would be so much fun to make for a party. Even better get all of those sprinkles out and let the kiddos help!
These are adorable! My niece looked at them this am and is super excited to make them…. now to find the sprinkle pops in my area in stock since halloween/ day of the dead is this week.
Love the peanut butter filling you added to these festive hats and the sprinkles are so vibrant! Thanks for adding the links to the molds too. Makes gathering the ingredients a lot easier!
Such a festive fun recipe, I just love these little treats!! So creative and tasty too!
These are so cute and festive! Love all the bright colors and of course the chocolate and peanut butter flavors!
These are seriously too cute! I love the sprinkles!
These are super adorable! I can’t get over how cute & creative this is! Thanks for the idea!
These are the cutest little hats and would be so much fun to make for a party. Even better get all of those sprinkles out and let the kiddos help!