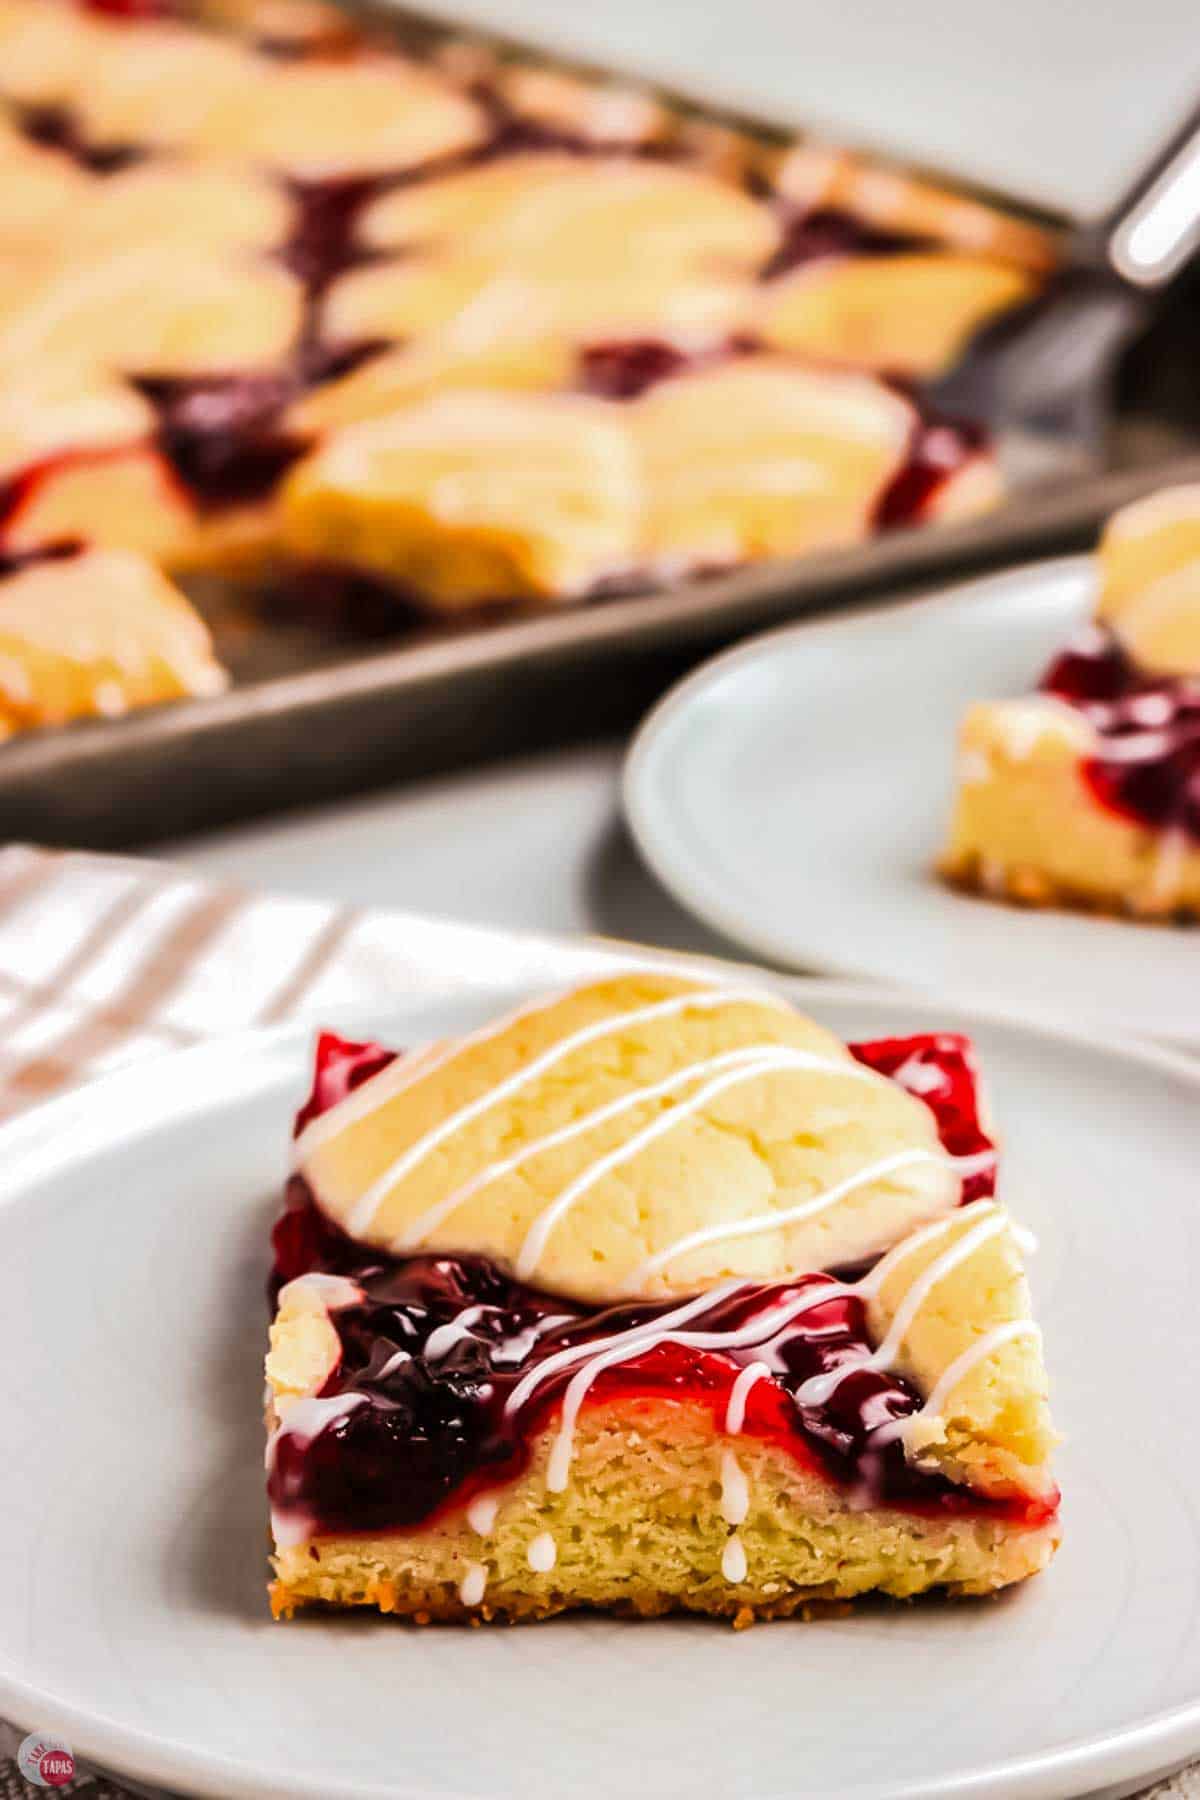
Cherry Pie Bars
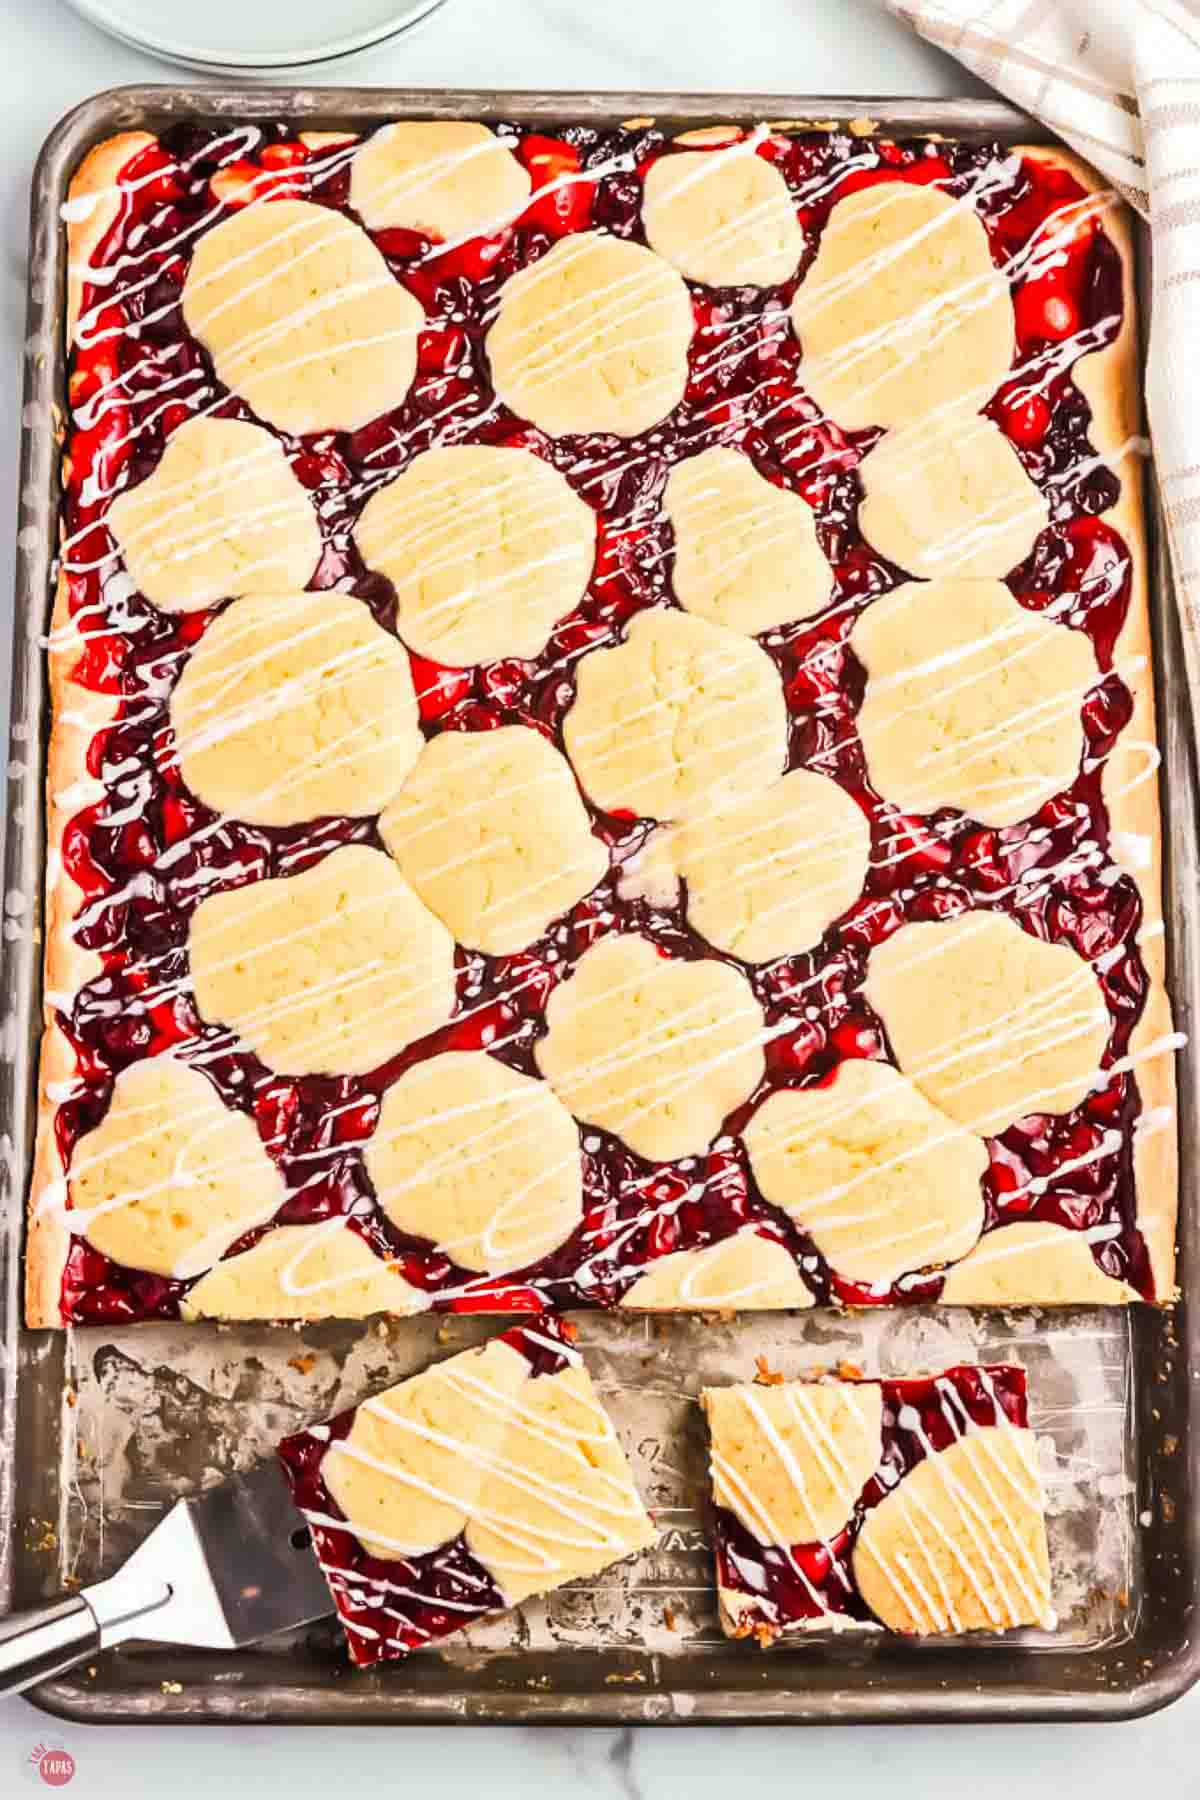
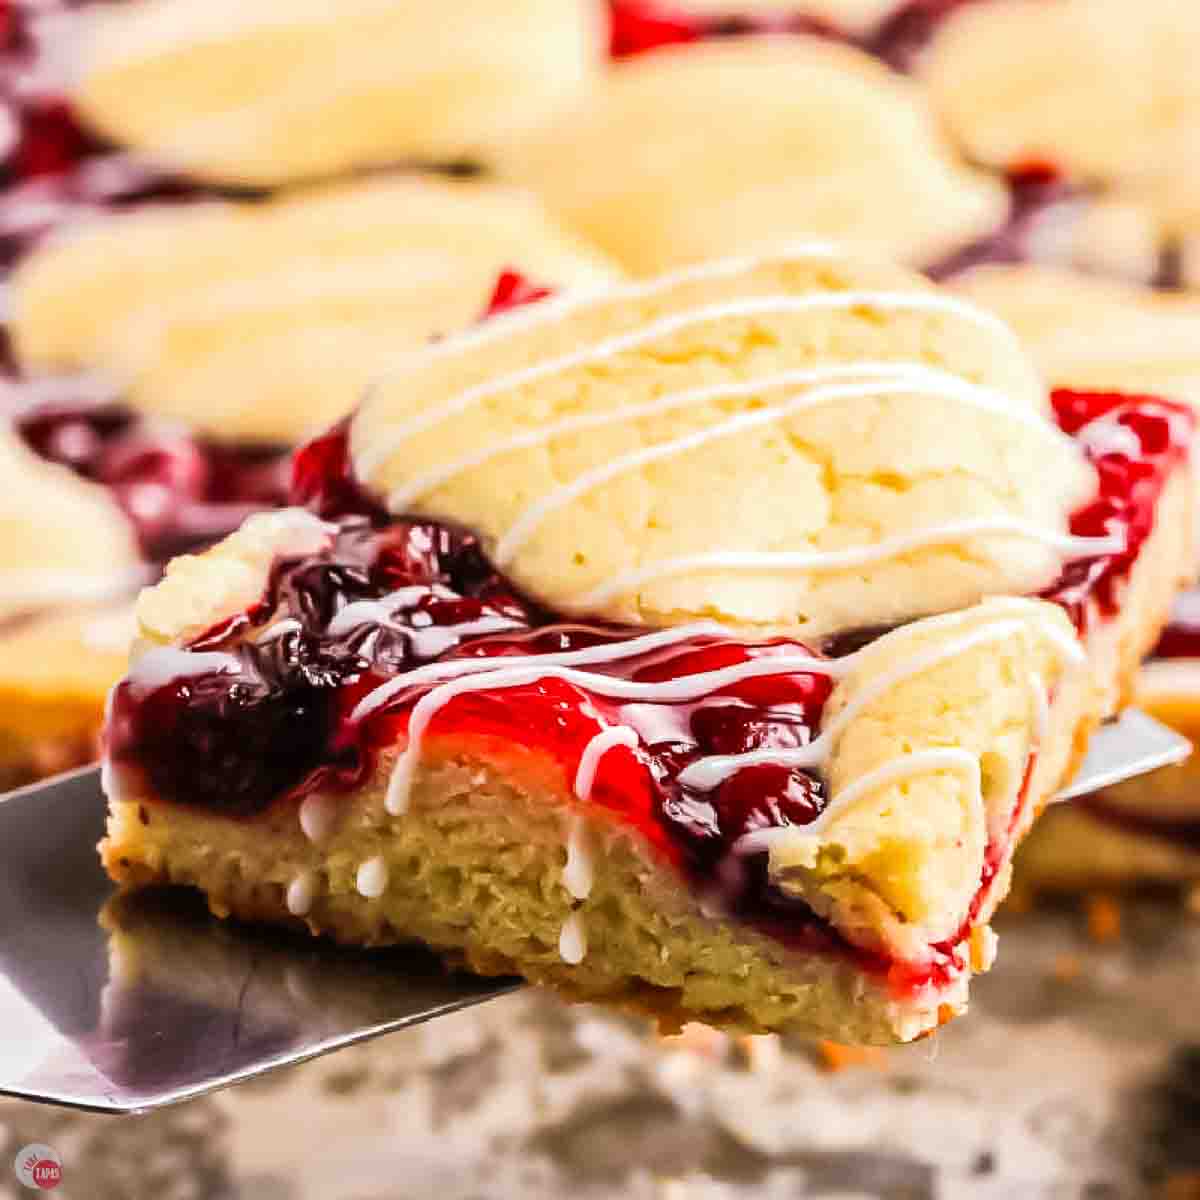
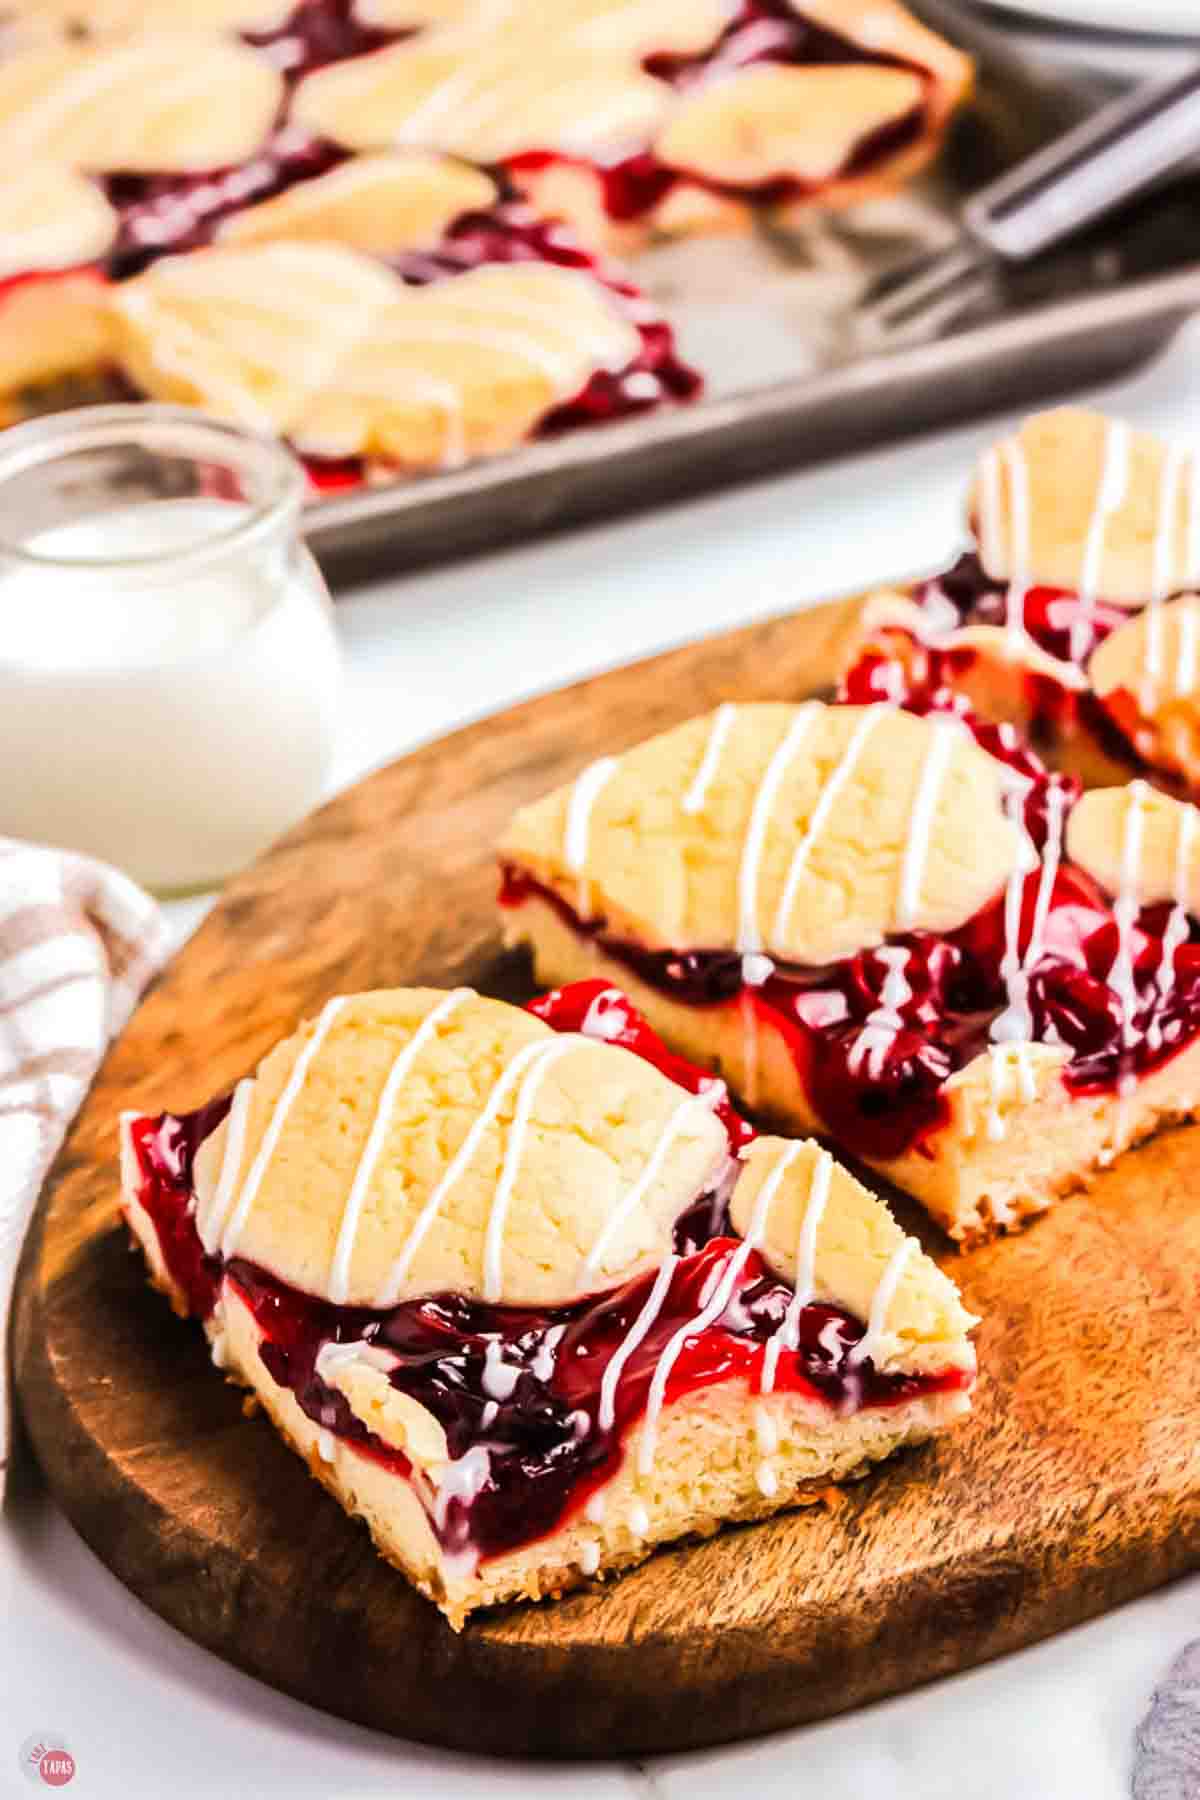
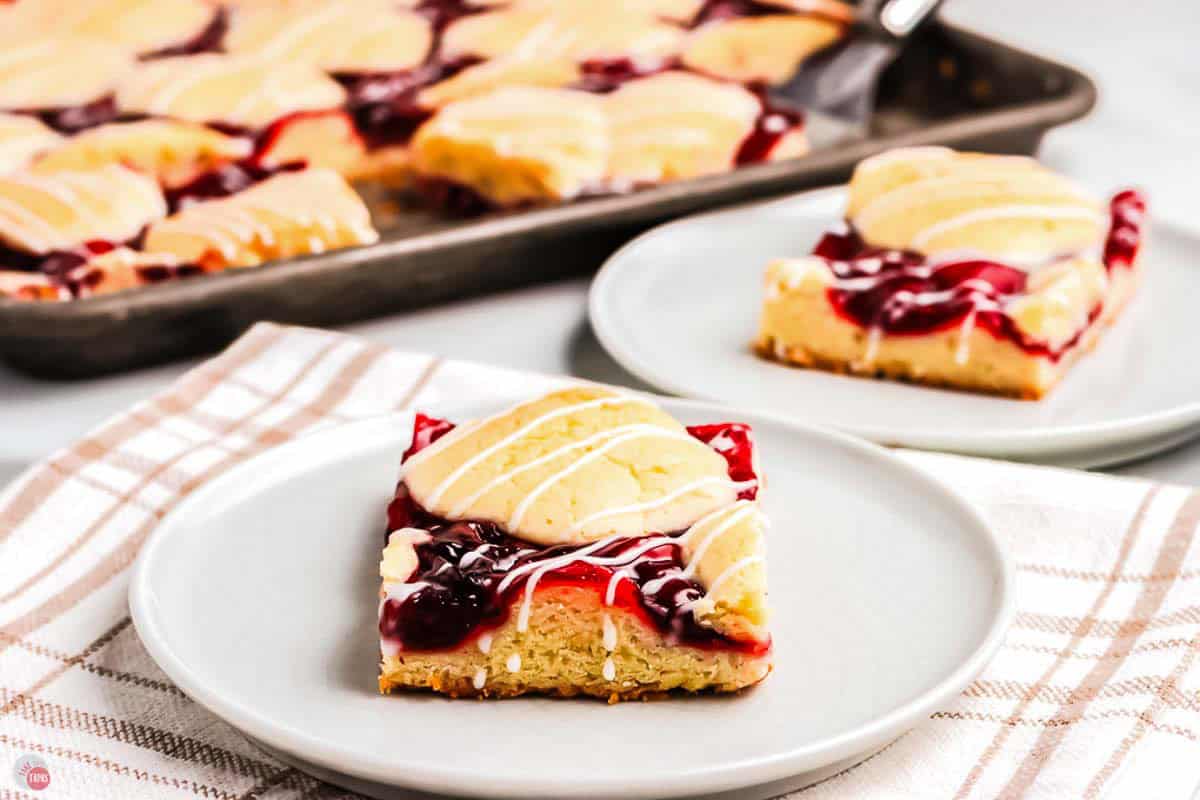
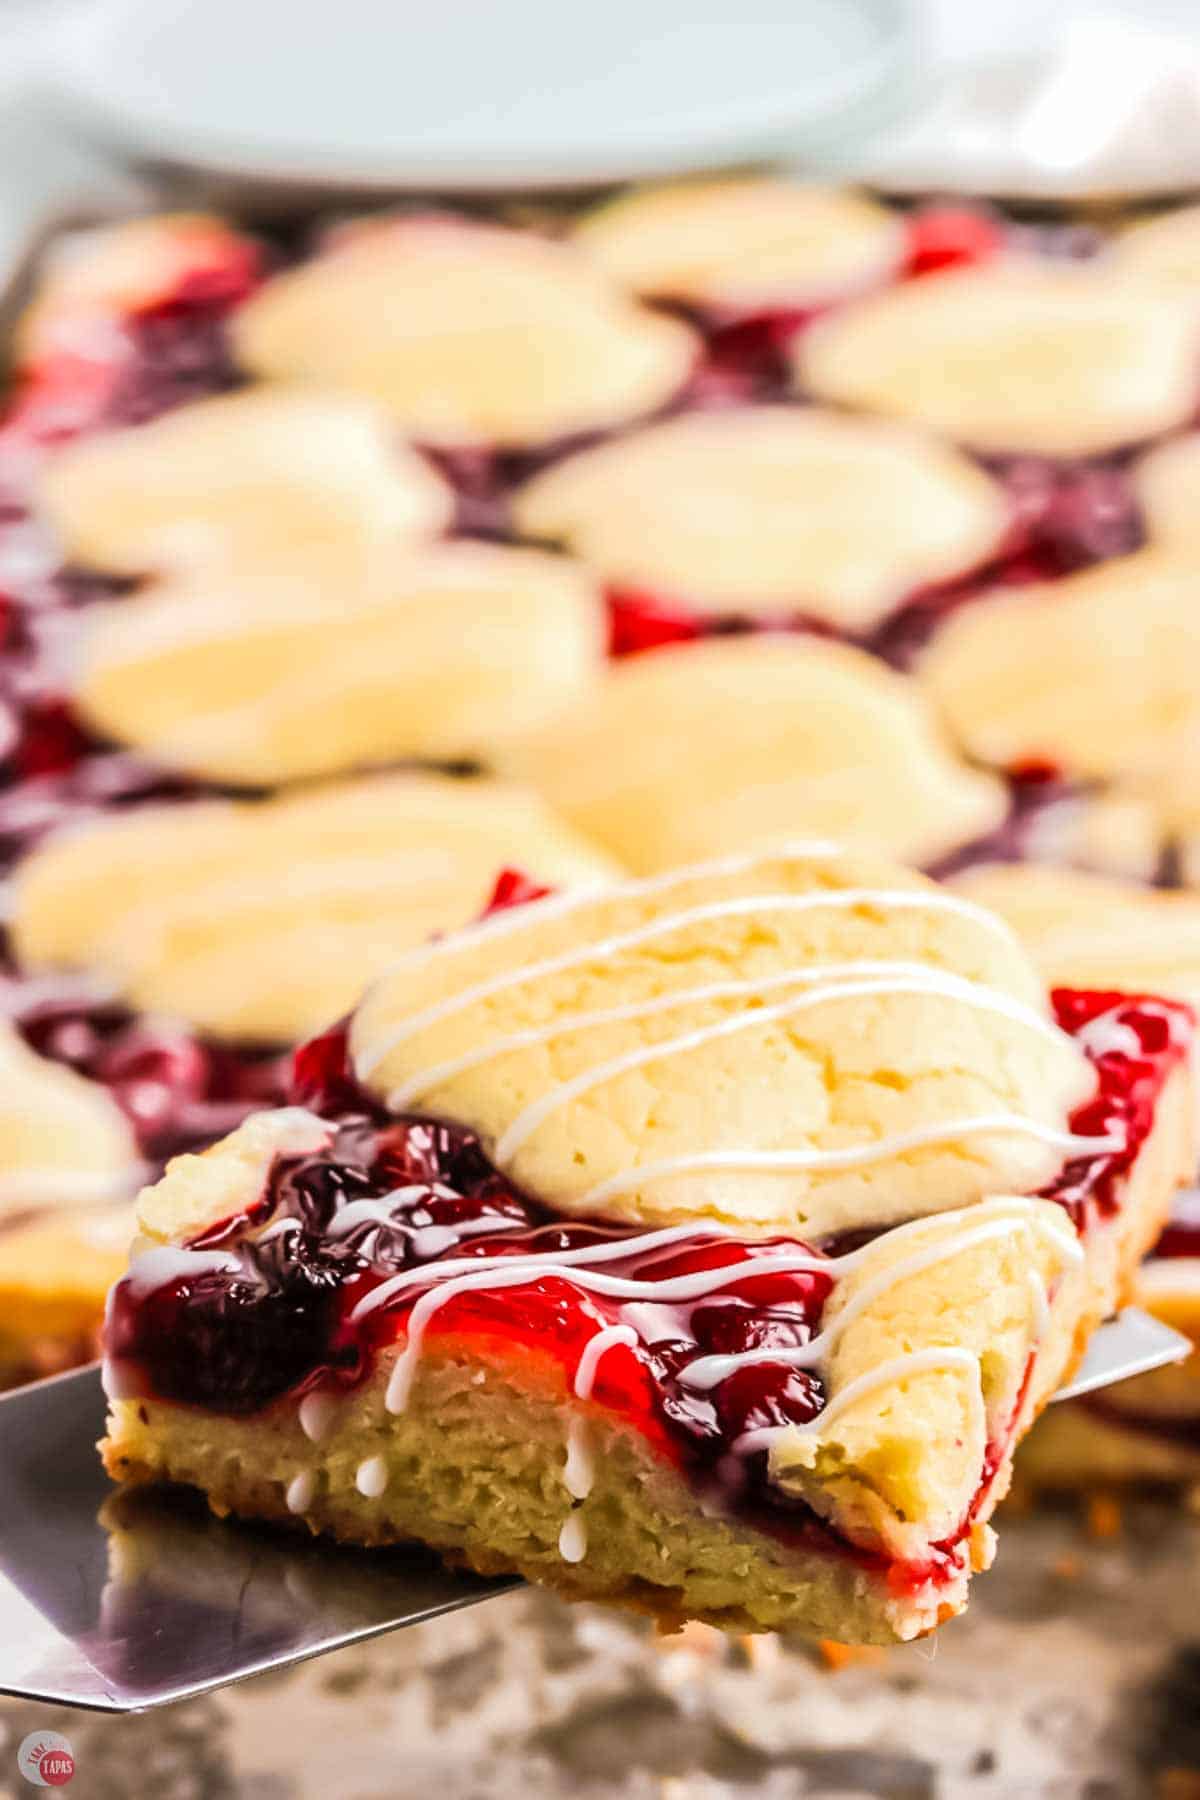
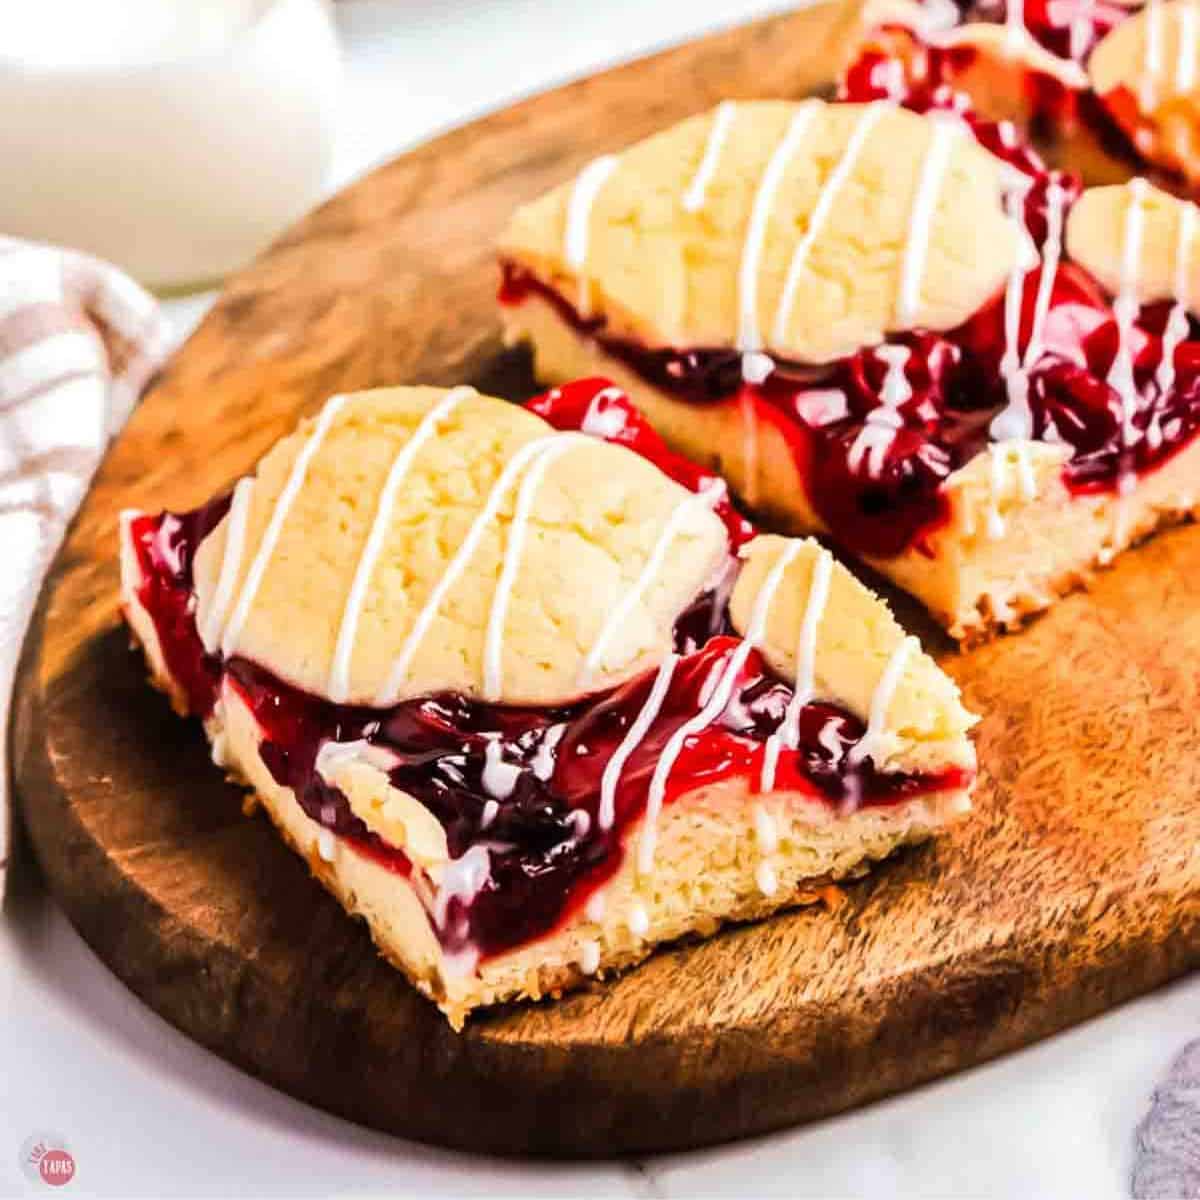
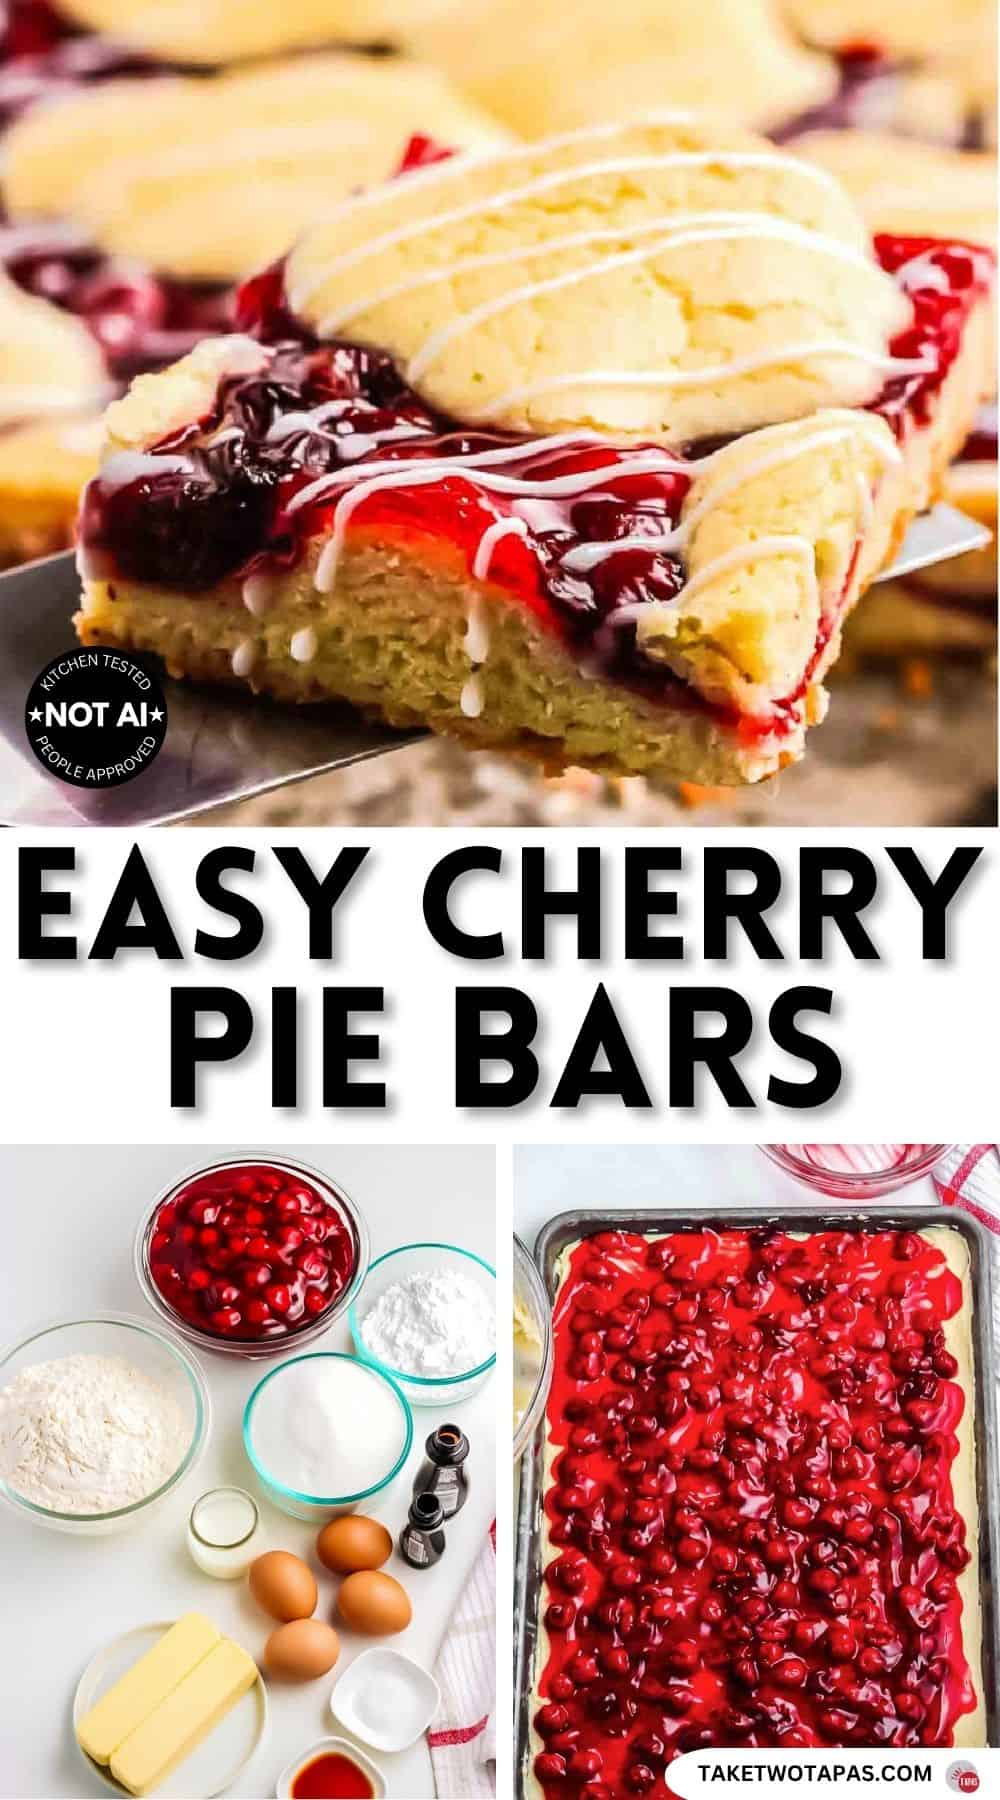
Cherry Pie Bars are an easy, crowd sized dessert ready in under an hour and they make 24 bars. A buttery, shortbread cookie base, layered with sweet cherry pie filling, topped with more dough, baked until golden, and finished with an almond glaze. Made with pantry staples and a can of pie filling, they come together fast. Perfect for potlucks, barbecues, and holidays, these grab and go bars always disappear first from the dessert table.
I love a good cherry pie, but obsessed with a cherry pie you can grab and go. These supersized cherry pie bars have a buttery shortbread crust and a sweet cherry center, and I get requests for them every single summer from the tennis team.
They’re super simple, and prepped and baked in under an hour. Plus they start with a humble can of cherry pie filling. No reason to get fancy when the canned stuff is so good, especially layered with that crumbly cookie crust.
A friend of mine has a sign in her kitchen that says “if I have to stir it, it’s homemade!” and I am totally on board with that.
Because of the bright red color, I make these every 4th of July without fail and they vanish first.
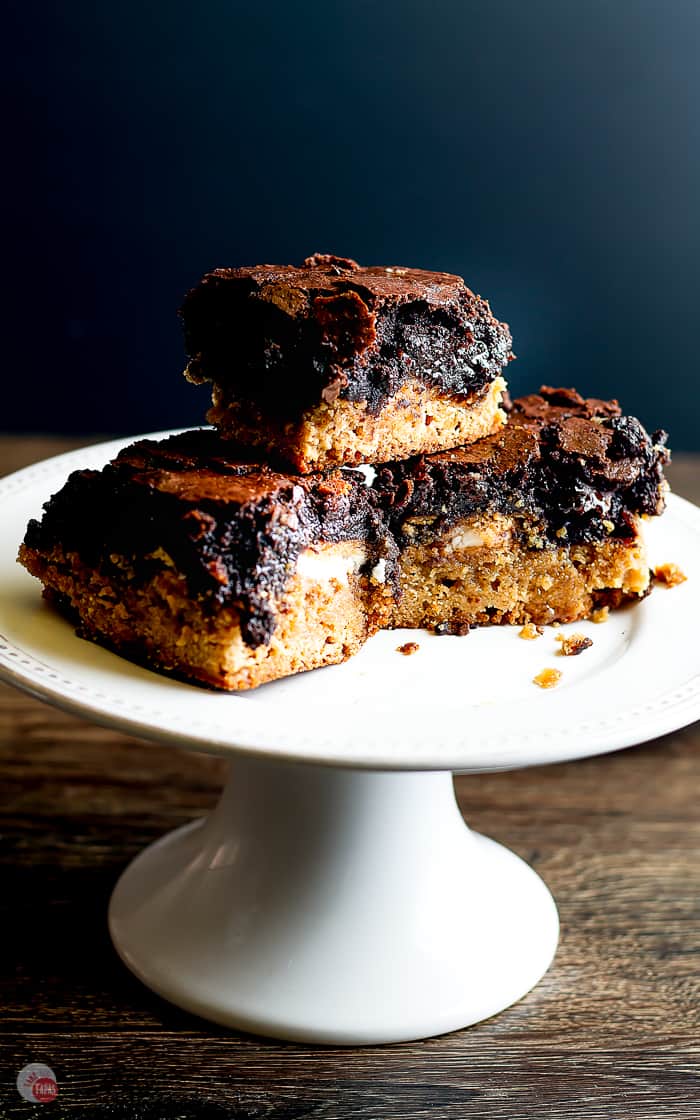
They’re right at home next to my Magic Cookie Bars, my Blueberry Coffee Cake, and these Chocolate Chip Cheesecake Bars on any dessert table.
More Bar Desserts to Try
Chocolate Frosted Sugar Cookie Bars – sugar cookie topped with rich frosting
No Bake Peanut Butter Bars – creamy peanut butter, no oven required
Margarita Bars – tangy citrus bars with a salty twist
Cereal Treat Bars – colorful no-bake cereal and marshmallow bars
This post may contain affiliate links. As an Amazon Associate, I earn from qualifying purchases at no additional cost to you. Read my disclosure policy.
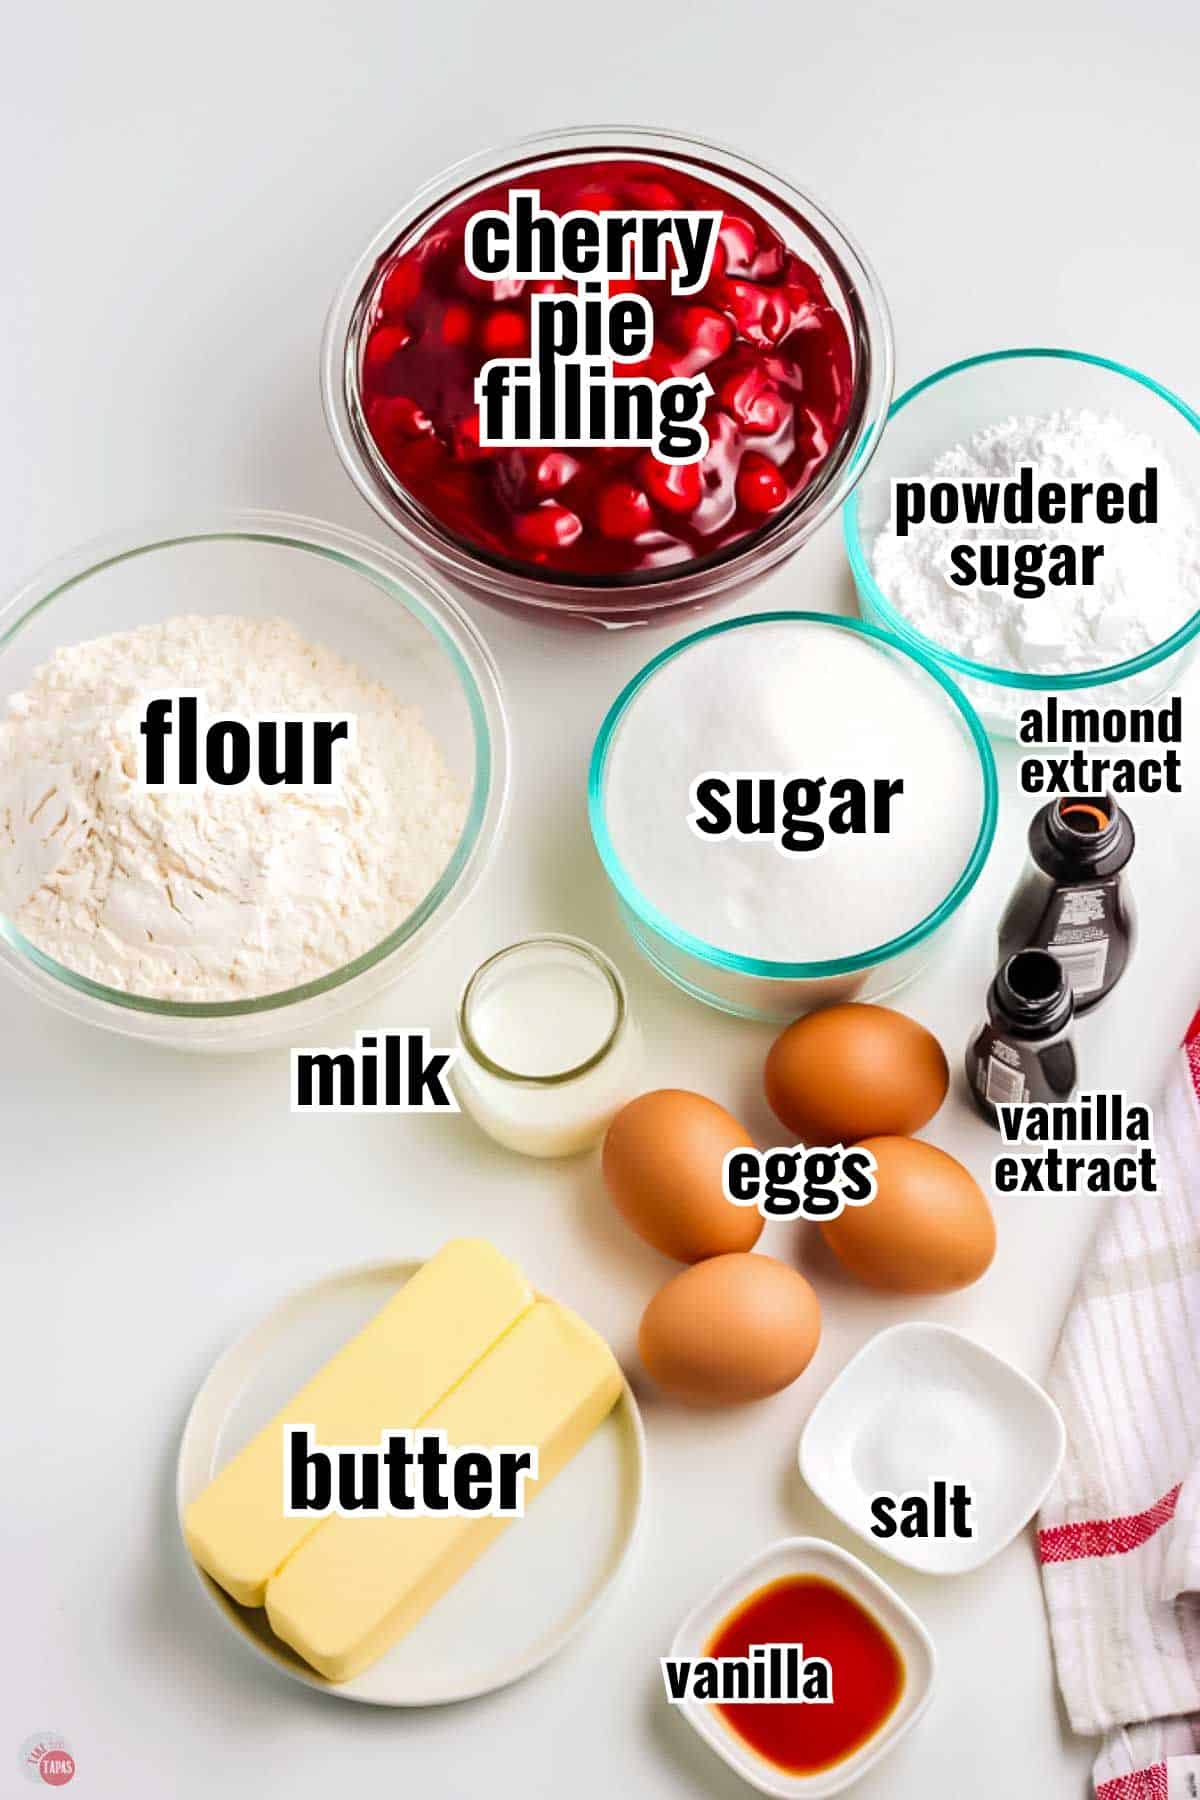
See recipe card for complete information on ingredients and their quantities.
Ingredient Notes
Flour – All purpose flour, not self rising. Use the spoon and level method to measure, since scooping straight from the bag packs in too much flour and makes the bars dense.
Almond Extract – Do not skip it. The almond pairs so nicely with cherries and gives these bars their signature flavor. A little goes a long way with the vanilla.
Cherry Pie Filling – The shortcut star here! My Homemade Cherry Pie Filling is the best if you have it, but Comstock is my favorite canned brand. You can also swap in apple, peach, blueberry, or even pumpkin filling.
Clear Vanilla – For the glaze, clear vanilla keeps it bright white. Regular vanilla works too, the glaze will just be a little darker.
Butter – Bring it to room temperature so it creams properly with the sugar. Cold butter will not whip up light and fluffy. And use unsalted butter if possible.
Powdered Sugar – Be sure to sift it first or you will get clumps in the glaze and that just looks weird, LOL.
For more insider tips, tricks, and a behind the scenes look, follow me on Pinterest, Facebook, Instagram, & X.
How To Make Cherry Pie Bars
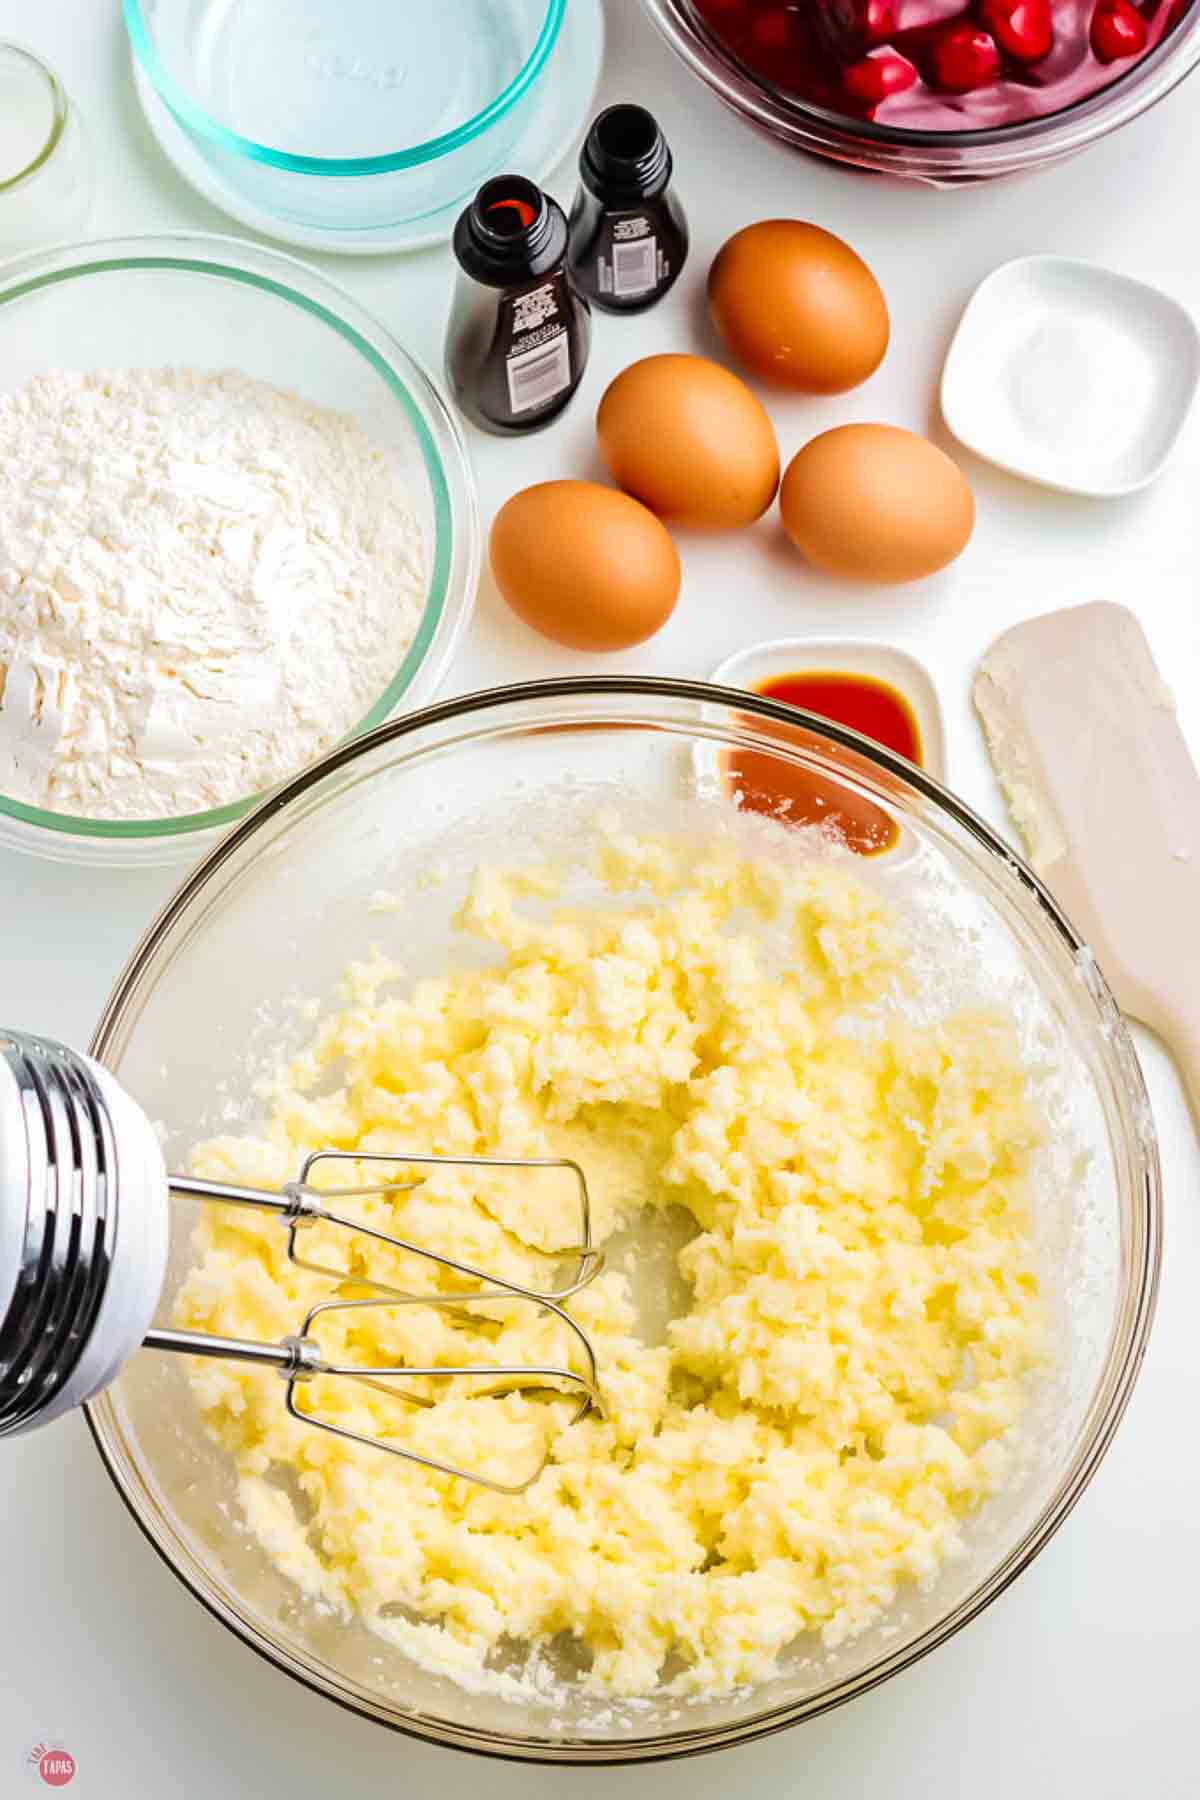
- Preheat the oven to 350°F and prepare a 15x10x1 jelly roll pan with nonstick spray or parchment. In a large bowl, cream the butter and sugar until light and fluffy.
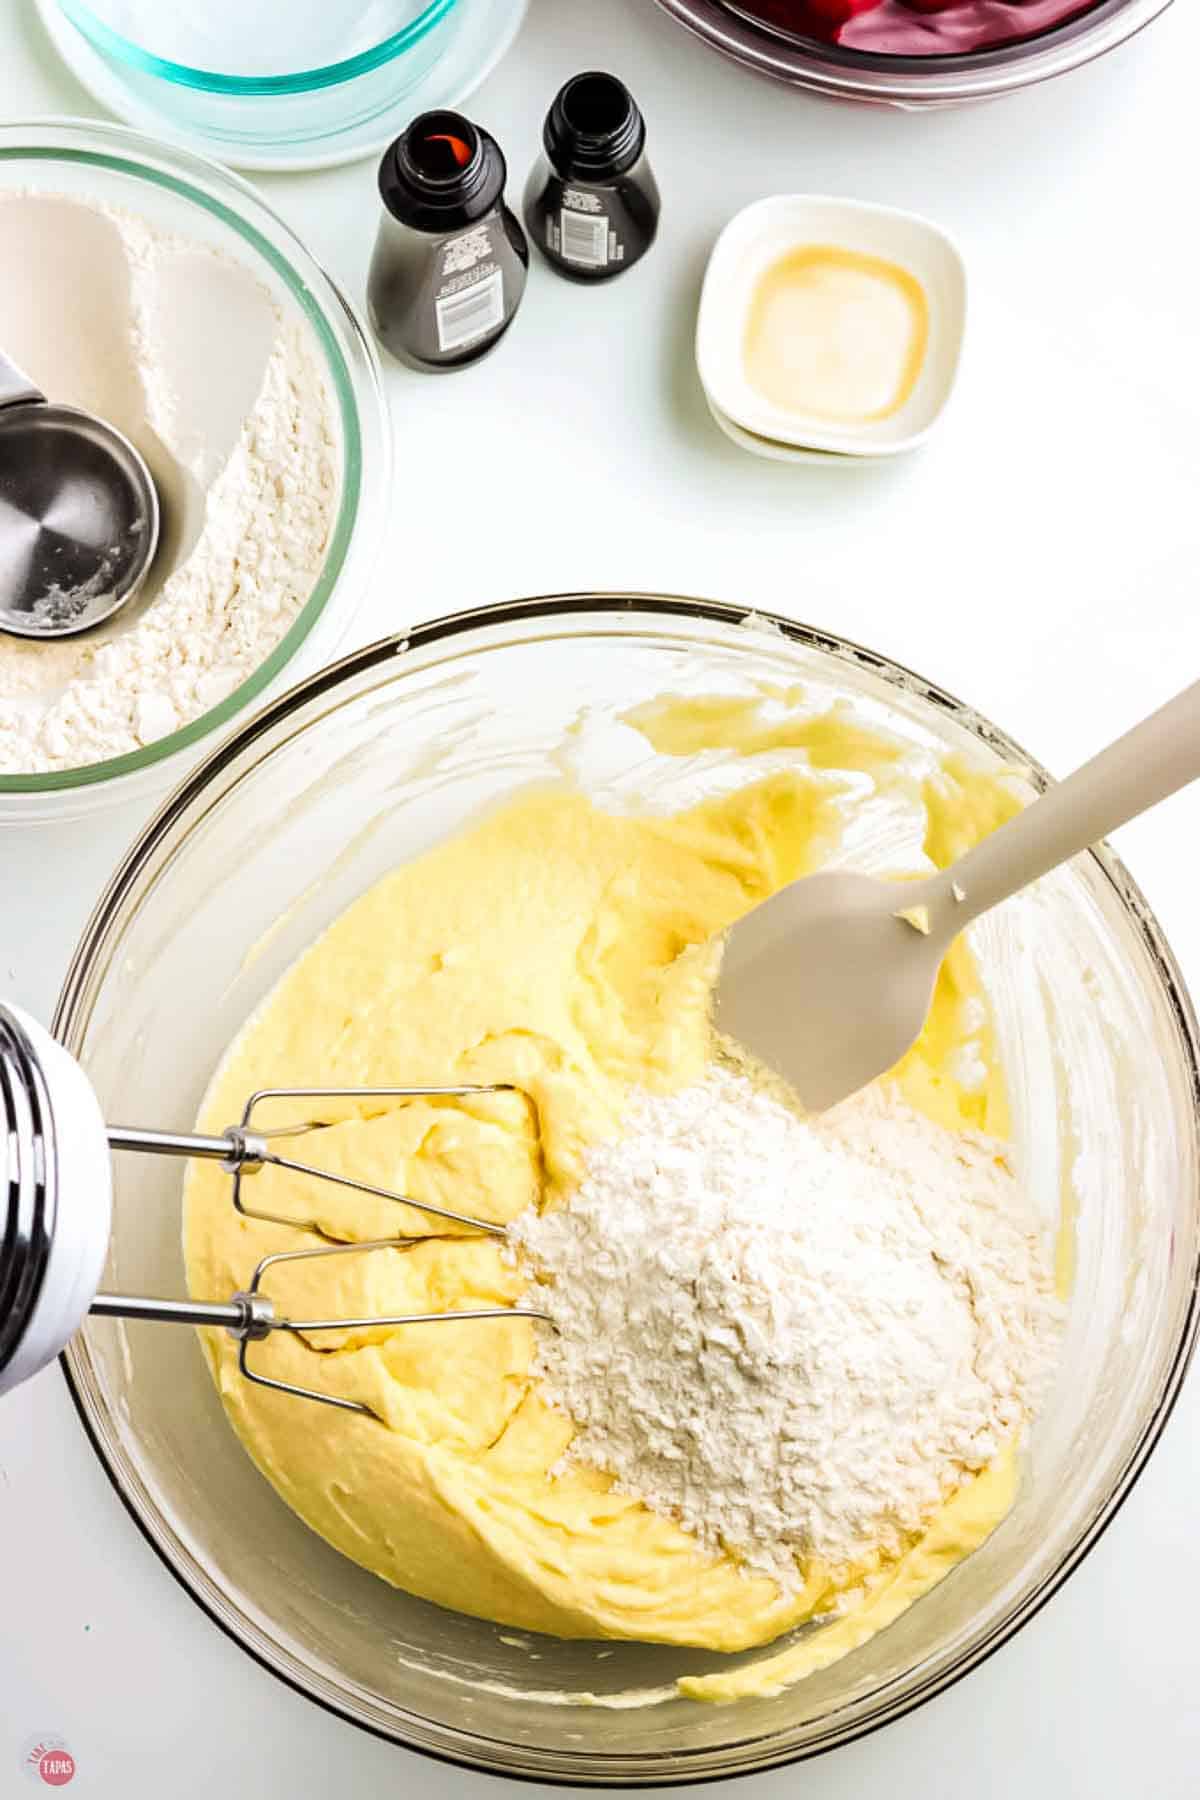
- Add the eggs one at a time, beating well after each. Beat in the vanilla and almond extracts. Whisk the salt into the flour, then gradually add it to the batter and mix until combined.
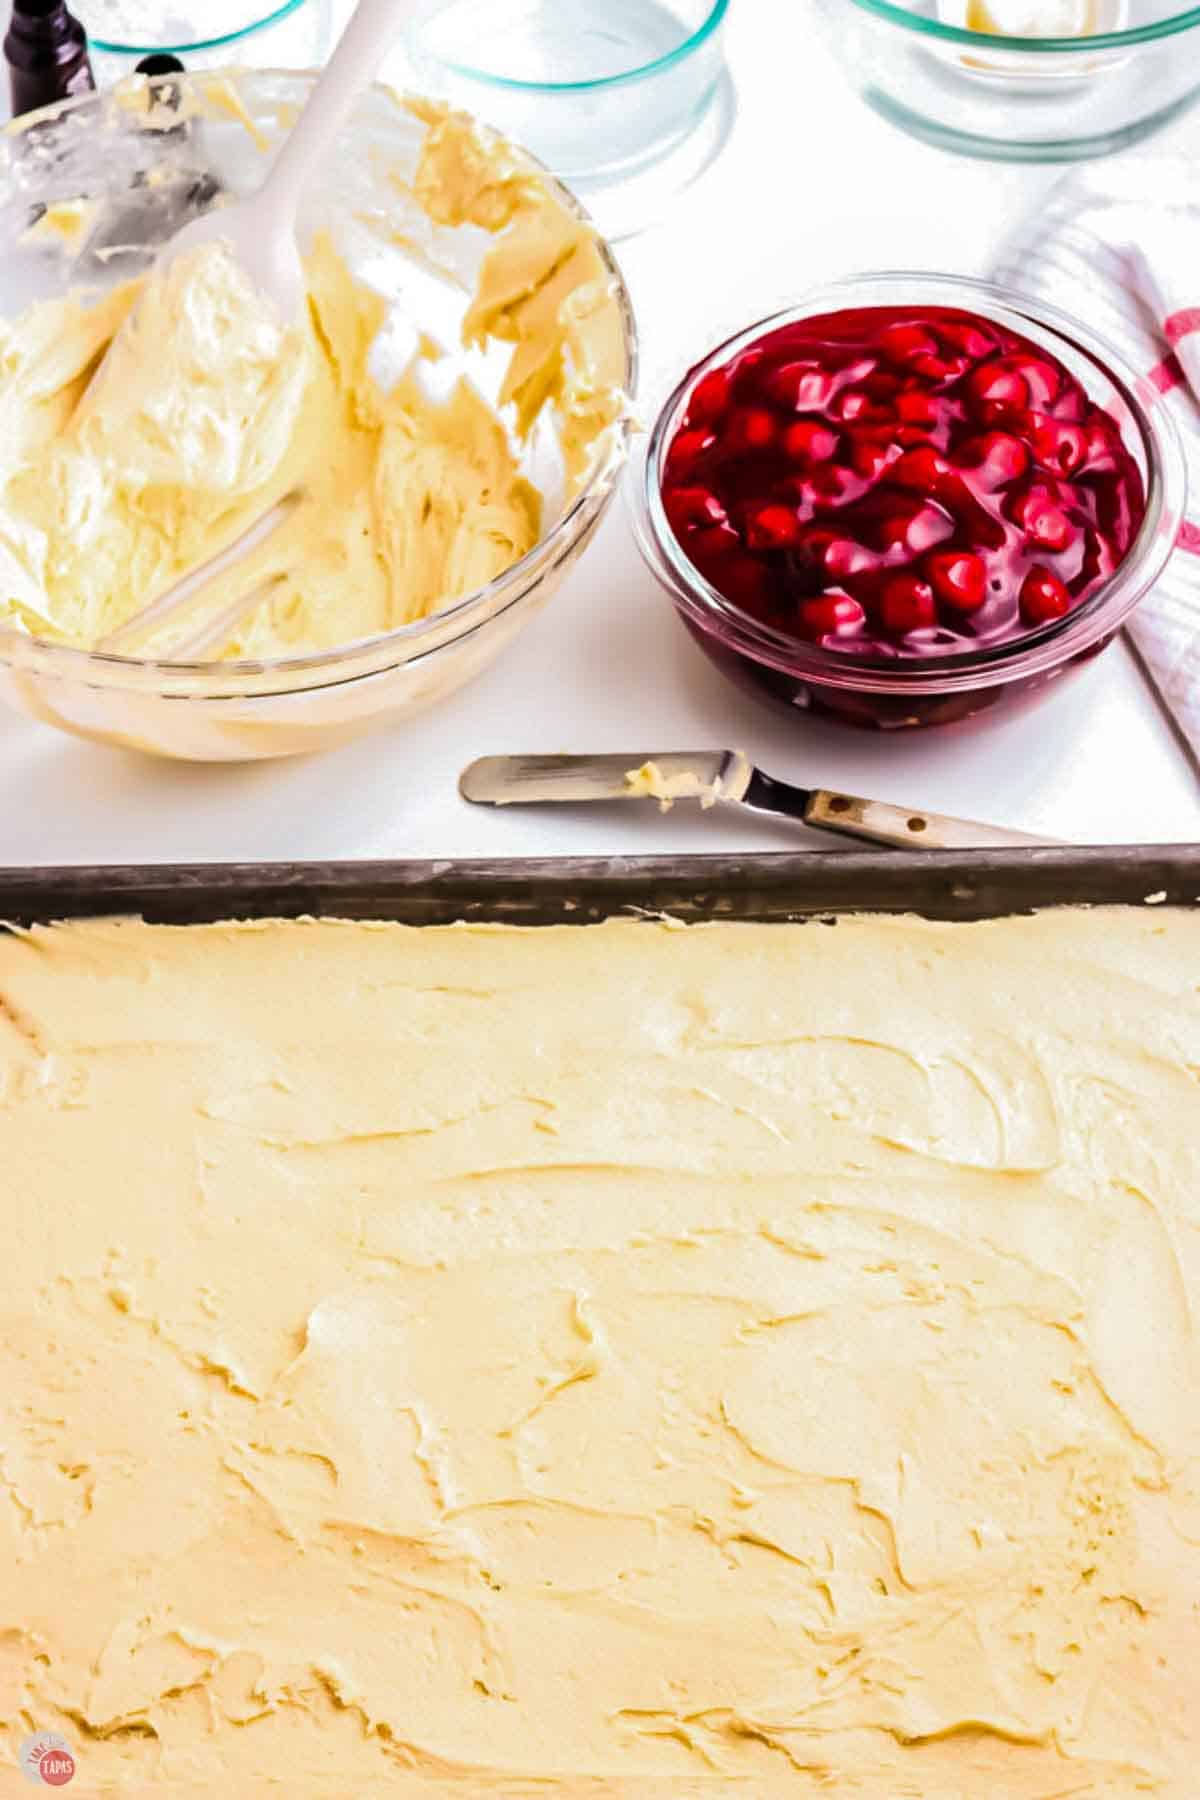
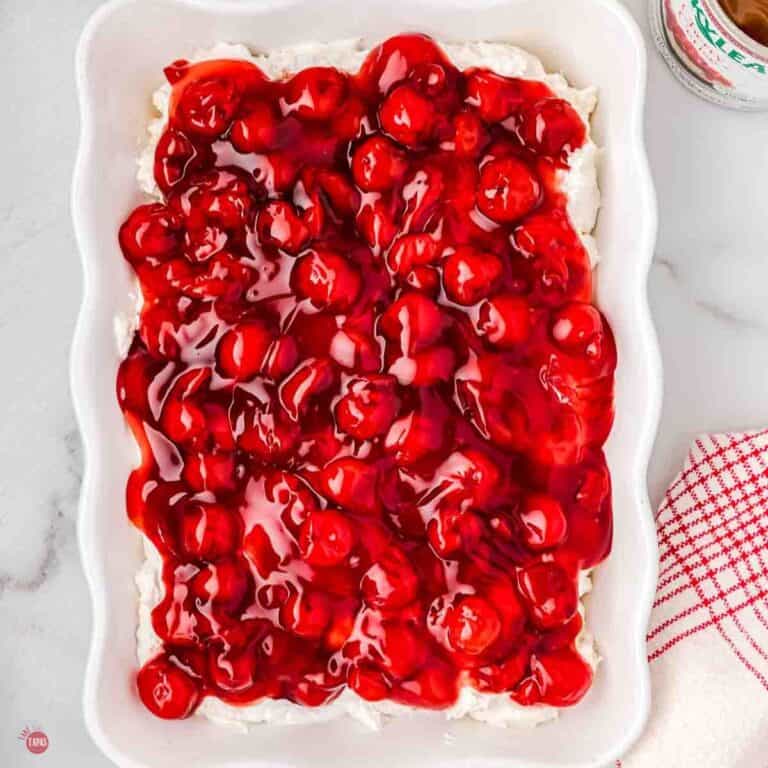
- Spread 3 cups of the batter evenly into the pan, reserving the rest. Spread the cherry pie filling over the top in an even layer.
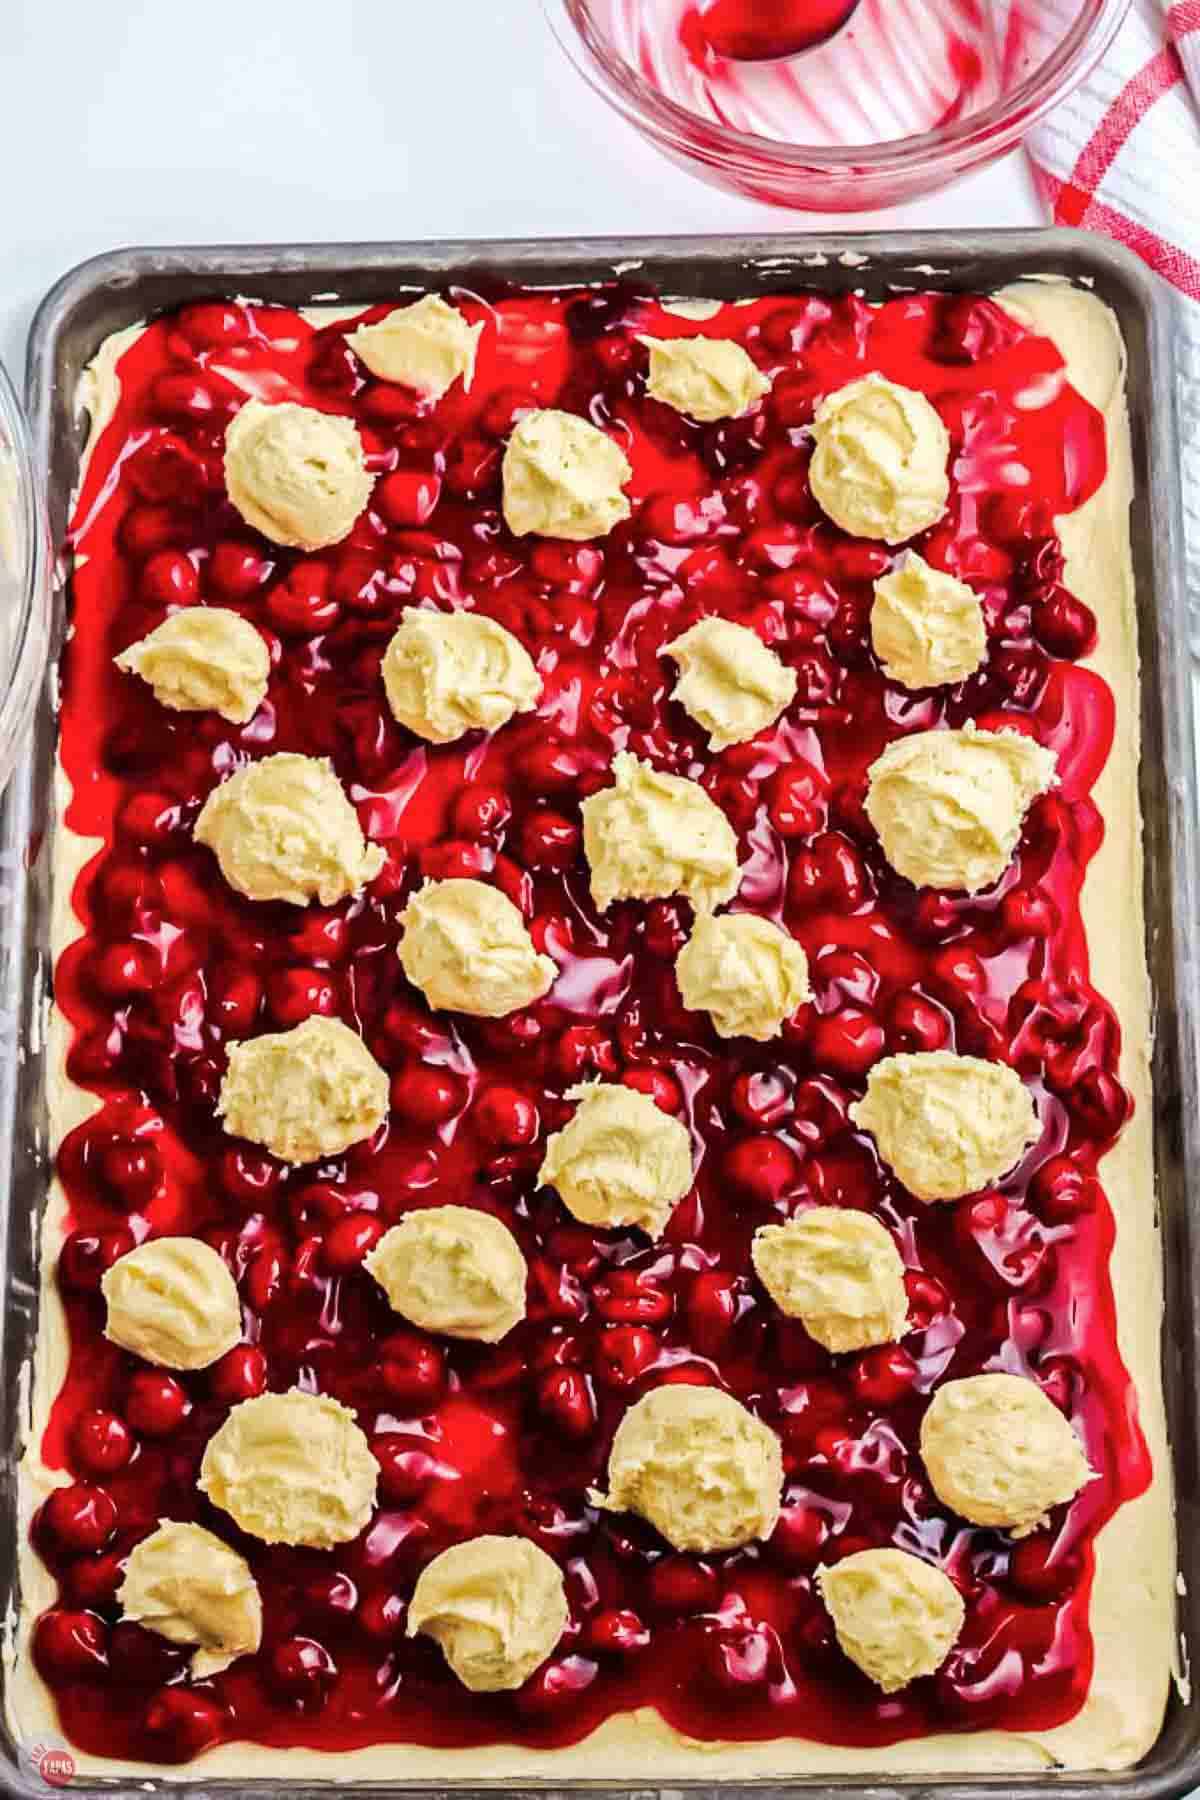
- Drop the remaining batter by tablespoon dollops over the filling. Bake 35 to 40 minutes, until lightly golden brown.
- Cool on a wire rack. While cooling, whisk the glaze ingredients until smooth. Once the bars are completely cool, drizzle with glaze, cut, and serve.
For the full recipe and detailed instructions, please refer to the recipe card at the bottom of the post.
Storage
Room Temperature: Store in an airtight container for 3 to 4 days. Tuck a folded paper towel inside to soak up extra moisture and keep them from getting sticky.
Refrigerator: They keep up to a week in the fridge, stored the same way.
Freezer: Bake and cool completely, then wrap tightly in a few layers of plastic or a freezer safe container and freeze up to 4 months. Bring to room temperature before serving.
Make Ahead: These are great made a day ahead for a party. Hold the glaze until shortly before serving so it doesn’t soak into the bars.
Variations
Different Filling: Swap the cherry for apple, blueberry, peach, or pumpkin pie filling to change them up all year.
Homemade Filling: Use my Homemade Cherry Pie Filling for a from scratch upgrade.
Extra Almond: Bump up the almond extract slightly or sprinkle sliced almonds over the top before baking. I love doing this!!
Half Batch: Make half the recipe in a 9×13 dish if you do not have a jelly roll pan or need fewer bars.
Lemon Glaze: Swap a little lemon juice for the milk in the glaze for a brighter finish.
Can I Use a Different Pie Filling?
Absolutely. Cherry is my favorite, but this recipe works with apple, peach, blueberry, or pumpkin pie filling.
The cookie base pairs with just about anything.
The convenience of canned filling is what makes these so fast, so feel free to keep a few cans of different flavors on hand for dessert emergencies.
More Cherry Desserts
- Cherry Pretzel Salad Dip – sweet and salty cherry pretzel flavors
- Cherry Dump Cake – three ingredients, one pan, zero fuss
- Cherry Cupcakes – fluffy cherry-filled cupcakes with creamy frosting
- Cherry Turnovers – flaky pastry stuffed with sweet cherry filling
Frequently Asked Questions
I do not recommend fresh cherries on their own here, since they release too much liquid. They also don’t have the thickener in them that make the fruit “jam-like” on the bars. Instead, use your fresh cherries to make a quick batch of homemade pie filling first.
A 15x10x1 jelly roll pan is my favorite for the full batch. But not everyone has one on hand. You can always cut the recipe in half or divide the recipe into two smaller pans.
Yes! They keep well for several days and actually travel really well, which makes them perfect for potlucks. Keep the glaze separate in a ziptop bag and add it once you get there. Then you can just toss the bag.
Grease the pan really well or line it with parchment. These bars are buttery and will stick if the pan is not well prepared. Don’t forget the sides or lip of the pan. If mine stick, that’s where they do it.
Definitely. Cool them completely, wrap well, and freeze up to 4 months. Thaw to room temperature before serving.
Store them with a folded paper towel in the container to absorb excess moisture, and make sure they are fully cooled before sealing them up.
Recipe Tips & Tricks
- Bring your butter and eggs to room temperature so the base creams up light and fluffy.
- Spoon and level your flour. Scooping from the bag adds too much and makes the bars dense.
- Grease the pan liberally or line with parchment so the bars release cleanly.
- Use clear vanilla in the glaze for a bright white drizzle.
- Cool the bars completely before glazing so it sets instead of soaking in.
This Cherry Pie Bars recipe make buttery, sweet bites that are made for sharing. Whip up a pan for your next backyard barbecue and watch them disappear before any other dessert!
If you love this recipe as much as I do, please leave us a ⭐️⭐️⭐️⭐️⭐️ five-star review in the comment section below. Thanks!
Cherry Pie Bars Recipe
Ingredients
Cookie Base
- 1 cup unsalted butter softened (equal to 2 sticks)
- 1 ¾ cup granulated sugar
- 4 large eggs room temperature
- 1 teaspoon vanilla extract
- ¼ teaspoon almond extract
- 3 cups all purpose flour
- ½ teaspoon salt
Filling
- 42 ounces cherry pie filling same as (2) 21 oz cans
Glaze
- 1 cup powdered sugar
- ½ teaspoon vanilla extract clear
- ¼ teaspoon almond extract
- 2-3 tablespoons milk
Instructions
- Preheat oven to 350 degrees. Spray a 15x10x1 baking pan with non-stick cooking spray or line with parchment paper.
- In a large bowl, cream together the butter and sugar until light and fluffy.
- Add eggs one at a time, beating well after each addition.
- Beat in vanilla and almond extract just until combined.
- Add salt to flour and whisk lightly to mix. Gradually add flour mixture to batter and beat until well combined.
- Spread 3 cups of batter evenly into prepared baking pan saving the remaining batter for the top.
- Spread pie filling evenly over batter. Drop remaining batter by tablespoon over the top of the cherry pie filling.
- Bake 35-40 minutes or until golden brown. Remove from oven and cool on wire rack.
- While cooing, combine the ingredients for glaze until smooth. Drizzle over bars.
- Cut and serve or store in airtight container until ready to serve. Enjoy!
Notes
- Bring your butter and eggs to room temperature so they creams up light and fluffy.
- Spoon and level your flour. Scooping from the bag adds too much and makes the bars dense.
- Grease the pan liberally or line with parchment so the bars release cleanly.
- Use clear vanilla in the glaze for a bright white drizzle.
- Cool the bars completely before glazing so it sets instead of soaking in.
Nutrition
©TakeTwoTapas.com. Content and photographs are copyright protected. Sharing of this recipe is both encouraged and appreciated. Copying and/or pasting full recipes to any social media is strictly prohibited.