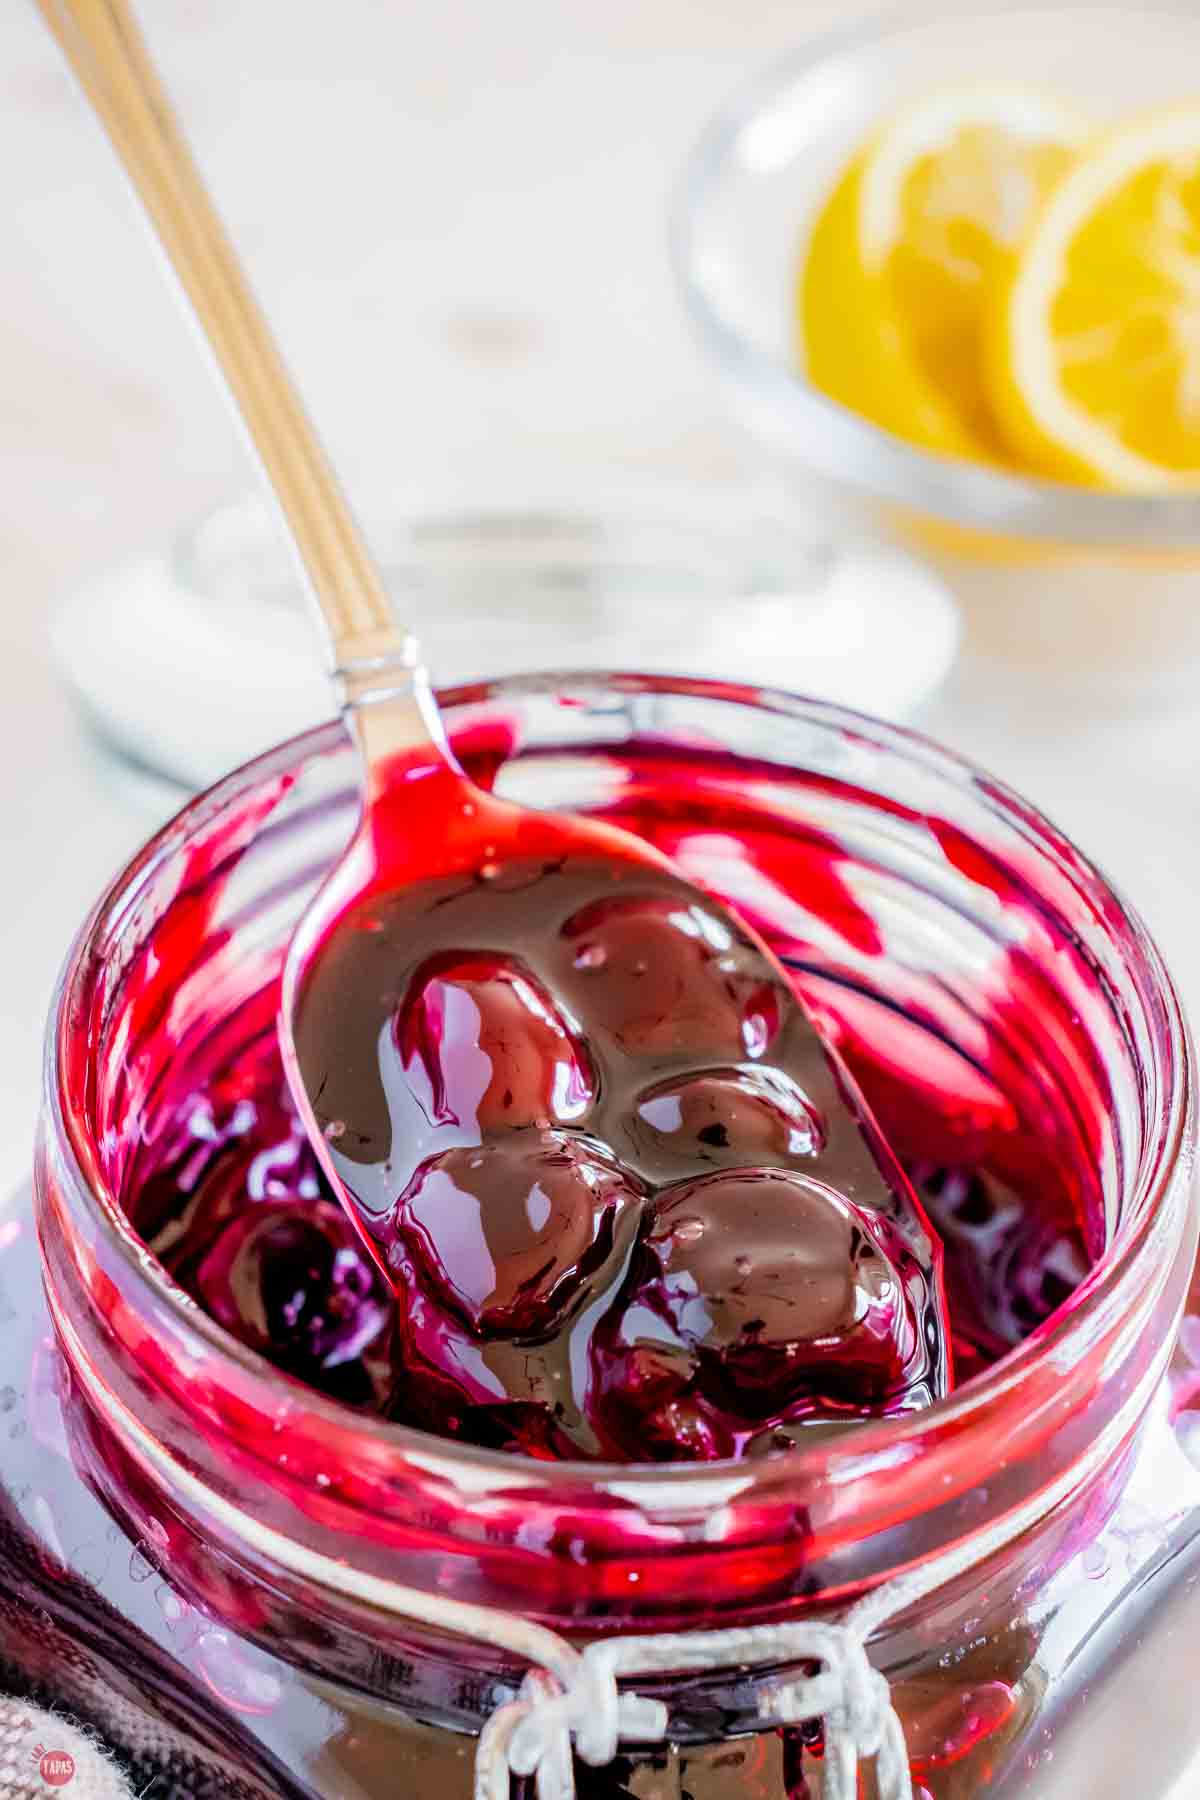
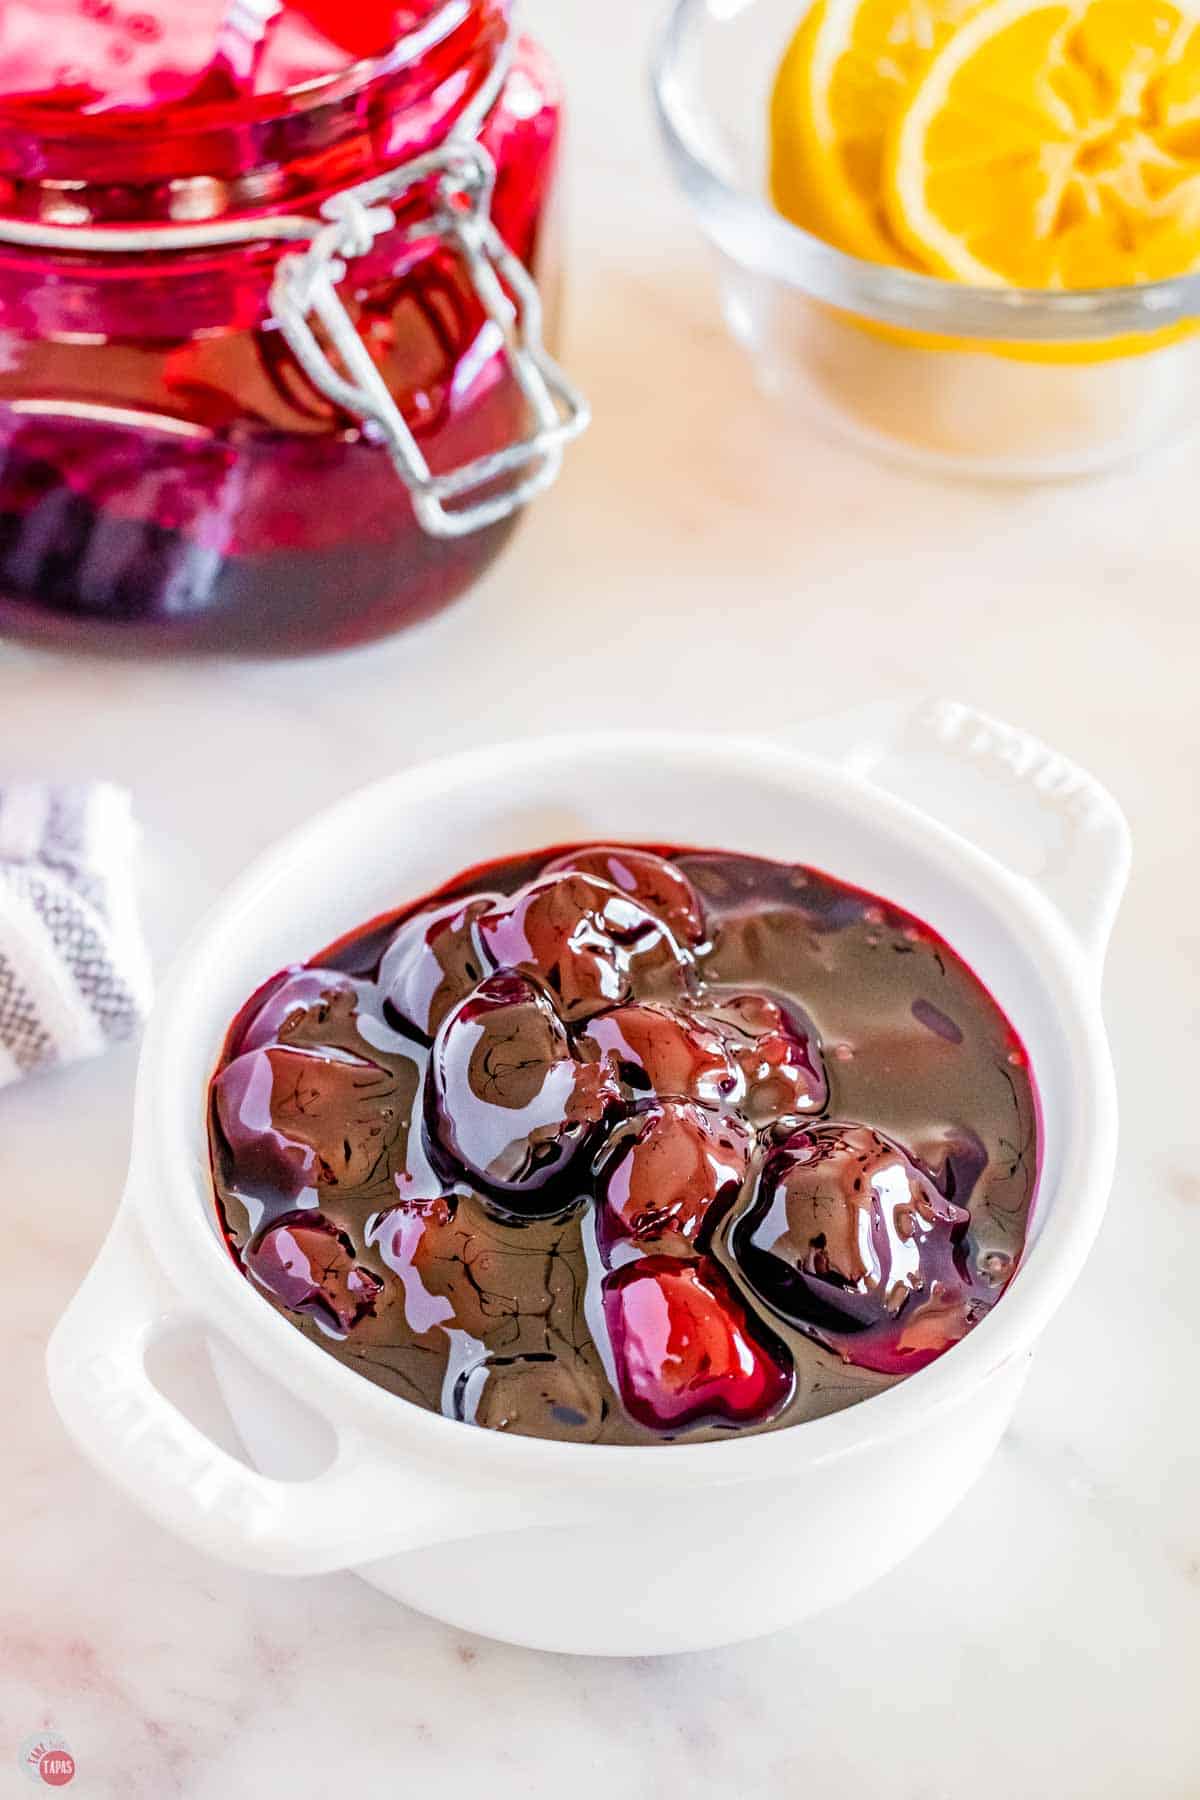
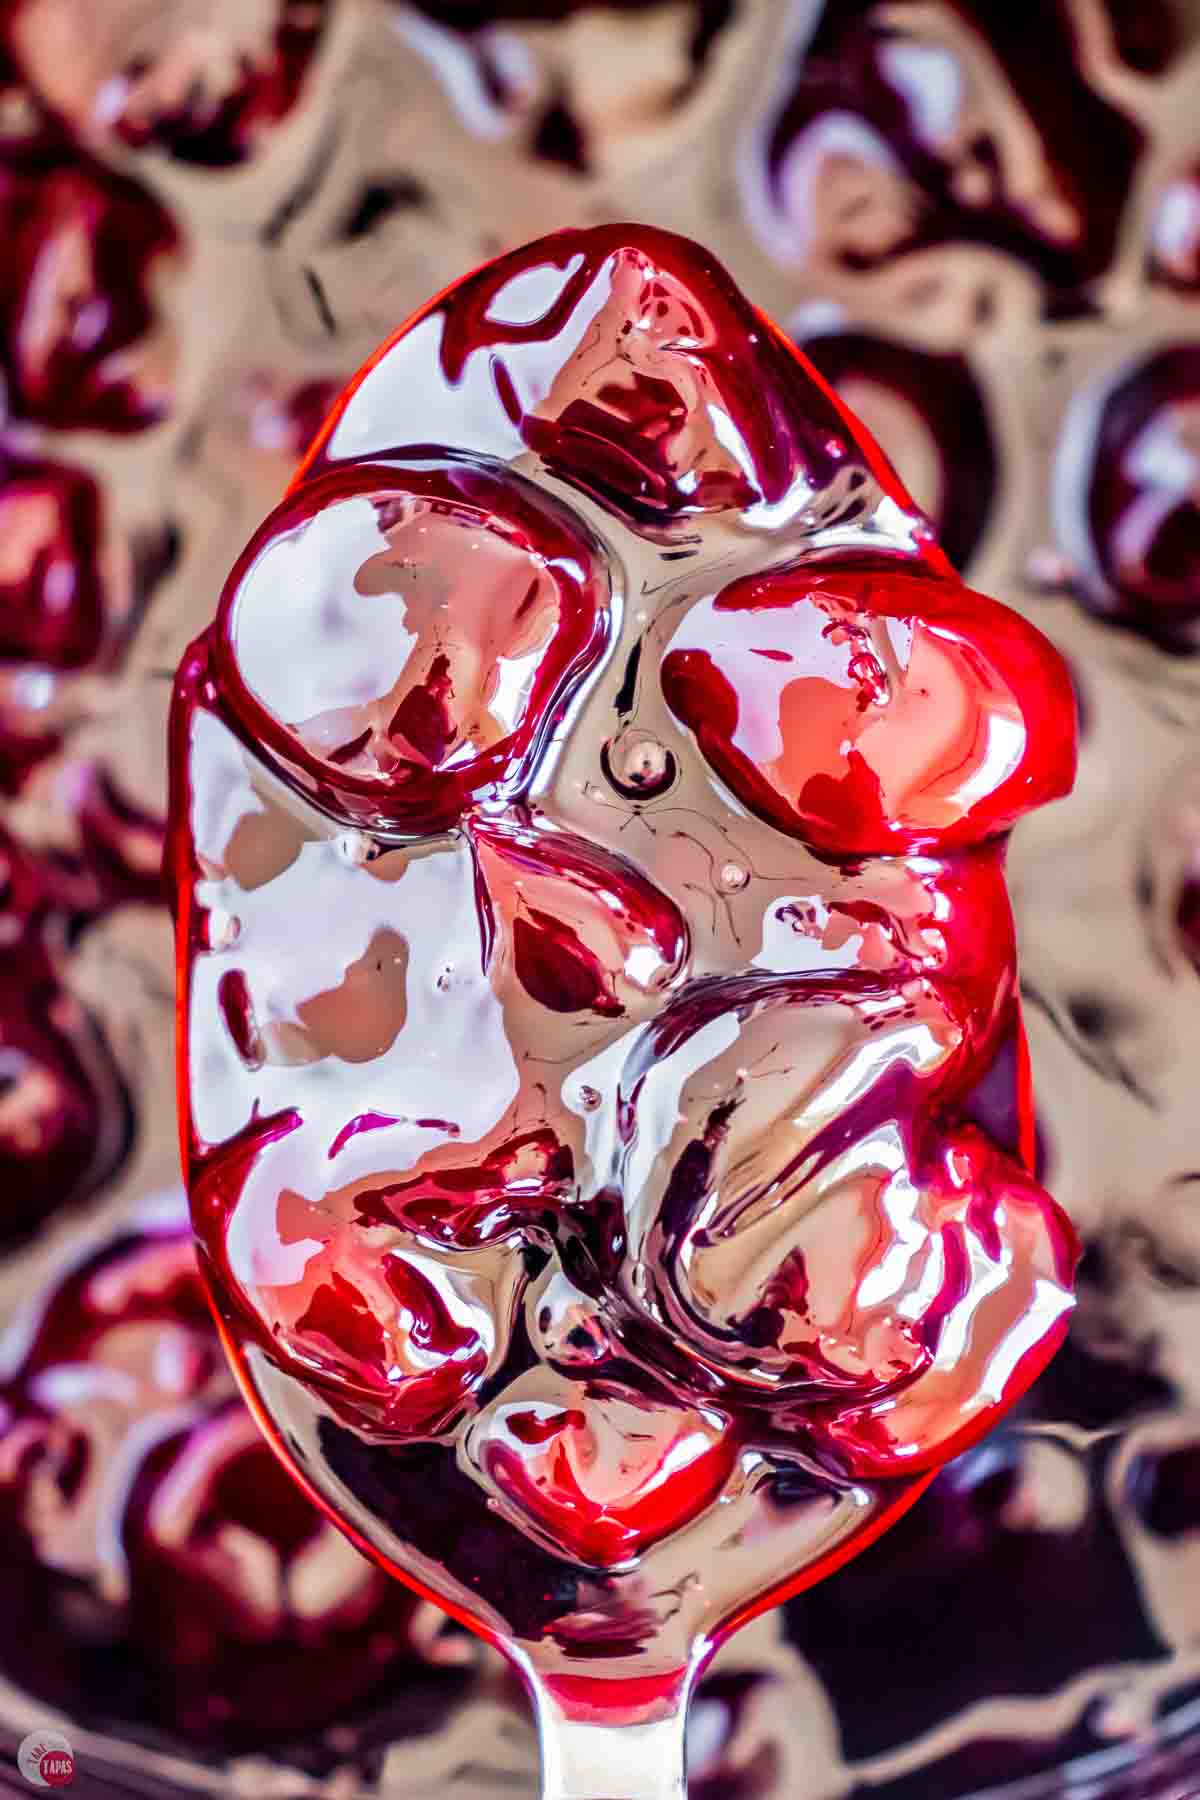
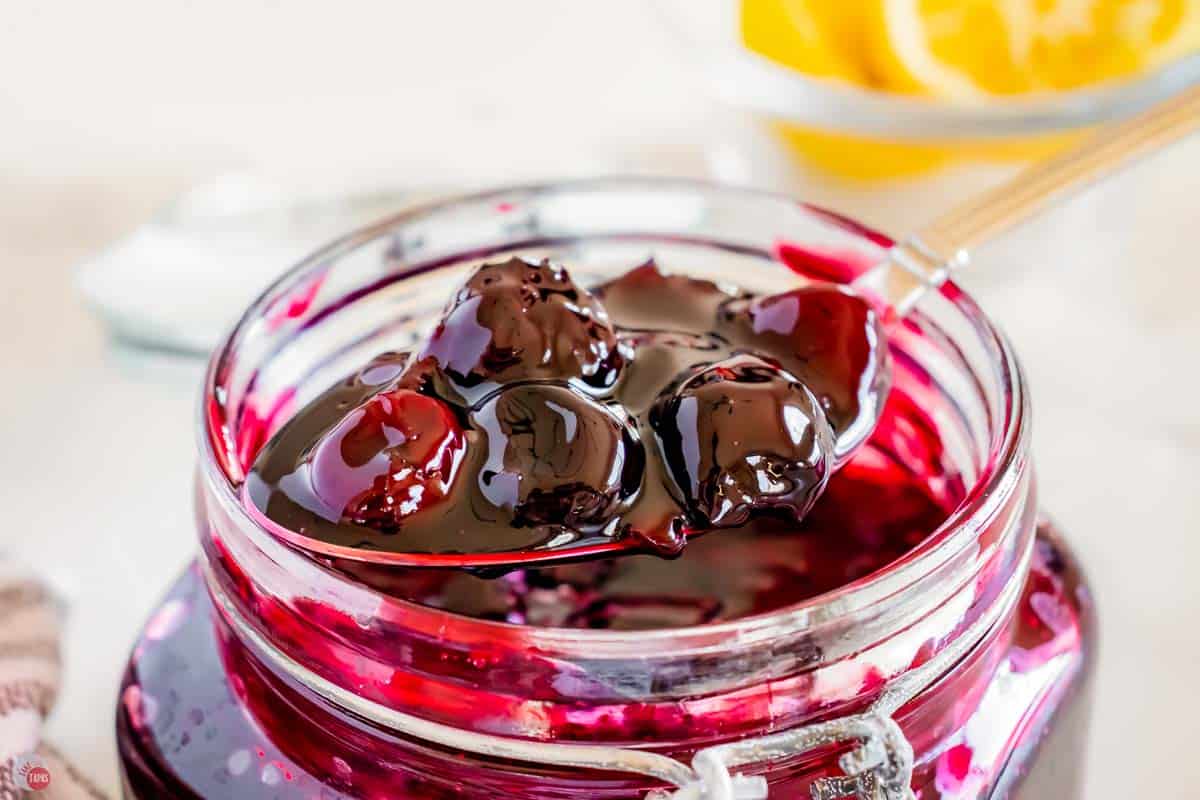
Cherry Pie Filling
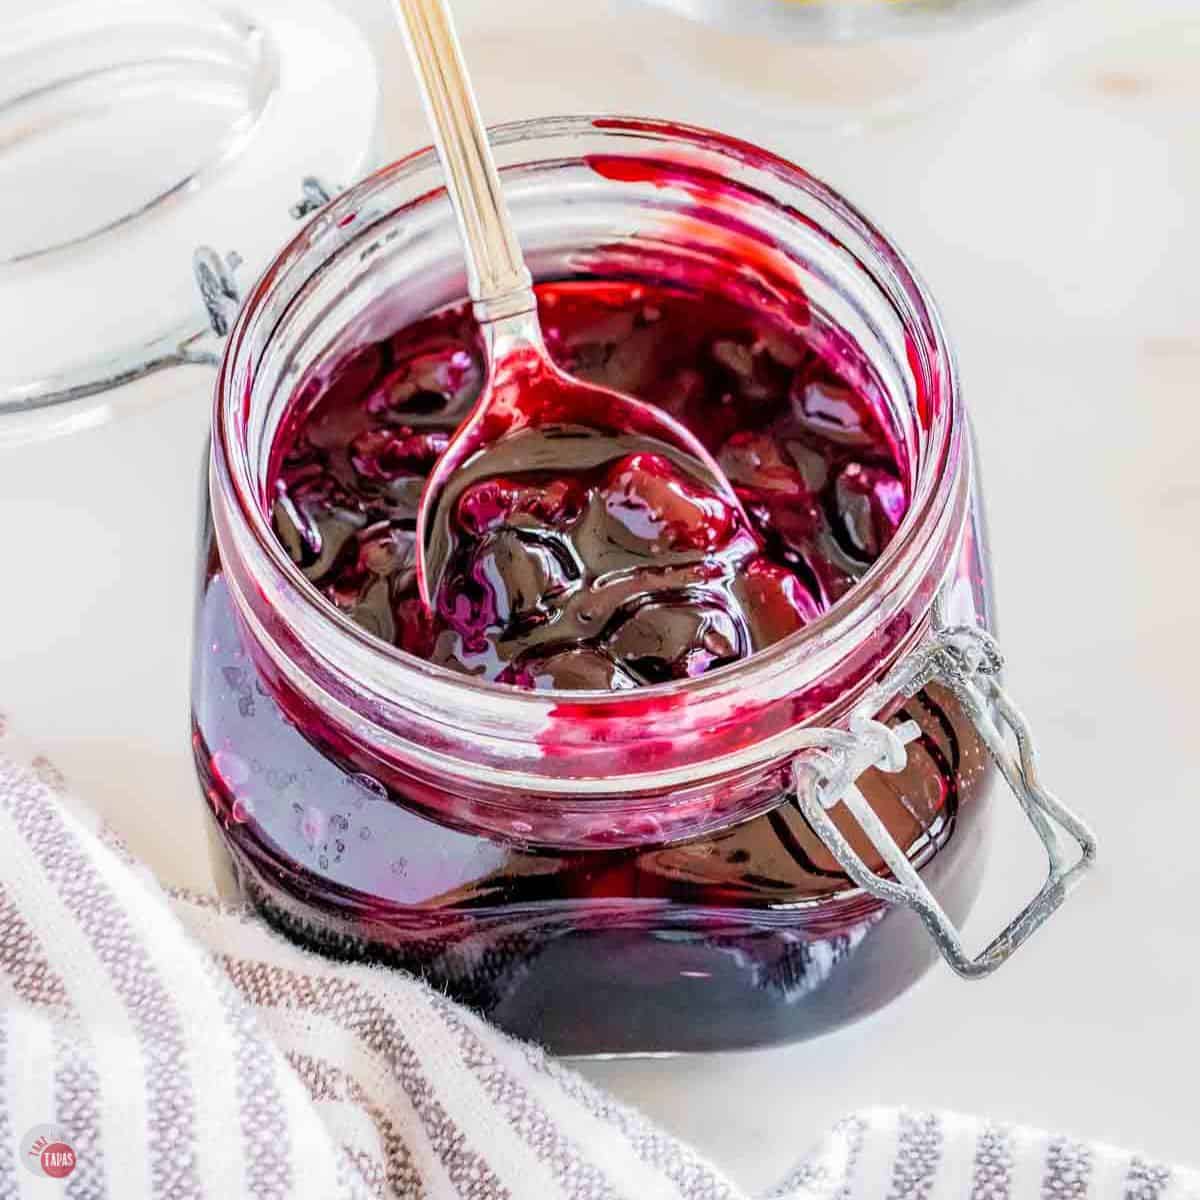
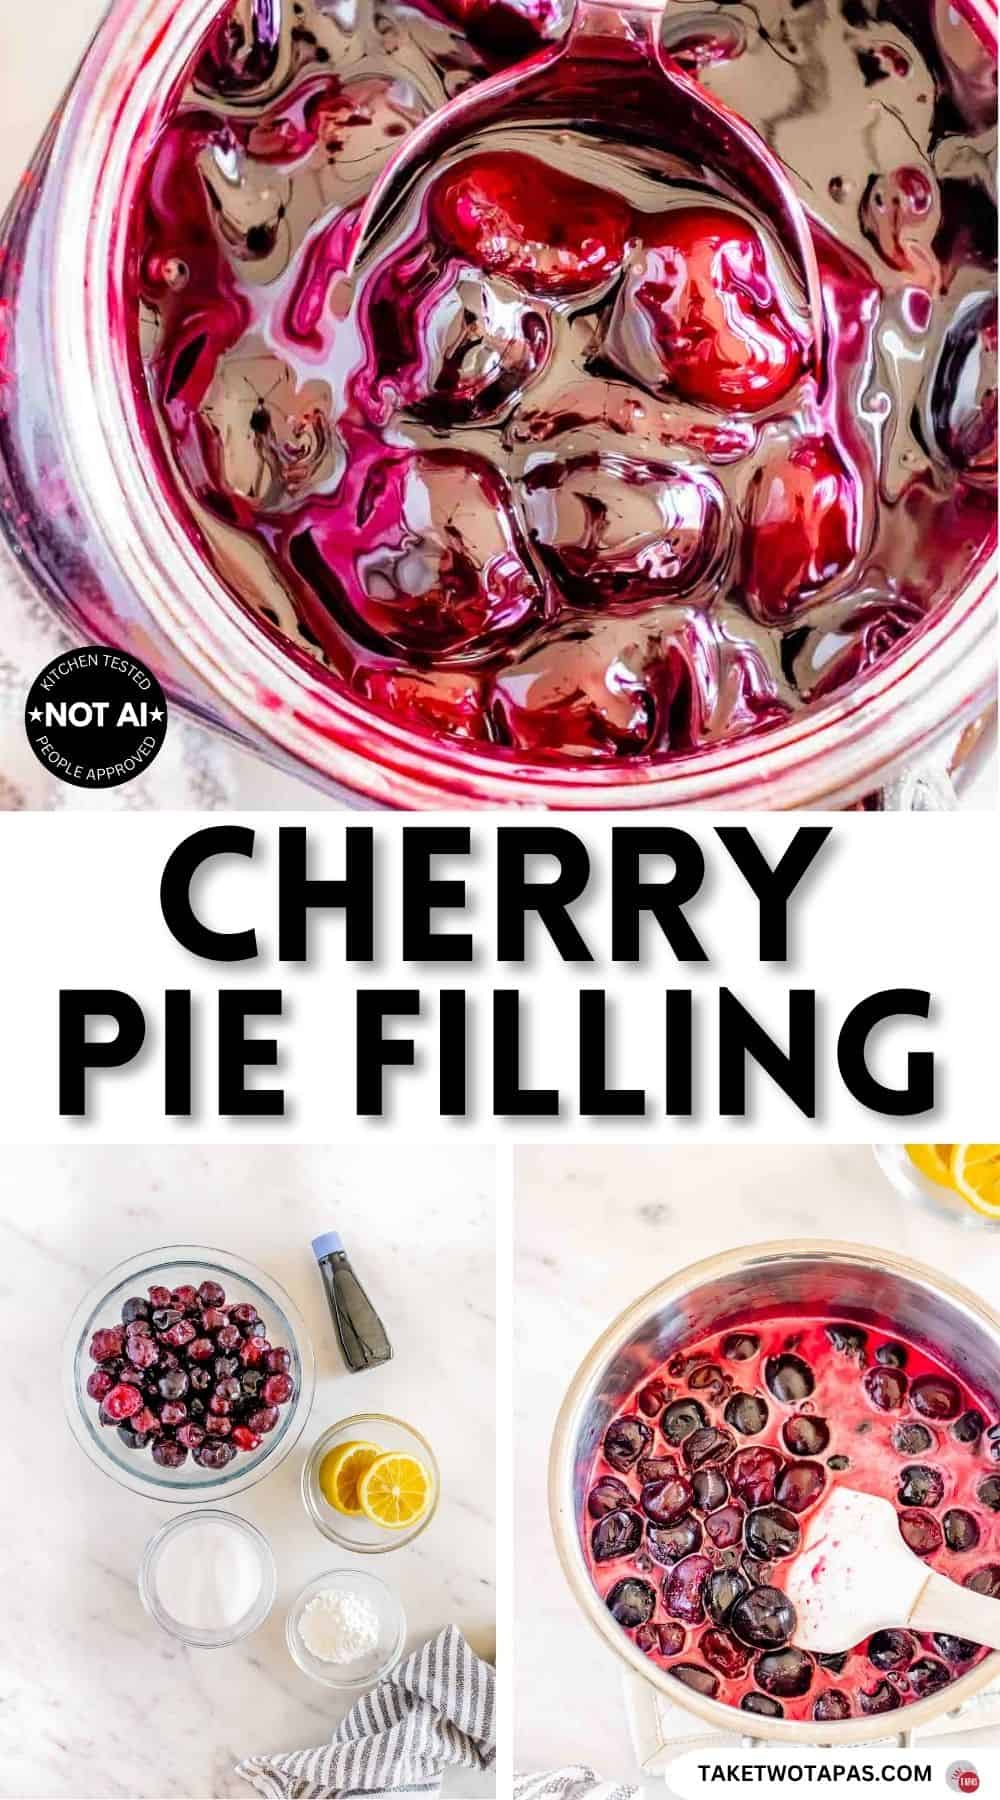
Homemade Cherry Pie Filling comes together on the stovetop in just 15 minutes and makes about 5 cups. Fresh or frozen cherries simmer with sugar, cornstarch, lemon, and vanilla into a thick, glossy filling. It tastes worlds better than canned with no high fructose corn syrup. Use it in pies, turnovers, and cobblers, or spooned over ice cream and pancakes. It even freezes beautifully for later.
You don’t need summer to enjoy the taste of cherries. They are only in season from May through July, but I eat them all year thanks to frozen cherries at the store. I could happily eat my weight in fresh ones, but my other favorite way to eat them is as a pie filling.
This recipe turns simple ingredients into a thick, glossy filling with about a hundred uses. When I am not in the mood for an actual pie, I turn it into Cherry Turnovers or stir it into cream cheese for my Cherry Garcia Dip. It is also my move when a craving hits and patience is low. While you are at it, make a batch of my Homemade Apple Pie Filling so you have both on hand.
Skip the can and the high fructose corn syrup. Make your own and you’ll taste the difference and wonder why you bought canned in the first place.
More Cherry Desserts
- Cherry Dump Cake – Buttery, gooey, four ingredients
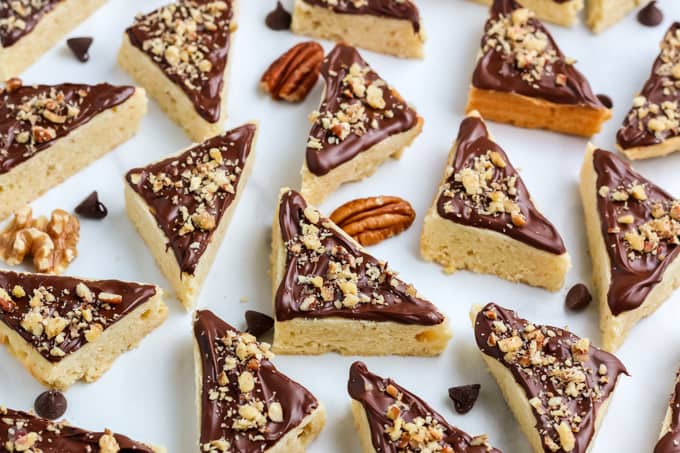
- Cherry Pie Bars – Handheld, sliceable, crowd ready
- Cherry Cupcakes – Fluffy, sweet, filling stuffed
- Cherry Pretzel Salad – Salty crust, creamy layers
This post may contain affiliate links. As an Amazon Associate, I earn from qualifying purchases at no additional cost to you. Read my disclosure policy.
See recipe card for complete information on ingredients and their quantities.
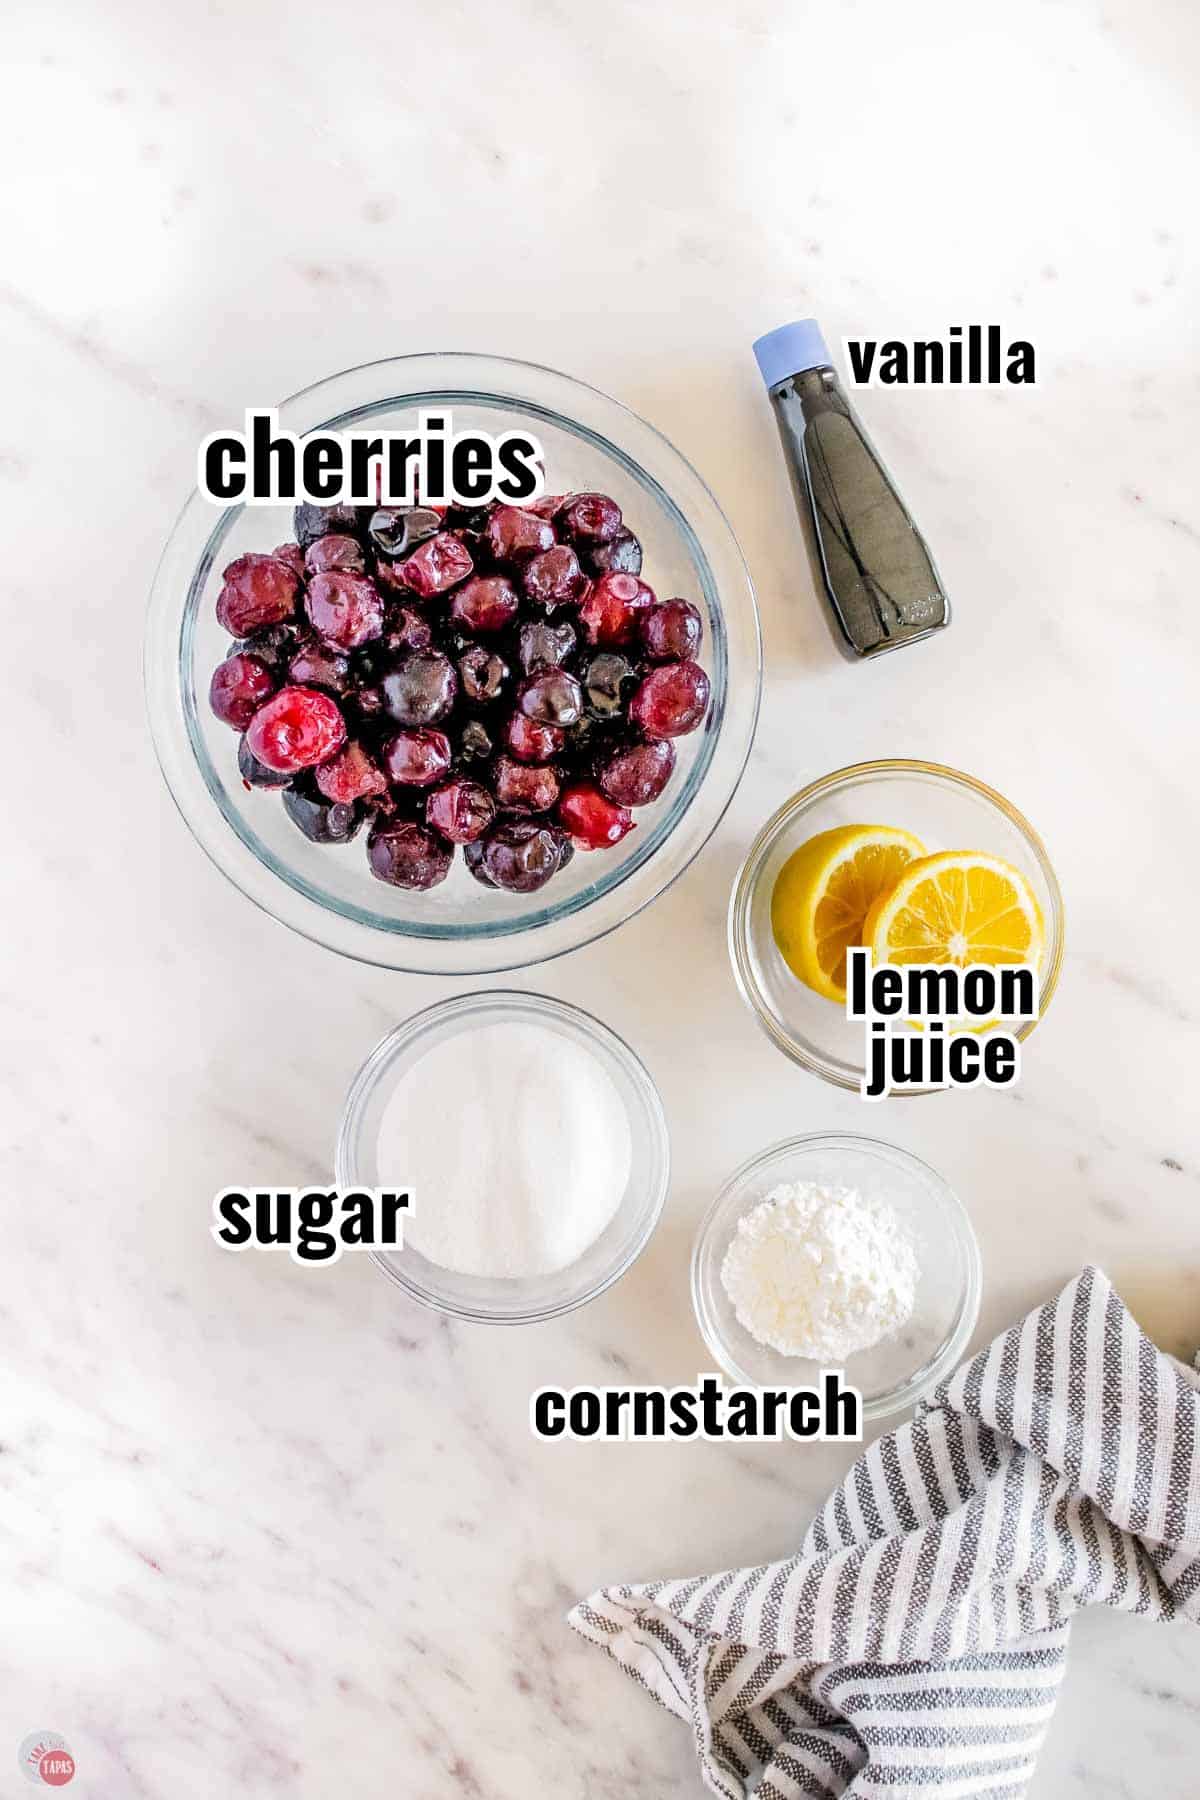
Ingredient Notes
Cherries – Fresh are best, but frozen work just as well and let you make this year round. Sour or tart cherries like Morello are ideal for baking since the recipe adds sugar. Sweet varieties like Bing or Rainier are better for eating fresh.
Sugar – Sweetens and helps draw the juice out of the cherries. Swap for honey if you prefer, using half the amount of sugar called for. Brown sugar works too for a deeper flavor.
Cornstarch – This is what thickens the filling into that glossy texture. Dissolve it in a little water first so it does not clump. Arrowroot starch works as a good swap.
Lemon Juice – Brightens the cherries and balances the sweetness. Fresh is best, but a little lemon zest works if you are out of juice.
Vanilla Extract – Rounds everything out. Swap in almond extract for a more classic cherry bakery flavor.
For more insider tips, tricks, and a behind the scenes look, follow me on Pinterest, Facebook, Instagram, & X.
How To Make Homemade Cherry Pie Filling
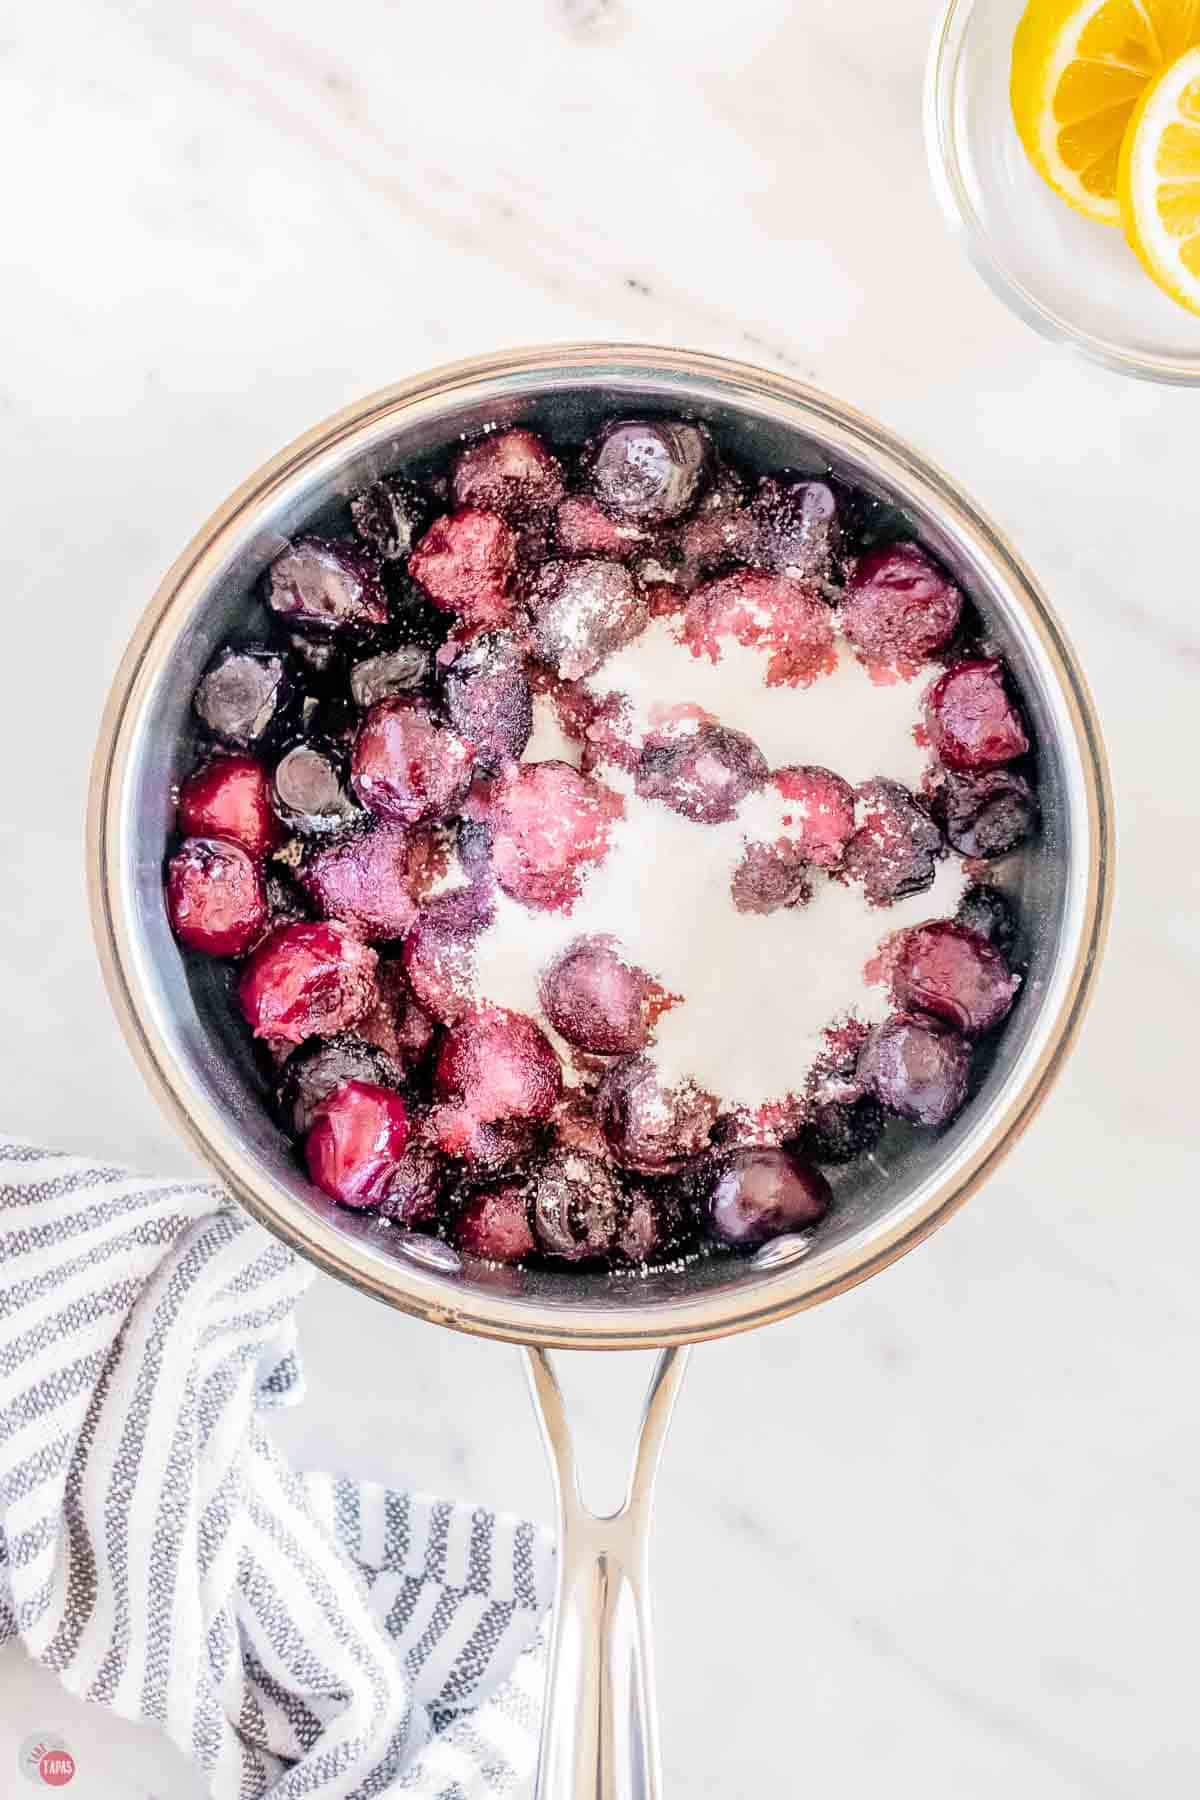
- Add the pitted cherries and sugar to a saucepan over medium heat. Cook until the juices release and the sugar dissolves.
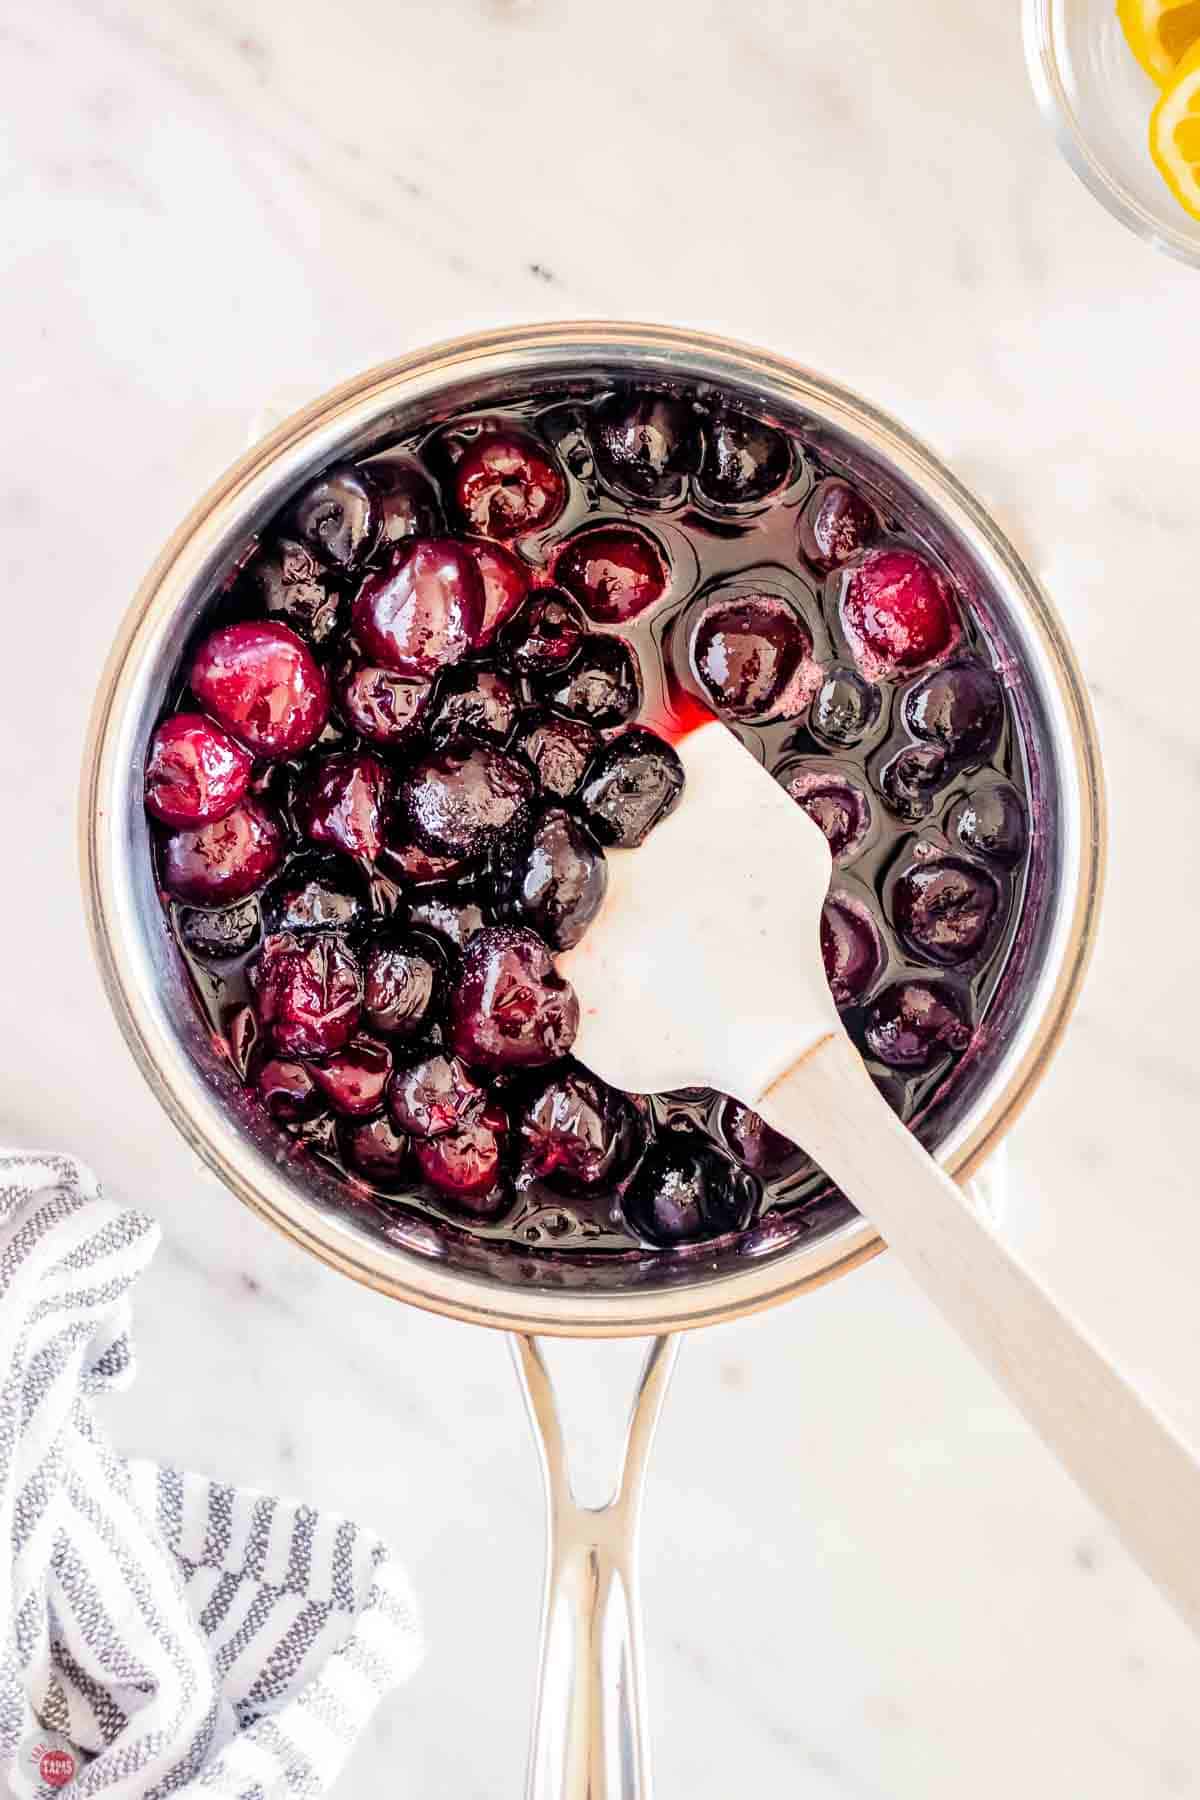
- Stir in the lemon juice and vanilla, then bring the mixture to a gentle boil. Add just enough water to the cornstarch to dissolve it into a smooth slurry. Stir it into the cherry mixture.
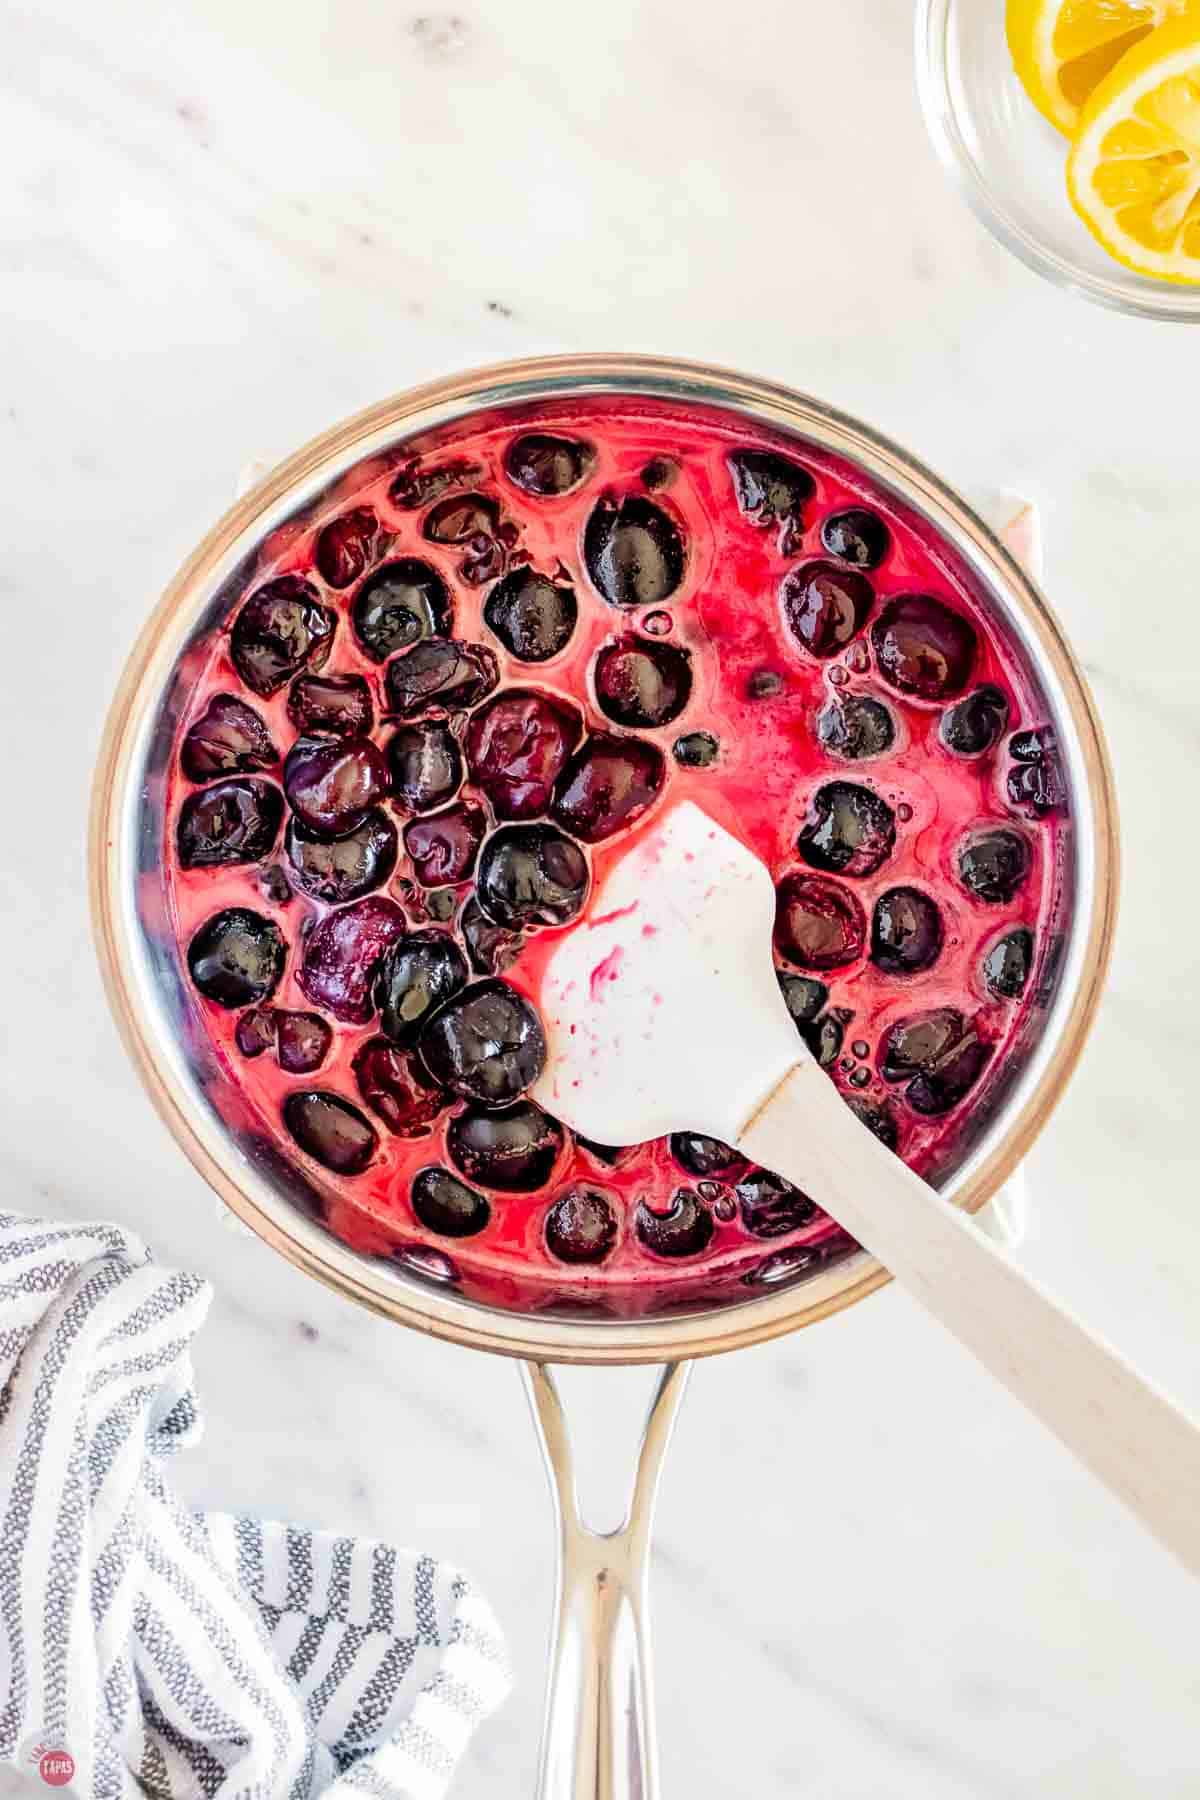
- Reduce the heat to low and stir until the filling thickens and turns glossy, about 8 to 10 minutes.
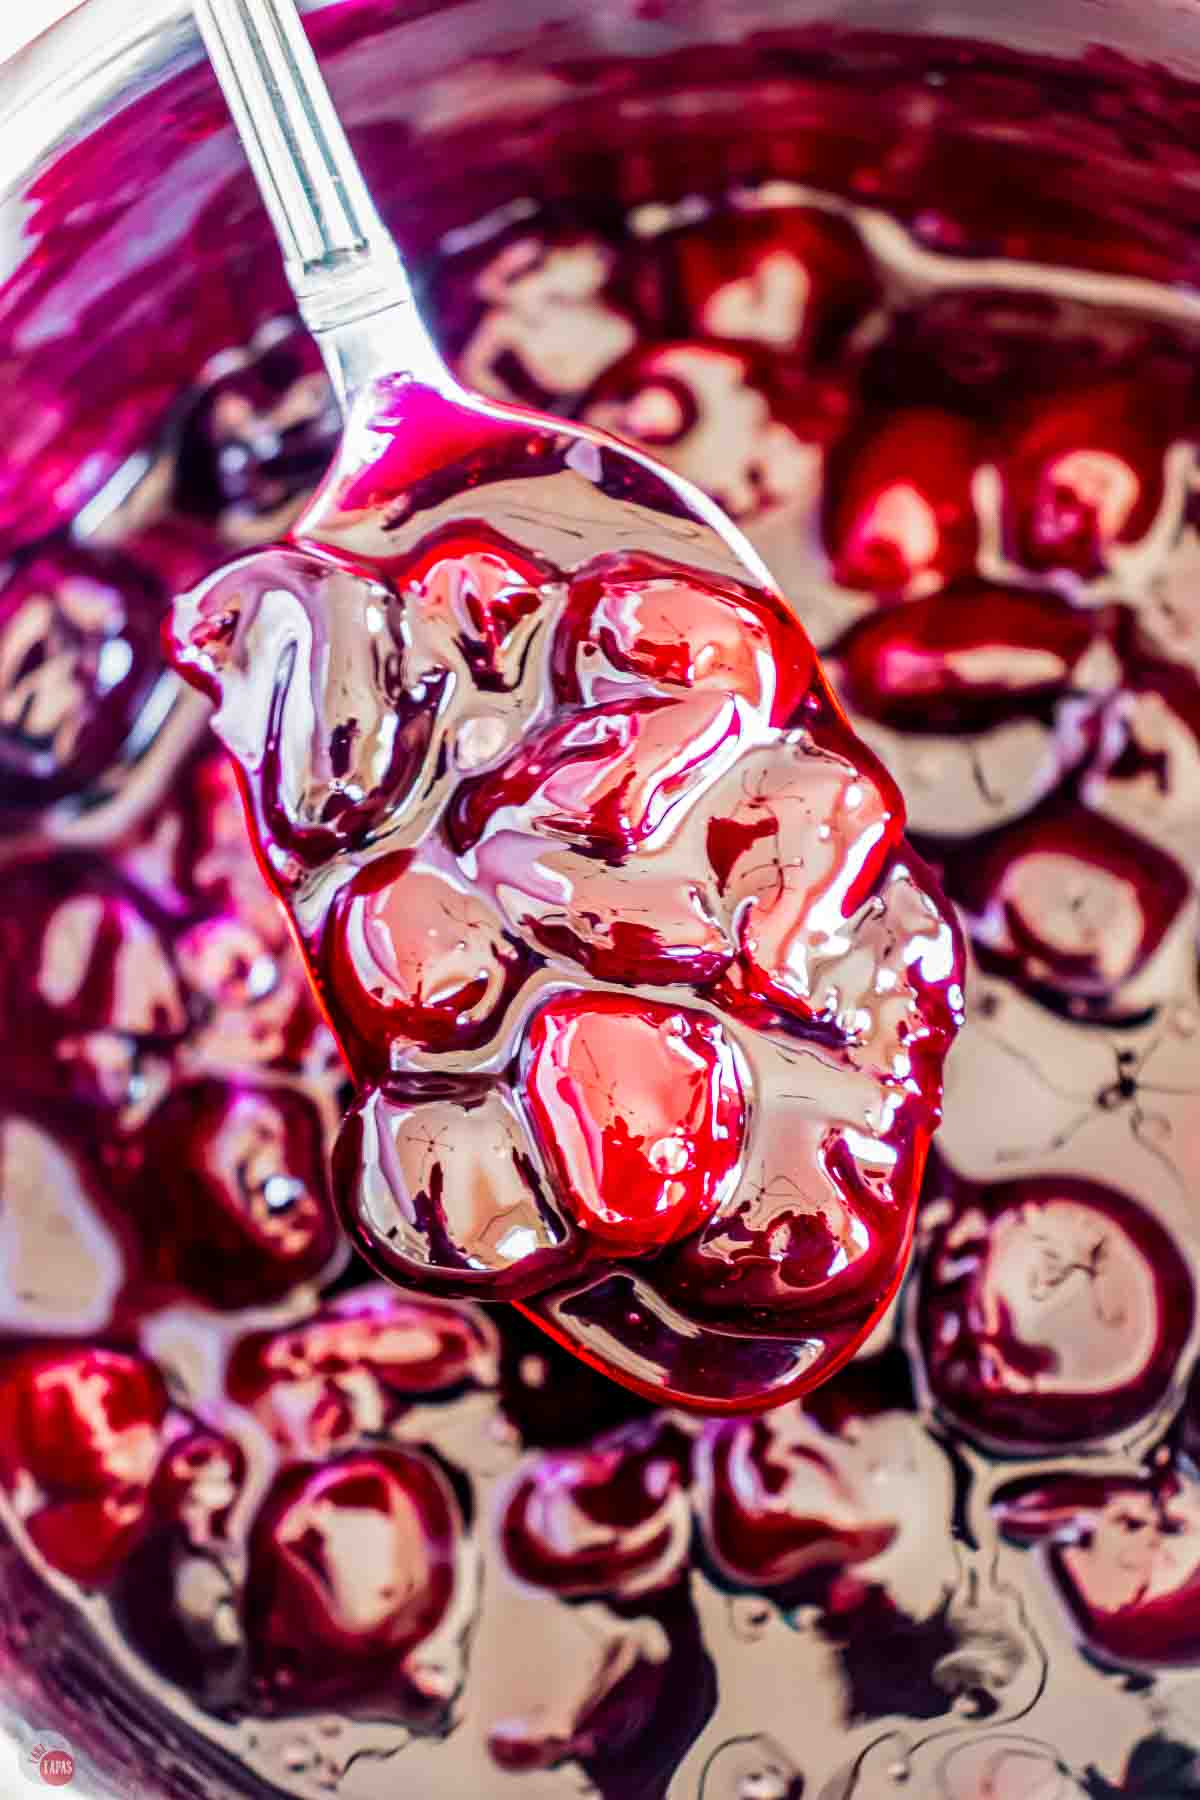
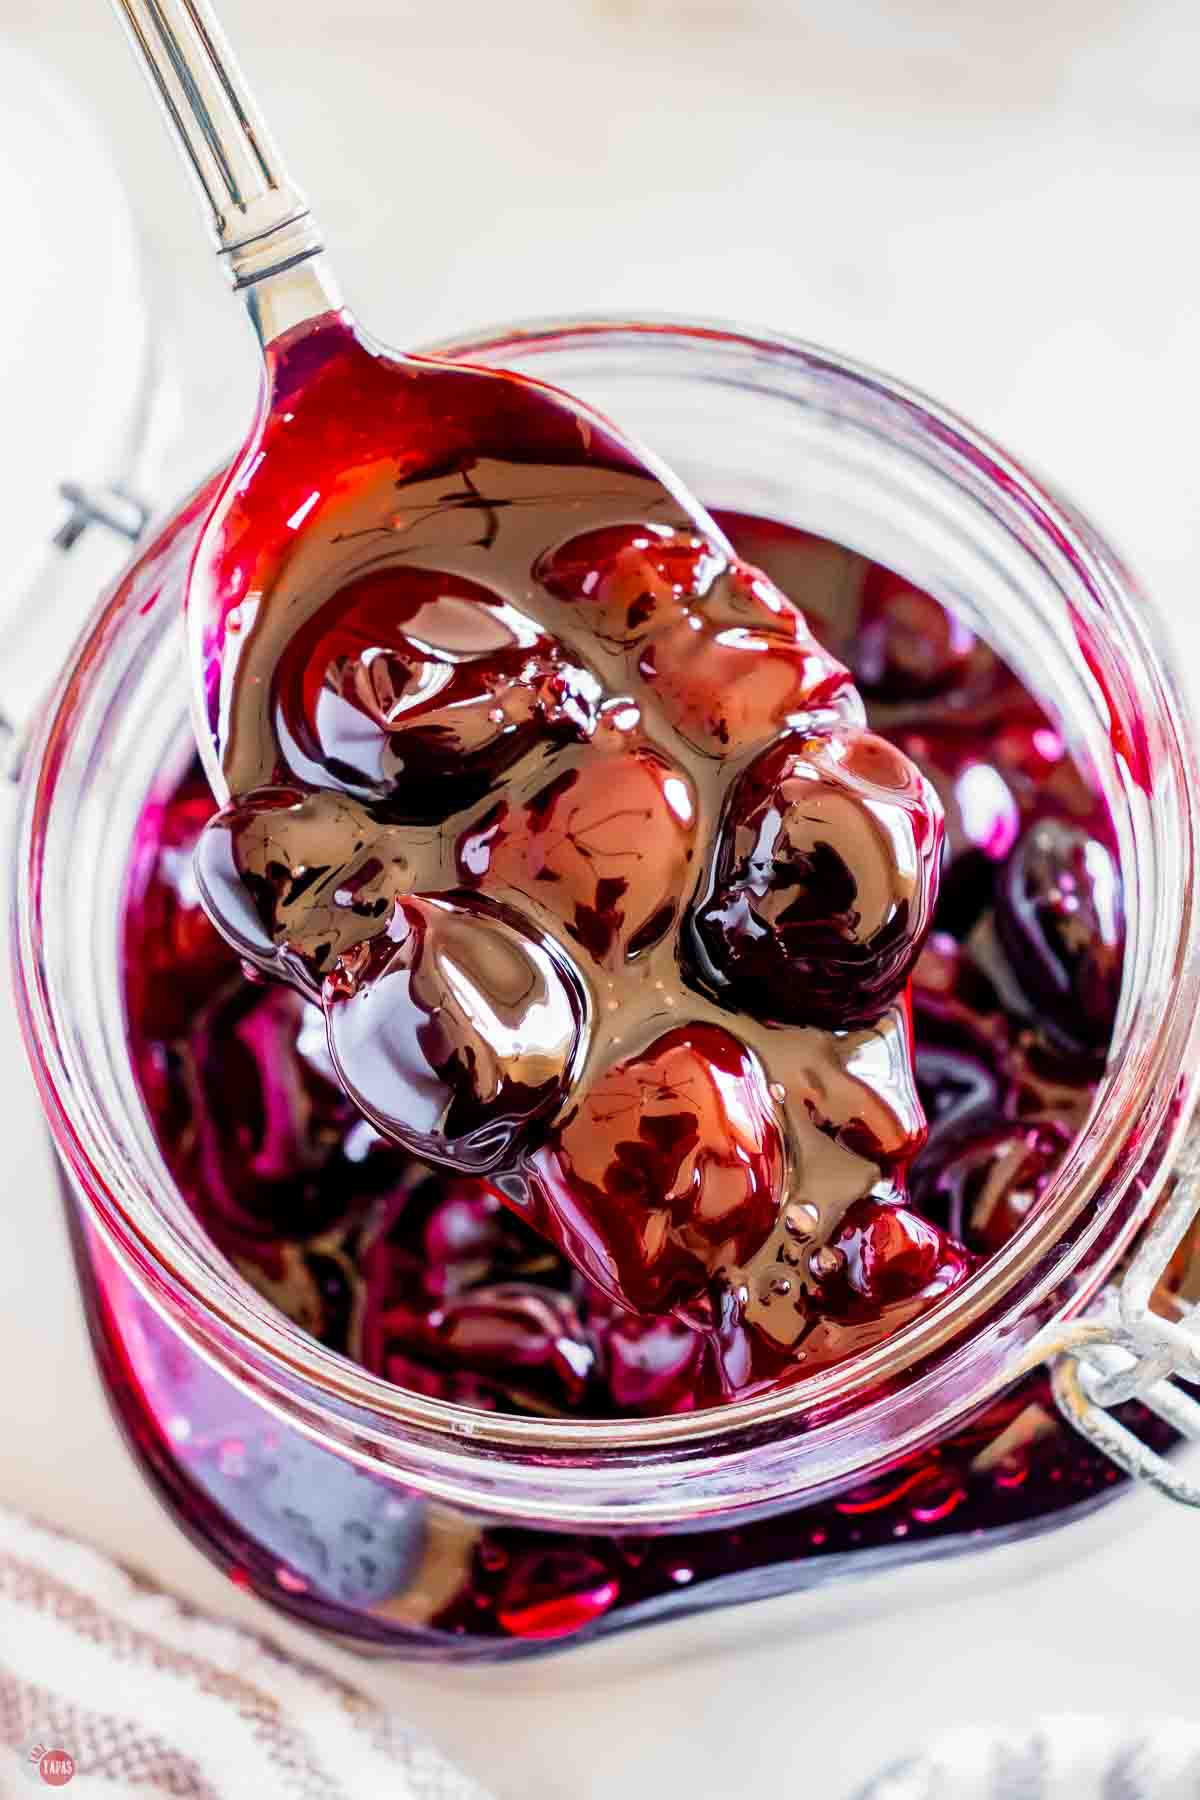
- Remove from the heat and transfer to a bowl to cool to room temperature. Use right away or store for later.
For the full recipe and detailed instructions, please refer to the recipe card at the bottom of the post.
Storage & Reheating
Refrigerator: Store cooled filling in an airtight container for up to 7 days.
Freezer: Cool completely, then freeze in an airtight, freezer safe container for up to 6 months.
Thawing: Thaw overnight in the fridge for best results. The texture will soften slightly after freezing.
Make Ahead: This filling is made for prepping early. Whip up a batch and keep it on hand for whenever a craving hits.
Variations
Honey Sweetened: Replace the sugar with honey, using half the amount called for.
Brown Sugar: Swap in brown sugar for a warmer, deeper sweetness.
Almond Cherry: Use almond extract in place of vanilla for that classic cherry bakery flavor.
Mini Cherry Pies: Cut pie crust into small circles and bake the filling in a muffin pan for handheld pies.
Mixed Berry: Stir in a handful of raspberries or blackberries for a deeper, jammier filling.
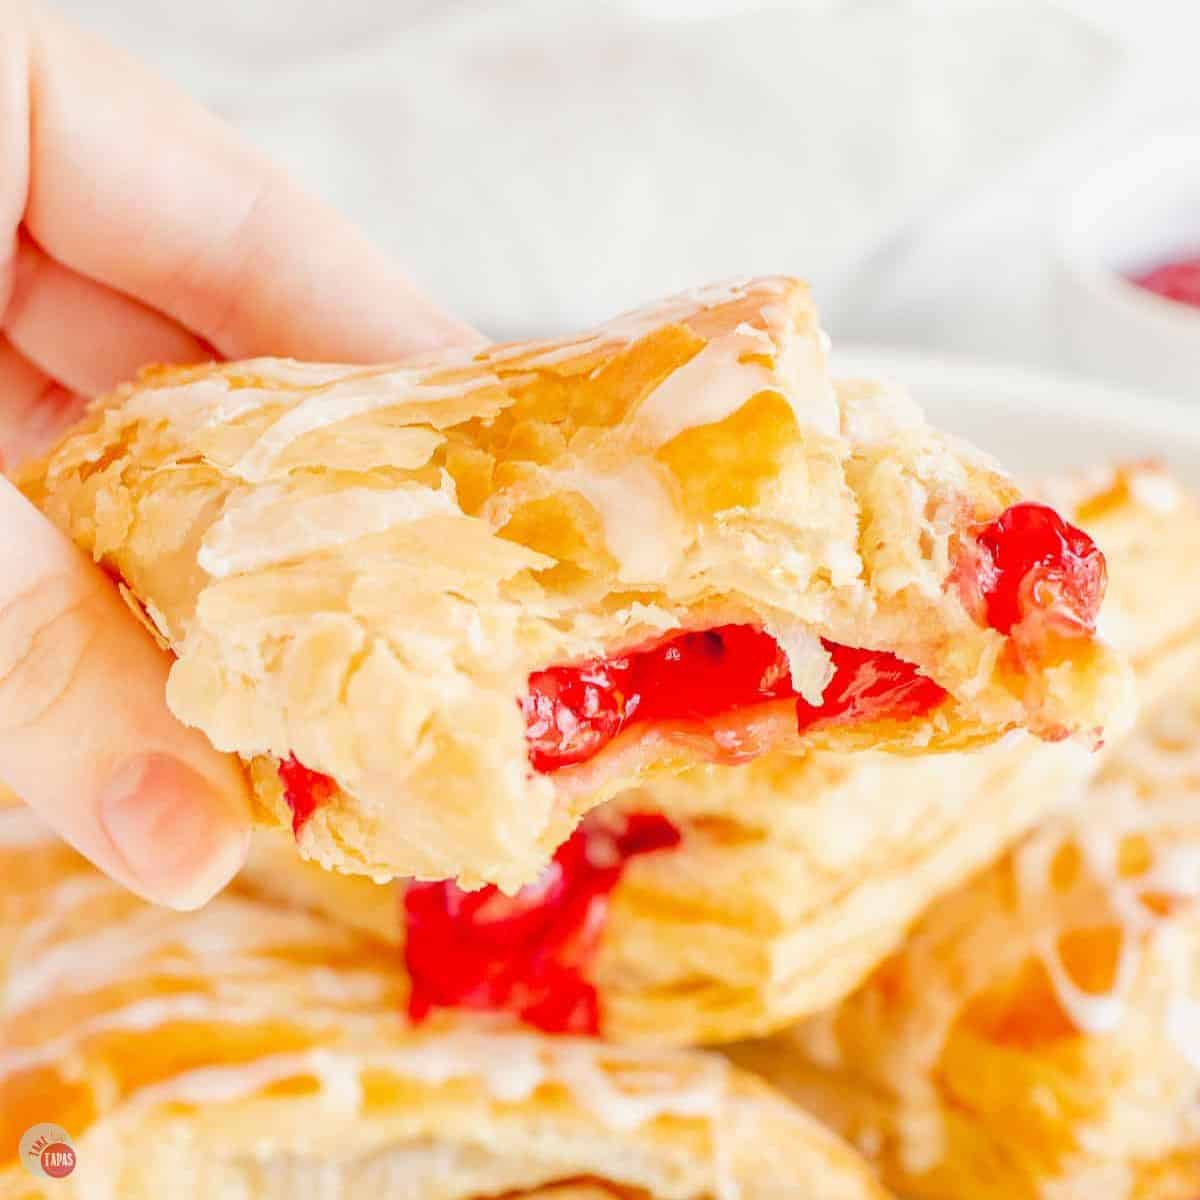
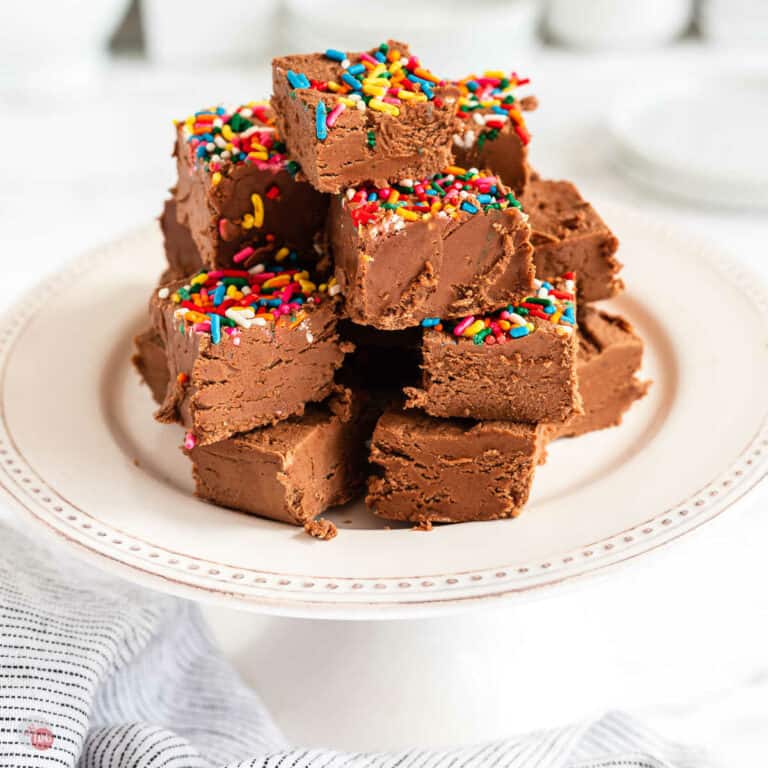
Ways to Use Cherry Pie Filling
This filling is so much more than pie. Spoon it over pancakes, waffles, or a bowl of vanilla ice cream. Layer it into yogurt parfaits or swirl it into coffee cake.
Use it to fill turnovers, hand pies, and phyllo cups, or bake it into cobblers and dump cakes. Stir it into cream cheese for an instant dessert dip. Of course, it makes a classic cherry pie too. Just pour 2 cups into a crust, top, and bake at 425°F for 40 to 45 minutes until bubbly.
Cherry Cocktails and Drinks
- Cherry Limeade Punch – Sweet, tart, party batch
- Cherry Amaretto Limeade – Almond kissed, refreshing sip
- Cherry Bourbon Smash – Muddled, boozy, summery pour
Frequently Asked Questions
Sour or tart cherries like Morello are ideal because the recipe adds sugar. Sweet cherries like Bing are better for snacking, but they will work for a sweeter filling.
Yes! Frozen cherries work great and let you make this any time of year. No need to thaw them first.
The cornstarch needs to come to a boil to activate, then simmer until glossy. Give it a few more minutes on low heat and it will thicken right up.
Yes. Use half the amount of honey as the sugar called for. Brown sugar also works.
Up to 7 days in the fridge in an airtight container, or up to 6 months in the freezer.
Absolutely. Pour 2 cups into a bottom crust, add a top crust, brush with egg wash, and bake at 425°F for 40 to 45 minutes until golden and bubbly.
Recipe Tips & Tricks
- Grab a cherry pitter if using fresh cherries. It makes the prep so much faster.
- Dissolve the cornstarch in water before adding it so you do not get lumps.
- Let the filling come to a full boil before reducing the heat, or it will not thicken properly.
- Cool it completely before storing or using in a no bake recipe.
- Use sour cherries for a more tart filling, or sweet cherries for a milder one.
This Homemade Cherry Pie Filling recipe is sweet, tart, glossy, and good in just about everything. Make a batch this weekend and keep it on hand for pies, turnovers, and midnight ice cream sundaes!
If you love this recipe as much as I do, please leave us a ⭐️⭐️⭐️⭐️⭐️ five-star review in the comment section below. Thanks!
Homemade Cherry Pie Filling Recipe
Ingredients
- 5 cups cherries pitted
- 1 cup sugar
- 2 tablespoons cornstarch with 2 tablespoons of water to dissolve it
- 1 teaspoon vanilla extract
- 1 tablespoon lemon juice
Instructions
- Put cherries and sugar in a pot over medium heat.
- Cook until the juices start to release and the sugar dissolves.
- Add the lemon juice and vanilla.
- Bring to a gentle boil.
- In a separate bowl, add just enough water to the cornstarch to dissolve it.
- Add to cherry mixture and stir. Bring back to a boil.
- Reduce heat to low and stir until the cherry pie filling thickens and turns glossy.
- Remove from heat and cool.
- Use in a recipe or store for later.
Notes
- Grab a cherry pitter if using fresh cherries. It makes the prep so much faster.
- Dissolve the cornstarch in water before adding it so you do not get lumps.
- Let the filling come to a full boil before reducing the heat, or it will not thicken properly.
- Cool it completely before storing or using in a no bake recipe.
- Use sour cherries for a more tart filling, or sweet cherries for a milder one.
Nutrition
©TakeTwoTapas.com. Content and photographs are copyright protected. Sharing of this recipe is both encouraged and appreciated. Copying and/or pasting full recipes to any social media is strictly prohibited.