Sheet Pan Sweet and Sour Chicken
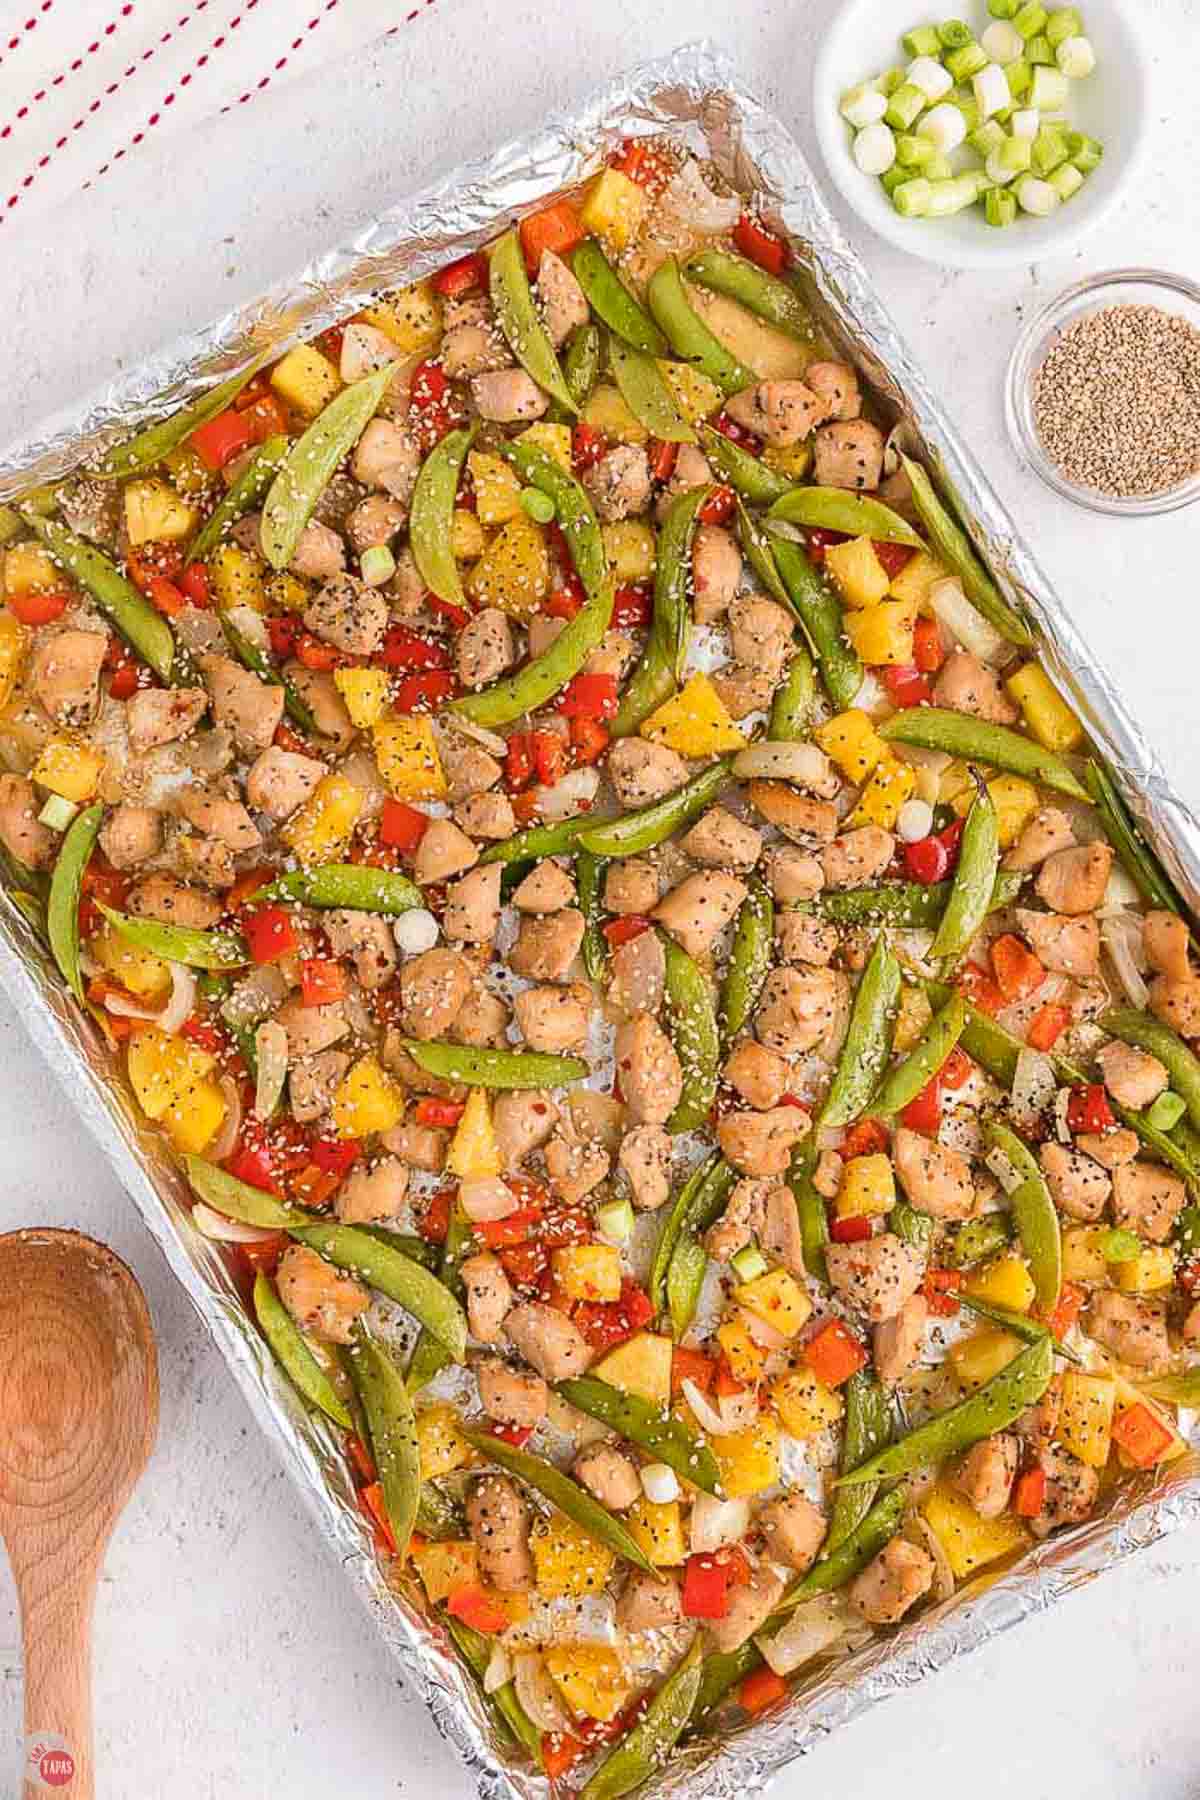
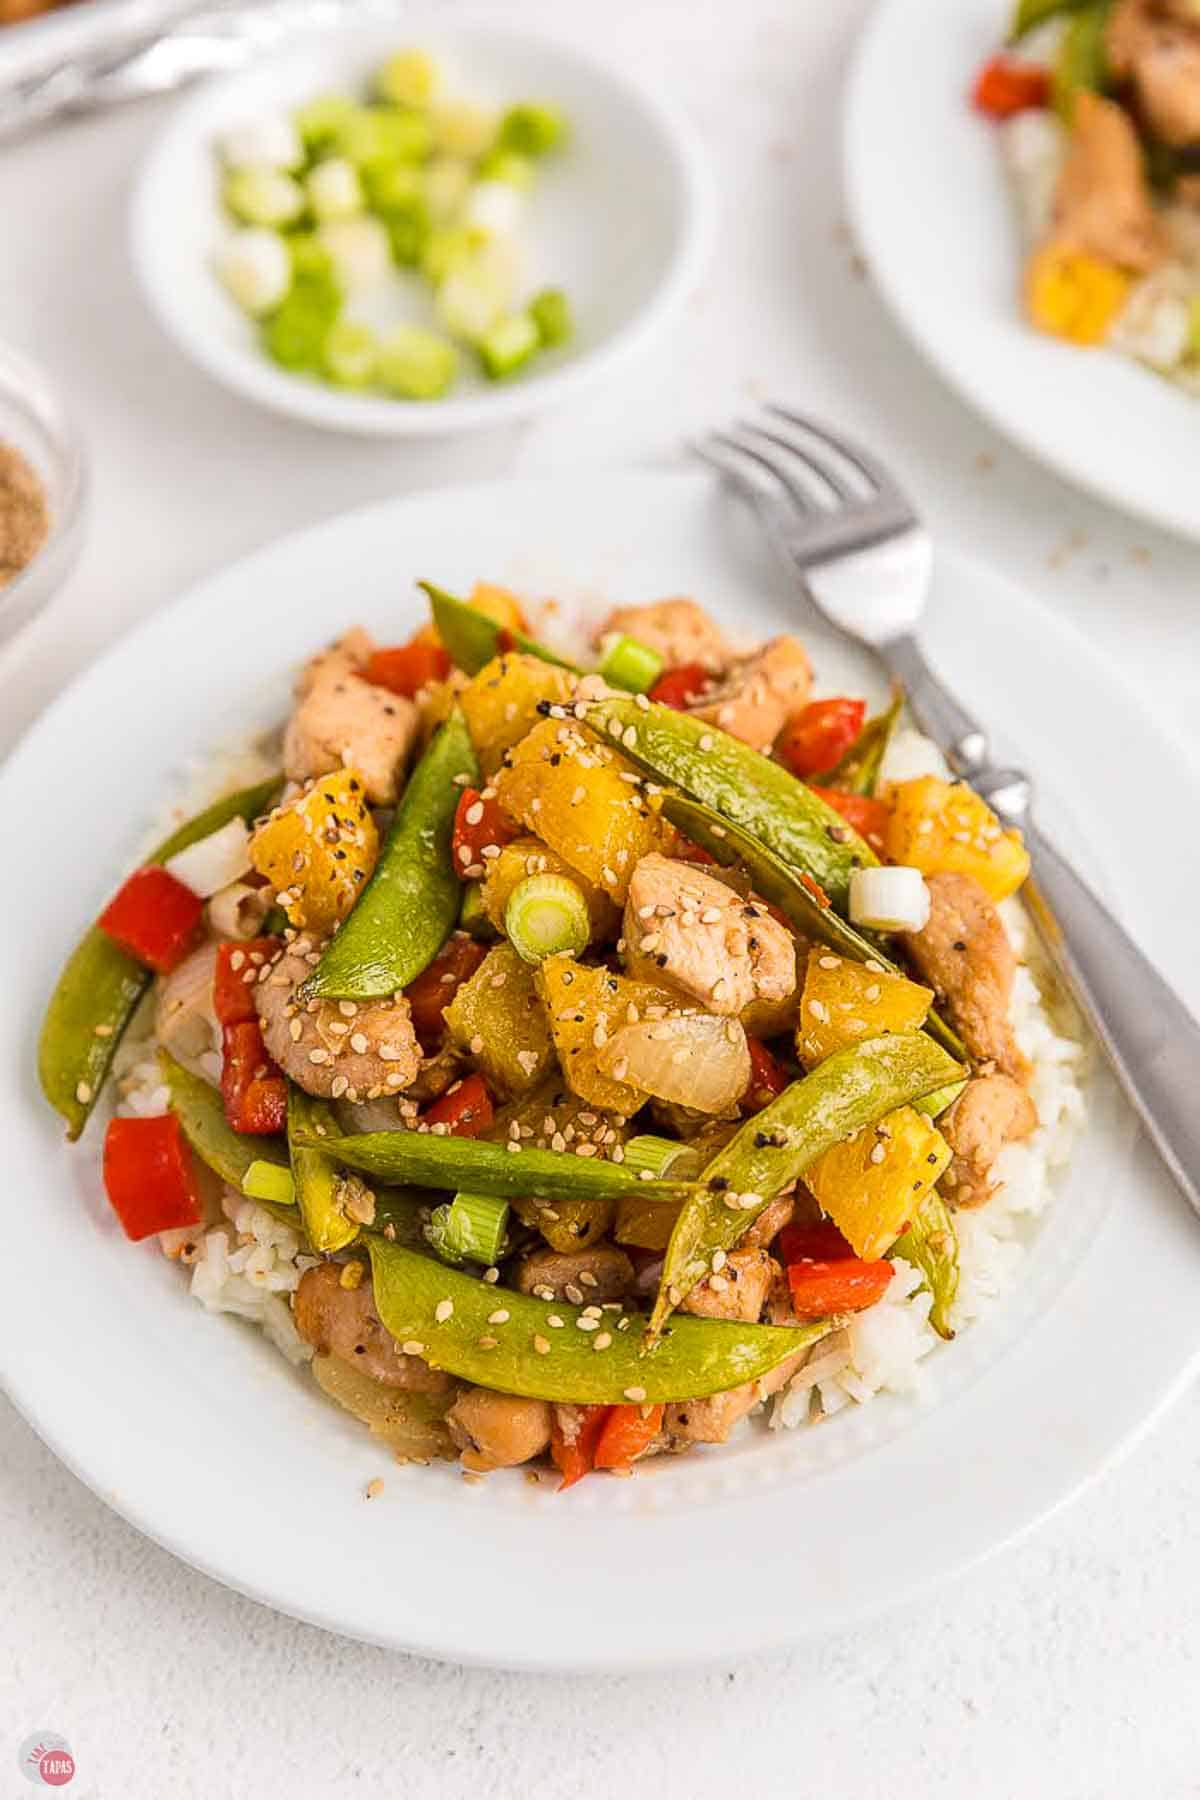
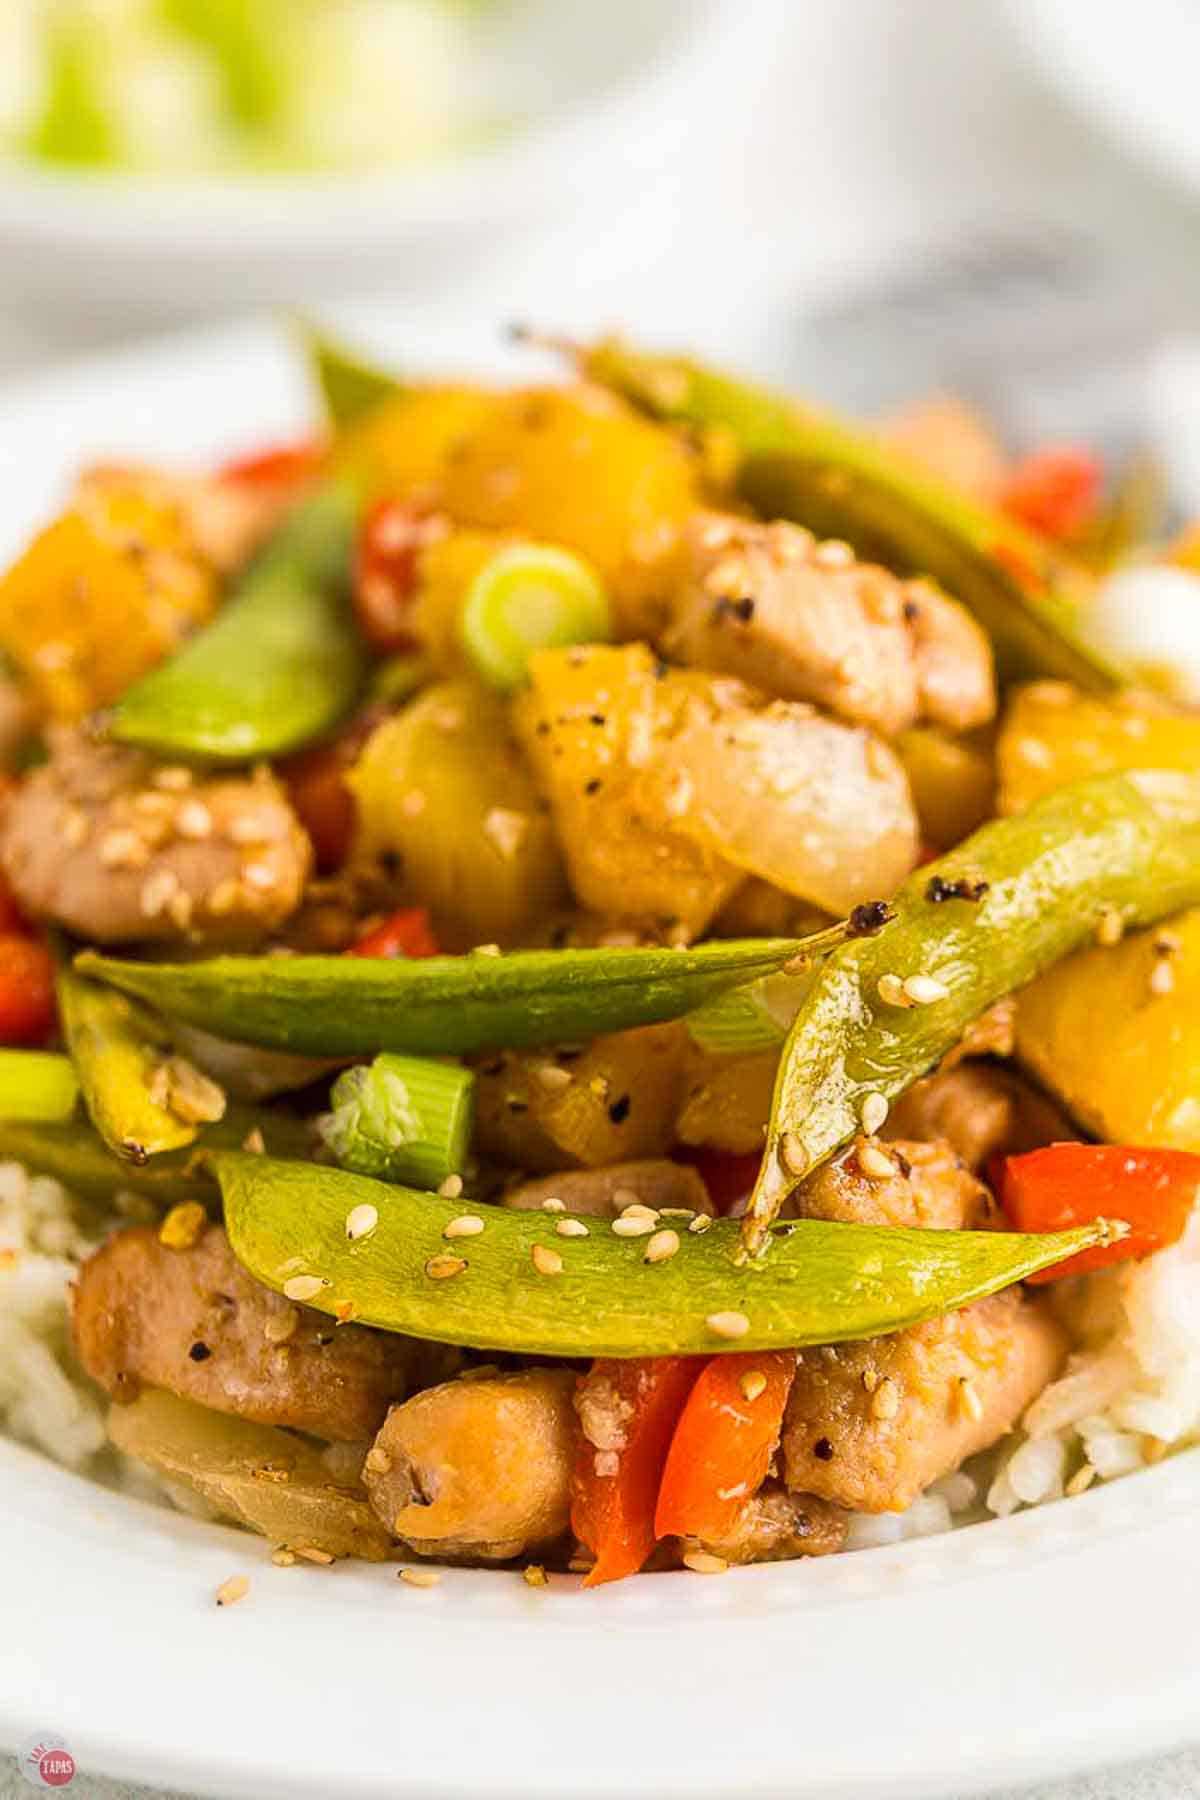
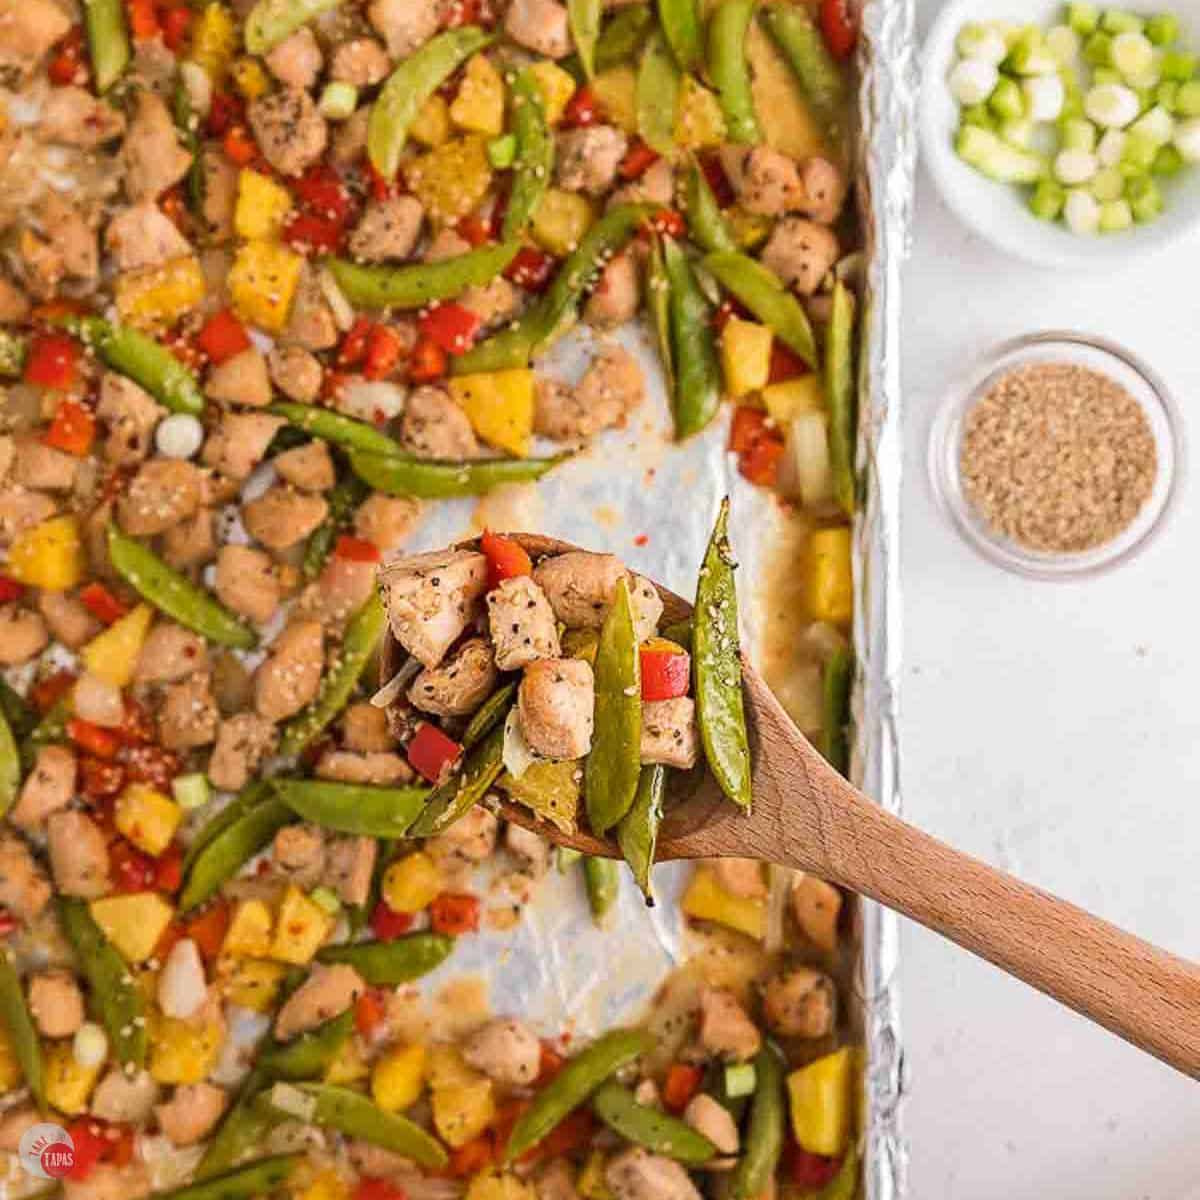
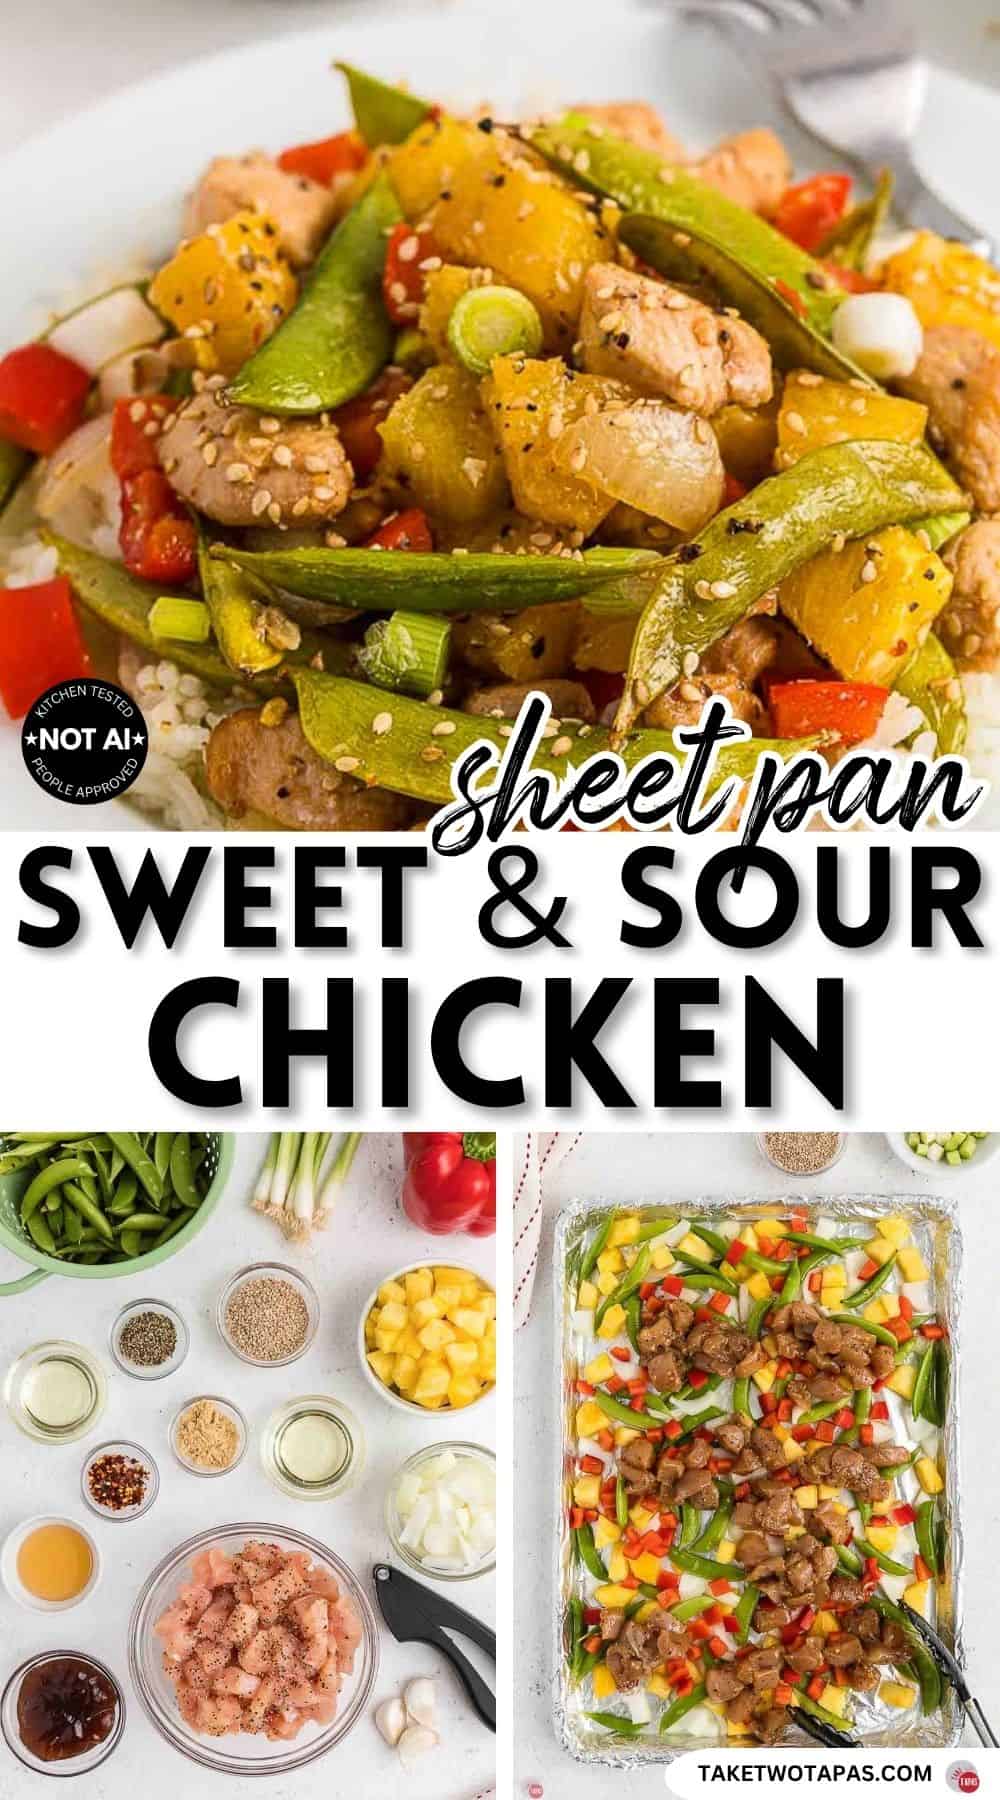
Sheet Pan Sweet and Sour Chicken is a lighter version of the takeout classic, with tender chicken, bell peppers, onion, and pineapple all roasted on one pan and coated in a sticky homemade sweet and sour sauce. It skips the deep frying but keeps all the flavor, and cleanup is basically one pan. Serve it over rice for a full meal. Made with pantry staples, it comes together in about 35 minutes and serves 4.
The thing about ordering takeout is that by the time it arrives, you’ve already spent twenty minutes deciding, ten minutes waiting, and paid the price of a small appliance for the privilege.
Or you could make this.
Sheet pan sweet and sour chicken hits all the same cravings as your favorite takeout, sticky, tangy, a little sweet, with tender chicken and roasted peppers and pineapple, but it comes together on one pan in about the time delivery would take to show up.
And there’s no deep frying, so you get all the flavor without the grease or the guilt.
The homemade sweet and sour sauce is the whole thing here, and it takes about two minutes to whisk together. Everything roasts on one pan, which means one pan to wash, which is my actual love language.
Serve it over rice and you’ve got a full dinner. If takeout at home is your thing too, check out my Crab Rangoon, Pot Stickers, and Garlic Green Beans.
More Sheet Pan Dinners
- Sheet Pan Greek Chicken – lemony herb chicken with roasted vegetables
- Honey Mustard Pork Chops – tangy glazed pork chops with vegetables
- Sausage Peppers and Onions – colorful one pan Italian sausage dinner
- Lemon Honey Chicken – citrus honey glazed chicken sheet pan dinner
This post may contain affiliate links. As an Amazon Associate, I earn from qualifying purchases at no additional cost to you. Read my disclosure policy.
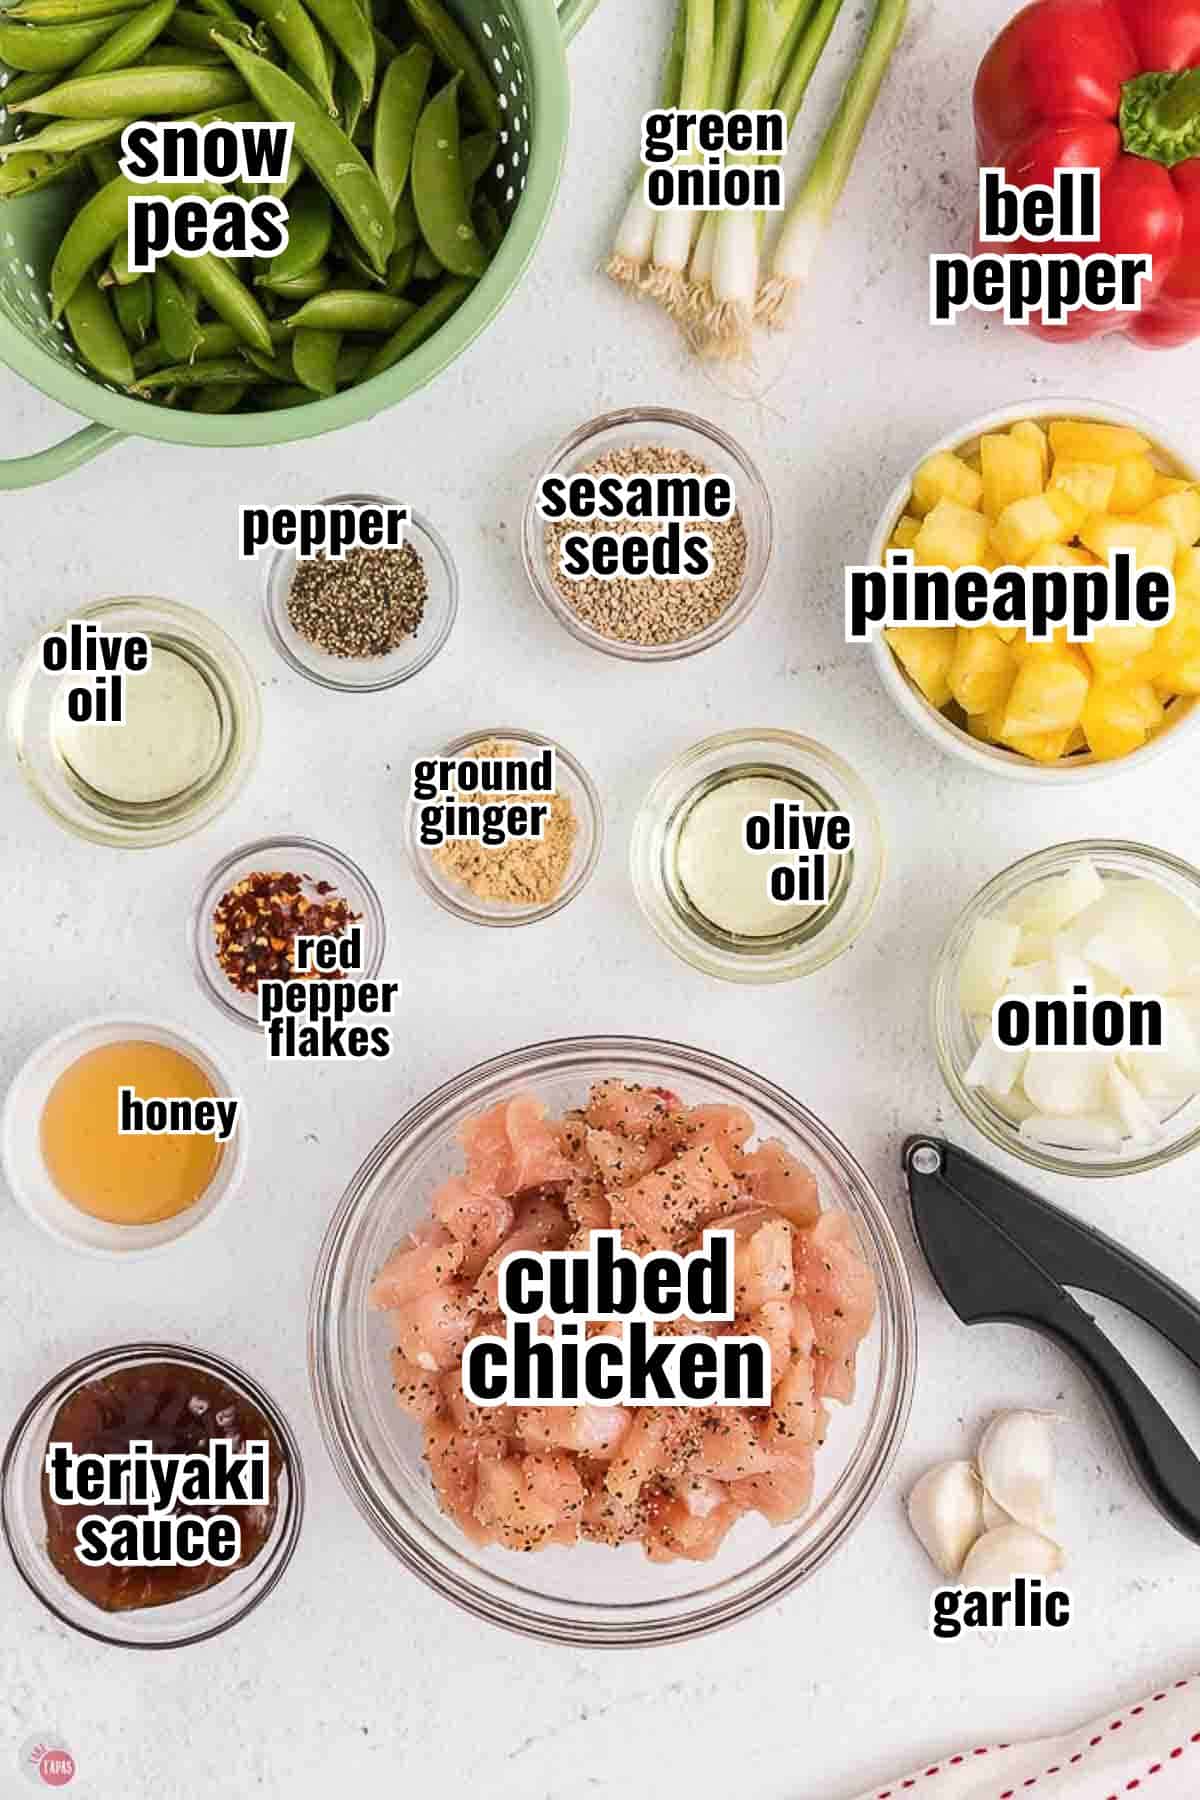
See recipe card for complete information on ingredients and their quantities.
Ingredient Notes
Chicken – Boneless, skinless breasts or thighs, cut into even bite sized pieces so they cook at the same rate. Thighs stay a little juicier if you’re worried about dry chicken.
Pineapple – Fresh or canned chunks both work, and you’ll want the juice either way since it’s the base of the sauce. If canned, save every drop. If fresh, you’ll need a little extra juice or water to make up for it.
Bell Peppers – A mix of colors makes it look like the takeout container, and they roast up tender crisp. Red and green are the classic combo.
Cornstarch – This is what thickens the sauce into that glossy, sticky texture that clings to the chicken. Whisked into the pineapple juice, it’s the backbone of the whole sauce. Don’t skip it.
Rice Vinegar – The “sour” half of sweet and sour. Apple cider vinegar works as a swap, and white vinegar in a pinch.
For more insider tips, tricks, and a behind the scenes look, follow me on Pinterest, Facebook, Instagram, & X.
How To Make Sheet Pan Sweet and Sour Chicken
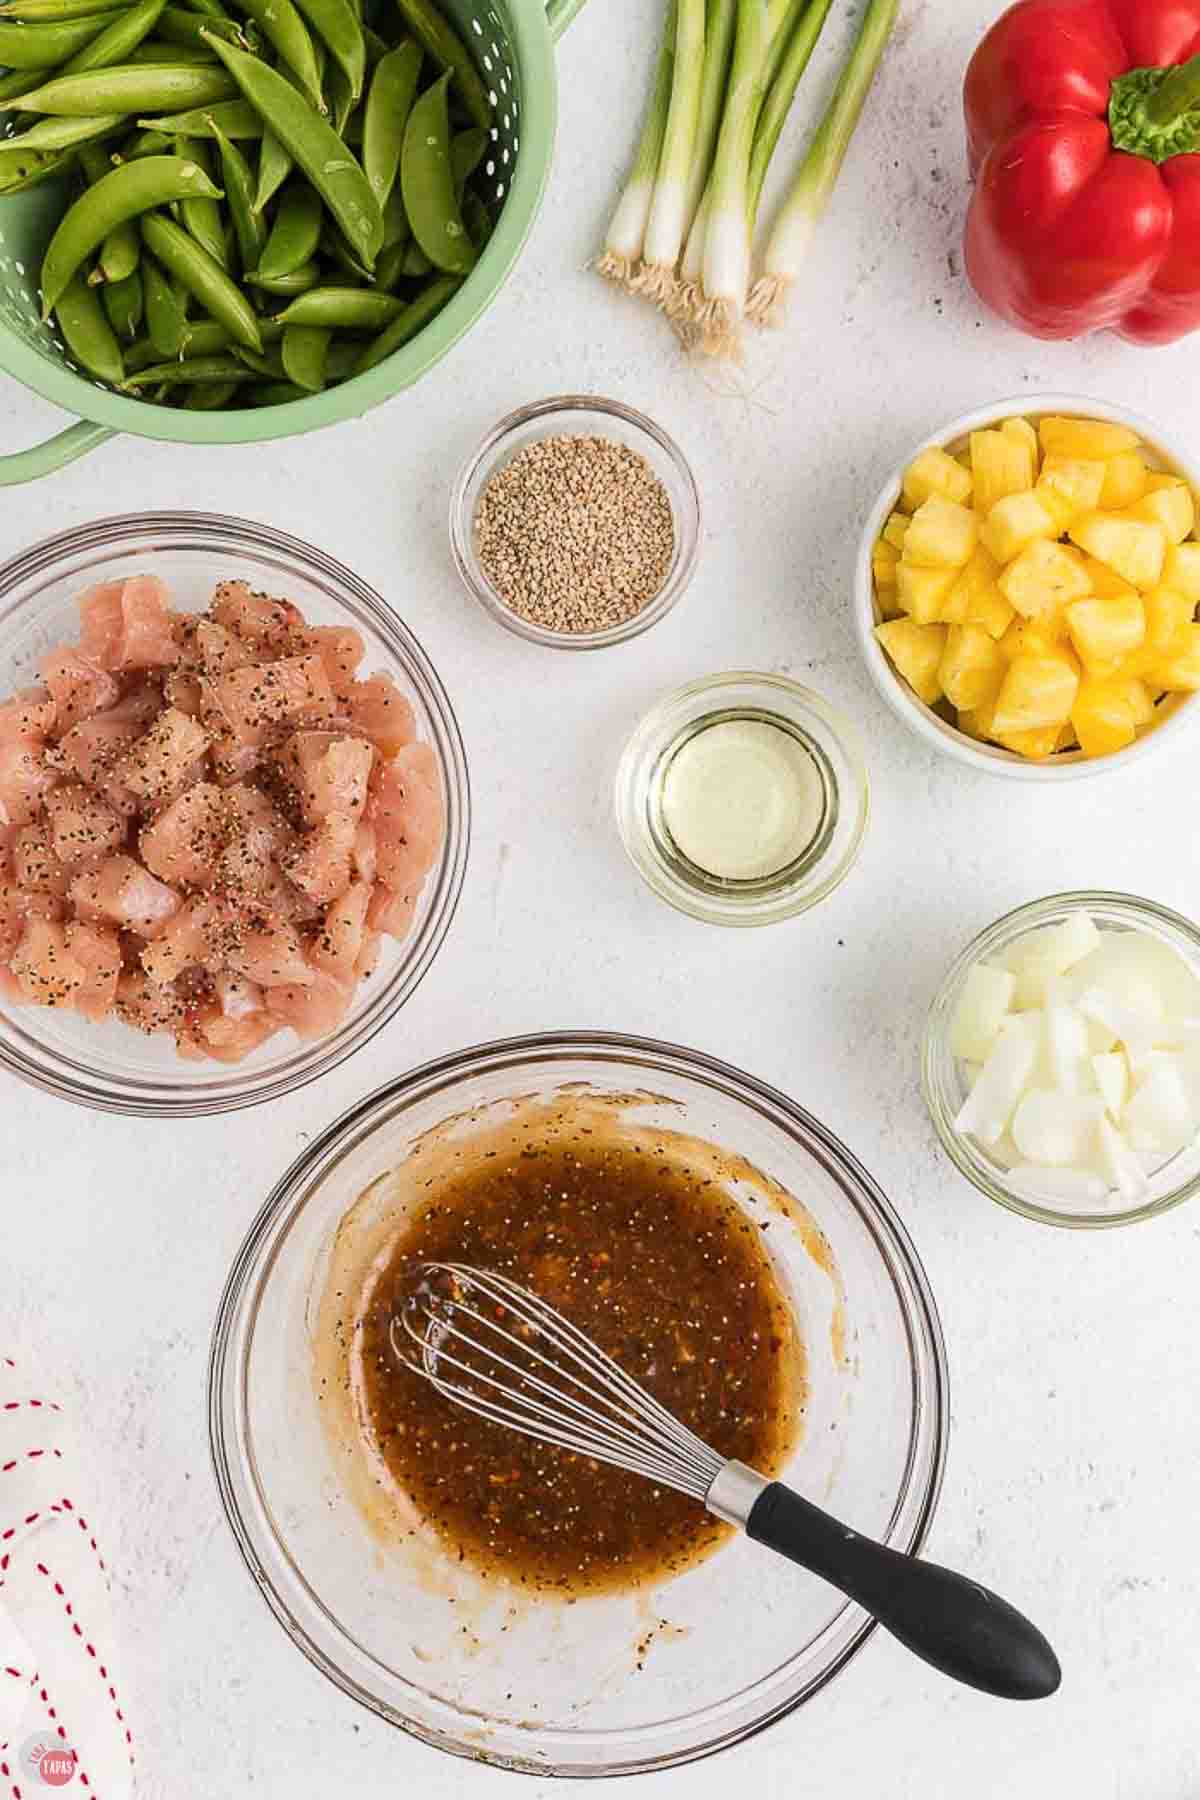
- Preheat the oven to 400°F and line a large sheet pan with parchment paper or foil. In a bowl, whisk the cornstarch into the pineapple juice until dissolved, then whisk in the ketchup, brown sugar, rice vinegar, soy sauce, garlic, and ginger until smooth.
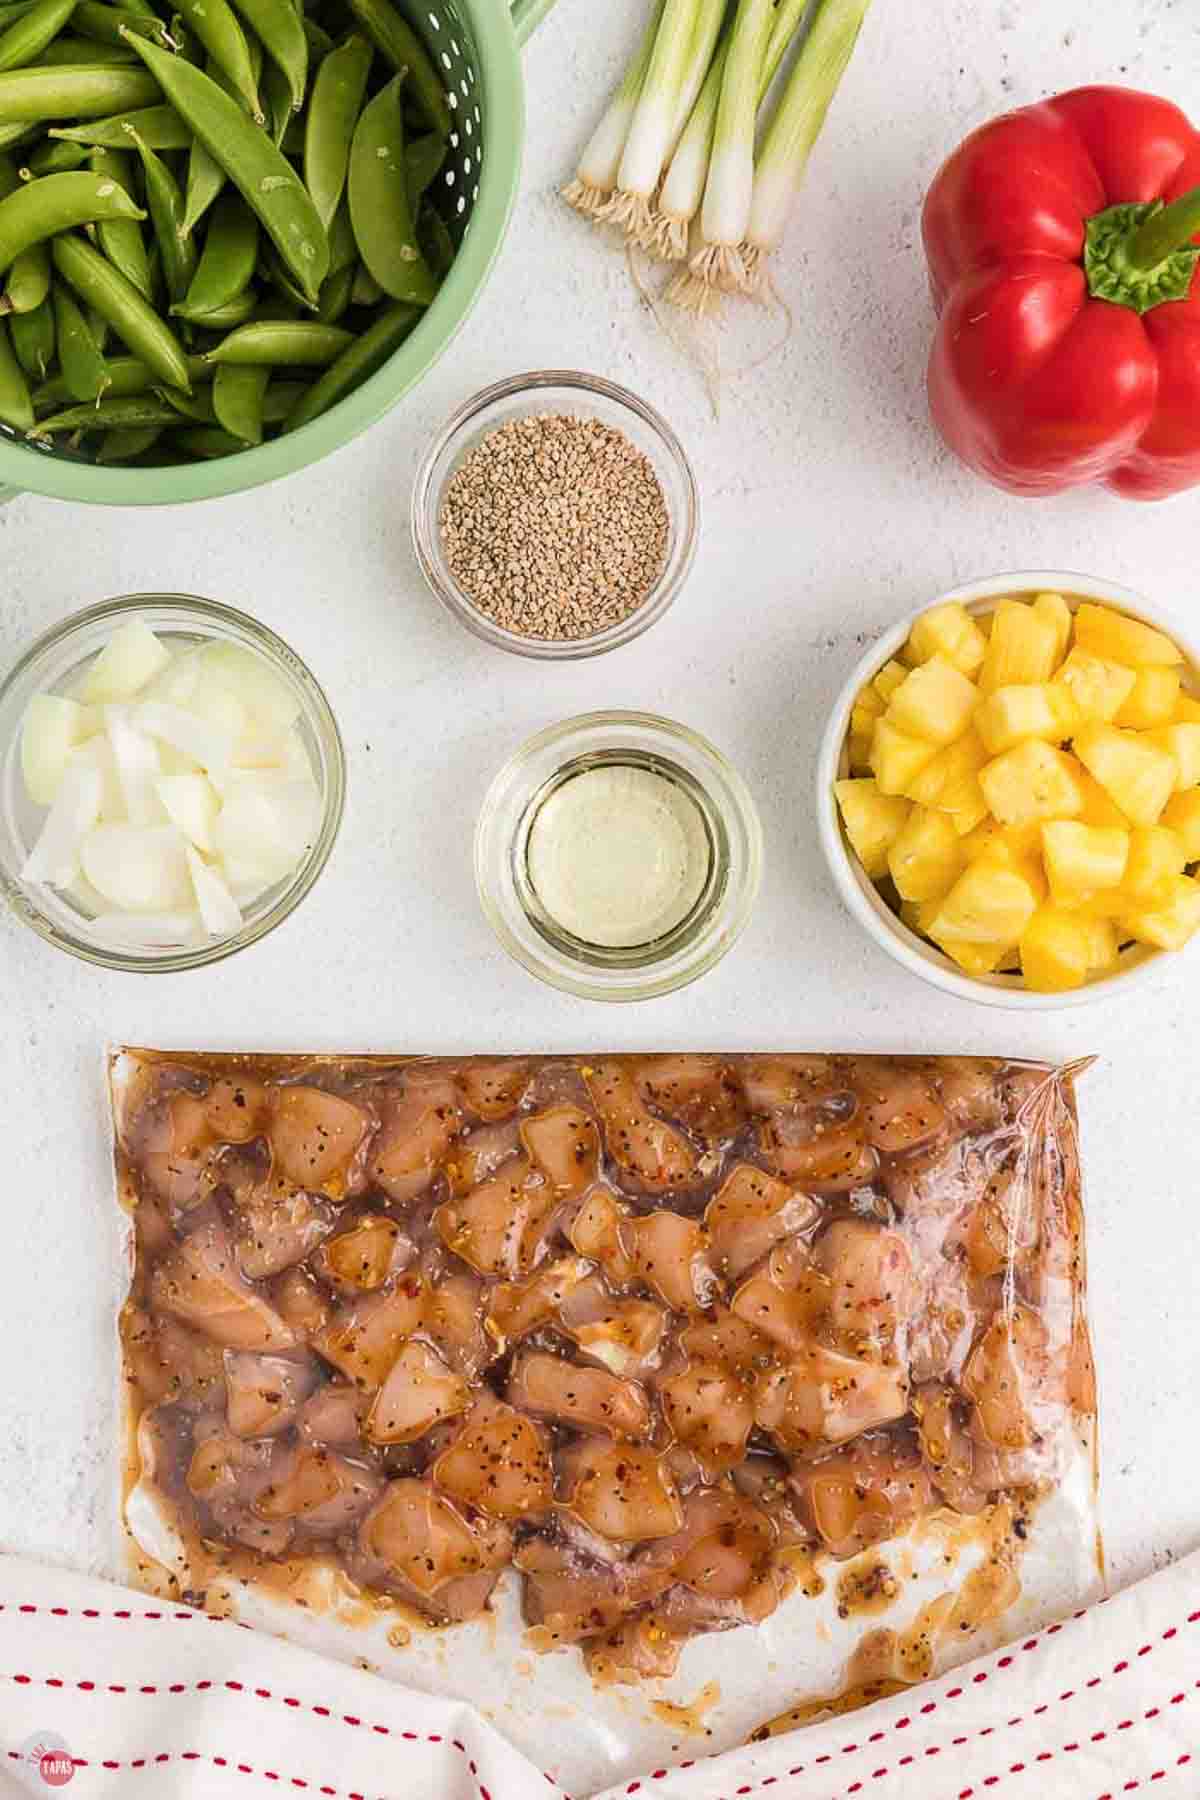
- Place the chicken pieces in a separate bowl or plastic bag and toss with about half the sauce until coated. Marinate the chicken for at least 30 minutes. Set the remaining sauce aside for basting.
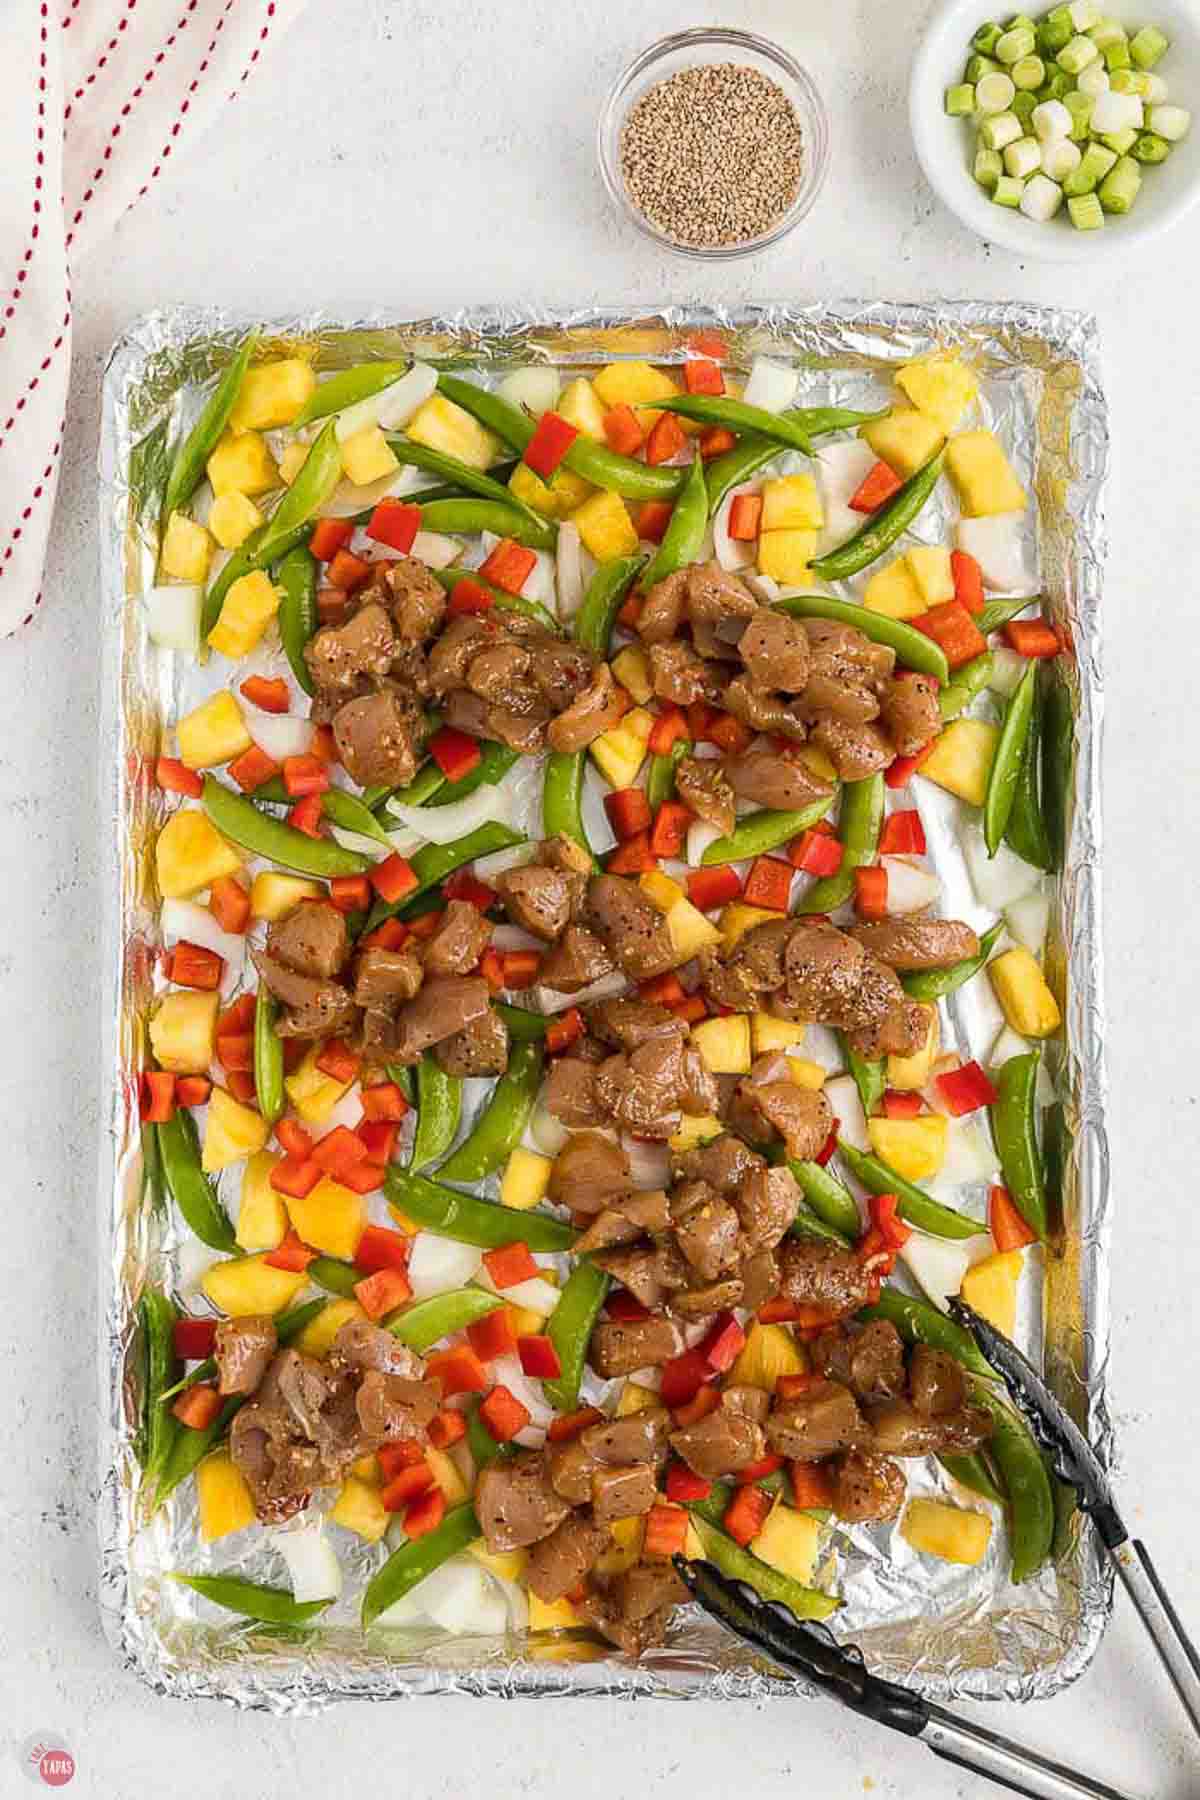
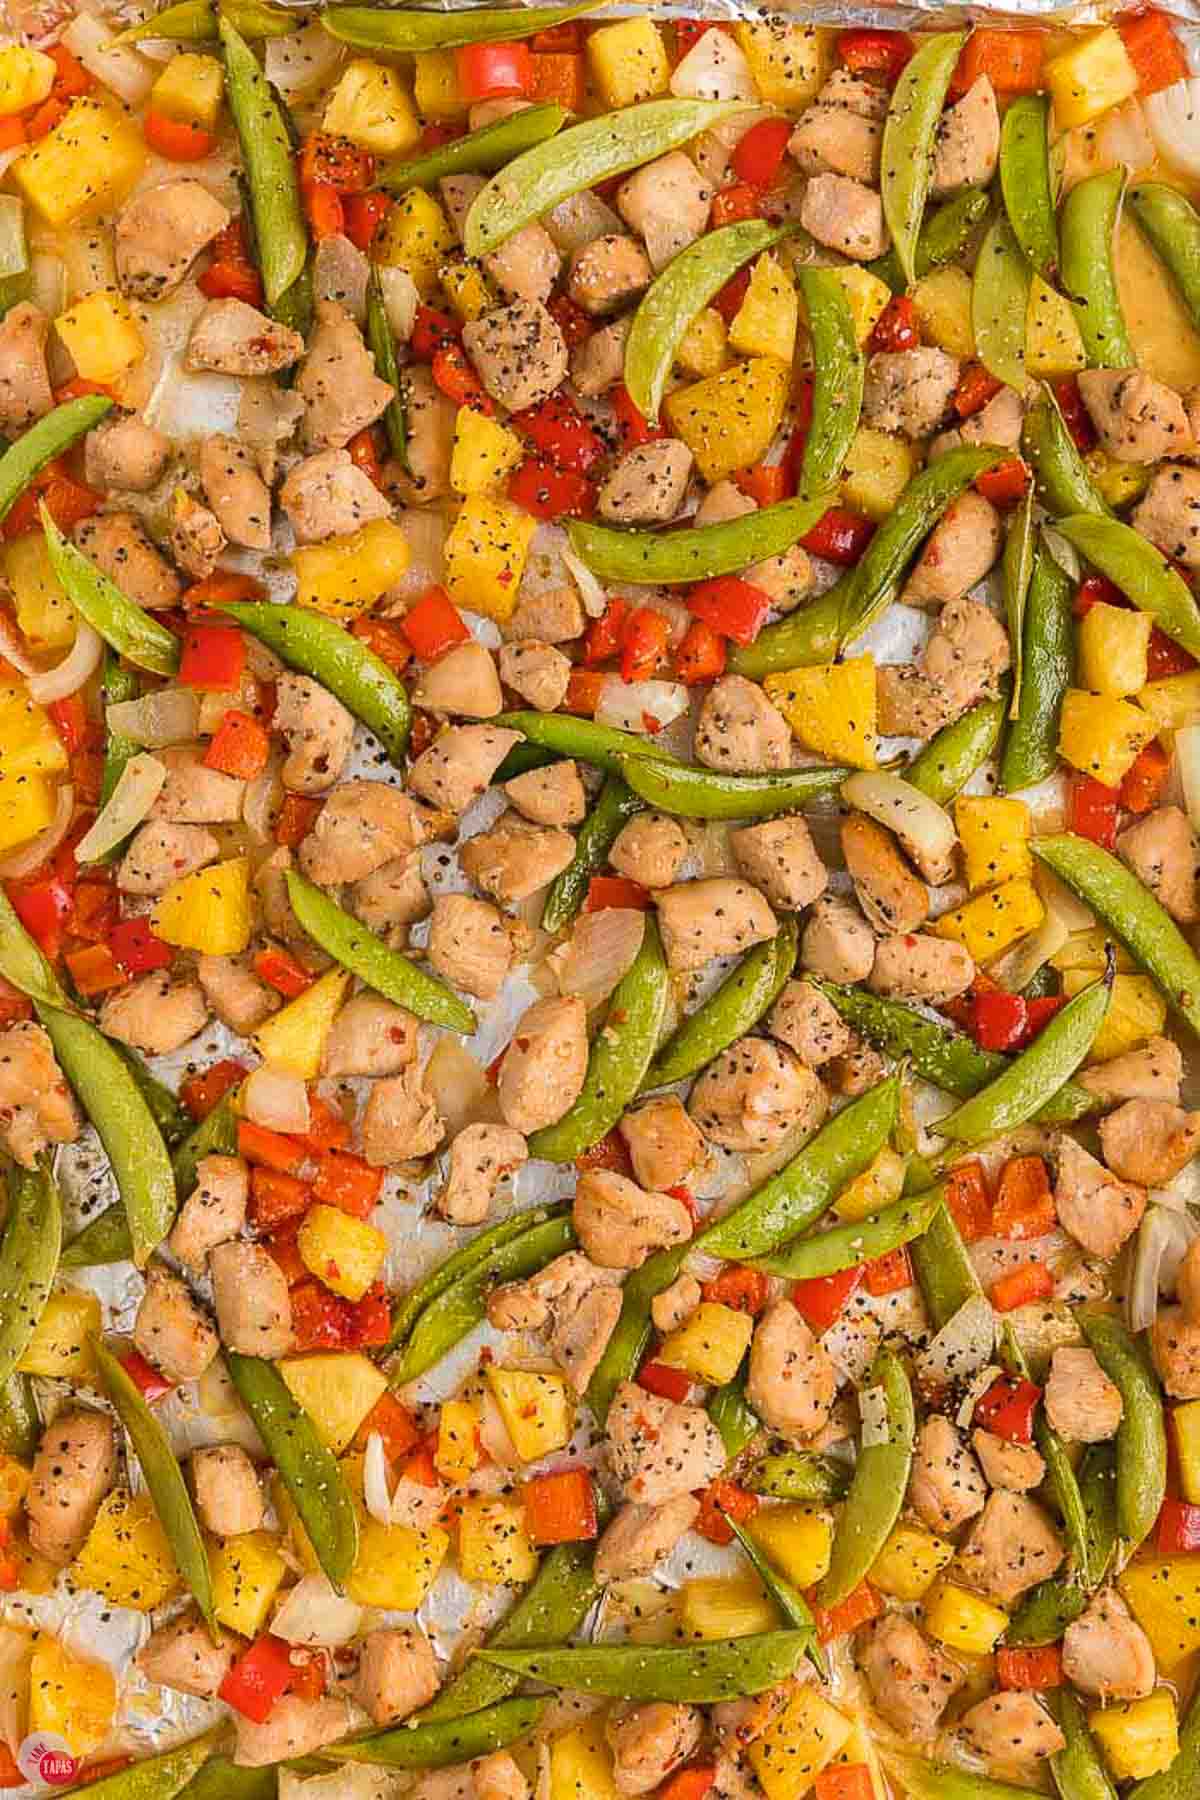
- Arrange the coated chicken, bell peppers, onion, and pineapple chunks on the prepared sheet pan in a single layer. Bake for 20 minutes.
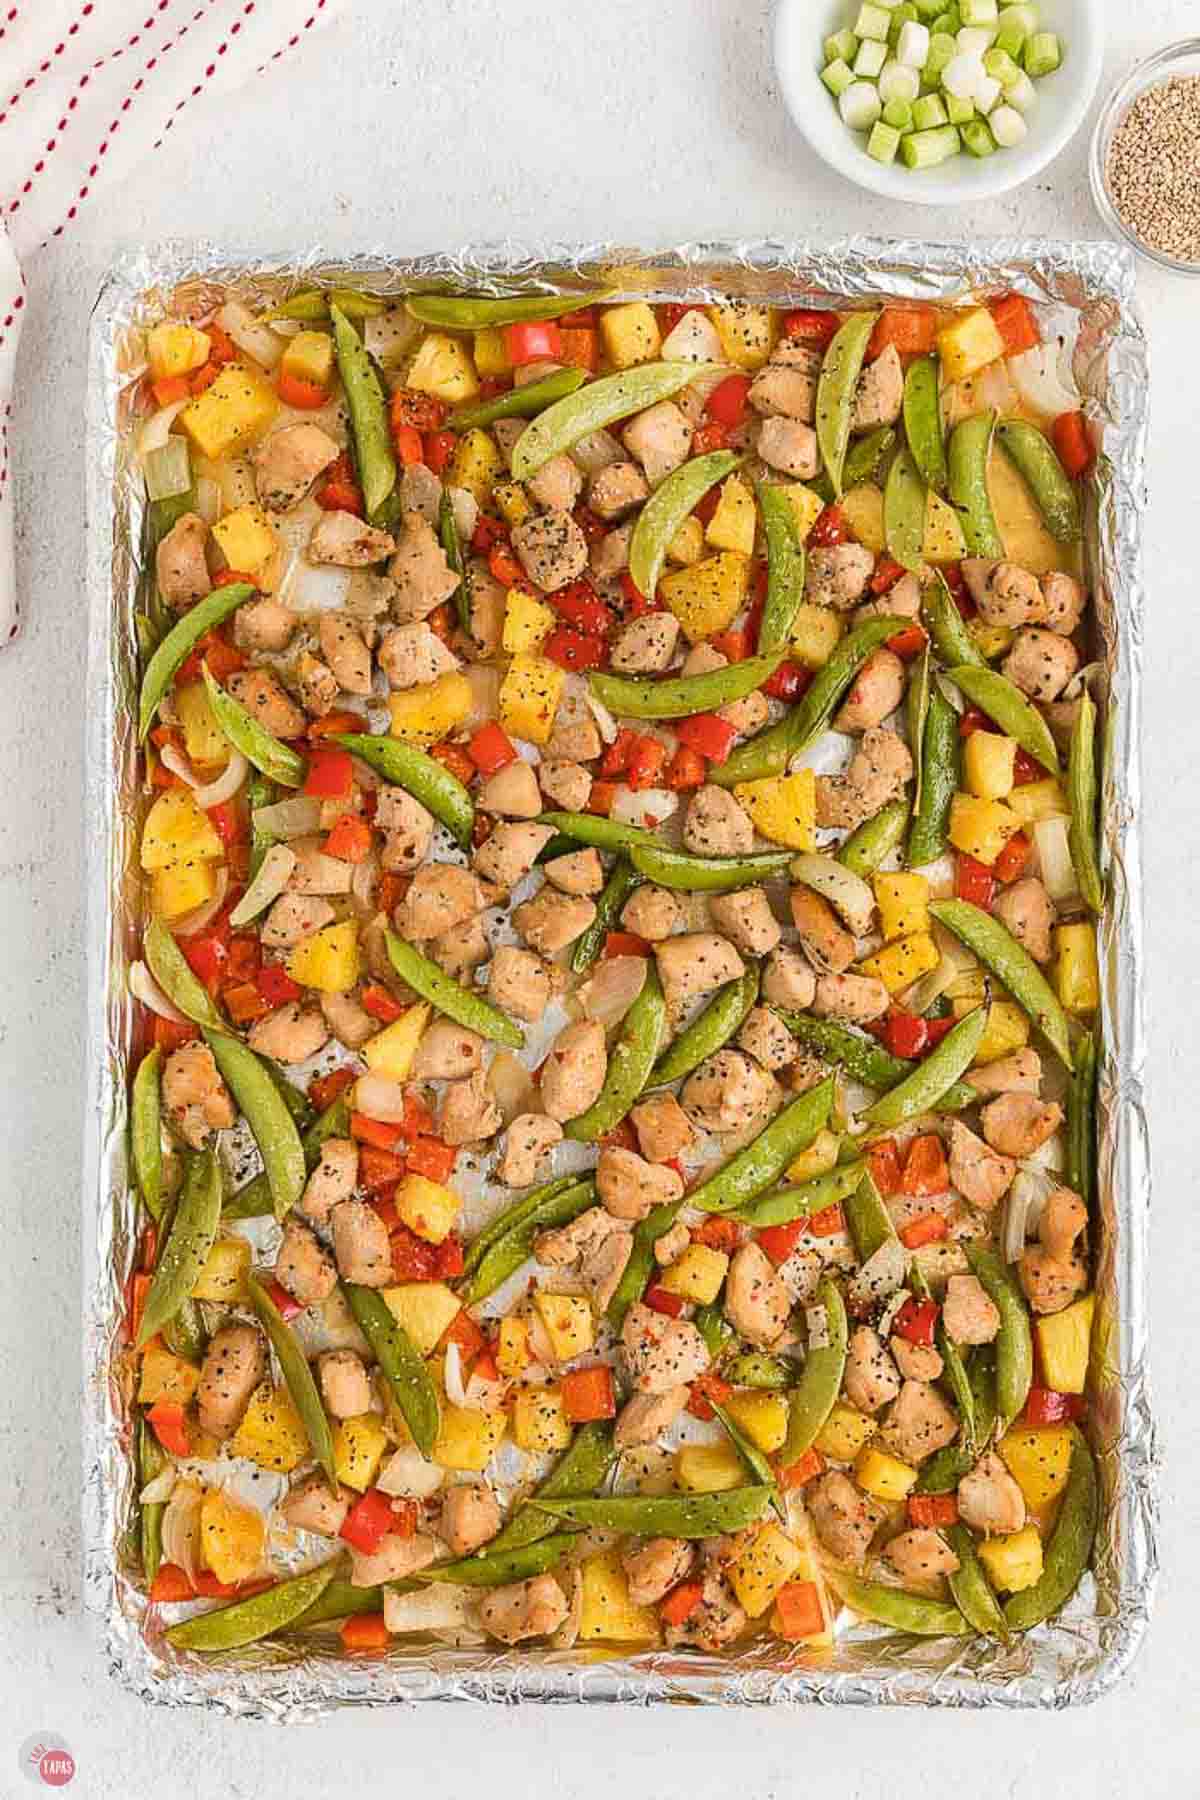
- Remove the pan and baste everything with the reserved sauce, tossing to coat. Return to the oven and bake another 10 to 15 minutes, until the chicken is cooked through and the sauce is sticky and caramelized. Serve over Rice, garnished with green onions and sesame seeds
For the full recipe and detailed instructions, please refer to the recipe card at the bottom of the post.
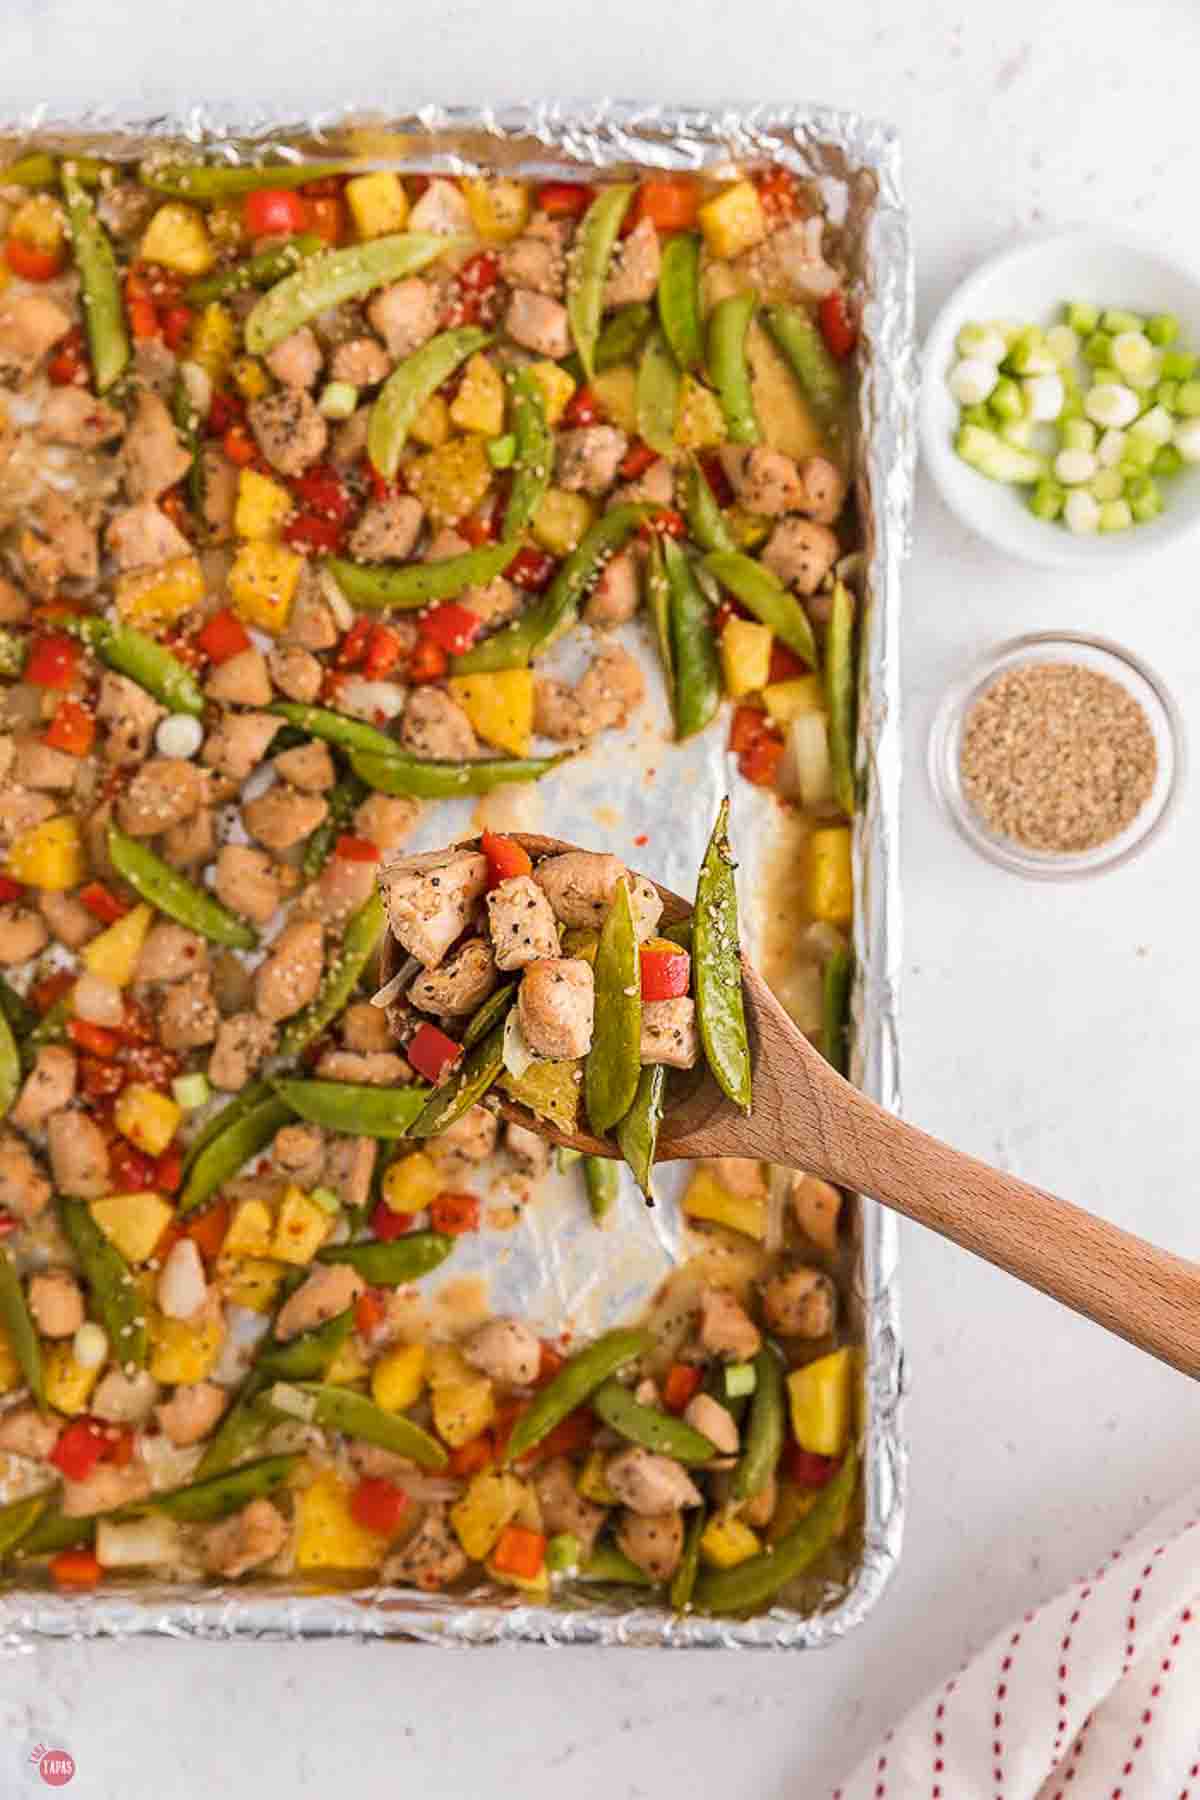
Storage & Reheating
Refrigerator: Store leftovers in an airtight container for up to 4 days.
Reheat: Microwave, or warm in a skillet over medium heat. Add a splash of water if the sauce has thickened too much in the fridge.
Freezer: Freeze for up to 2 months. The peppers soften a bit after thawing, but the flavor holds up well. Thaw overnight in the fridge.
Make Ahead: Cut the chicken and veggies and whisk the sauce ahead of time, store separately, then combine and roast when you’re ready.
Variations
Add Heat: Stir sriracha or red pepper flakes into the sauce for a spicy sweet and sour.
Different Protein: Swap the chicken for shrimp, pork, or crispy tofu.
More Veggies: Add broccoli, snap peas, or carrots to the pan.
Extra Pineapple: Double the pineapple if you like it on the sweeter, fruitier side.
Lighter Sauce: Cut the brown sugar back and lean on the pineapple juice for sweetness.
How Do You Thicken Sweet and Sour Sauce?
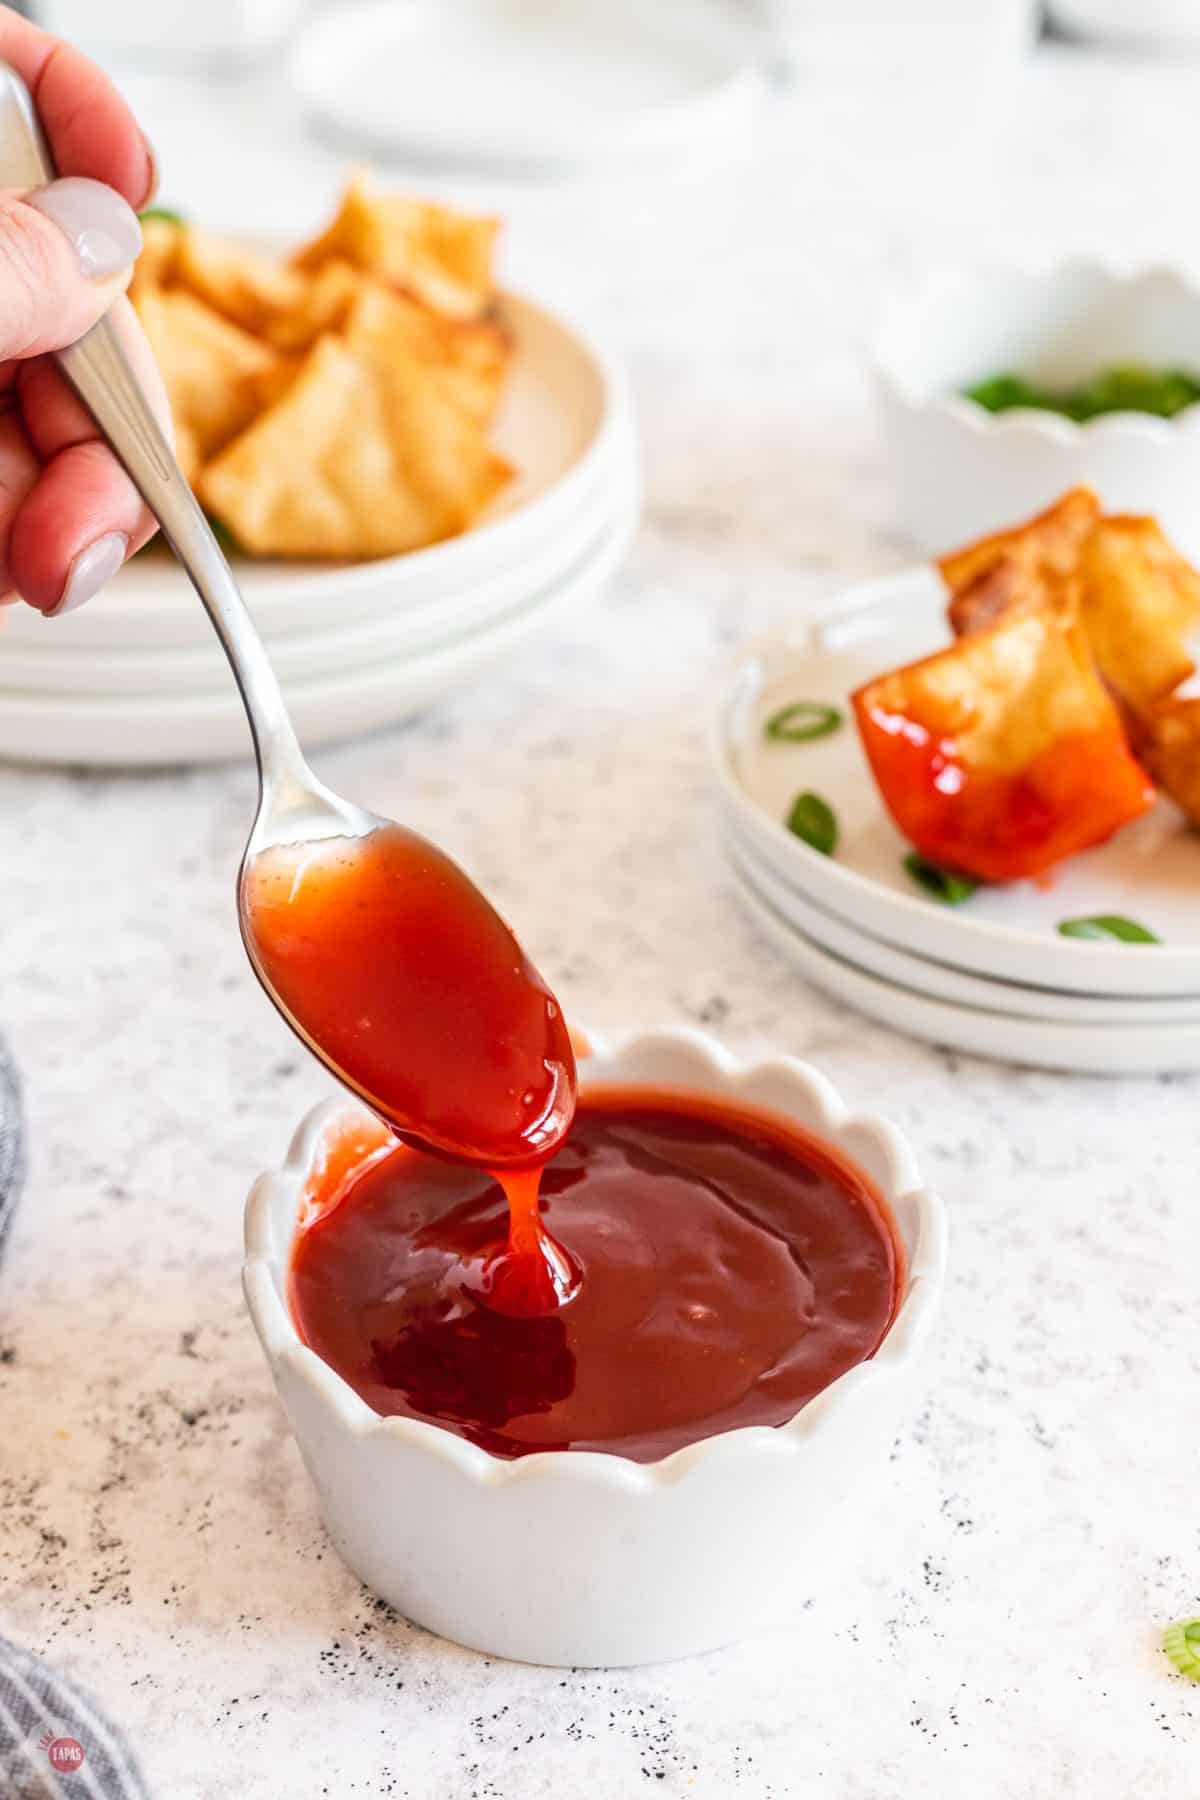
The secret to that glossy, sticky, clings-to-everything sauce is cornstarch.
Whisk a Cornstarch Slurry (equal parts cornstarch and cold water) and stir it into the sauce as it simmers. Within a minute or two it thickens up and turns glossy, which is exactly what you want it to do so it coats the chicken instead of pooling at the bottom of the pan.
One thing to watch: don’t cook the sauce too long after it thickens, since cornstarch can break down with extended heat and thin back out.
Thicken it, get it glossy, and pull it off the heat.
Frequently Asked Questions
Yes. Whisk it together and store it in the fridge for up to a few days. Give it a stir before using, since the cornstarch settles.
Thaw it completely and pat it dry first. Cooking from frozen makes it hard to get that light crisp on the chicken and can water down the sauce. You might need to add a few extra minutes to the cooking time.
Use a cornstarch slurry, equal parts cornstarch and cold water, stirred in as the sauce simmers. It thickens into a glossy sauce in a minute or two. This sauce doesn’t need to simmer since it’s lighter and it’s baked but you still need it.
Yes. Use tamari or a gluten free soy sauce, and check that your other ingredients are gluten free. The rest of the recipe works as written.
White or brown rice is classic for soaking up the sauce. Fried rice, lo mein, or cauliflower rice for a lighter option all work too.
Absolutely. Fresh pineapple works great. If you use it, you’ll just want a little extra juice or water in the sauce to make up for the canned juice.
Recipe Tips & Tricks
- Cut the chicken and veggies into even, bite sized pieces so everything cooks at the same rate.
- Save the pineapple juice for the sauce. It’s the flavor base and where the cornstarch goes.
- Marinate the chicken in half the sauce before baking, then baste with the rest partway through for the stickiest, most caramelized result. Or double the sauce recipe and coat the veggies in it too.
- Swap out this version of sauce for the traditional red Sweet and Sour Sauce.
- Line the pan with parchment or foil for basically no cleanup.
This Sheet Pan Sweet and Sour Chicken recipe is sticky, tangy, and better than takeout in every way that counts. Make it over rice for your next busy weeknight and skip the delivery fee!
If you love this recipe as much as I do, please leave us a ⭐️⭐️⭐️⭐️⭐️ five-star review in the comment section below. Thanks!
Sheet Pan Sweet and Sour Chicken Recipe
Ingredients
Sheet Pan Meal
- 1 pound boneless skinless chicken breasts or tenders cut into bite-sized pieces.
- 1 ½ cups fresh pineapple diced into bite-sized pieces
- 1 cup snow peas substitute sugar snap peas
- 1 medium red bell pepper diced into bite-sized pieces
- ½ cup onion diced same size as the bell pepper
- 2 tablespoon olive oil
- pinch salt to taste
- pinch black pepper to taste
- sesame seeds for garnish
- green onions for garnish
Sweet and Sour Marinade
- ⅓ cup teriyaki sauce
- 2 tablespoons olive oil
- 2 tablespoon honey
- 3 cloves garlic minced fine
- 2 teaspoons ground ginger
- 1 teaspoon freshly ground black pepper
- ½ teaspoon crushed red pepper flakes
Instructions
- In a medium bowl, combine all ingredients for the sauce.
- To a large zip-top bag add the chicken and the sauce. Seal bag, move contents around to coat the chicken evenly, and place the bag in the fridge to marinate for at least 30 minutes (overnight is best).
- Preheat oven to 475F and line a baking sheet with foil sprayed with non-stick spray for easy clean up.
- To the baking sheet, add the pineapple, snow peas, onion, and bell pepper. Drizzle with 2 tablespoons olive oil, and season with salt and pepper to taste.
- Remove the chicken from the bag with tongs or a fork and place it on the baking sheet. Move around/toss using tongs with the veggies. Spread evenly around the baking sheet making a single layer.
- Bake for about 15 minutes (stirring halfway through) or until chicken is cooked through. Because of the natural sugars in this recipe keep an eye on the baking sheet. The chicken (in small pieces) and the sweet pineapple can easily burn. I would start checking between 8-10 minutes.
- Remove from the oven and let rest for 2-3 minutes. Garnish with sliced green onions and sesame seeds if desired. Serve with rice if desired.
Notes
- Cut the chicken and veggies into even, bite sized pieces so everything cooks at the same rate.
- Save the pineapple juice for the sauce. It’s the flavor base and where the cornstarch goes.
- Marinate the chicken in half the sauce before baking, then baste with the rest partway through for the stickiest, most caramelized result. Or double the sauce recipe and coat the veggies in it too.
- Swap out this version of sauce for the traditional red Sweet and Sour Sauce.
- Line the pan with parchment or foil for basically no cleanup.
Nutrition
©TakeTwoTapas.com. Content and photographs are copyright protected. Sharing of this recipe is both encouraged and appreciated. Copying and/or pasting full recipes to any social media is strictly prohibited.