Lunch Lady Brownies
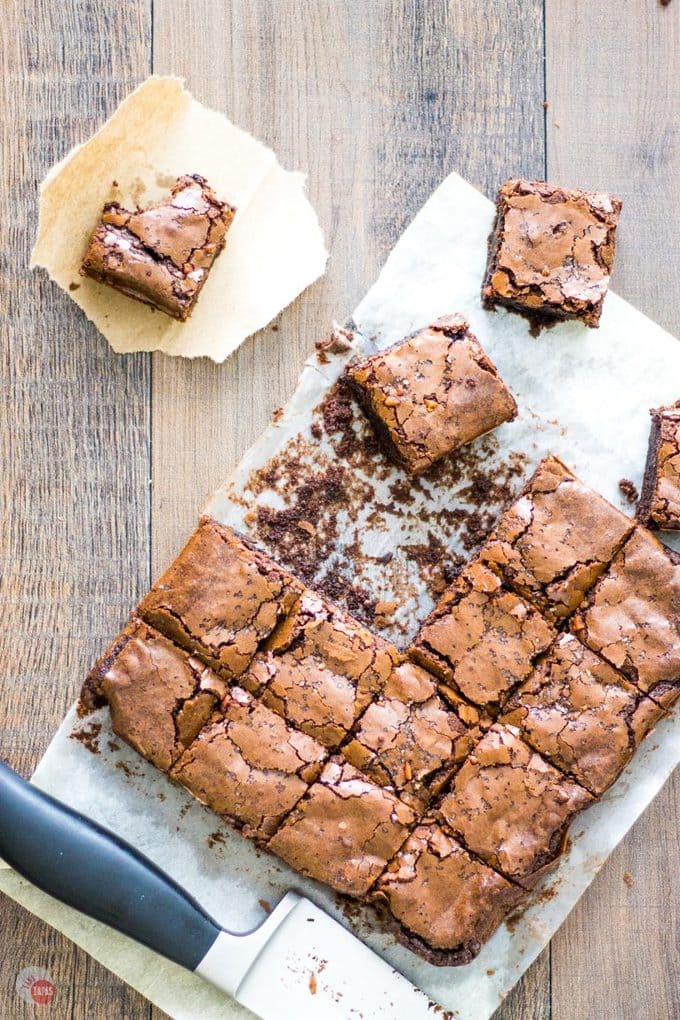
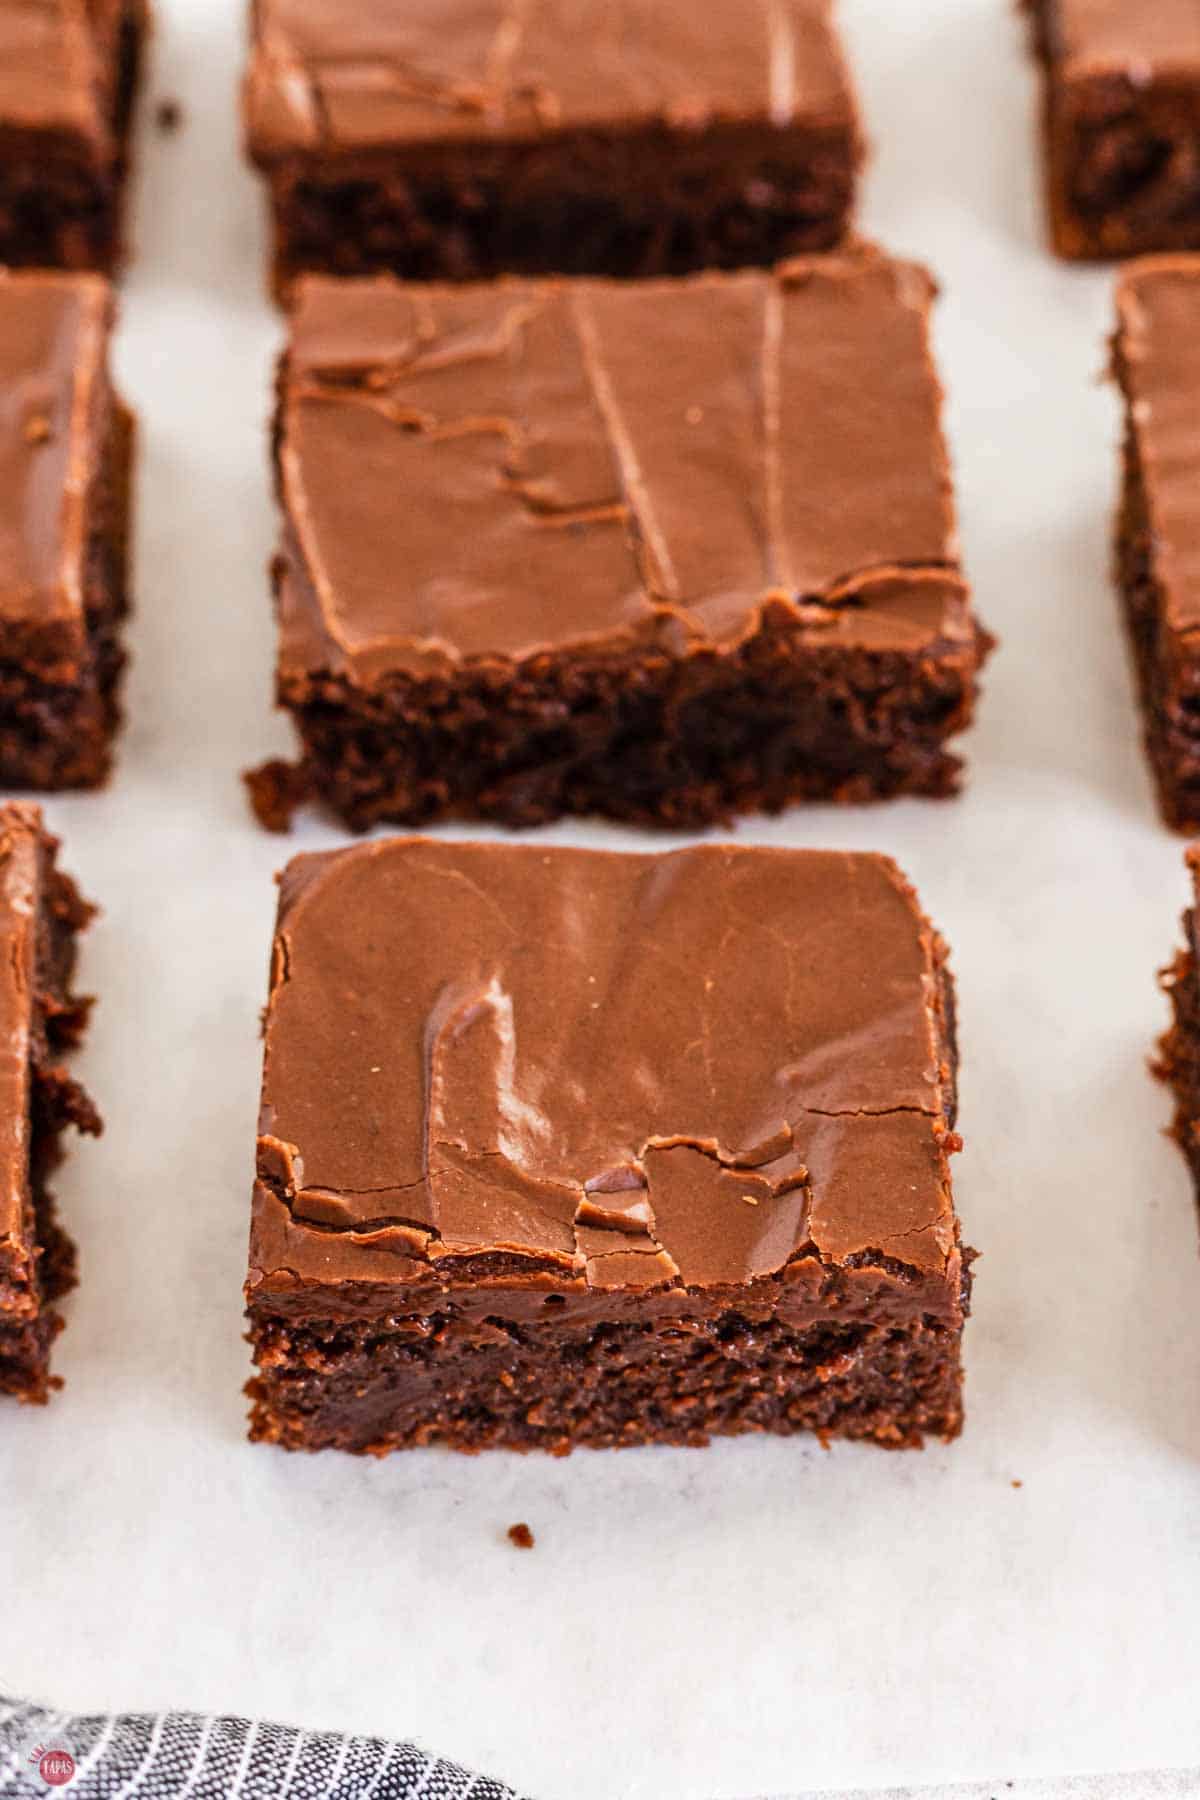
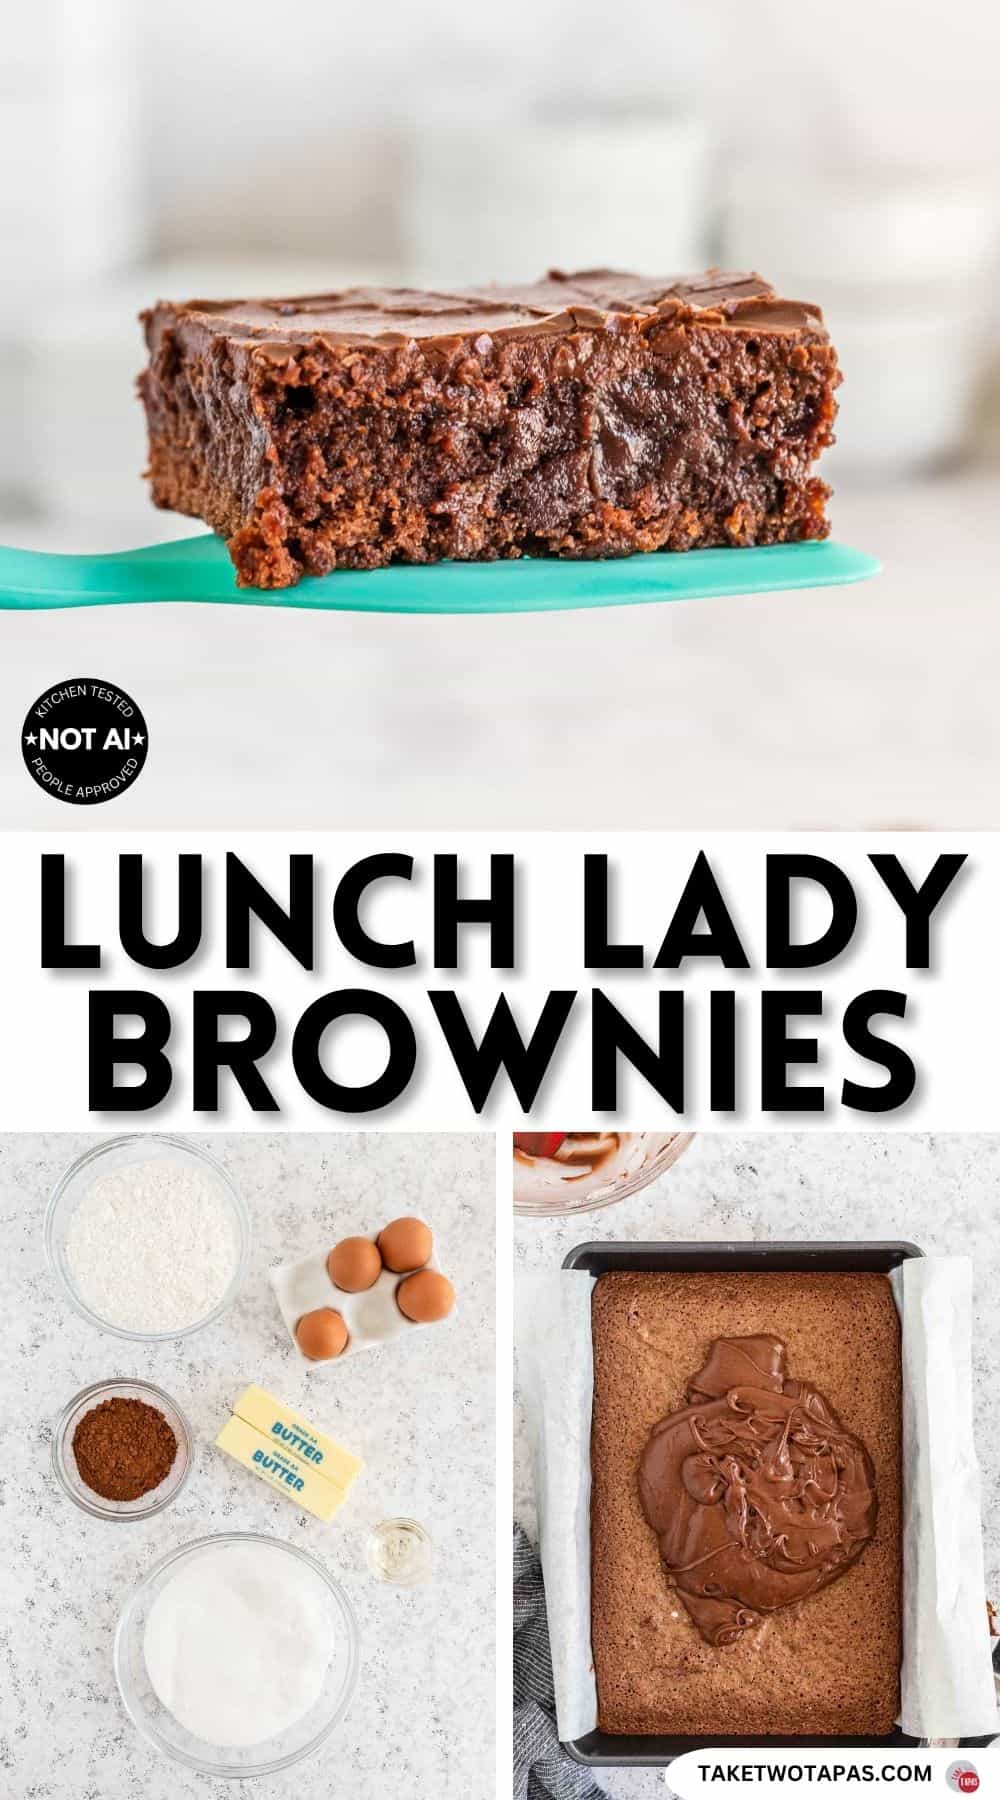
Lunch Lady Brownies are the rich, fudgy cafeteria classic you remember, topped with a creamy homemade chocolate frosting that melts into a soft crust as it sets. Made in one bowl with basic pantry staples, they’re an easy, nostalgic treat that comes together with almost no fuss. The frosting is worth waiting in line for, just like the originals. Made with pantry staples, they’re ready in about 40 minutes and make 24 brownies.
We were halfway through a batch of brownies when my husband and I started talking about the ones from the elementary school cafeteria.
You know the ones. Rich, fudgy, smothered in chocolate frosting, and absolutely worth waiting in line for.
Say what you want about school lunch, but those lunch ladies could bake.
They were up before the sun making everything from scratch, and those brownies were the proof. So I recreated them, and all these years later they still get gobbled up the second they’re cut.
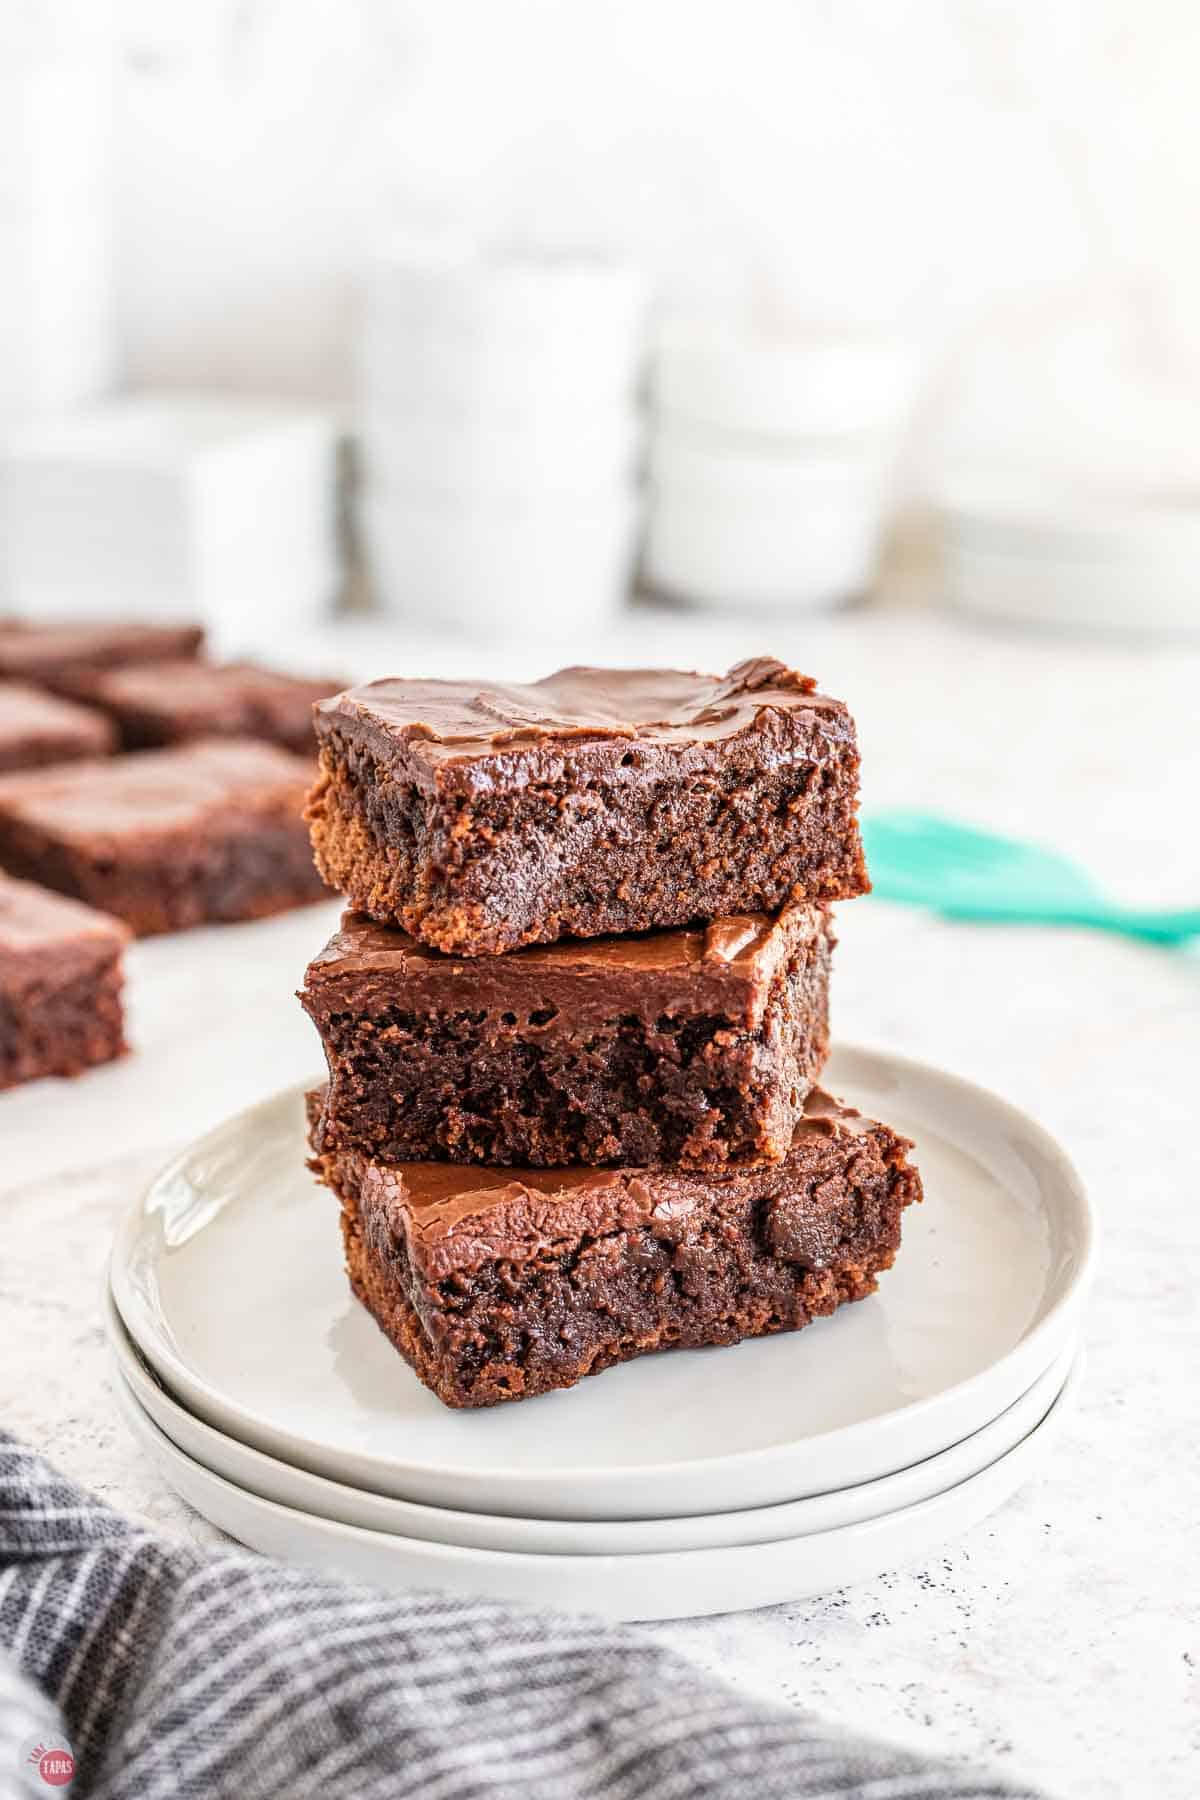
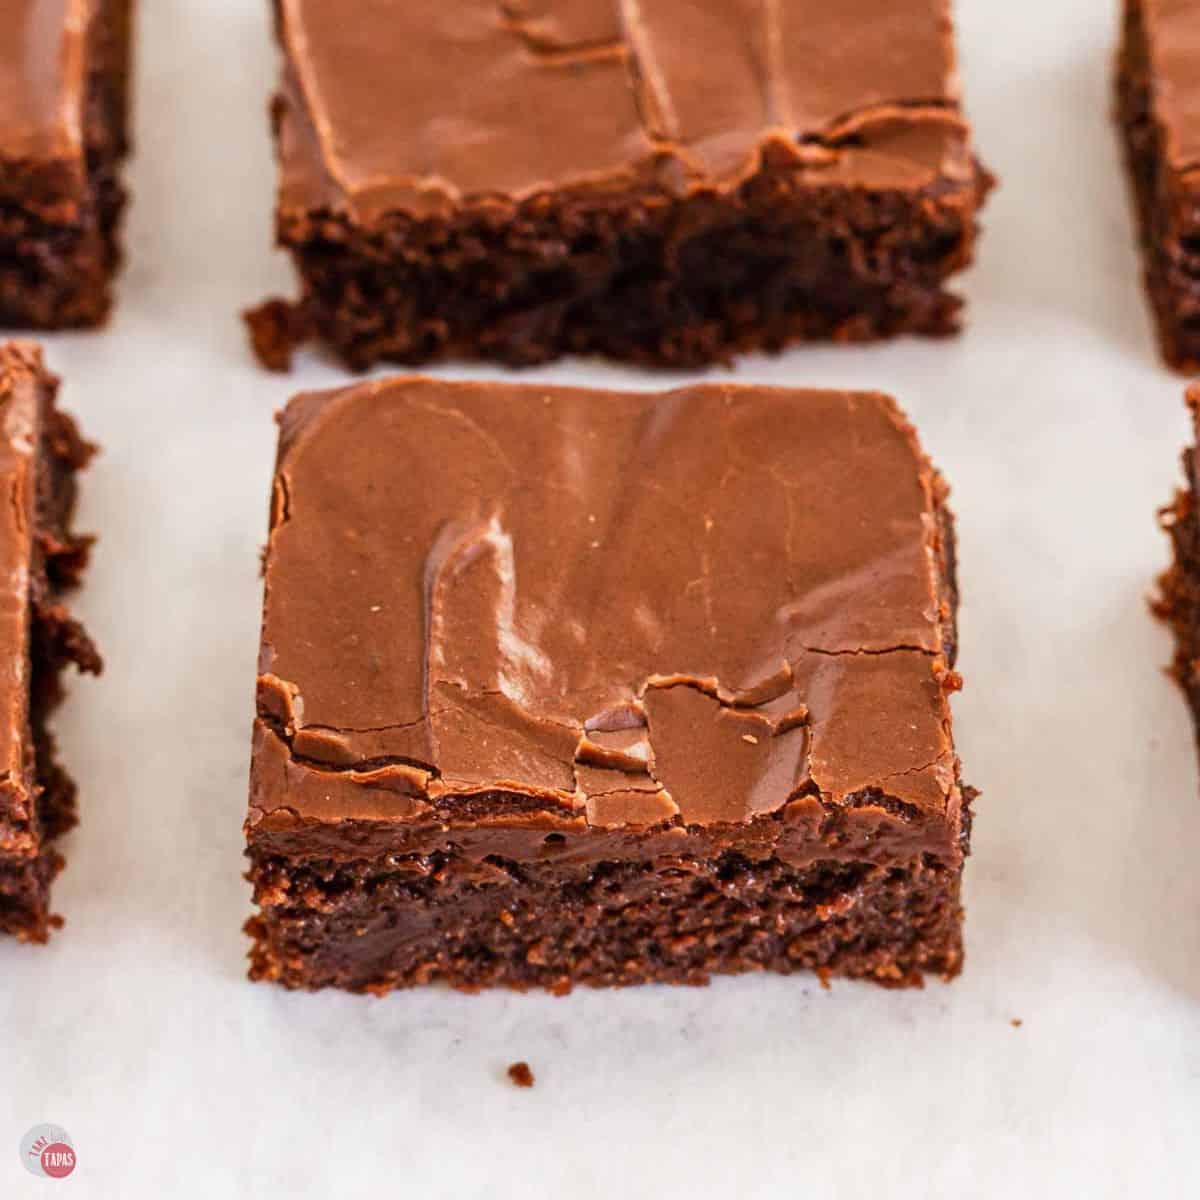
They’re rich and fudgy with a creamy homemade chocolate frosting that melts into the warm brownies and forms this soft, crackly crust on top. Funny how a dessert can bring the memories back!
The best part is how simple they are. One bowl, a few pantry staples, a couple minutes of prep. The hardest part is waiting for them to cool before you frost them, and I promise the wait is worth it.
If you love an easy nostalgic dessert, I have a few for you to try!
More Easy Chocolate Desserts
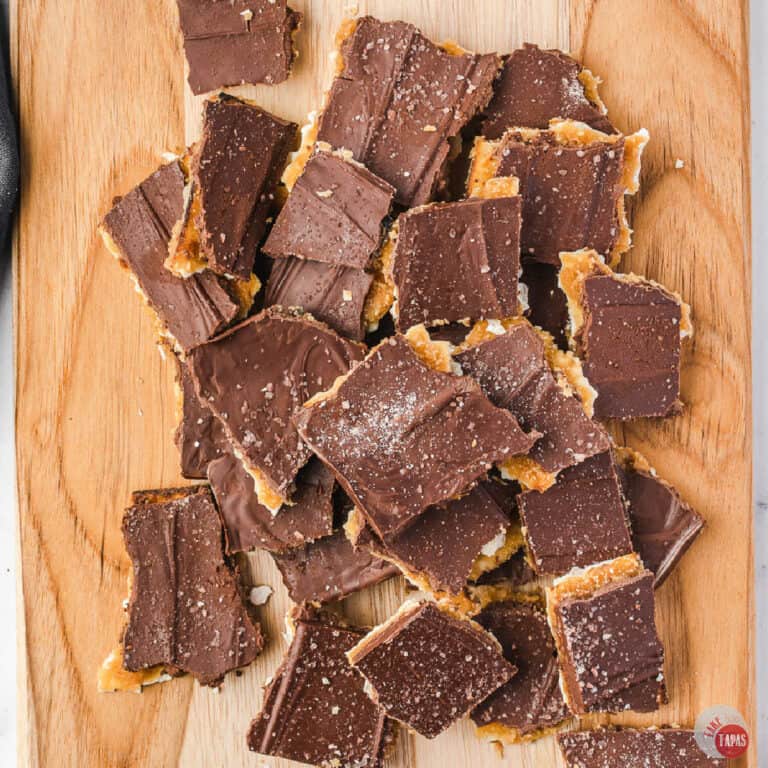
- Chocolate Lasagna – layered no bake creamy chocolate dessert
- S’mores Cupcakes – campfire chocolate flavor in a fluffy cupcake
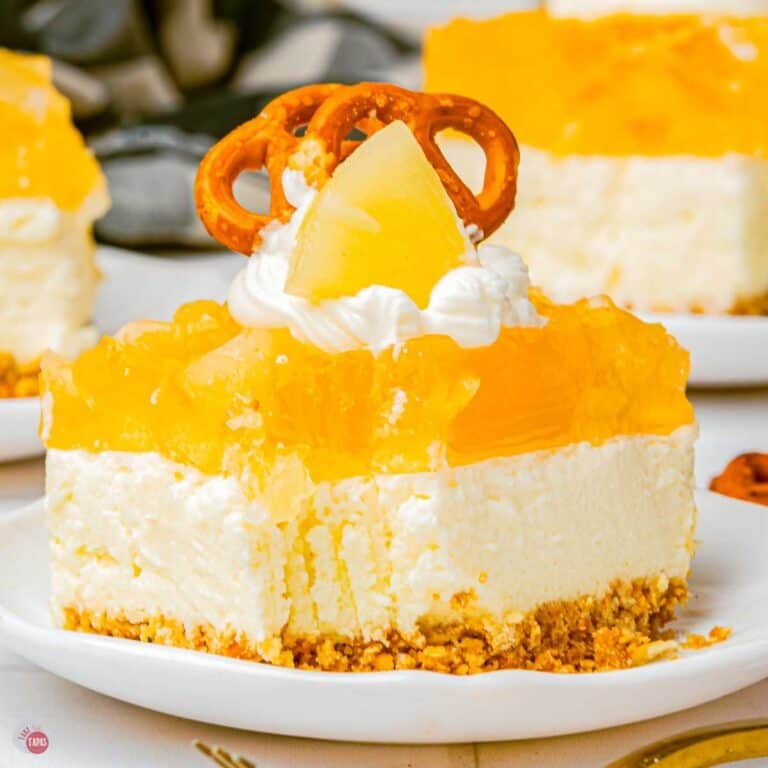
- Chocolate Chip Cheesecake Bars – creamy filling with chocolate chips
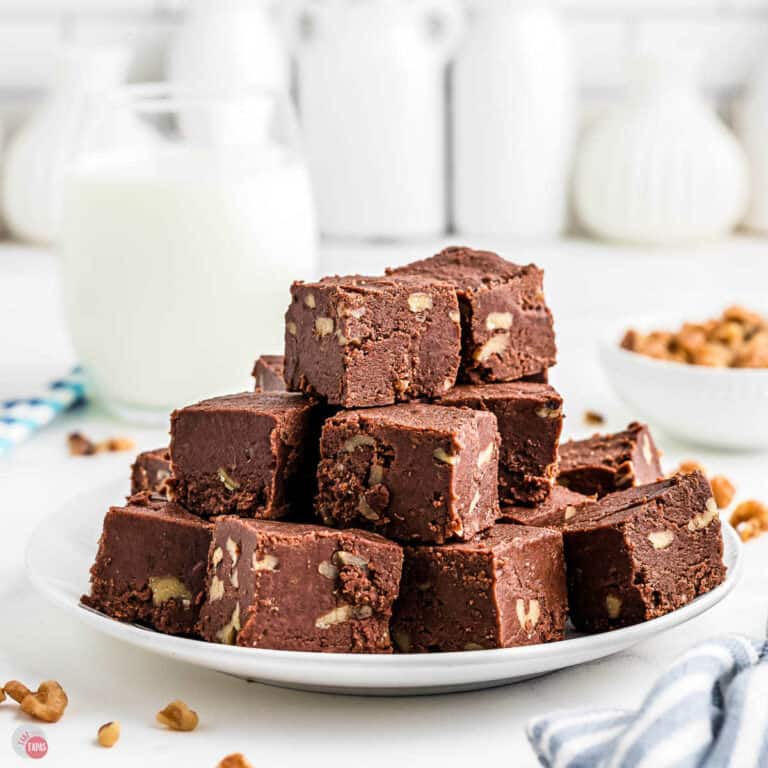
- Chocolate Peanut Butter Fudge – creamy fudge with no baking required
This post may contain affiliate links. As an Amazon Associate, I earn from qualifying purchases at no additional cost to you. Read my disclosure policy.
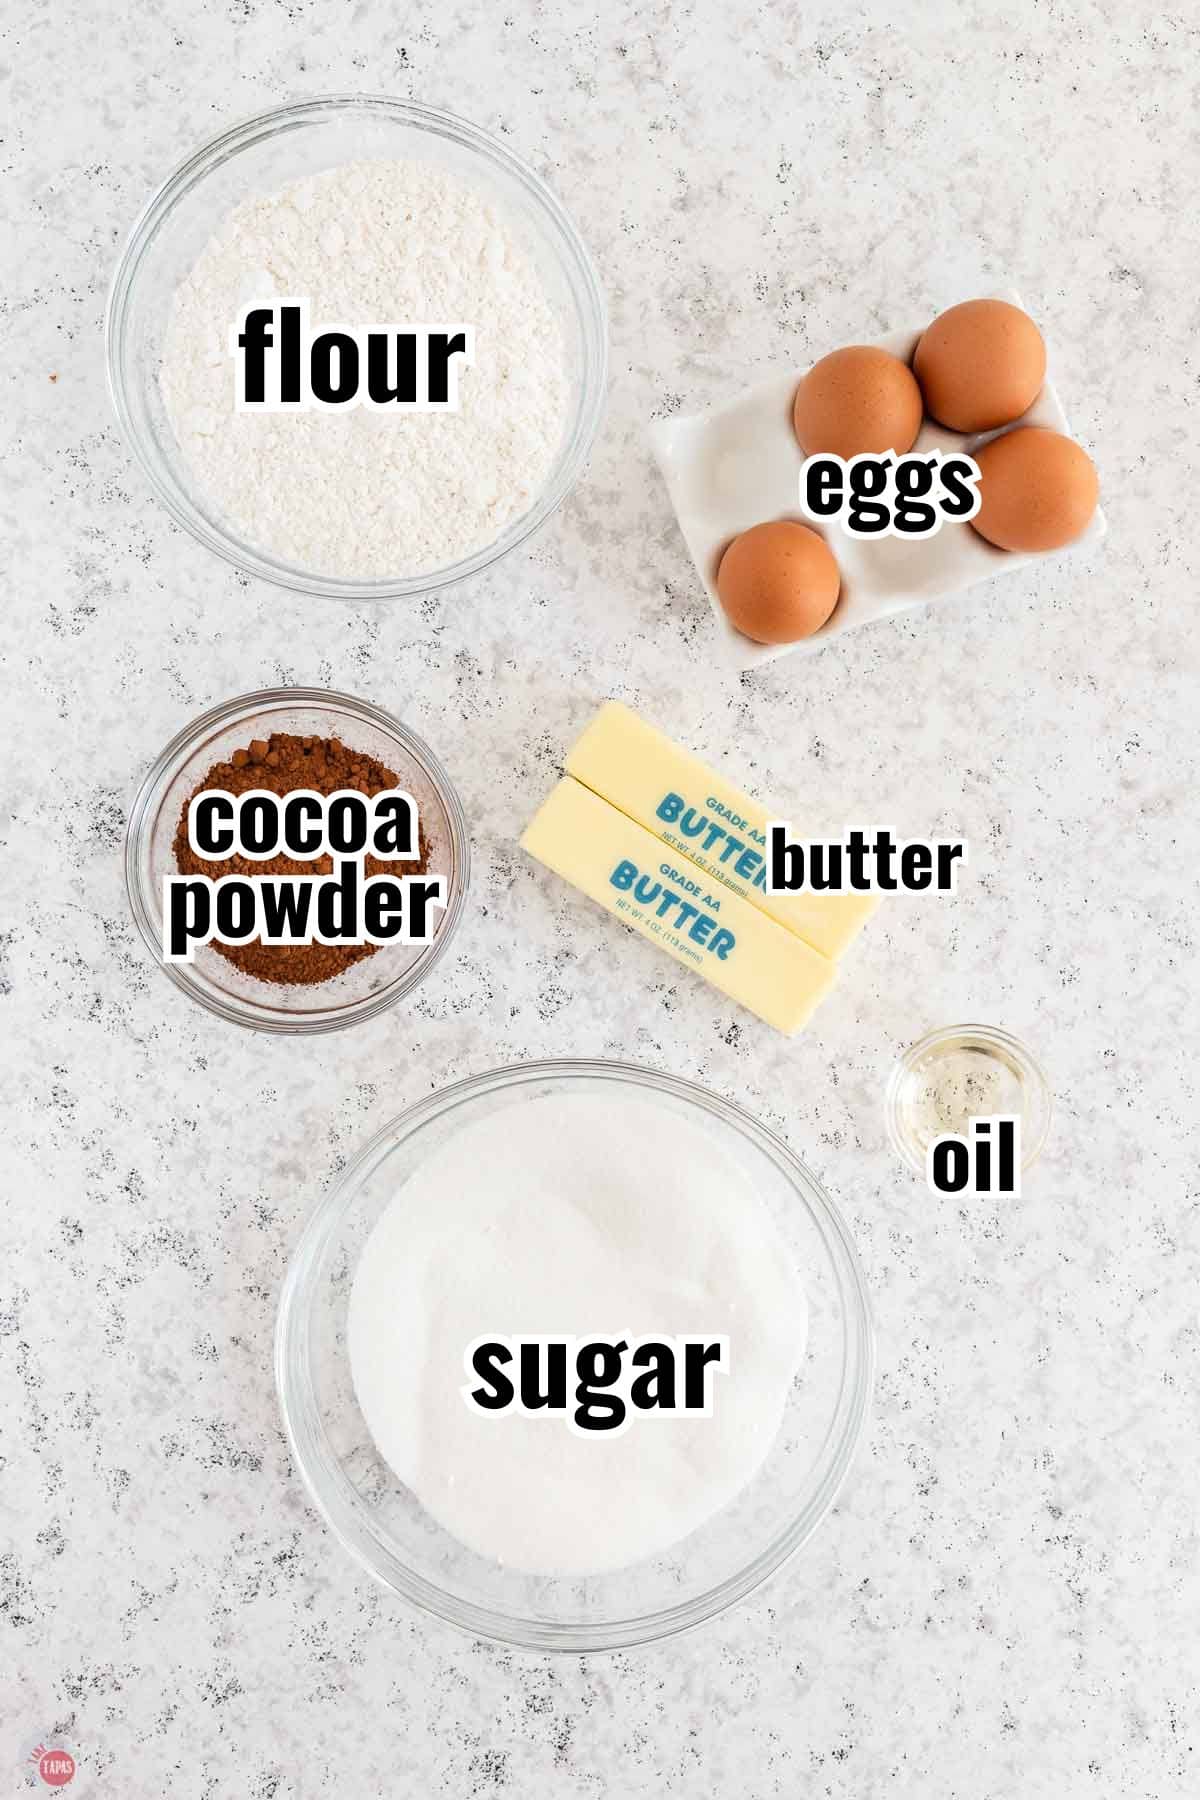
See recipe card for complete information on ingredients and their quantities.
Ingredient Notes
Butter – Salted or unsalted both work. If you use unsalted, add 1/4 teaspoon of salt to the dry ingredients. For the brownie layer the butter gets melted, but for the frosting it should be softened to room temperature, so don’t mix those up.
Cocoa Powder – Unsweetened, so you control the sugar. I use the same one for both the brownies and the frosting.
Flour – Use all purpose flour. Measure it by fluffing, spooning into the cup, and leveling, since packing it in makes dry, dense brownies. No one likes those…
Eggs – Large size, and bring to room temperature for easier mixing.
Sugar – Use regular, white, granulated sugar. I haven’t tested this with brown sugar or sugar substitutes so be warned!
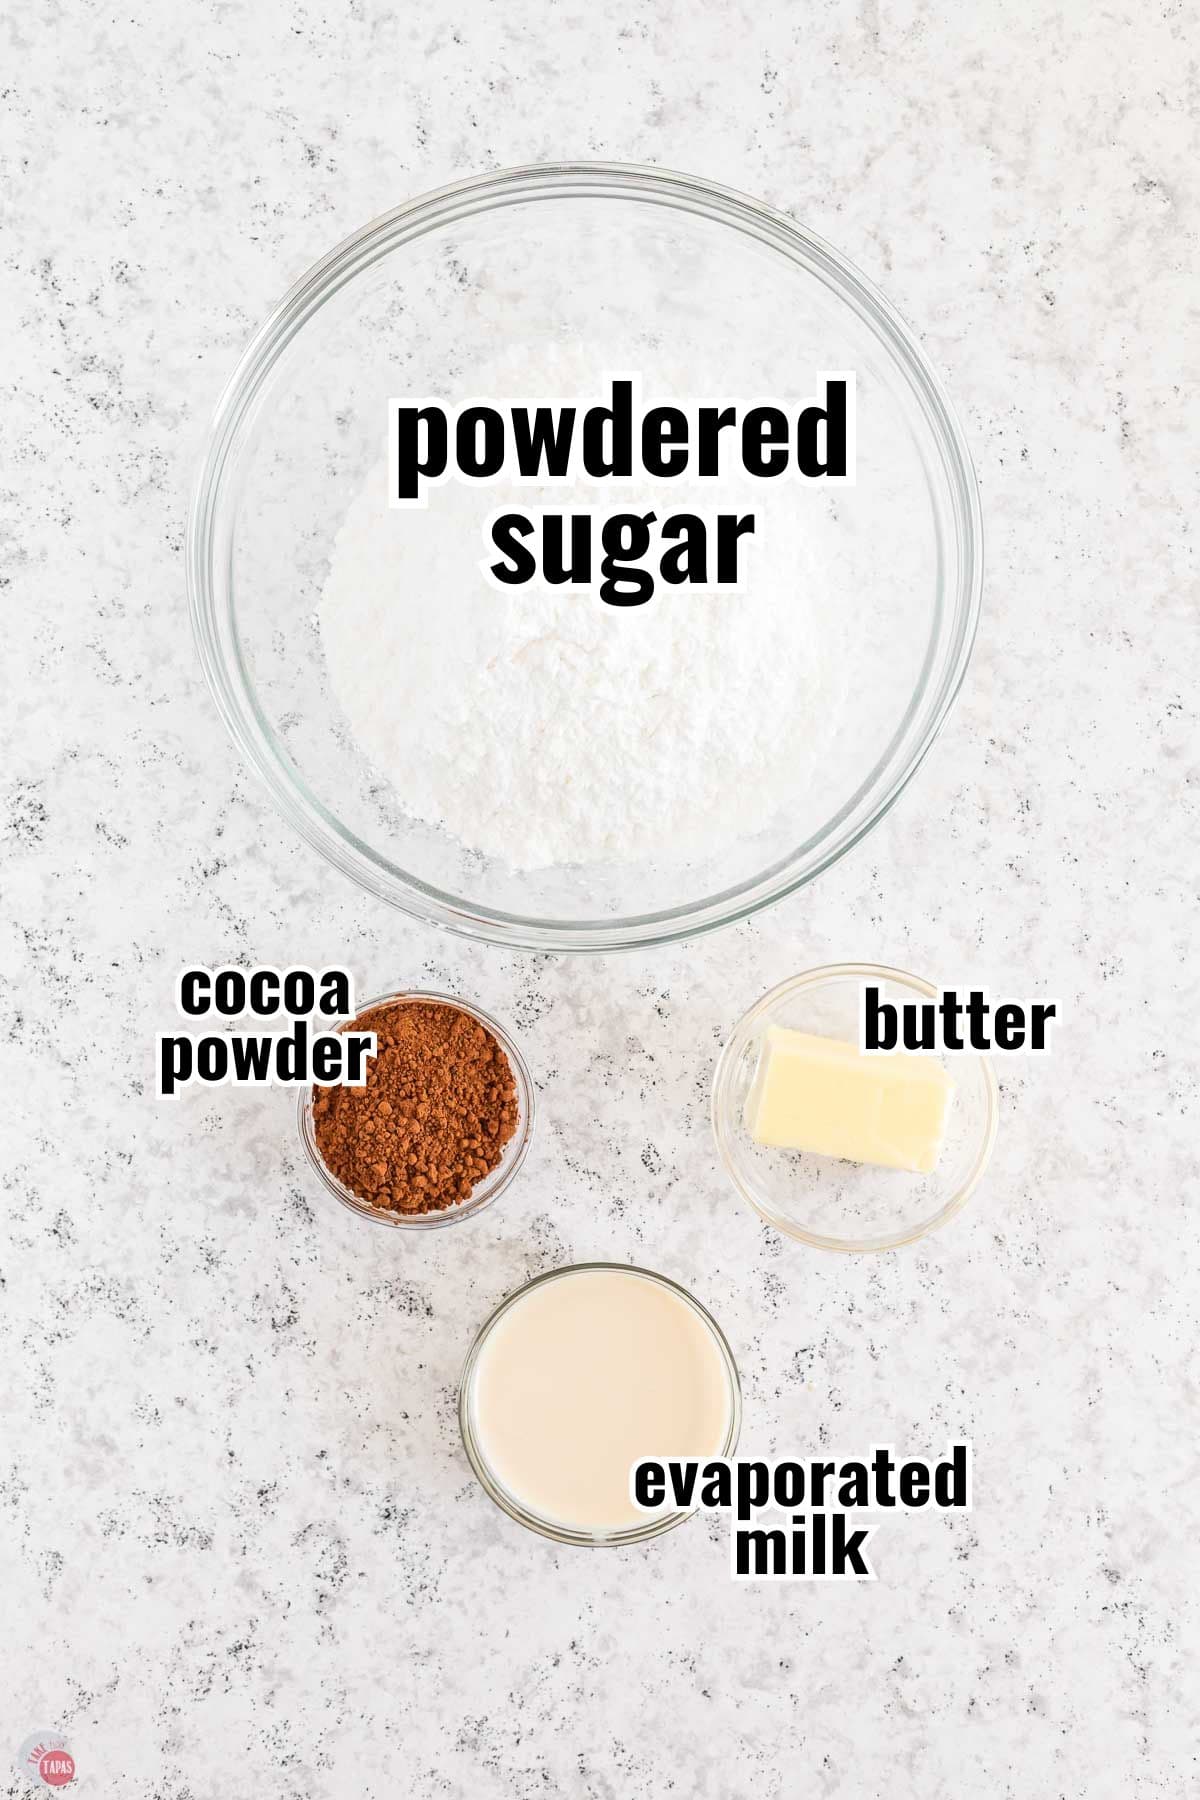
Frosting Ingredients
Powdered Sugar – Be sure to sift it before you use it or you will get clumps in your frosting. No one wants that nonsense.
Evaporated Milk – My frosting secret. It makes the frosting richer than regular milk, and I always have a can in the pantry. Heavy cream works too, or any milk if that’s what you’ve got.
For more insider tips, tricks, and a behind the scenes look, follow me on Pinterest, Facebook, Instagram, & X.
How To Make Lunch Lady Brownies
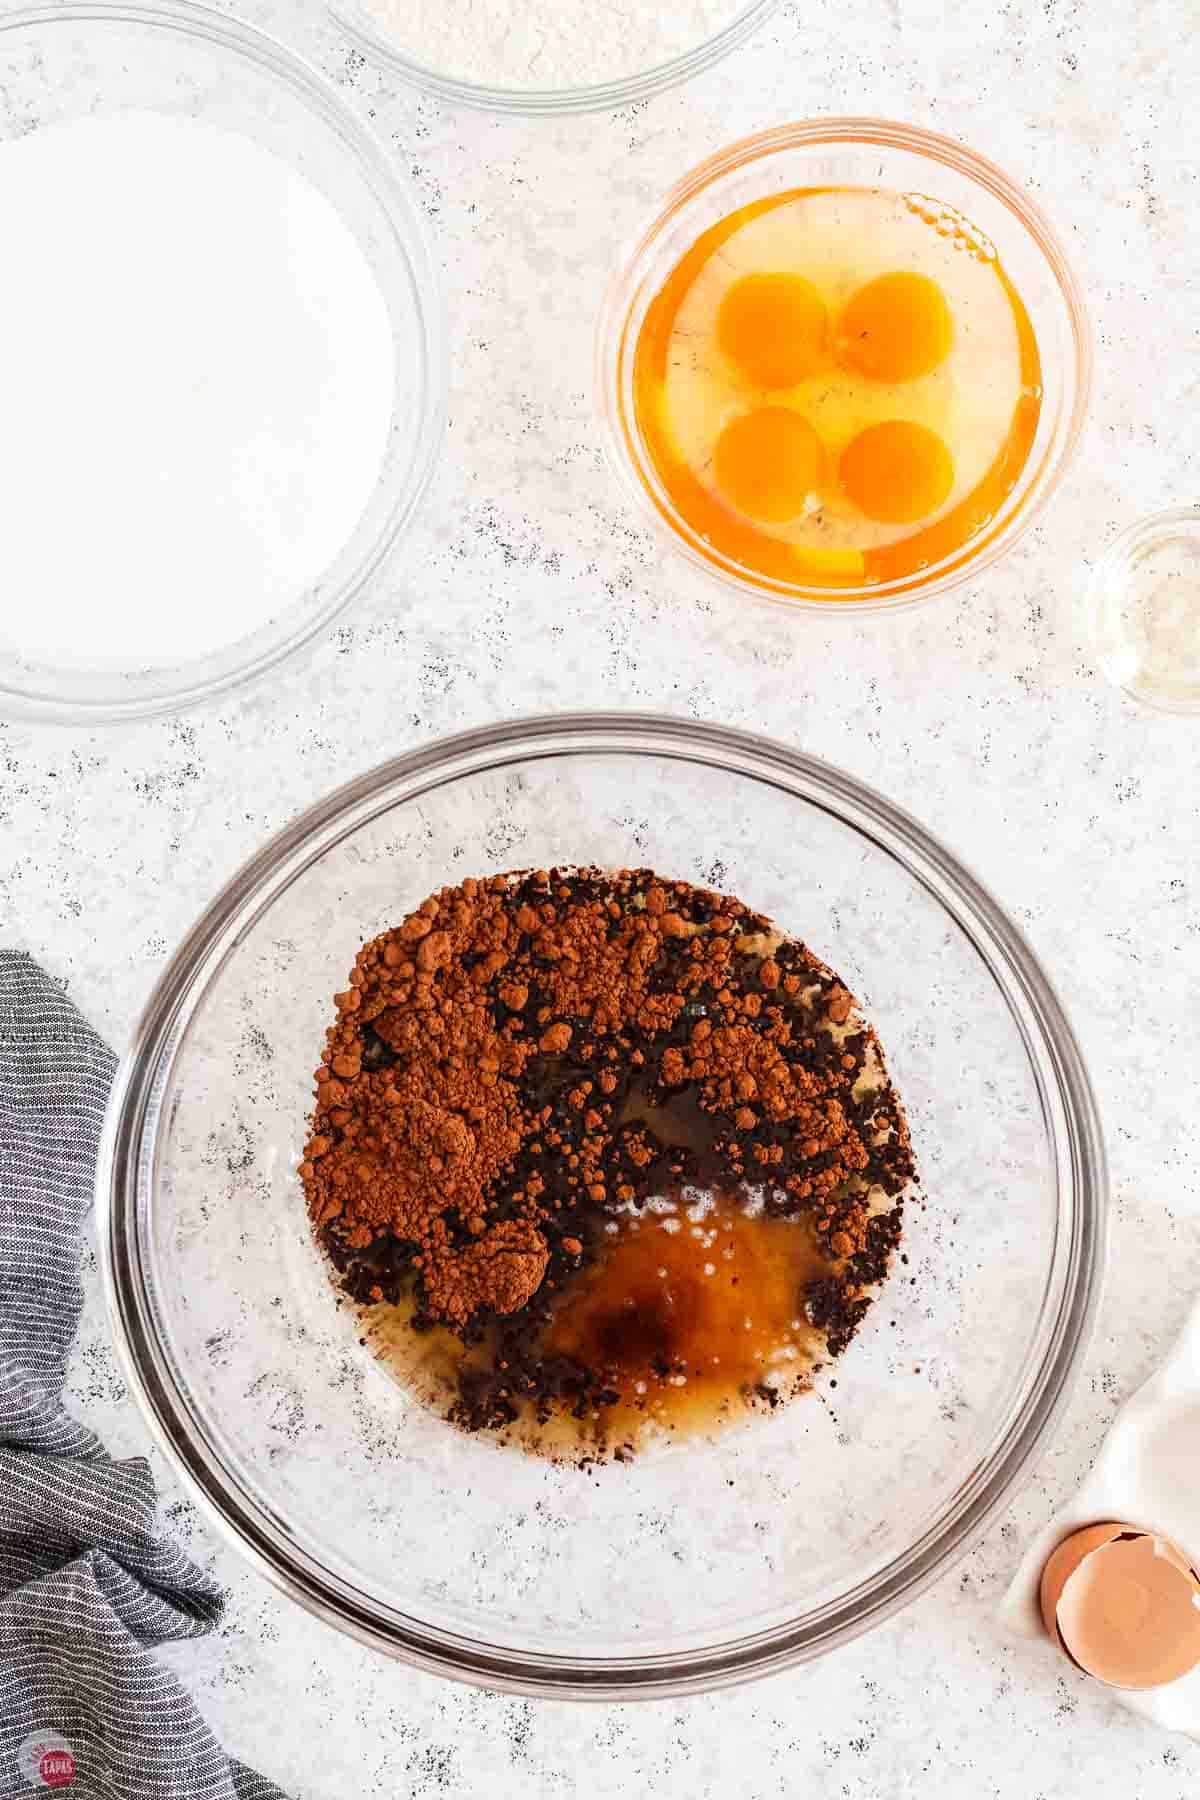
- Preheat the oven to 350°F. Line a 9×13 baking dish with foil or parchment and spray with nonstick spray. In a large bowl, combine the cocoa powder and melted butter and stir until smooth.
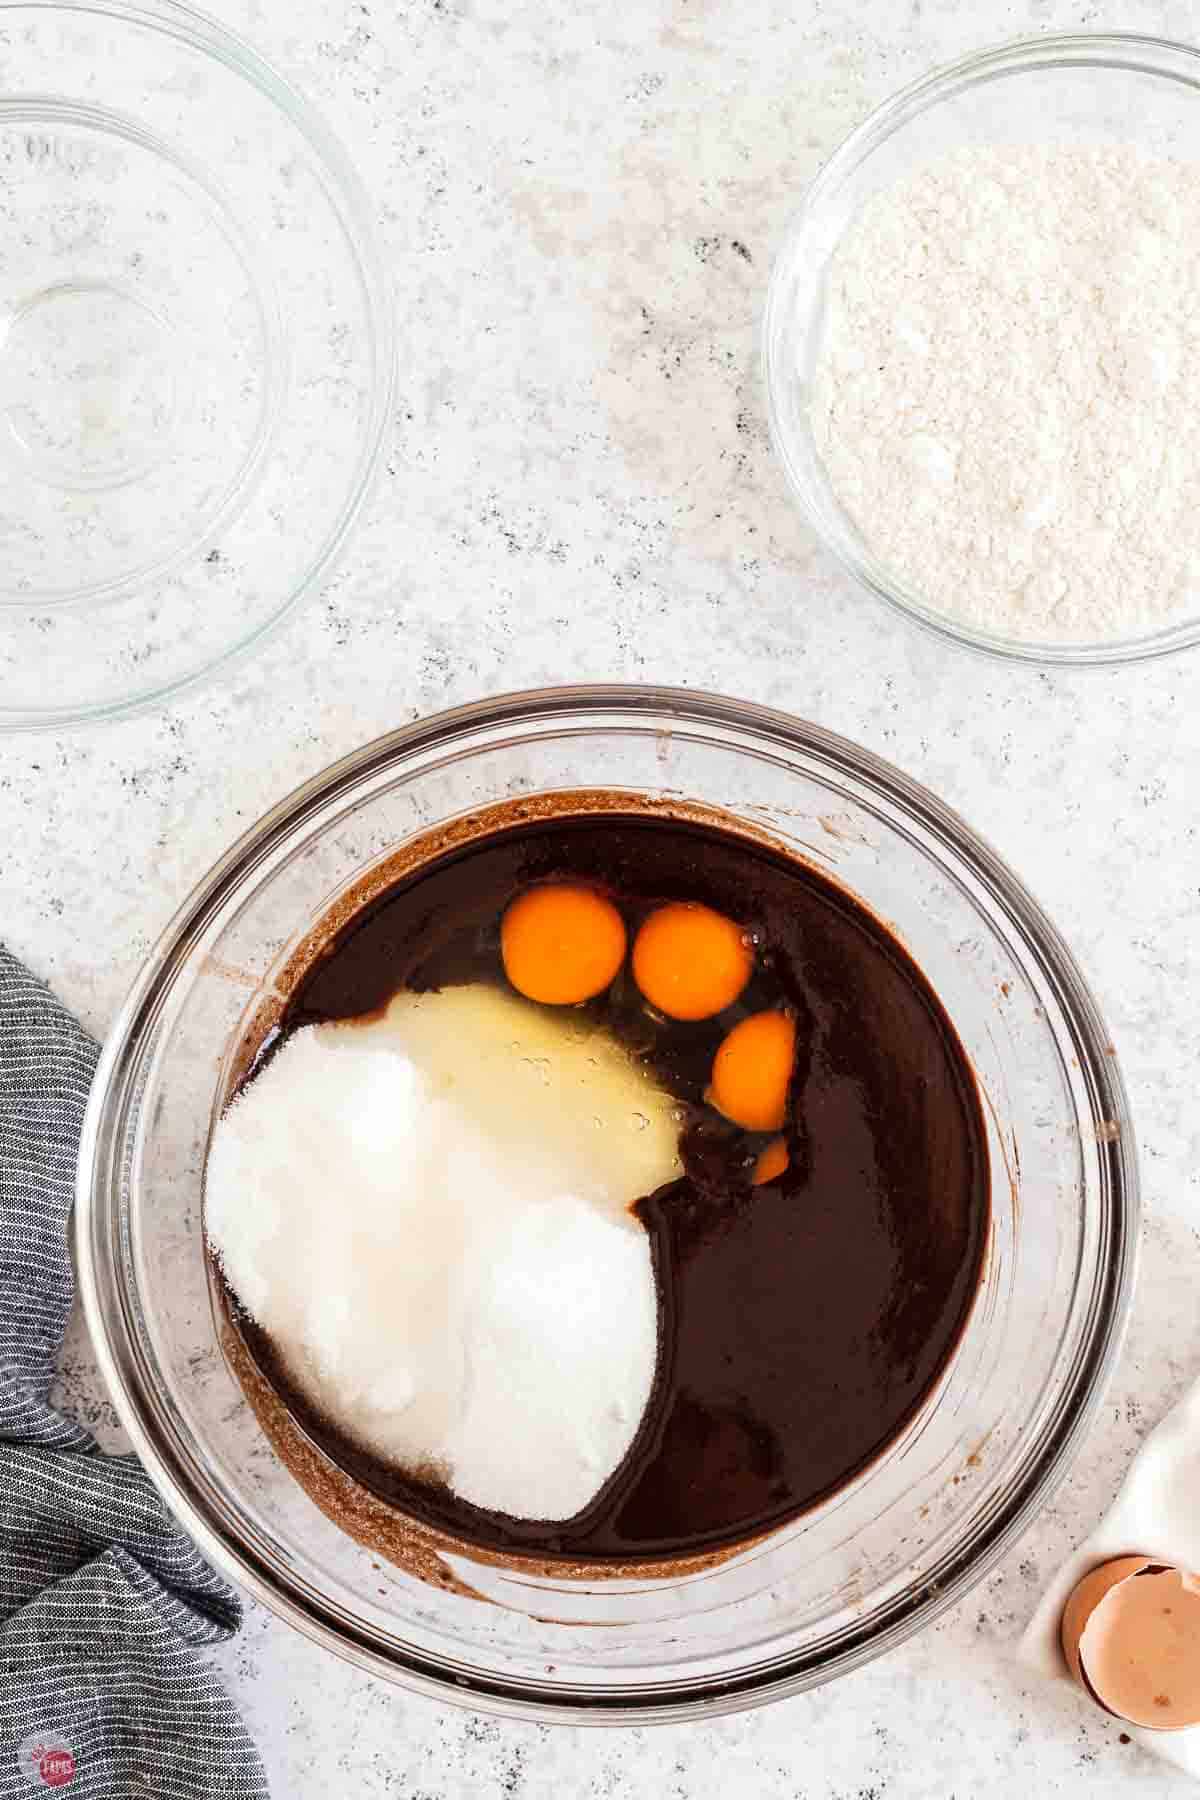
- Add the sugar, eggs, and vanilla, and stir to combine.
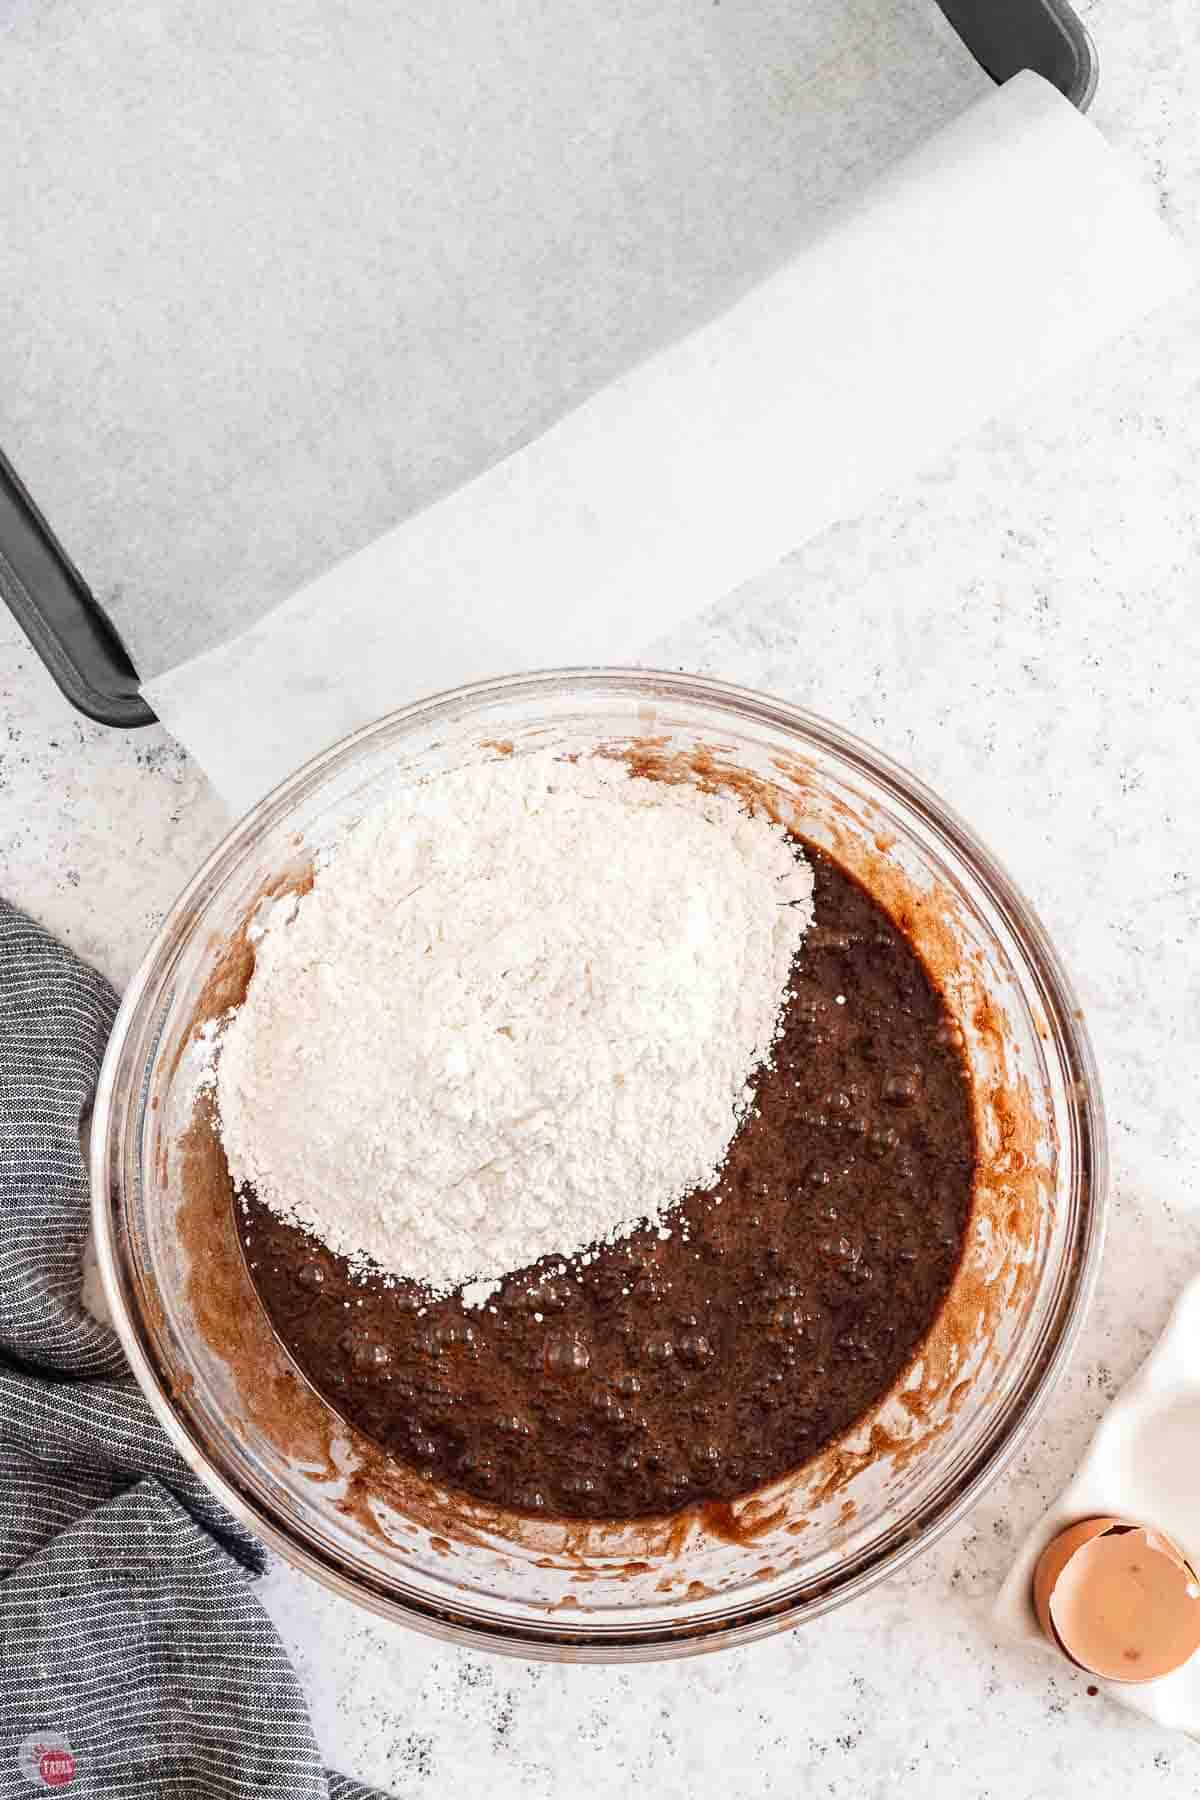
- Gently fold in the flour, mixing just until the batter comes together.
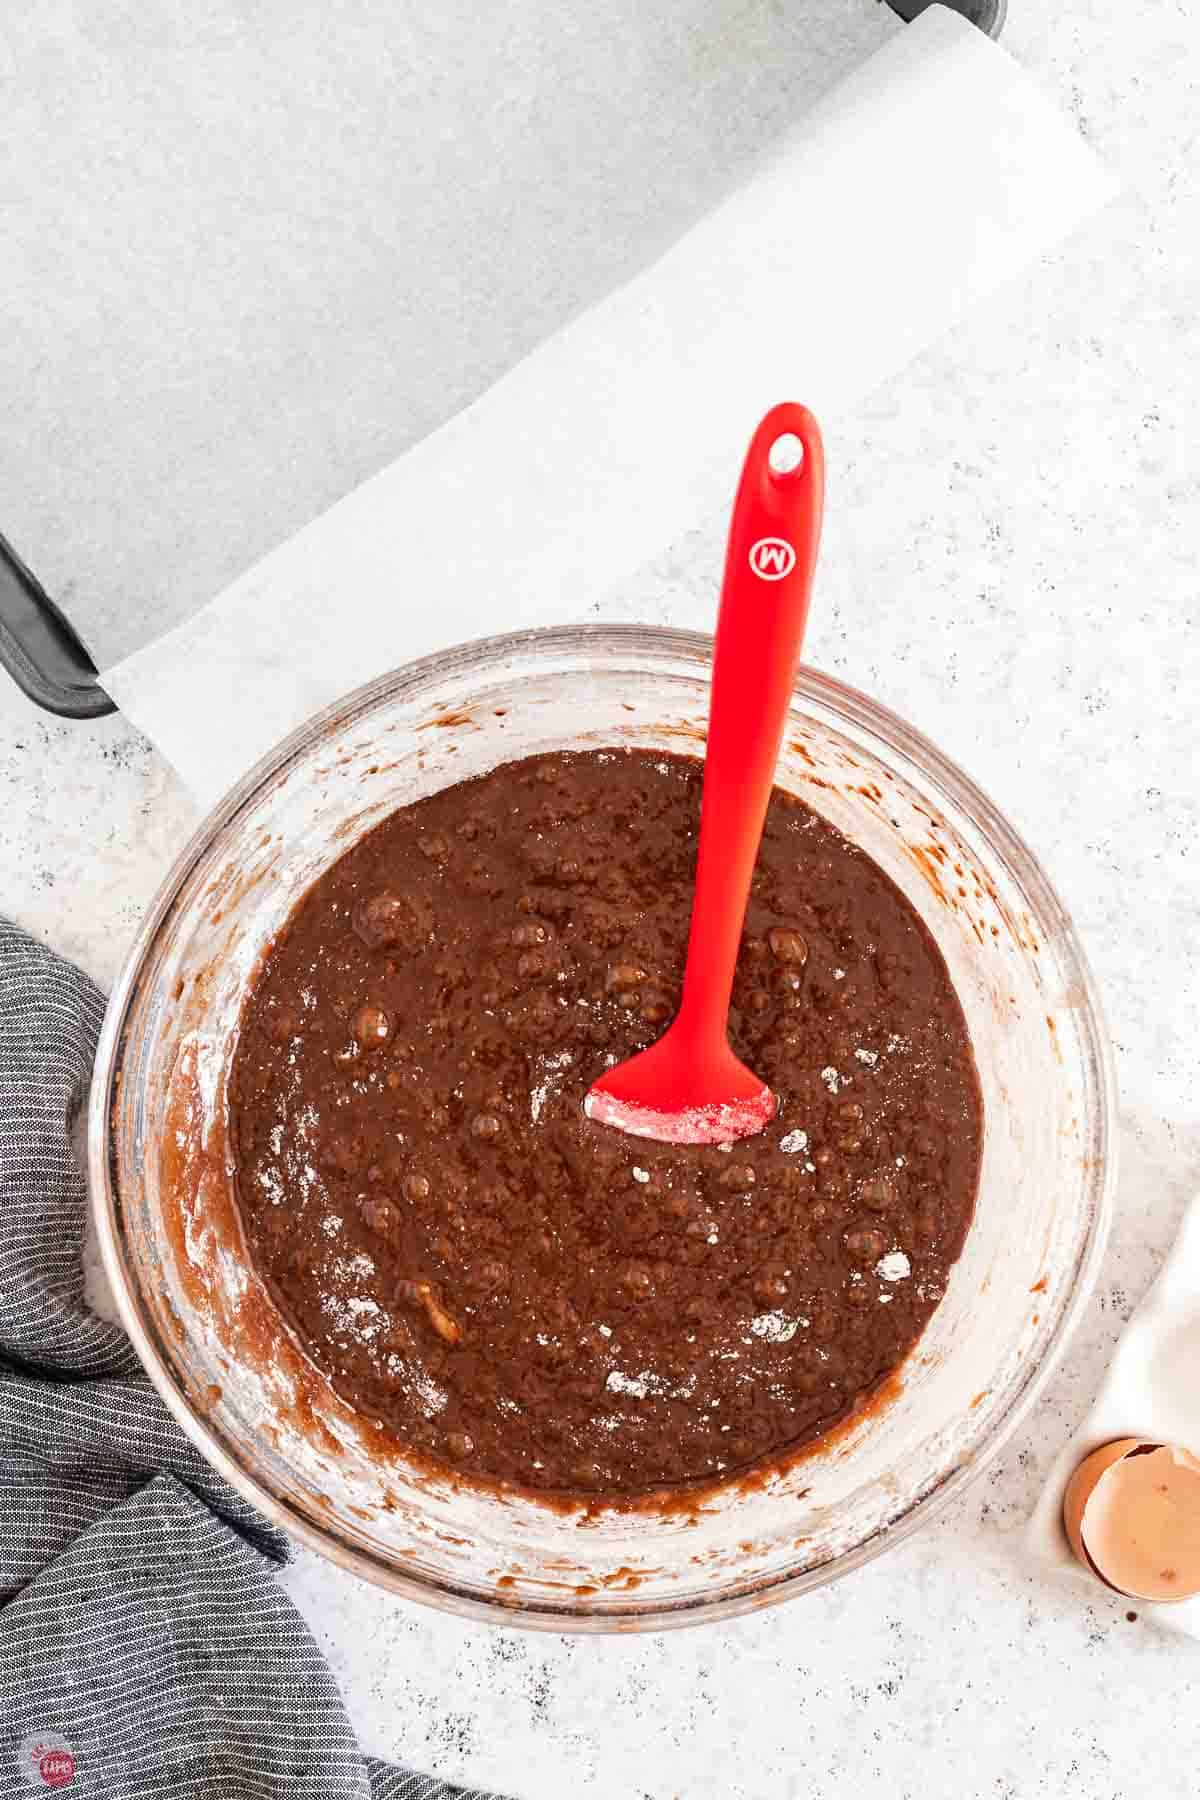
- Don’t overmix or the brownies turn tough.
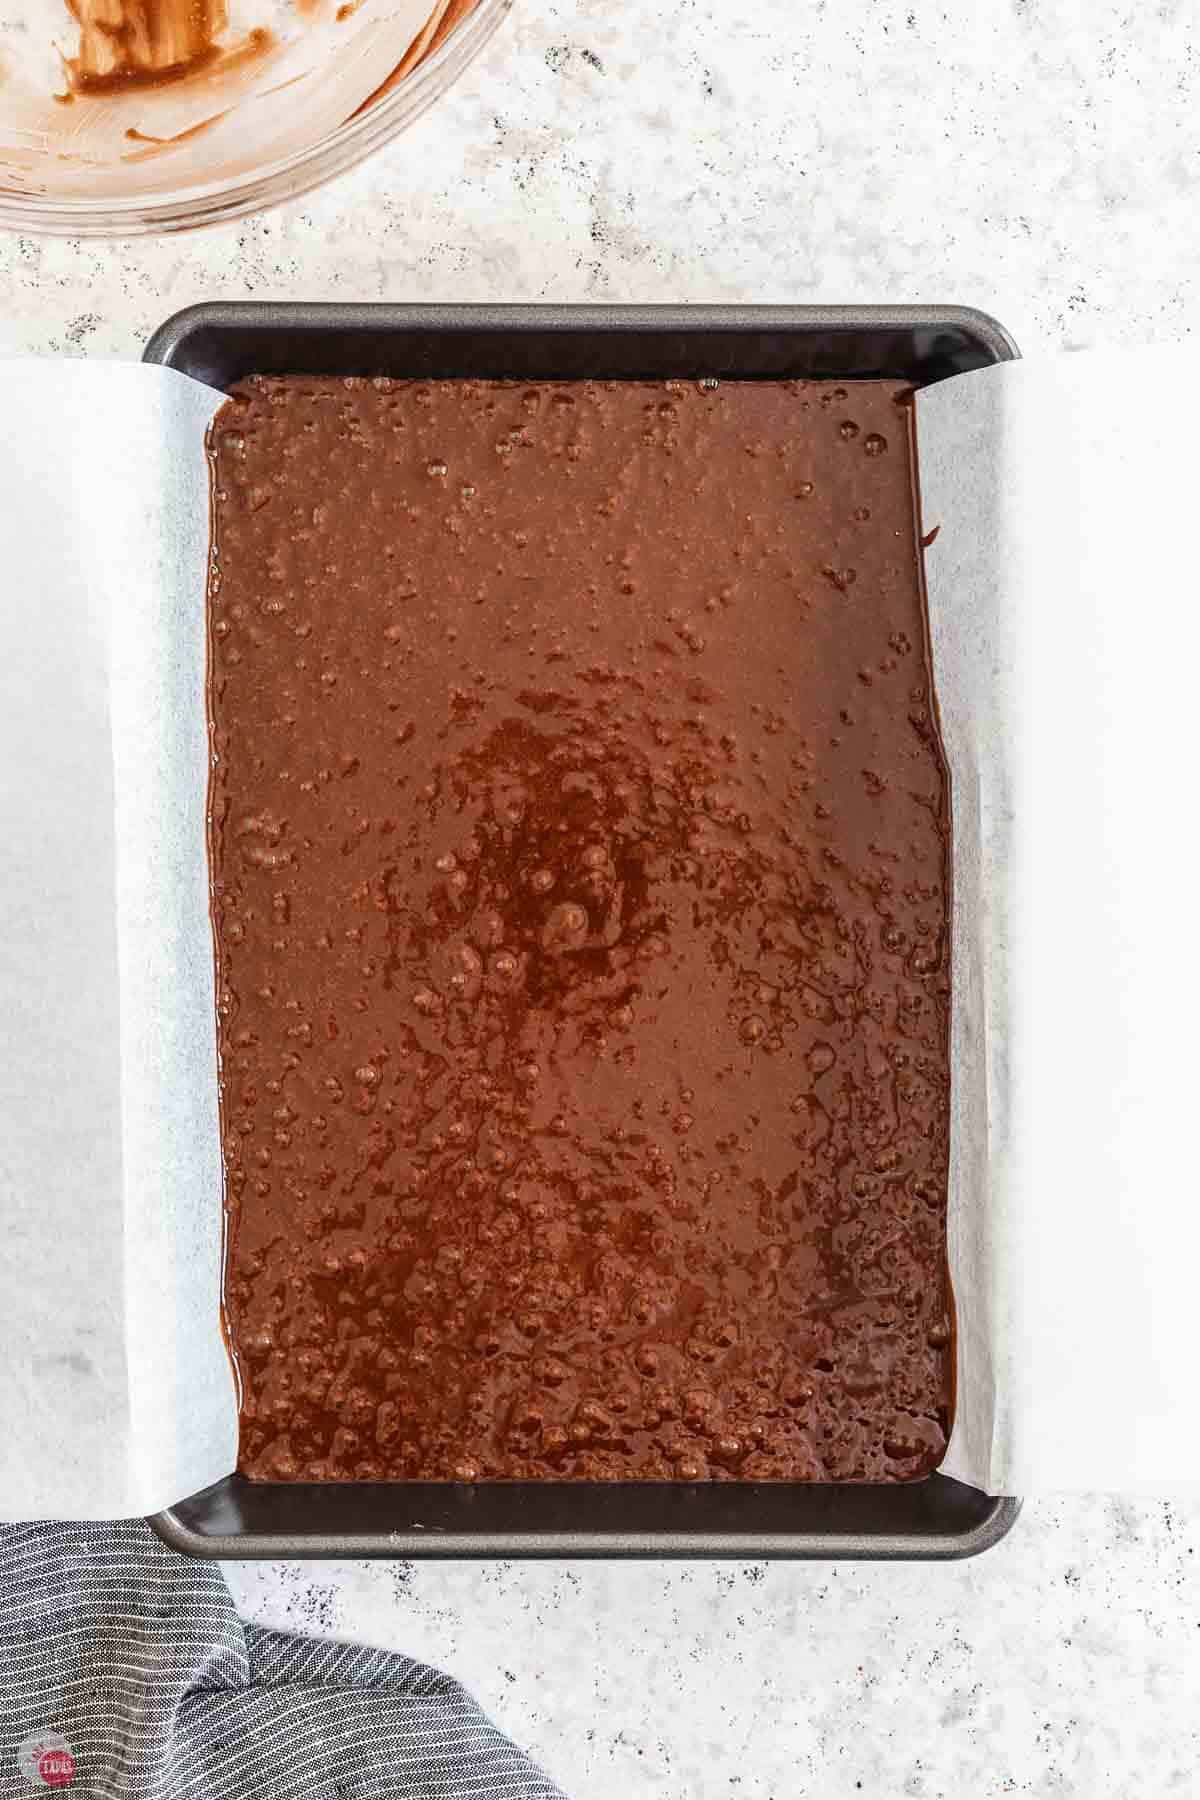
- Pour into the pan and bake at 350°F for 25 to 30 minutes, until the middle is just set and a toothpick comes out with maybe a crumb or two. Don’t overbake, or they’ll be dry.
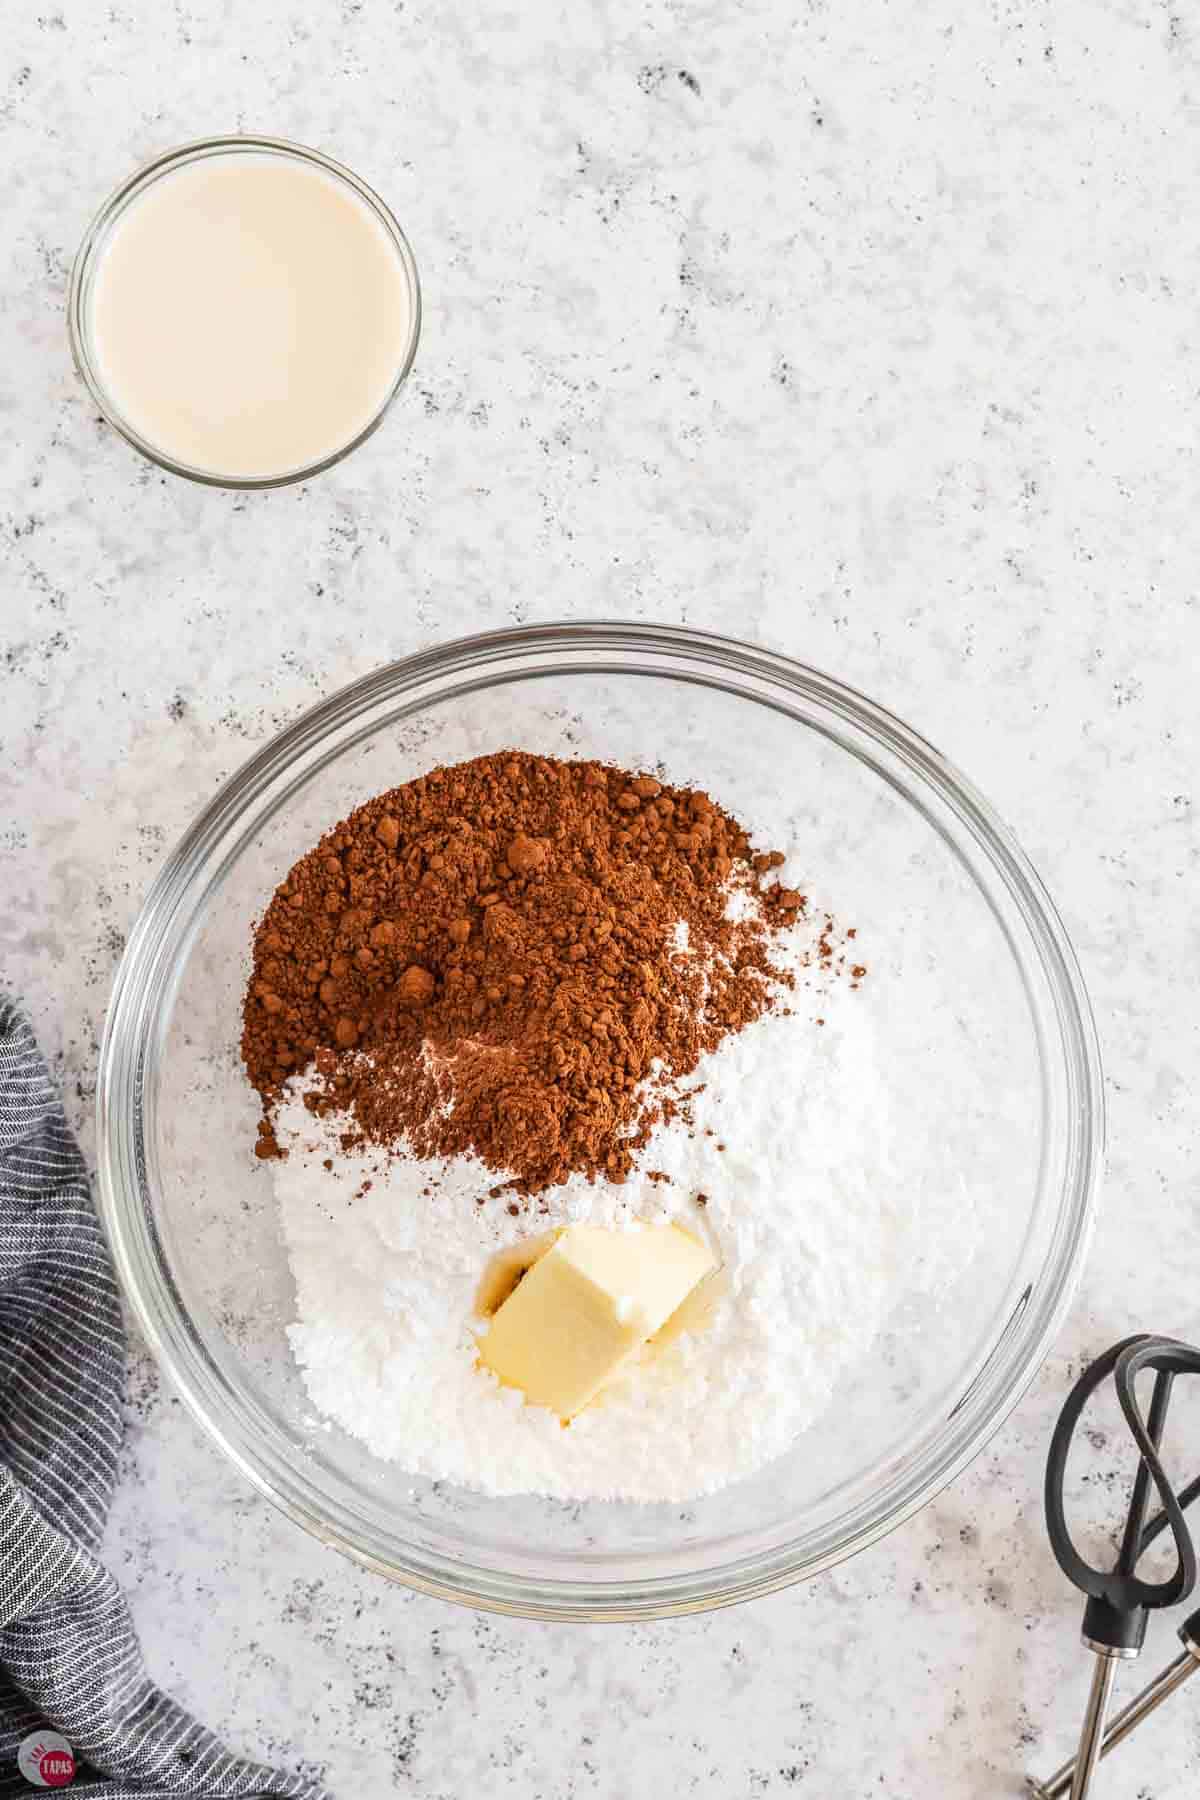
- While the brownies bake, make the frosting. In a mixing bowl, combine the softened butter, cocoa powder, and powdered sugar.
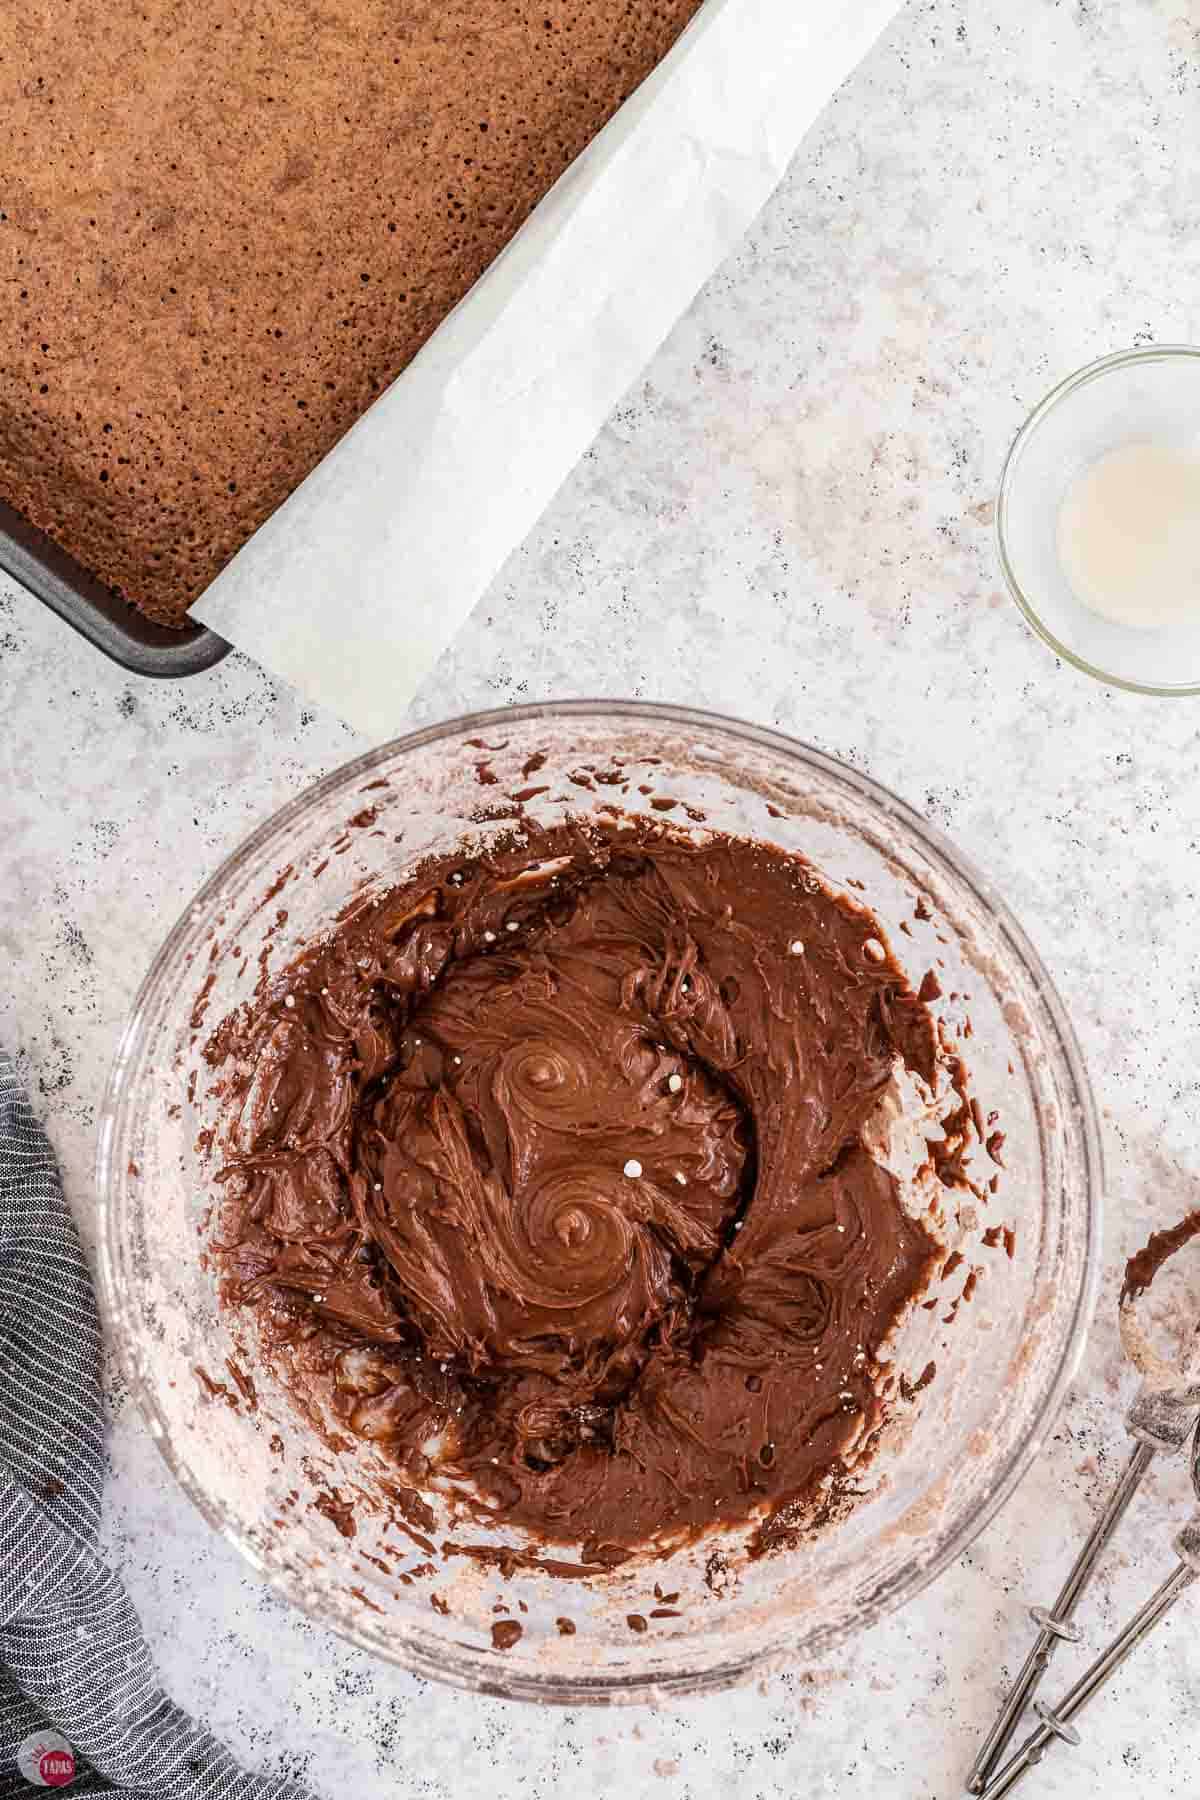
- Stir in the evaporated milk until smooth. When the brownies come out, let them cool 10 minutes.
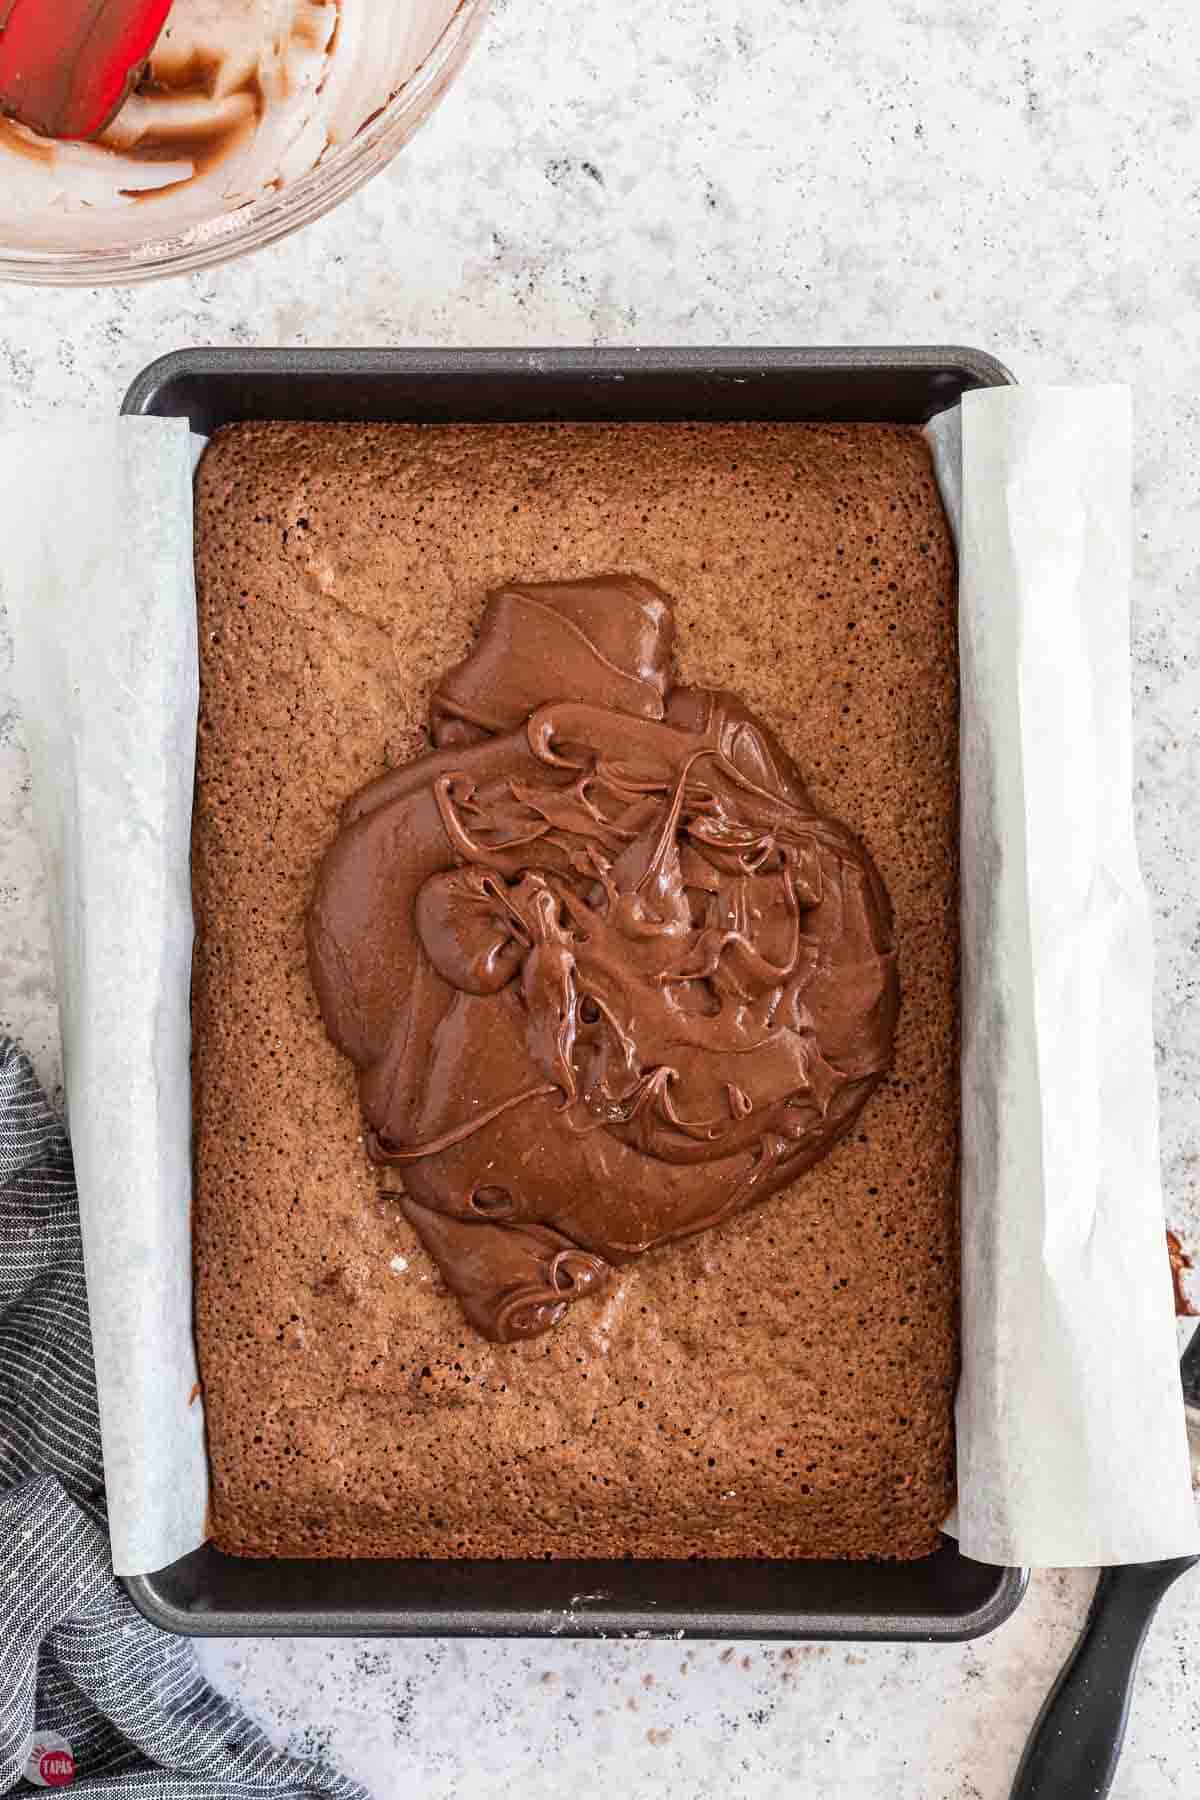
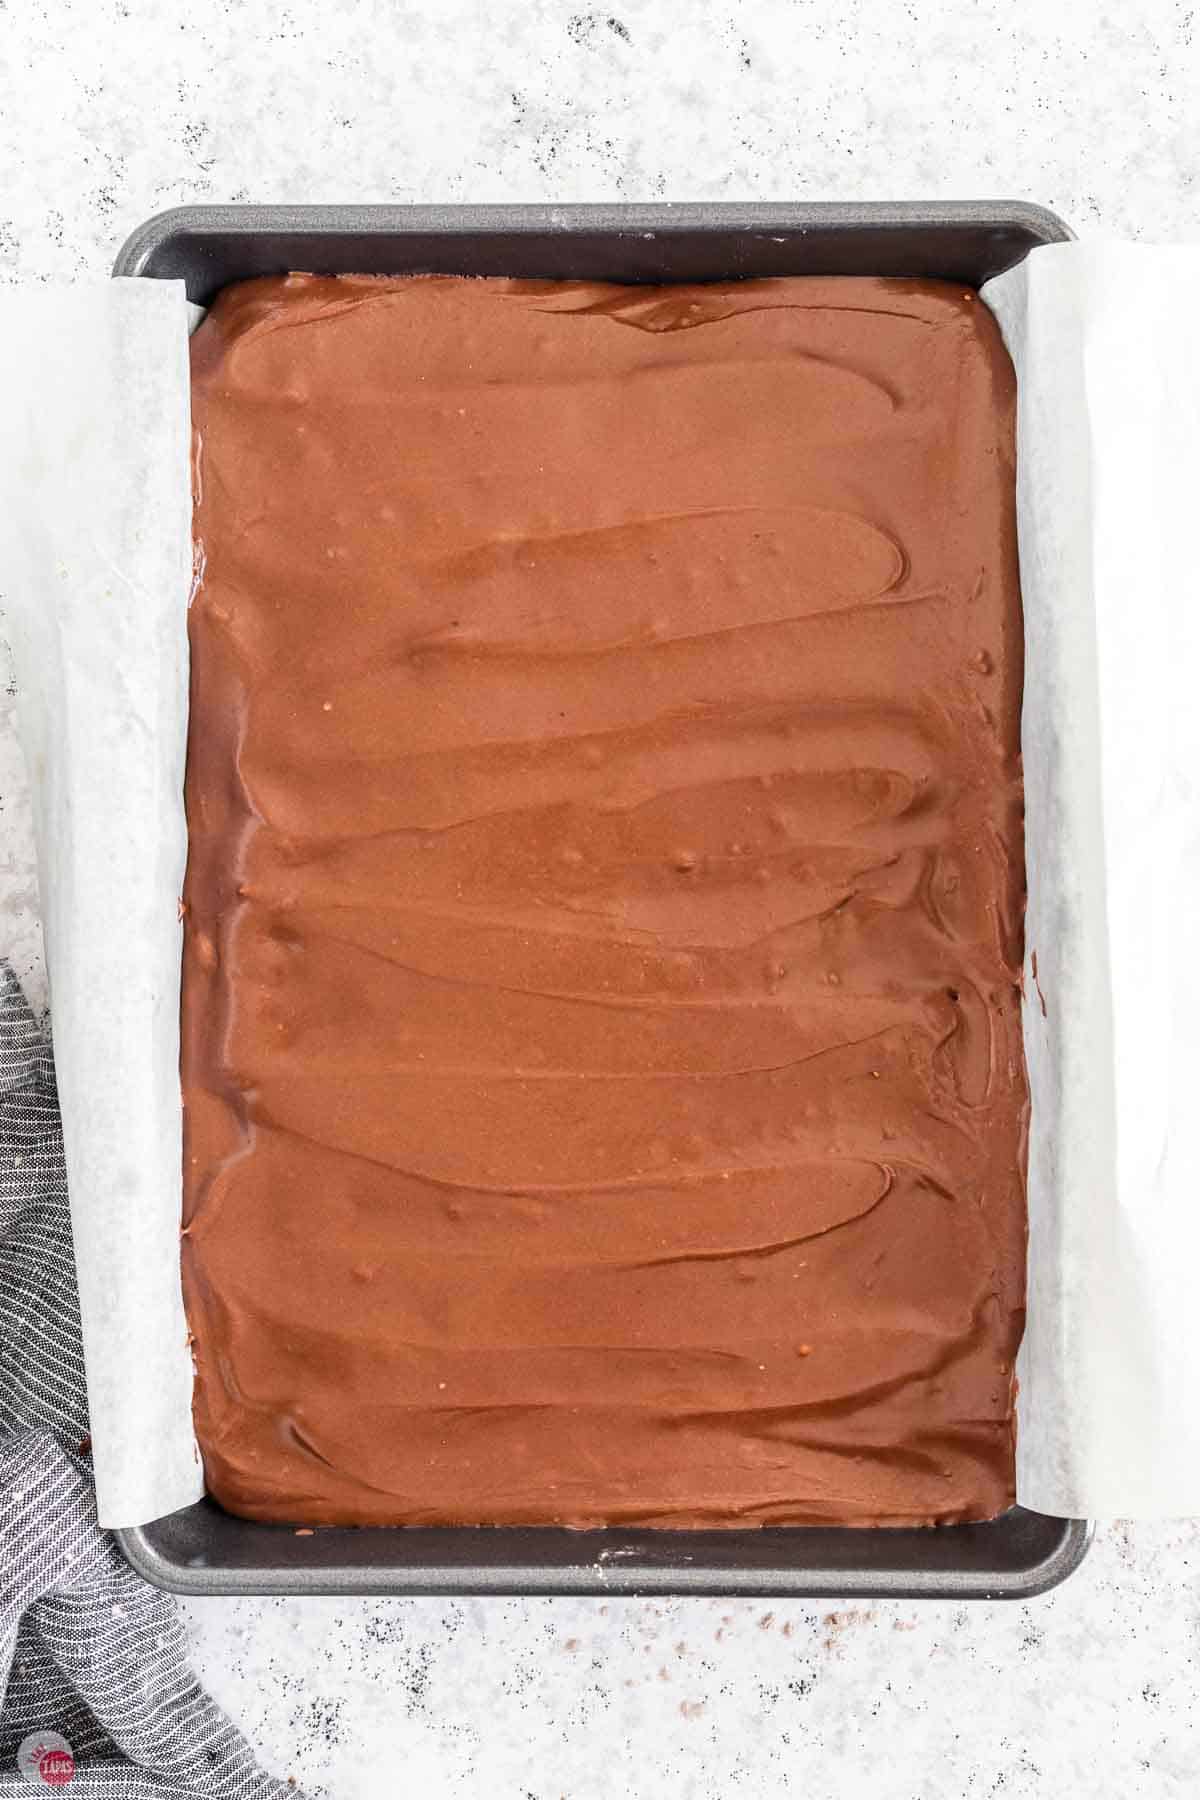
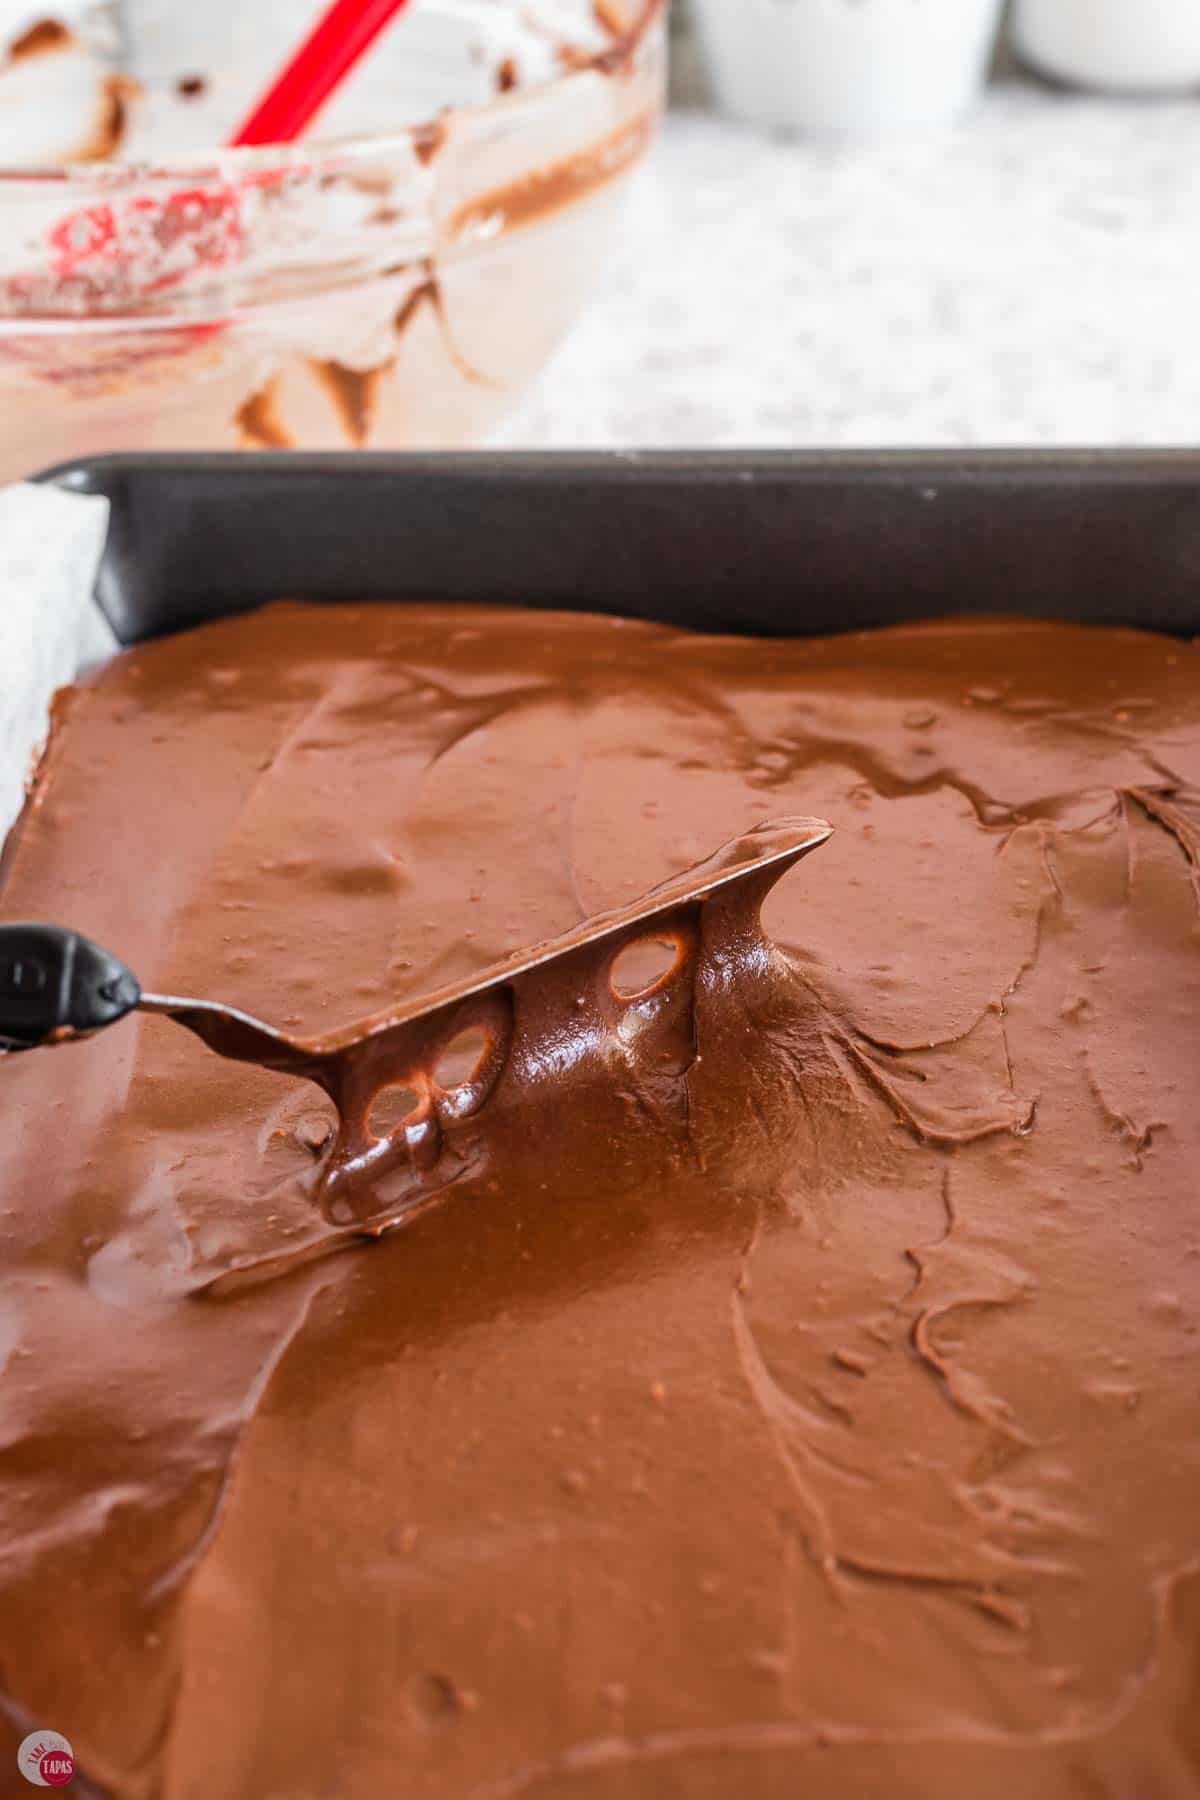
- Then spread the frosting over the warm brownies in an even layer. It will “melt” onto them and form a nice crust as it sets. Let cool completely before slicing and serving.
For the full recipe and detailed instructions, please refer to the recipe card at the bottom of the post.
Storage
Room Temperature: Store in an airtight container, or covered tightly, at room temperature for up to 4 days. Be careful with plastic wrap because I can stick to the top and tear off any frosting when you remove it. You don’t want to lose that!
Freezer: Freeze in a freezer safe container for up to 3 months. Thaw overnight before eating.
Make Ahead: These hold up perfectly for a day or two, which makes them a great bake ahead dessert for a party or bake sale.
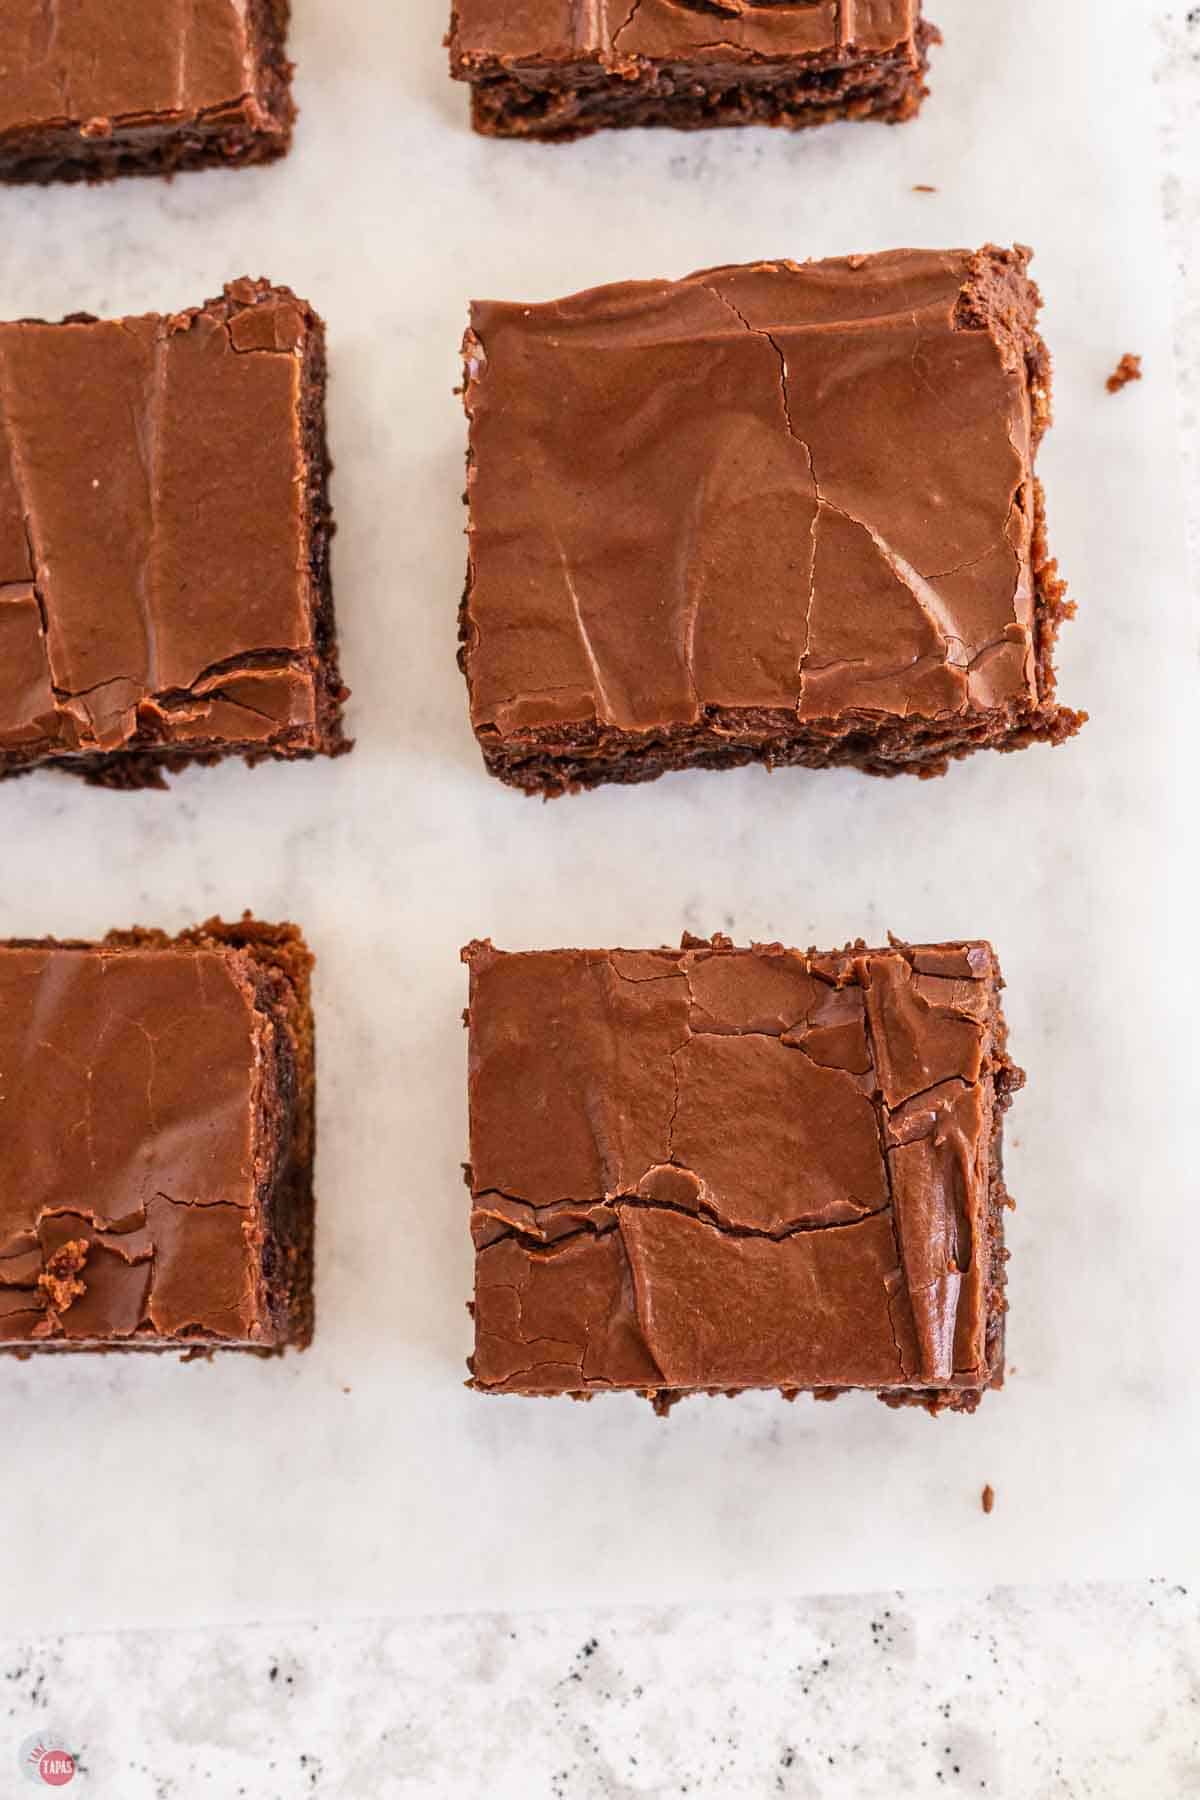
Slicing Tip: Line the pan with parchment so you can lift the whole slab out and cut clean squares once they’re fully cooled. Cut with a plastic knife for cleaner cuts. That’s a food stylist photographer secret 😉
Variations
Add Mix-Ins: Fold chocolate chips into the batter for extra chocolate, or chopped nuts for a subtle crunch.
Different Frosting: Swap the chocolate frosting for a homemade vanilla or peanut butter frosting for a fun twist.
Store Bought Shortcut: Short on time? Frost them with your favorite premade frosting.
Adjust the Frosting: Too thick? Add milk a tablespoon at a time. Too thin? Add sifted powdered sugar 1/4 cup at a time.
Make It a Sundae: Serve warm with a scoop of vanilla ice cream for the ultimate dessert.
Frequently Asked Questions
Stored airtight at room temperature, they keep for up to 4 days. You can also freeze them up to 3 months in a freezer safe container.
Usually overmixing or overbaking. Fold the flour in just until it disappears, and pull the brownies when a toothpick comes out with a crumb or two, not totally clean. They will continue to cook for a few minutes after you take them out of the oven.
It makes the frosting richer and creamier than regular milk, and it’s the little detail that gets that classic cafeteria texture. Heavy cream works too, and regular milk is fine in a pinch.
Warm, but not hot. Let the brownies cool for 10 minutes first, then frost. The slight warmth lets the frosting melt into a smooth layer that sets into a soft crust. Frost them piping hot and it’ll slide right off.
Absolutely. A homemade vanilla or peanut butter frosting is a fun swap if you want something different from the classic chocolate.
Let them cool completely before cutting, and line the pan with parchment so you can lift the whole slab out to slice on a cutting board. Use a plastic knife to cut them because the brownie doesn’t stick to the plastic knife.
Recipe Tips & Tricks
- Don’t overmix the batter once the flour goes in, or the brownies get tough.
- Don’t overbake. Pull them when a toothpick comes out with just a crumb or two.
- Measure the flour by fluffing, spooning, and leveling so the brownies stay fudgy, not dry.
- Let the brownies cool 10 minutes before frosting so it melts into a crust instead of sliding off.
- Line the pan with parchment for easy removal and clean cuts.
- Add sprinkles for a bit of fun, or serve warm with vanilla ice cream.
This Lunch Lady Brownies recipe is rich, fudgy, and pure chocolate nostalgia. Whip up a batch the next time a craving strikes and taste your way right back to the cafeteria!
Lunch Lady Brownies
Ingredients
Brownie Layer
- ½ cup unsweetened cocoa powder
- 1 cup unsalted butter melted
- 2 cups granulated sugar
- 4 large eggs room temperature
- 1 tablespoon vanilla extract
- 2 cups all purpose flour
Frosting layer
- ¼ cup unsalted butter softened
- ¼ cup unsweetened cocoa powder
- 3 cups powdered sugar sifted
- 5 tablespoons evaporated milk
Instructions
- Preheat oven to 350F. Prepare a 9×13 baking dish with either aluminum foil or parchment paper. Spray with non-stick cooking spray. Set aside.
Prepare The Brownies
- In a large bowl, combine the cocoa powder and melted butter. Stir until smooth.
- Add the sugar, eggs, and vanilla. Stir to combine.
- Gently fold in the flour and mix just until the batter comes together. Do not over mix or the brownies will be tough.
- Bake at 350F for 25-30 minutes or until the middle is just set and a toothpick comes out clean with maybe a crumb or two. You don’t want to over bake the brownies or they will be dry.
- Remove from the oven when done and let cool for 10 minutes.
Prepare The Frosting
- While the brownies are baking prepare the frosting. You can use the same bowl as the brownie batter!
- Mix together the softened butter, cocoa powder, and powdered sugar.
- Stir in the evaporated milk until the frosting is smooth.
Frost The Brownies
- When the 10 minutes of cooling time is up, spread the frosting in a single even layer over the brownies. I like to us an off set spatula.
- The frosting will “melt” onto the brownies and form and nice crust on top.
- Let cool completely before slicing and serving.
Notes
- Don’t overmix the batter once the flour goes in, or the brownies get tough.
- Don’t overbake. Pull them when a toothpick comes out with just a crumb or two.
- Measure the flour by fluffing, spooning, and leveling so the brownies stay fudgy, not dry.
- Let the brownies cool 10 minutes before frosting so it melts into a crust instead of sliding off.
- Line the pan with parchment for easy removal and clean cuts.
- Add sprinkles for a bit of fun, or serve warm with vanilla ice cream.
Nutrition
©TakeTwoTapas.com. Content and photographs are copyright protected. Sharing of this recipe is both encouraged and appreciated. Copying and/or pasting full recipes to any social media is strictly prohibited.