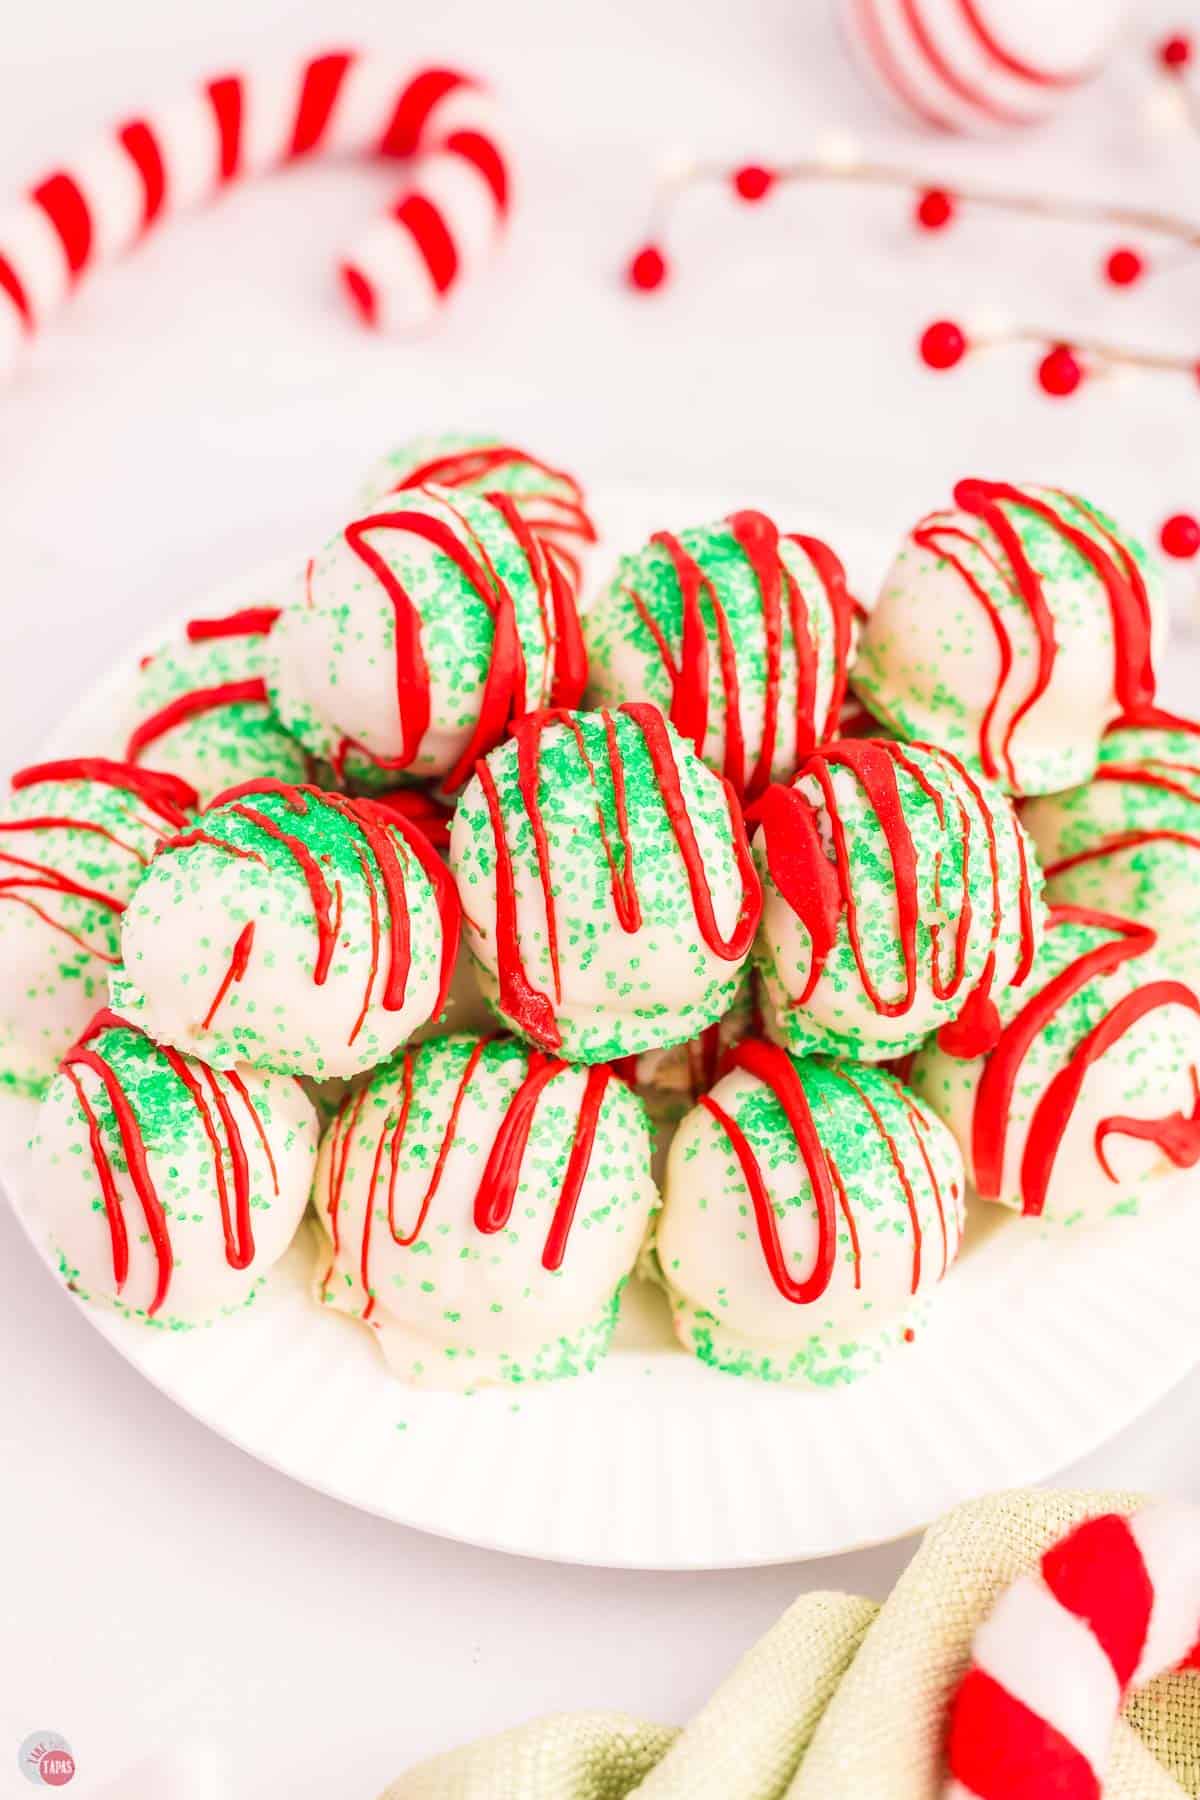
Christmas Tree Cake Balls
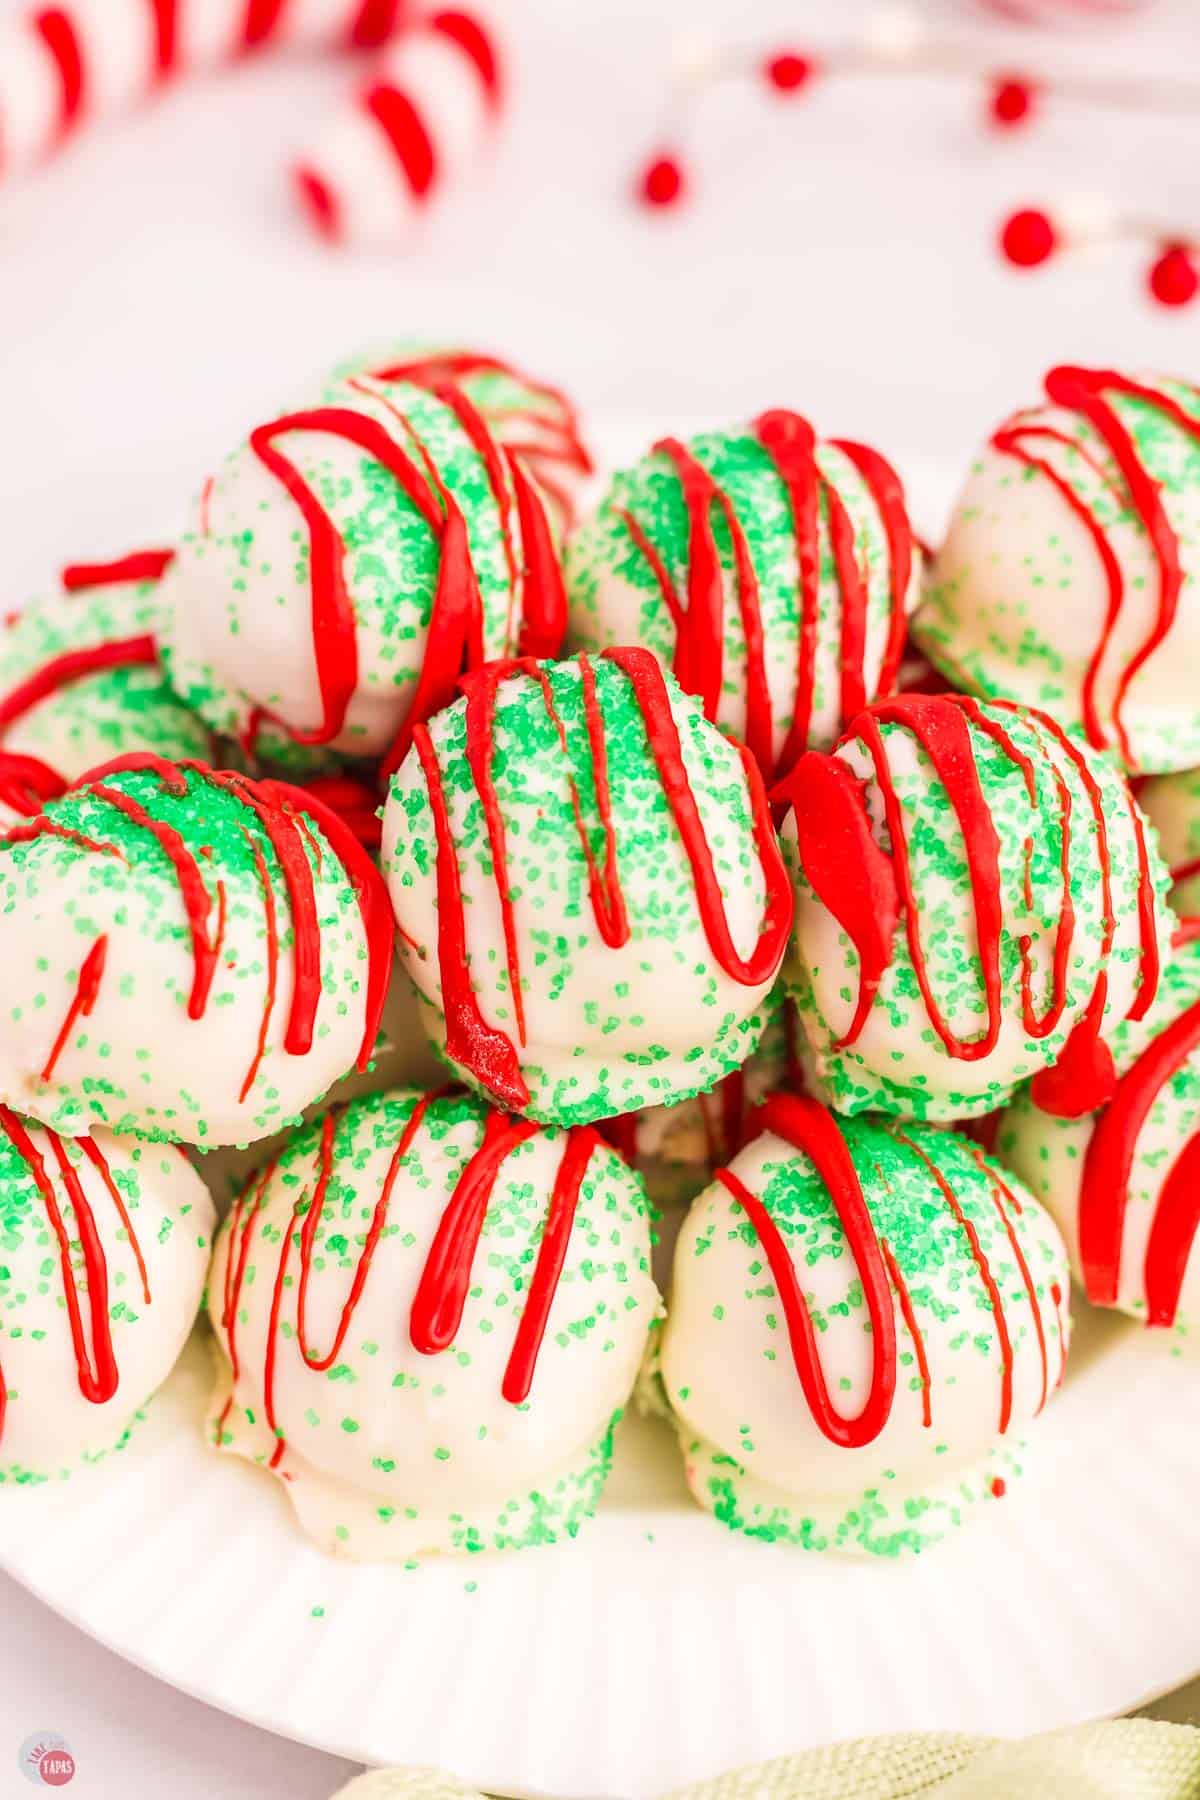
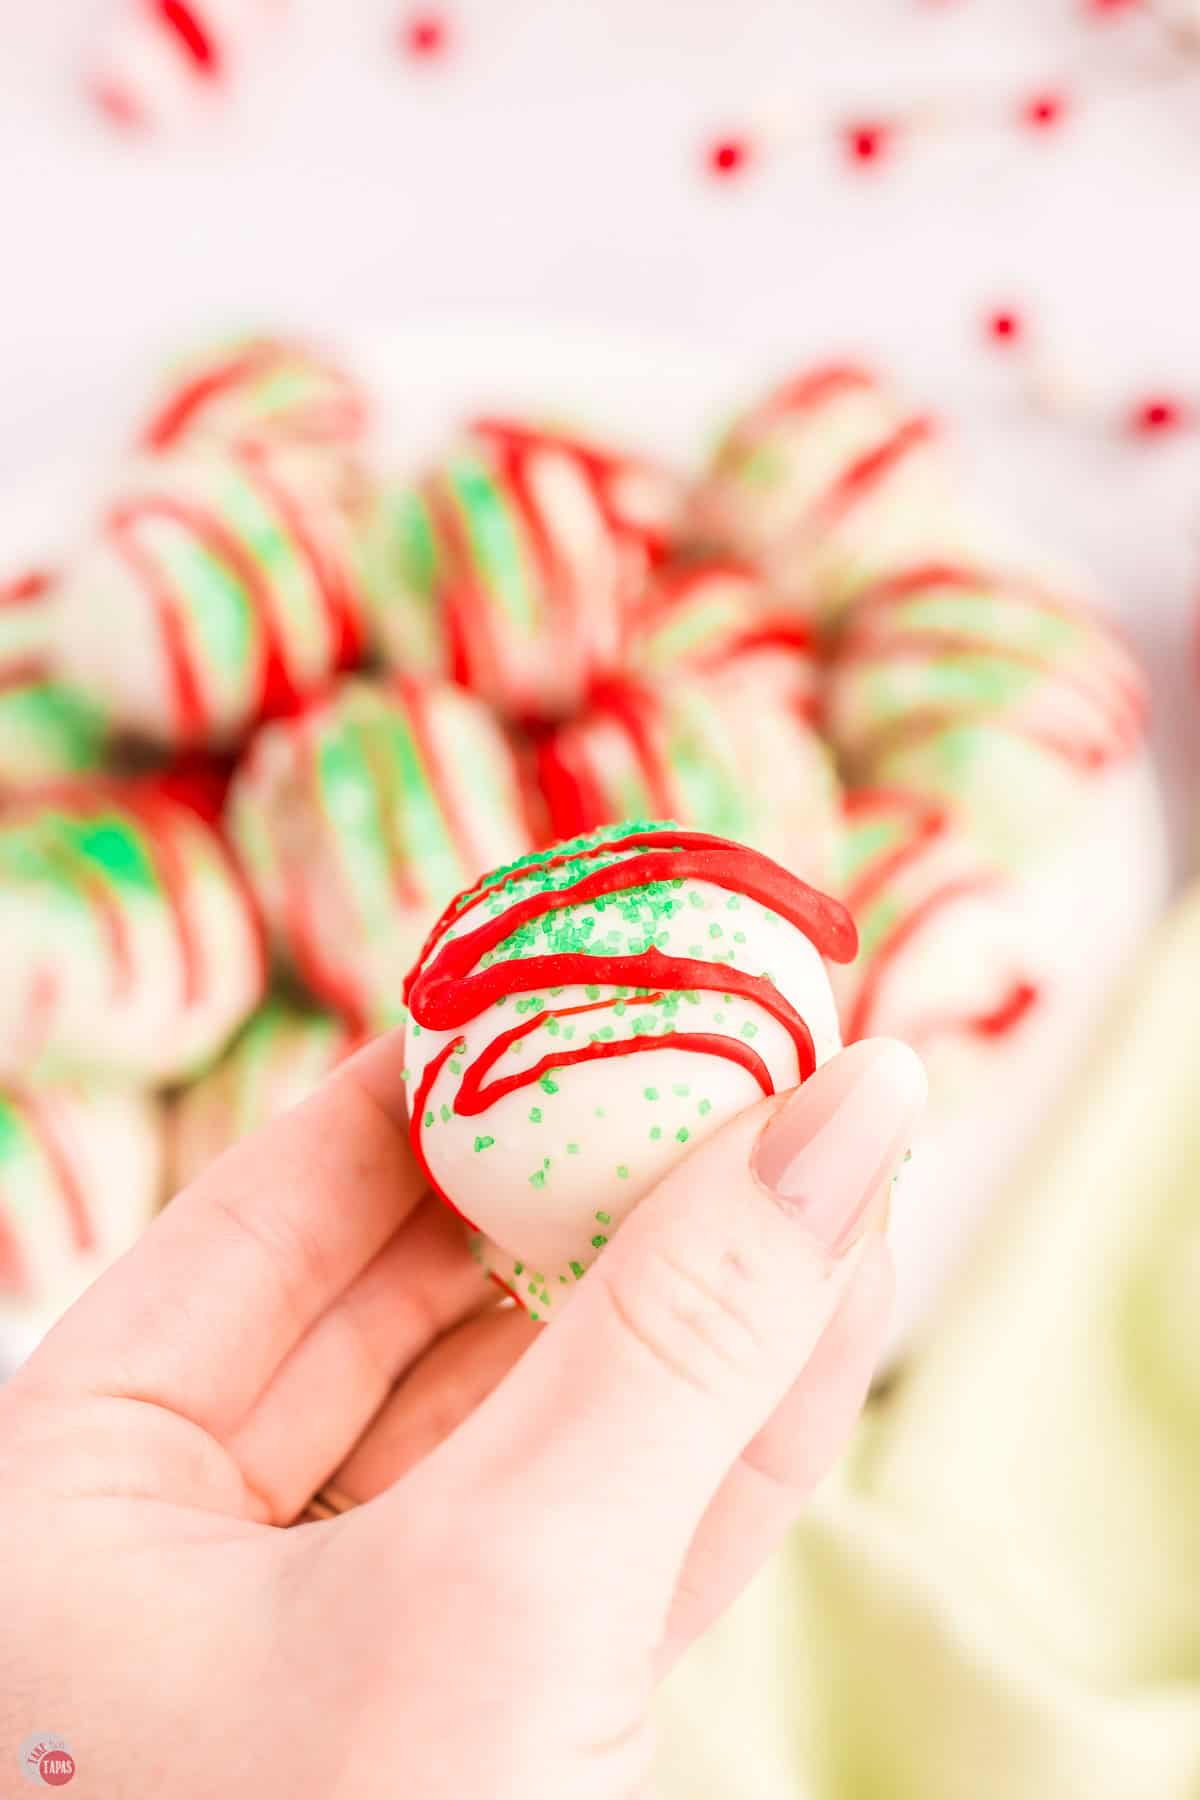
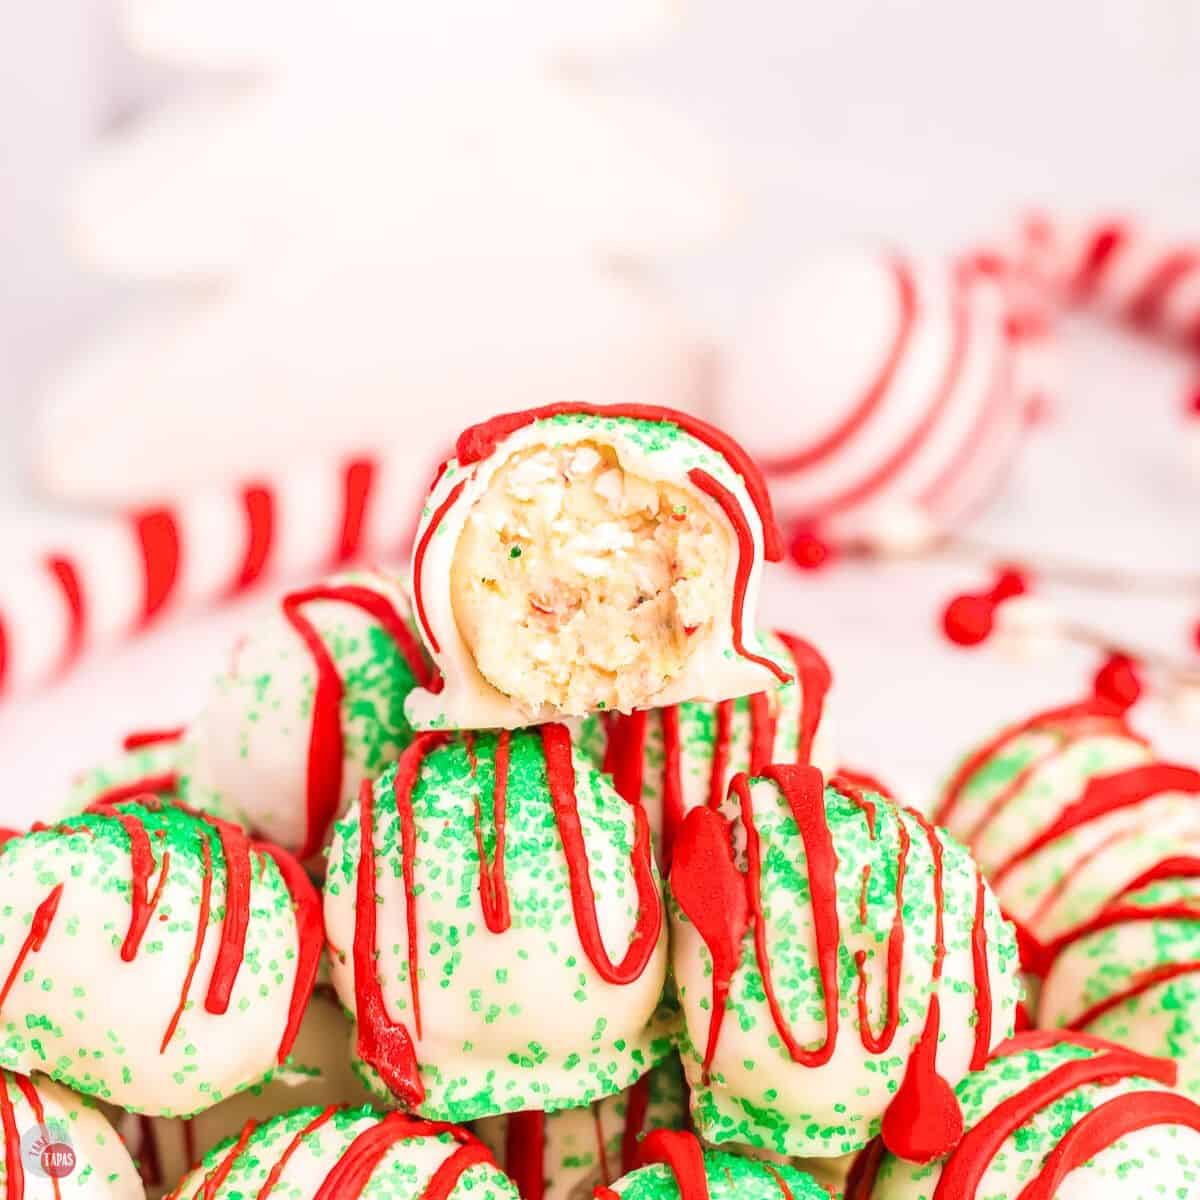
Turn your favorite holiday treats into bite size Christmas Tree cake balls. Tender vanilla cake, dipped in white chocolate and decorated with red and green. Perfect for Santa’s cookie plate!
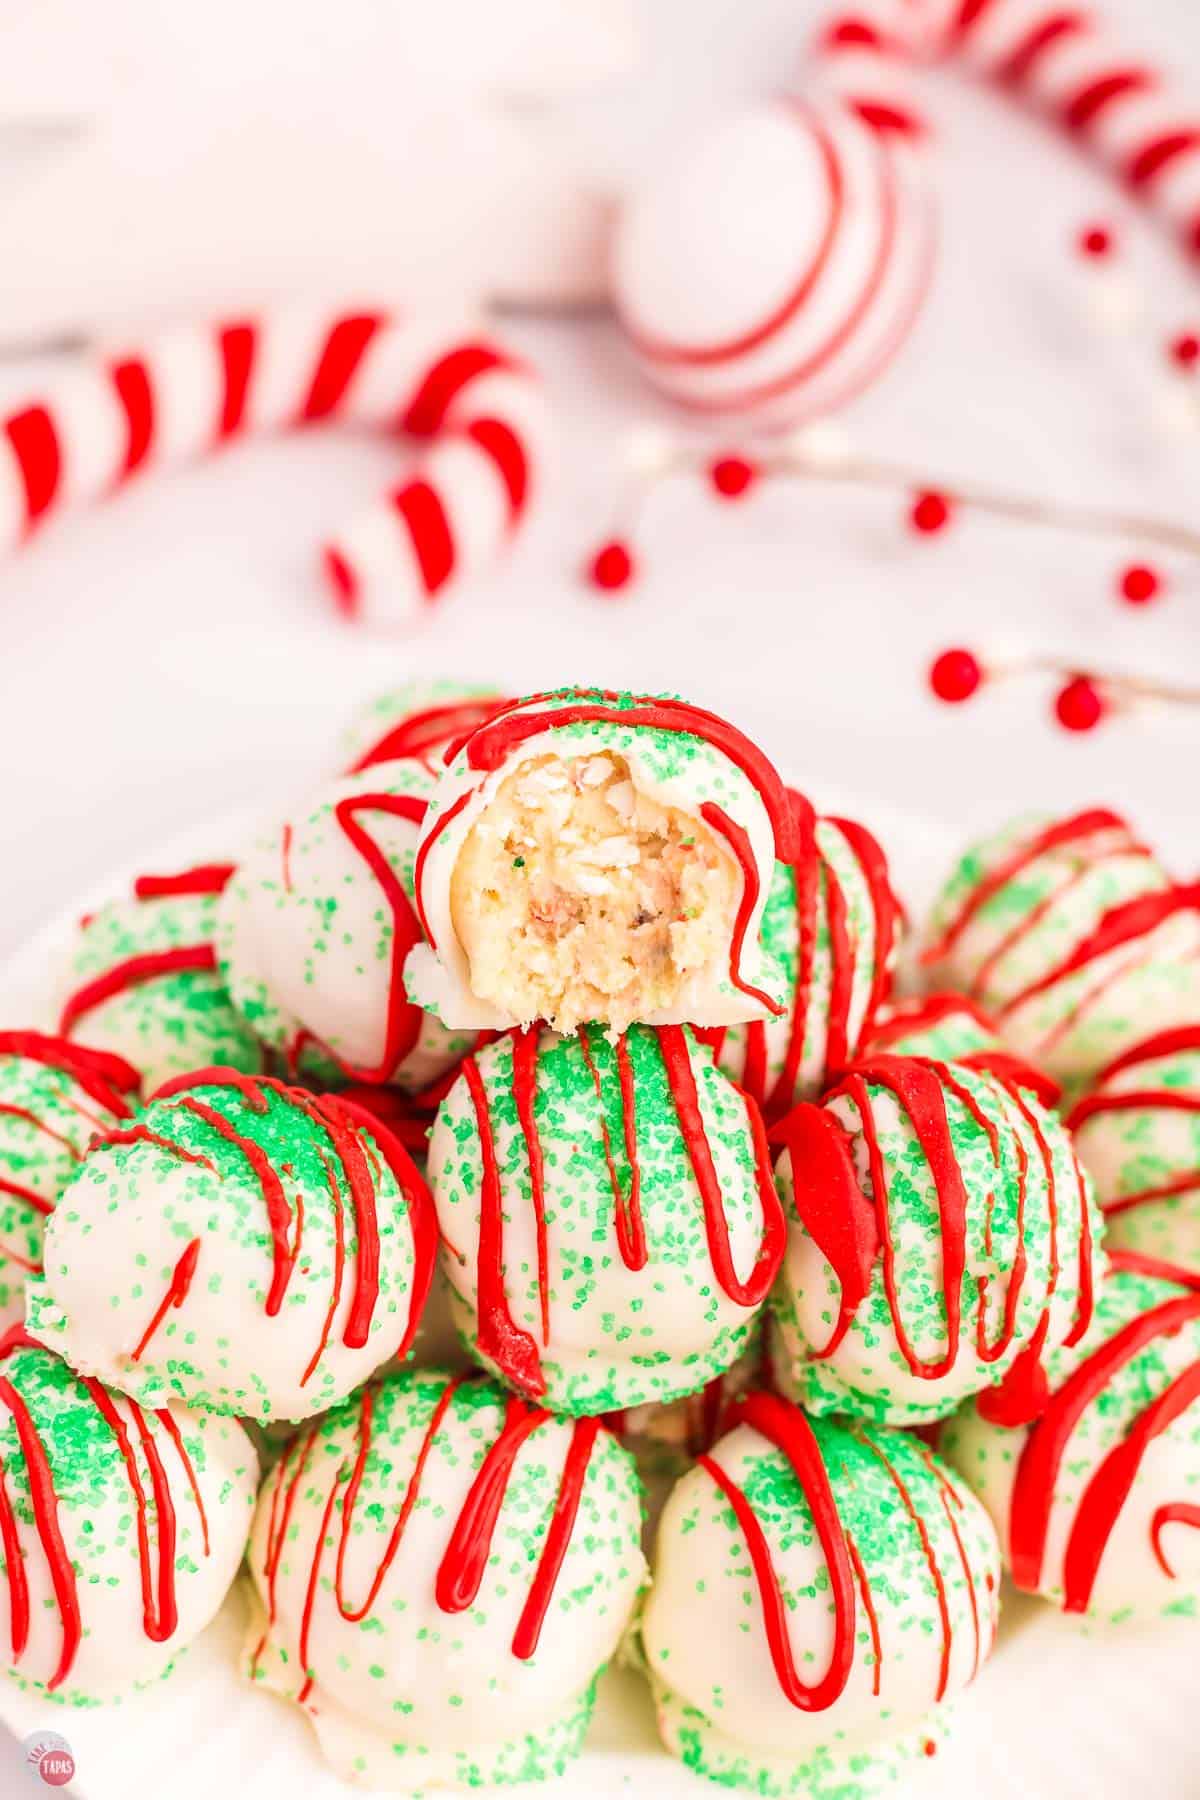
What makes these special is how they repurpose a holiday favorite that’s only available during Christmas season. Those white tree-shaped cakes with green sprinkles get a fancy upgrade that’s perfect for holiday parties, cookie exchanges, or gift-giving.
The best part? They’re incredibly easy to make with just a few ingredients and some chilling time. Mix, roll, chill, dip, and decorate – that’s it! The red candy melt drizzle looks like festive garland while green sprinkles add those sweet, colorful ornaments.
They’re perfect for an afternoon snack, giving as a gift, or a fun dessert in your kid’s lunchbox before school gets out the for the holidays.
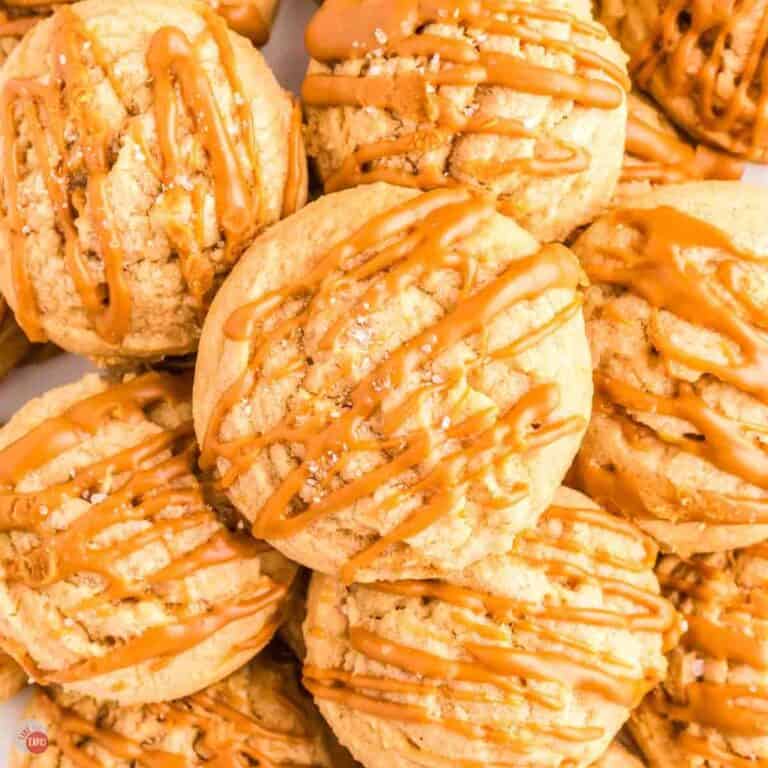
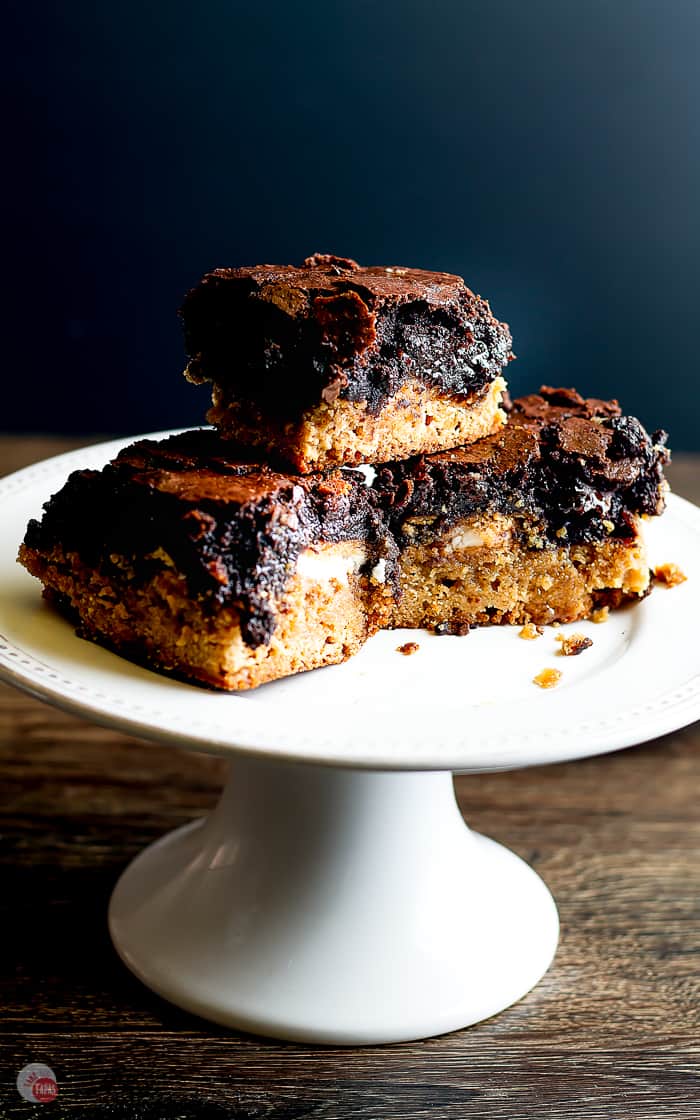
My other favorite holiday treats to are these fruit cocktail cake balls, this Christmas Chex mix, and for a party, this Christmas snack platter. There is something for everyone on it!
This post may contain affiliate links. As an Amazon Associate, I earn from qualifying purchases at no additional cost to you. Read my disclosure policy.
See recipe card for complete information on ingredients and their quantities.
Ingredient Notes
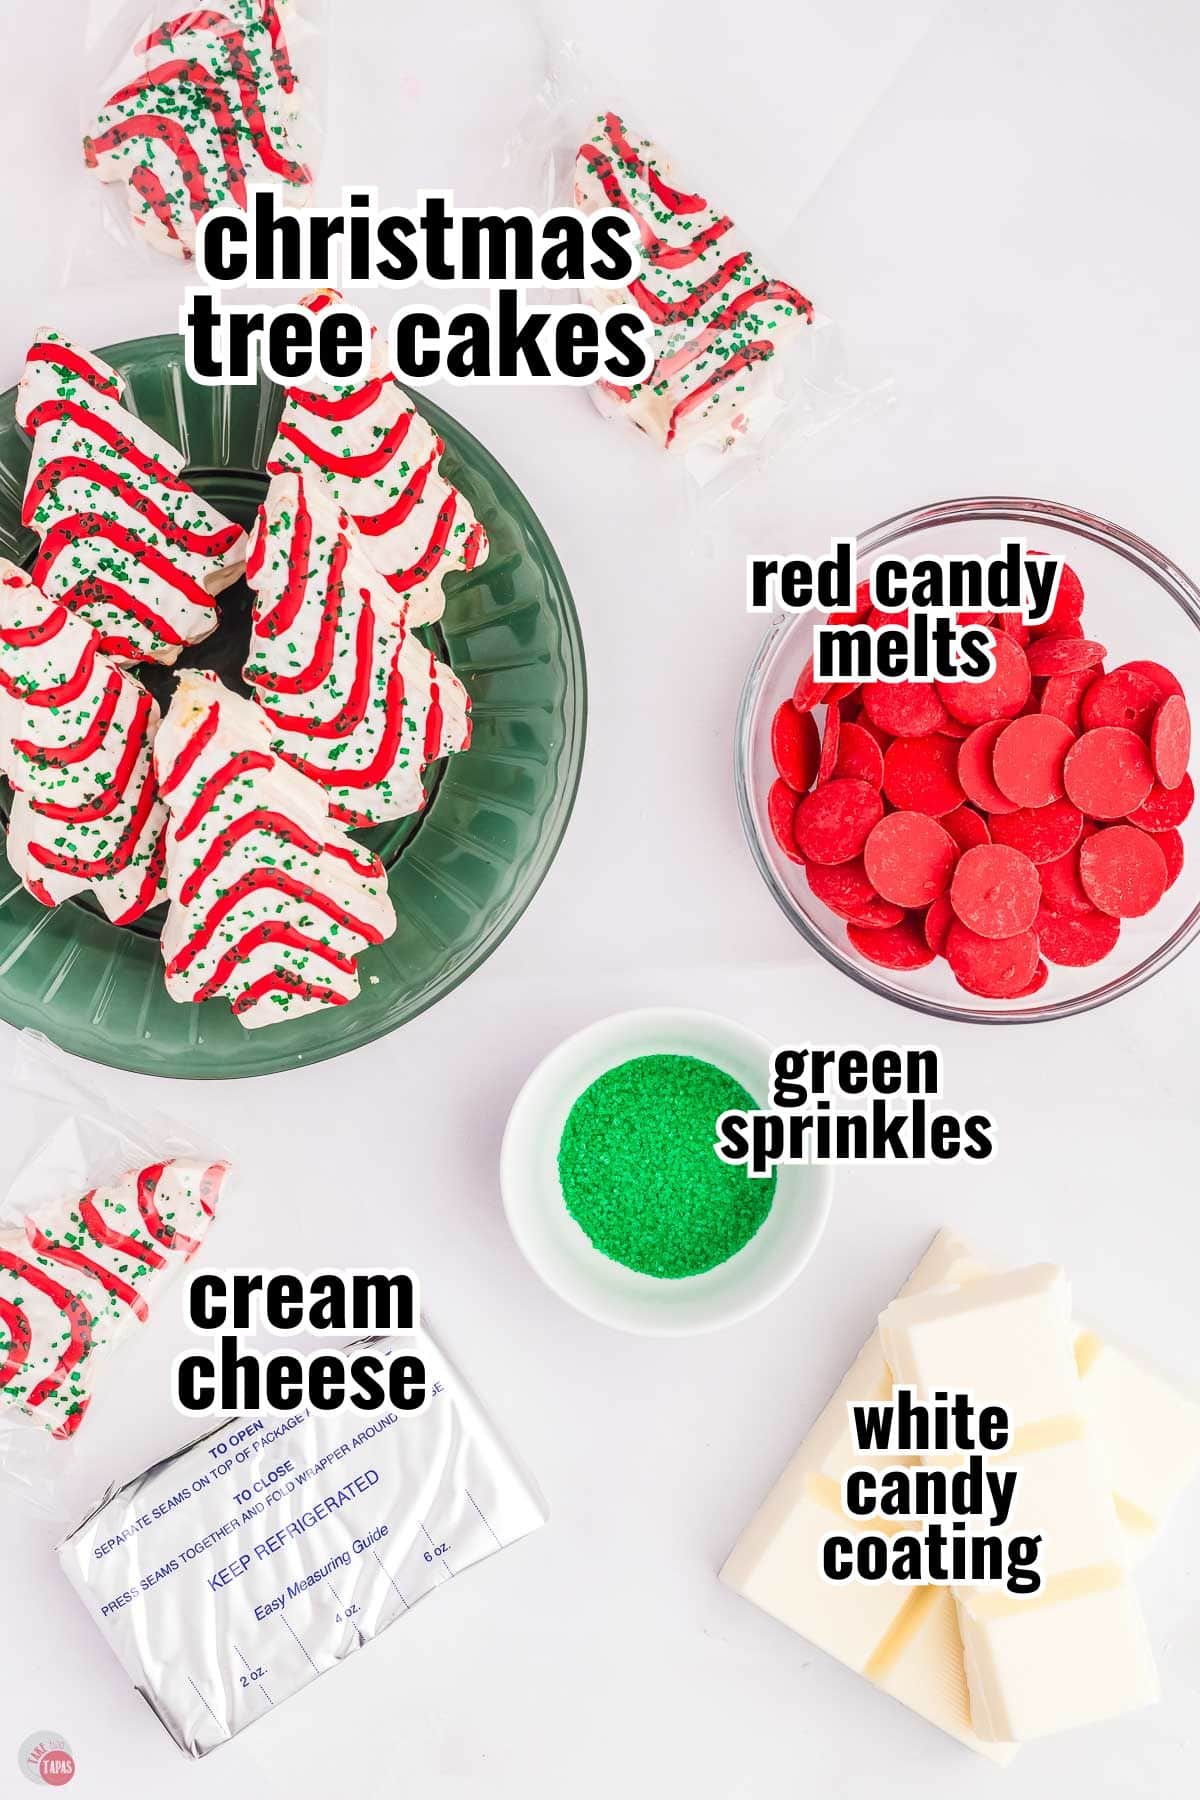
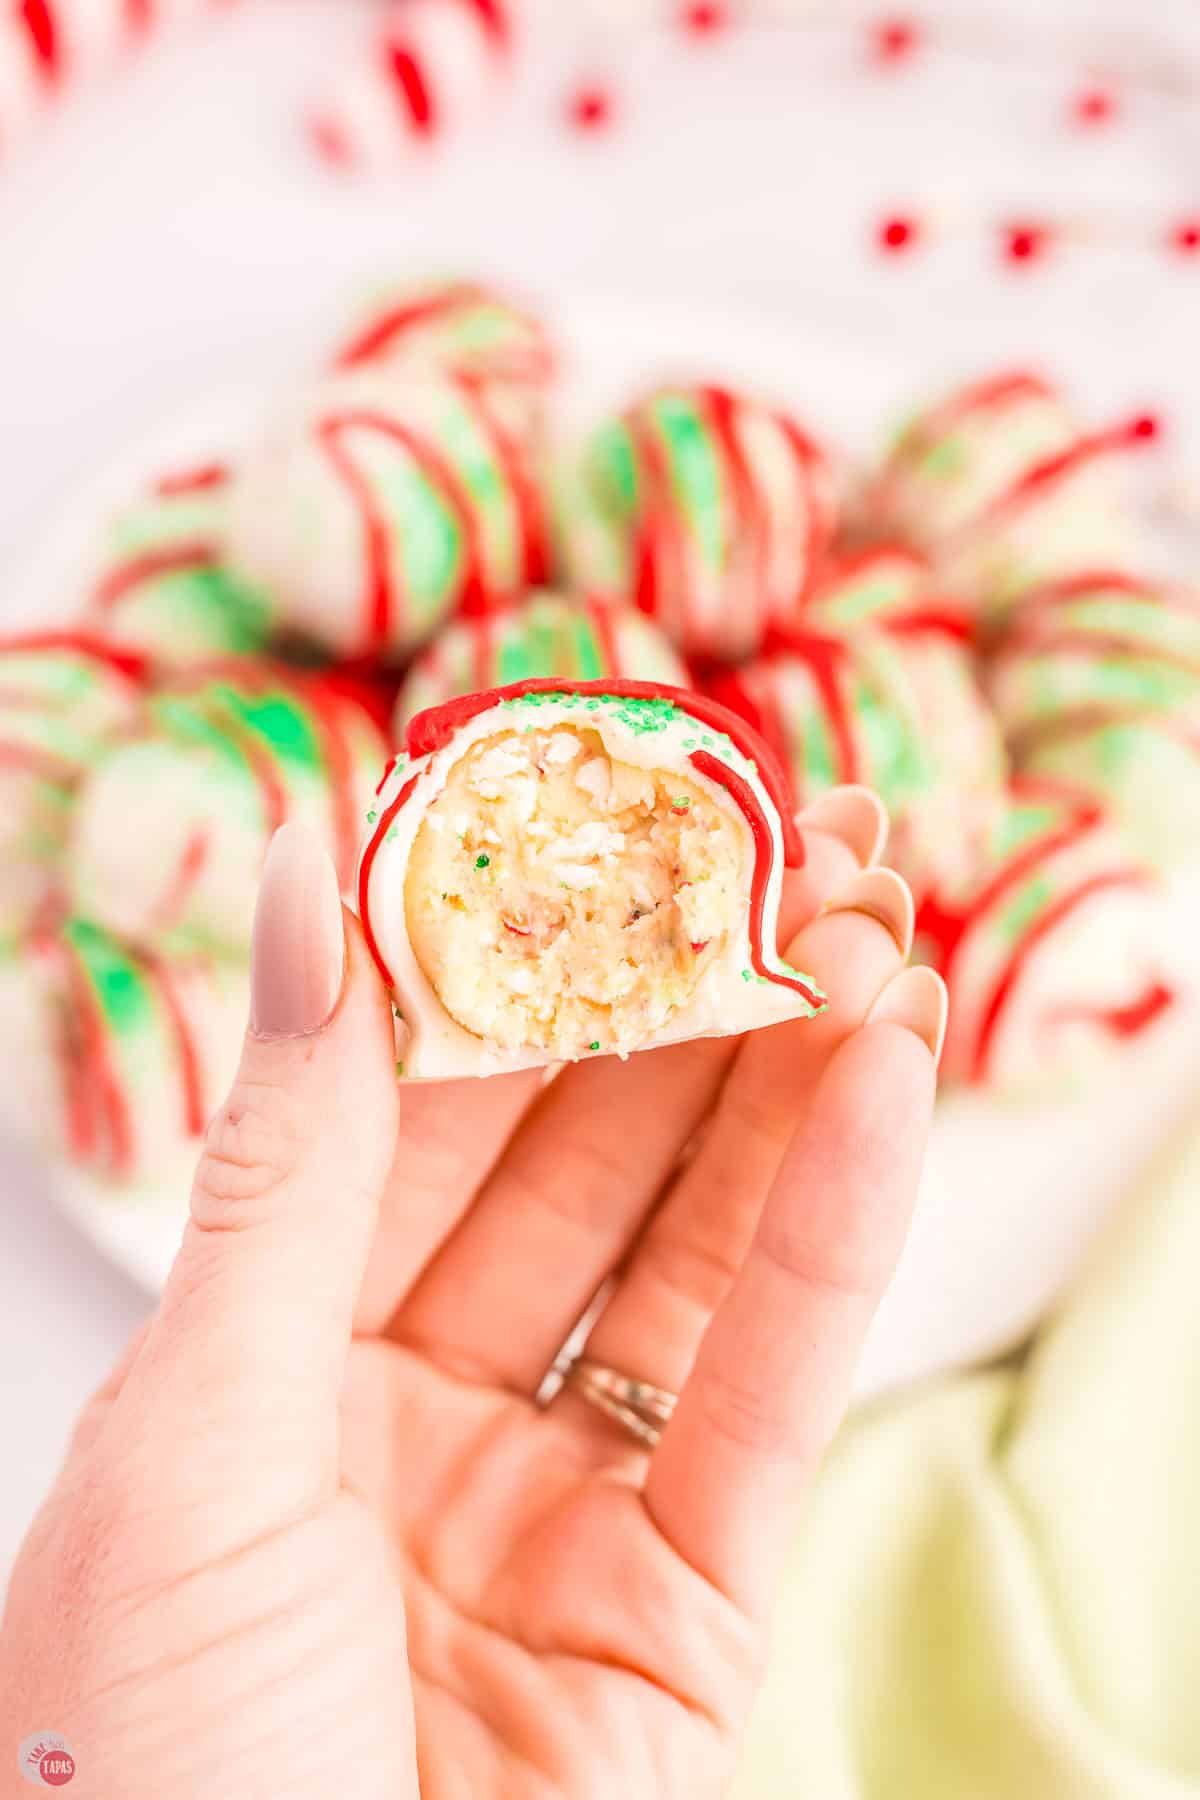
- Cakes – Use Little Debbie Christmas Tree Snack Cakes or the regular white ones with chocolate drizzle if your store is sold out. The decorations will give you the red and green colors.
- Cream cheese – Use 1 block of room temperature cream cheese. Both regular or low fat versions work well. Swap this for equal amount of white frosting.
- White almond bark – This is perfect for dipping the cake balls. You can also use white candy melts if you can find the candy coating.
- Red candy melts – If you only have white, color it with some red food coloring.
- Sprinkles – You can use red or green sanding sugar as well. Try using green candy melts and red sprinkles and make two different color combinations.
For more insider tips, tricks, and a behind the scenes look, follow me on Pinterest, Facebook, Instagram, & X.
How To Make Christmas Tree Cake Balls
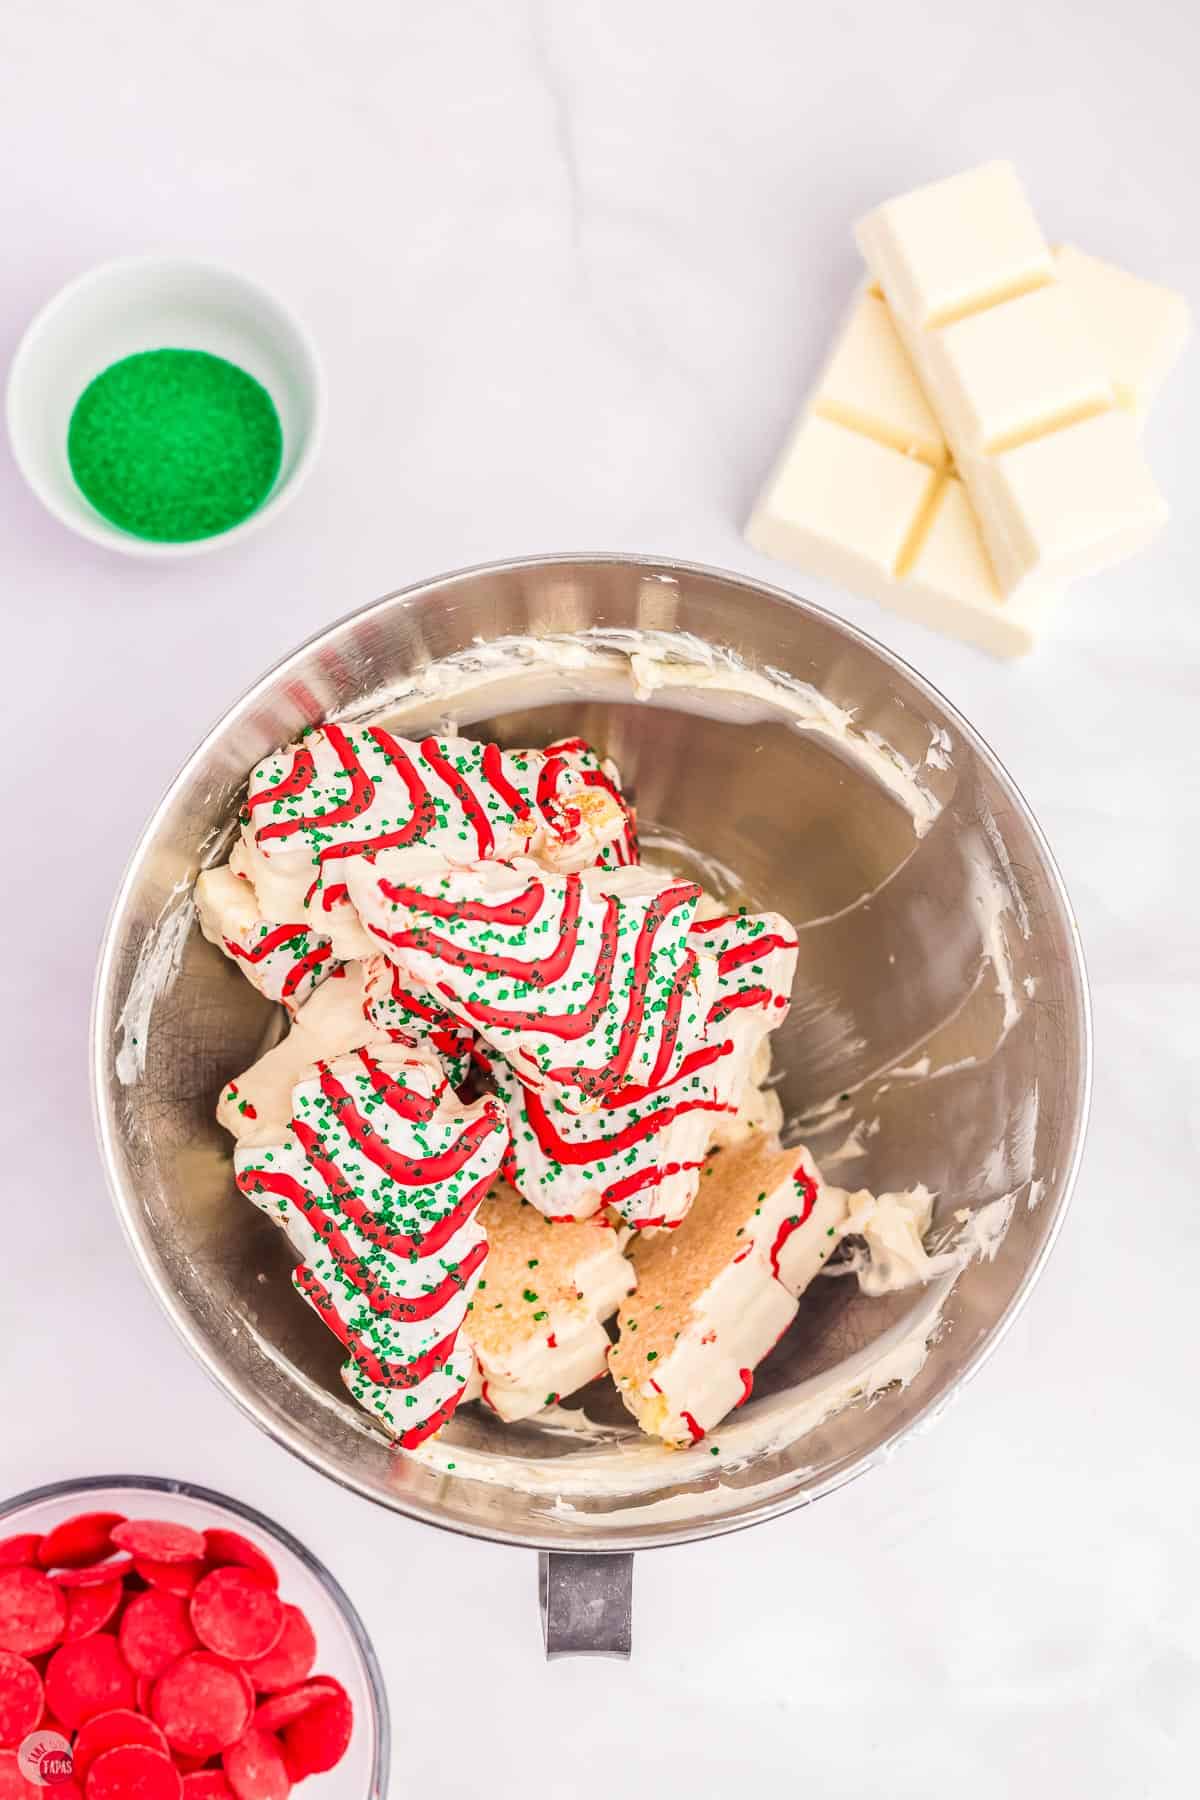
- In a mixing bowl, beat the cream cheese until softened. Unwrap and add the tree cakes. Beat until combined and a dough is formed. Line a baking sheet with parchment paper and set aside.
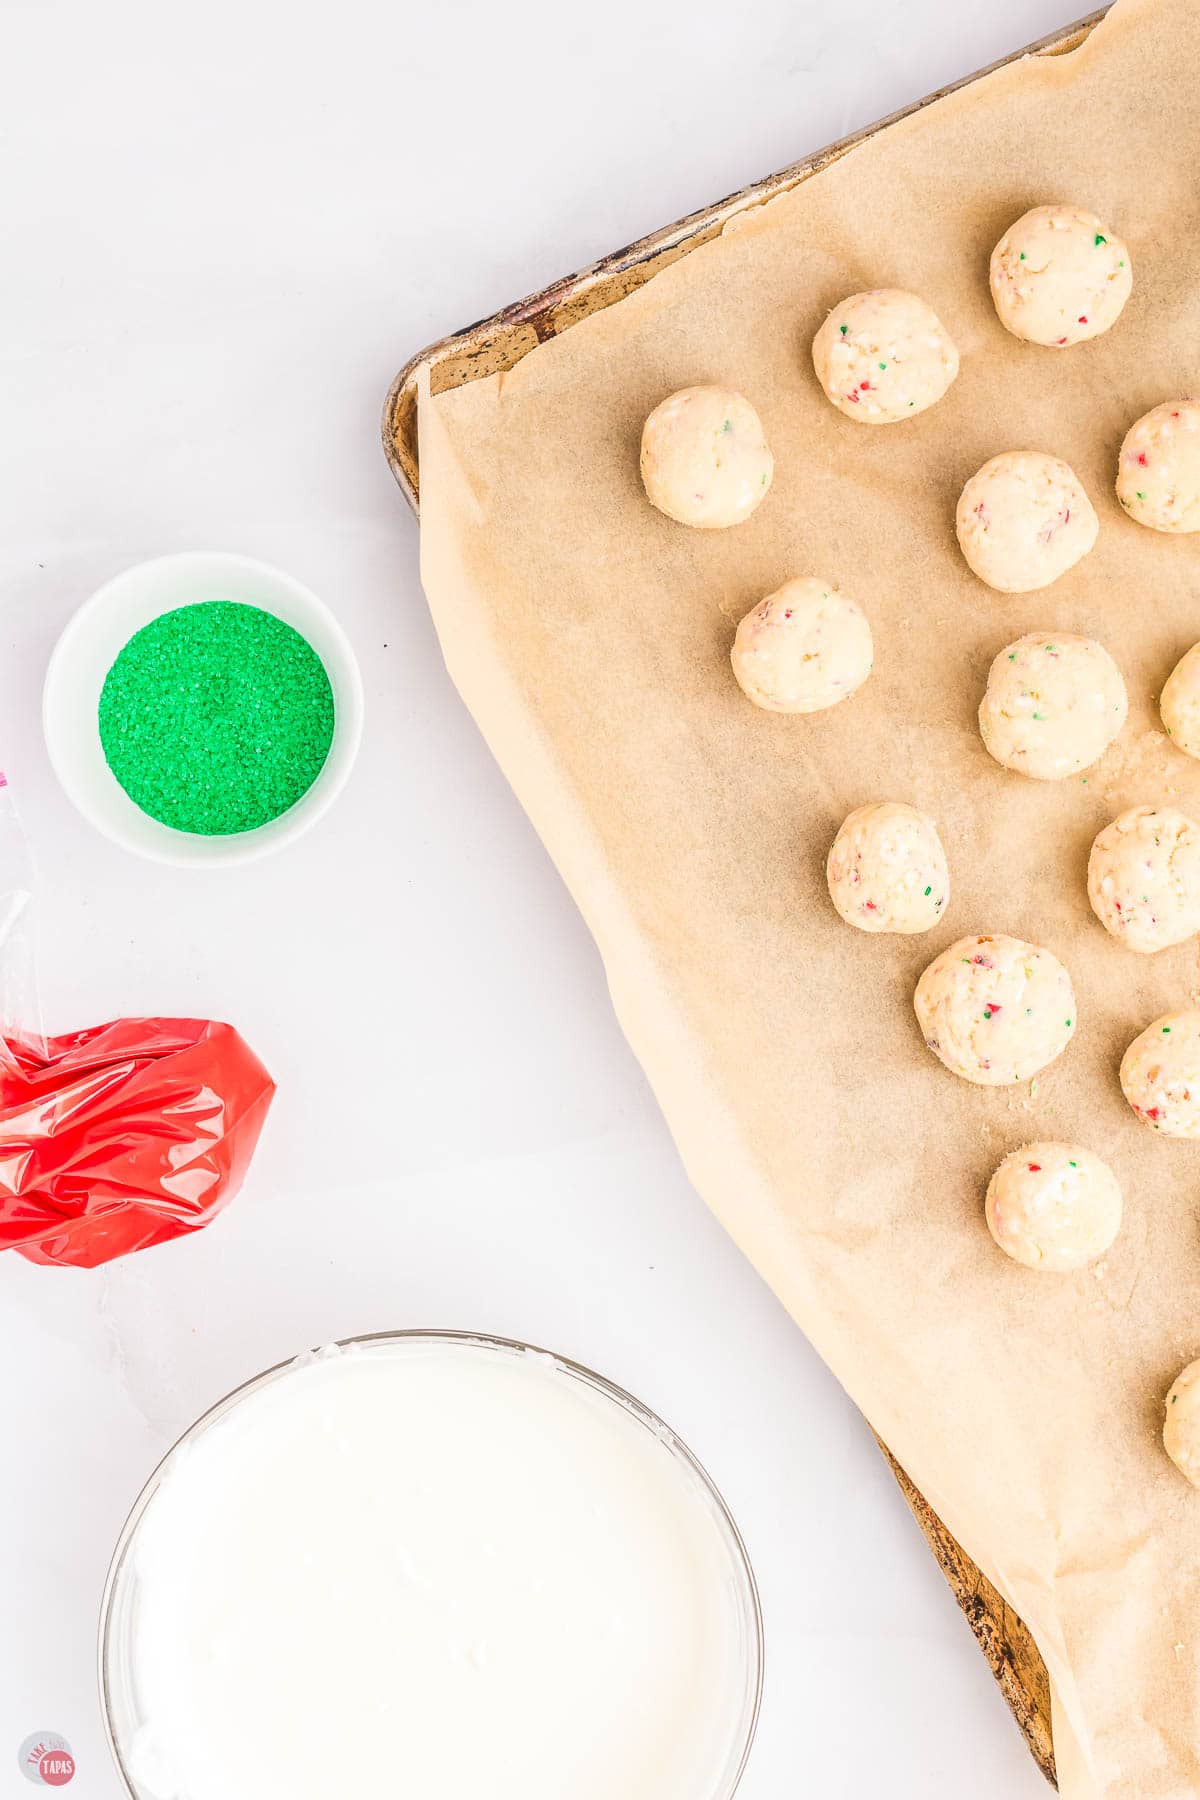
- Using a small cookie scoop, shape them into balls and place on the prepared baking sheet. Place the balls in the fridge for a minimum of 2 hours to let the dough set up and make it easier to handle.
- Melt the white chocolate in the microwave in 30 second intervals, or by using a double boiler. In a separate bowl, melt the red candy melts. Transfer to a zip top or piping bag.
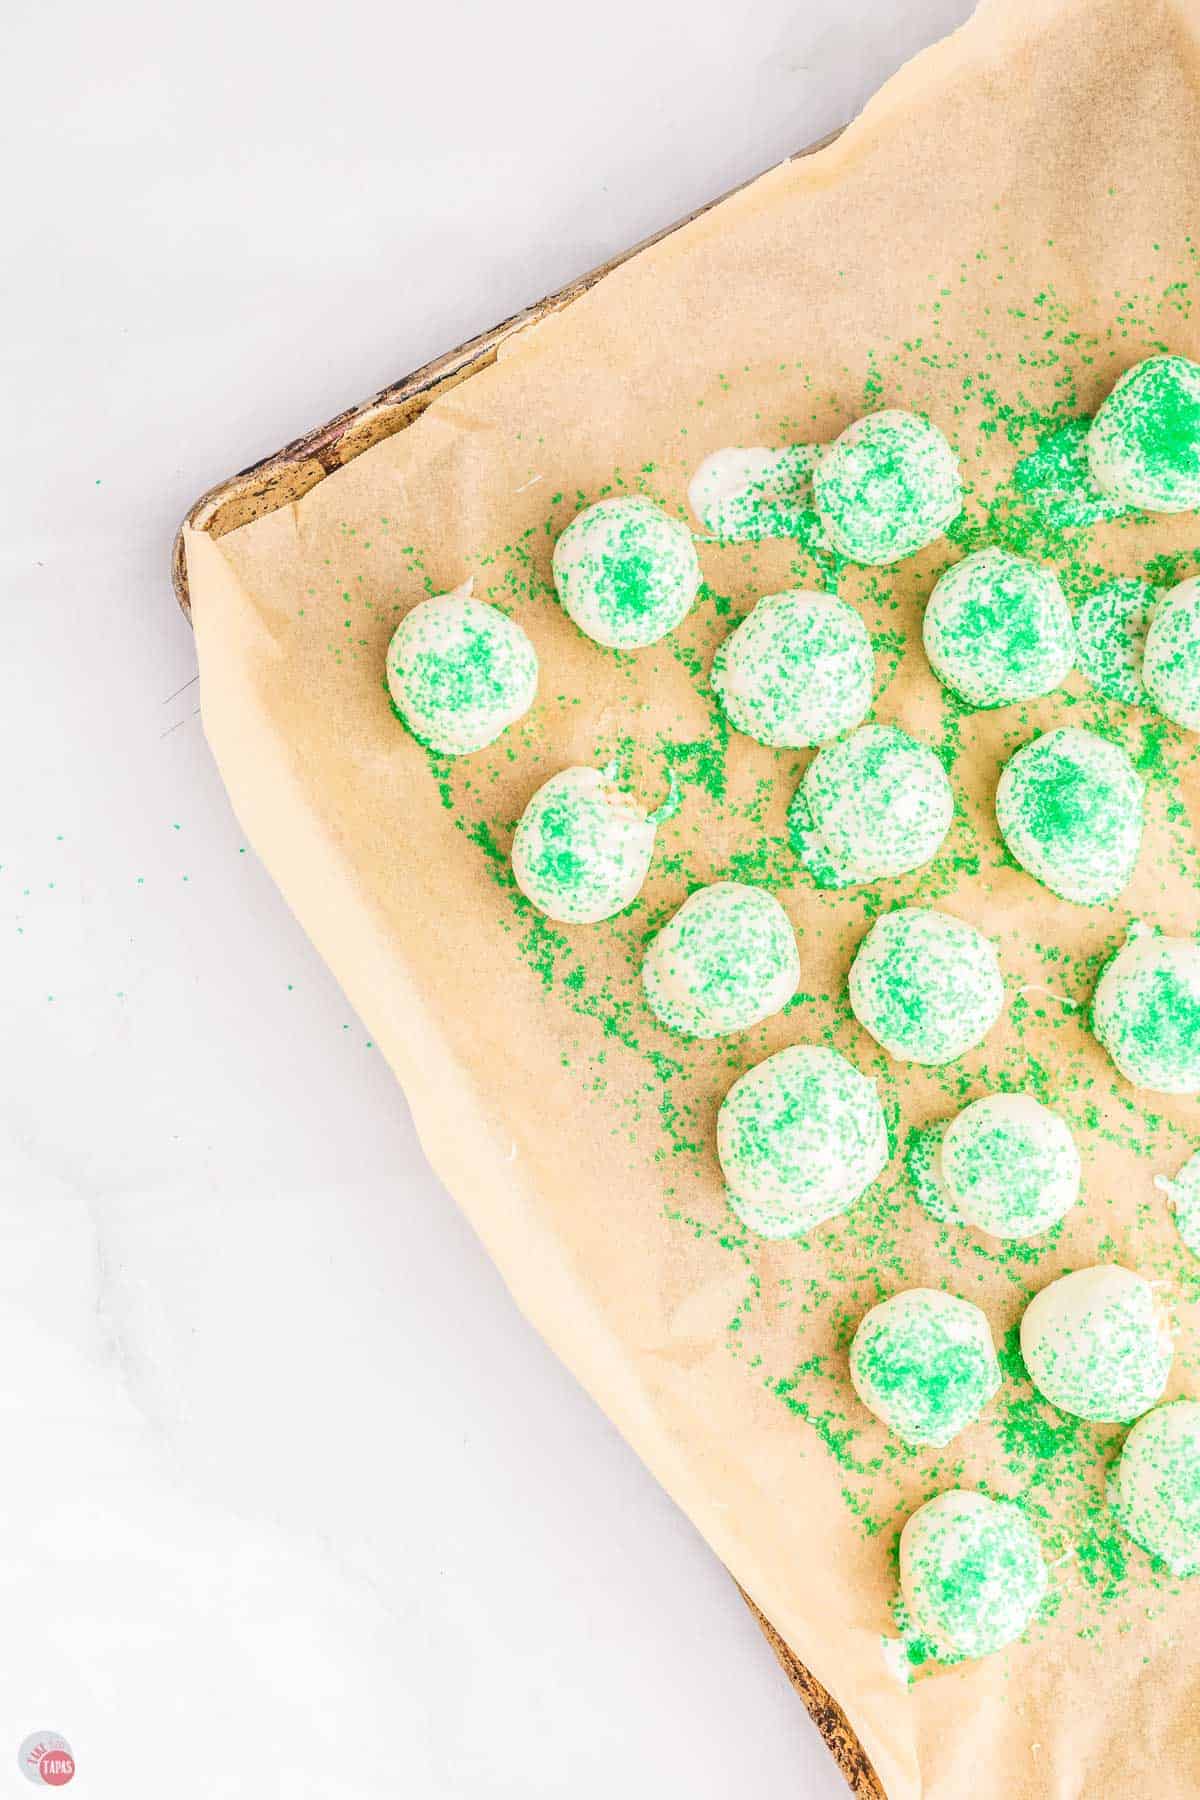
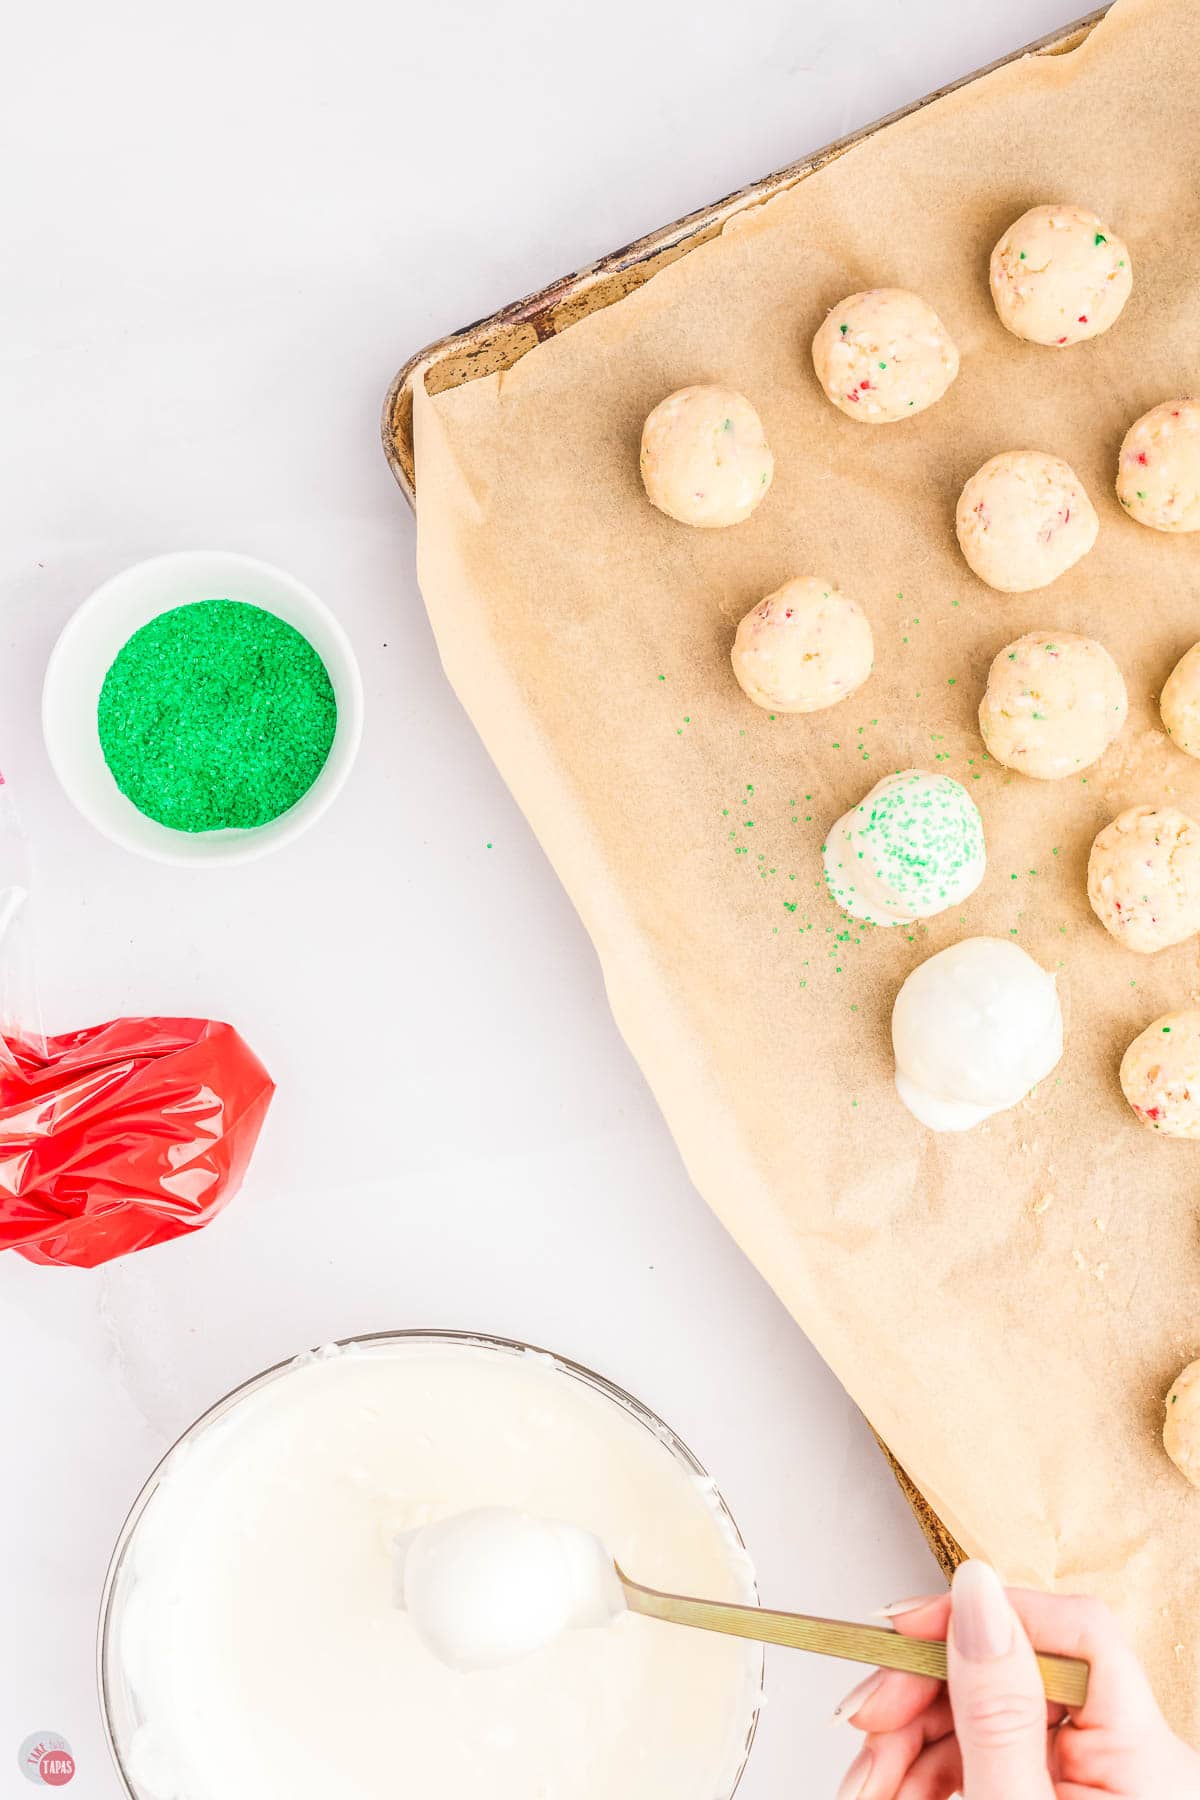
- Dip the chilled balls in the melted white almond bark and tap off the excess. Place onto the prepared baking sheet. Immediately sprinkle with the green sprinkles.
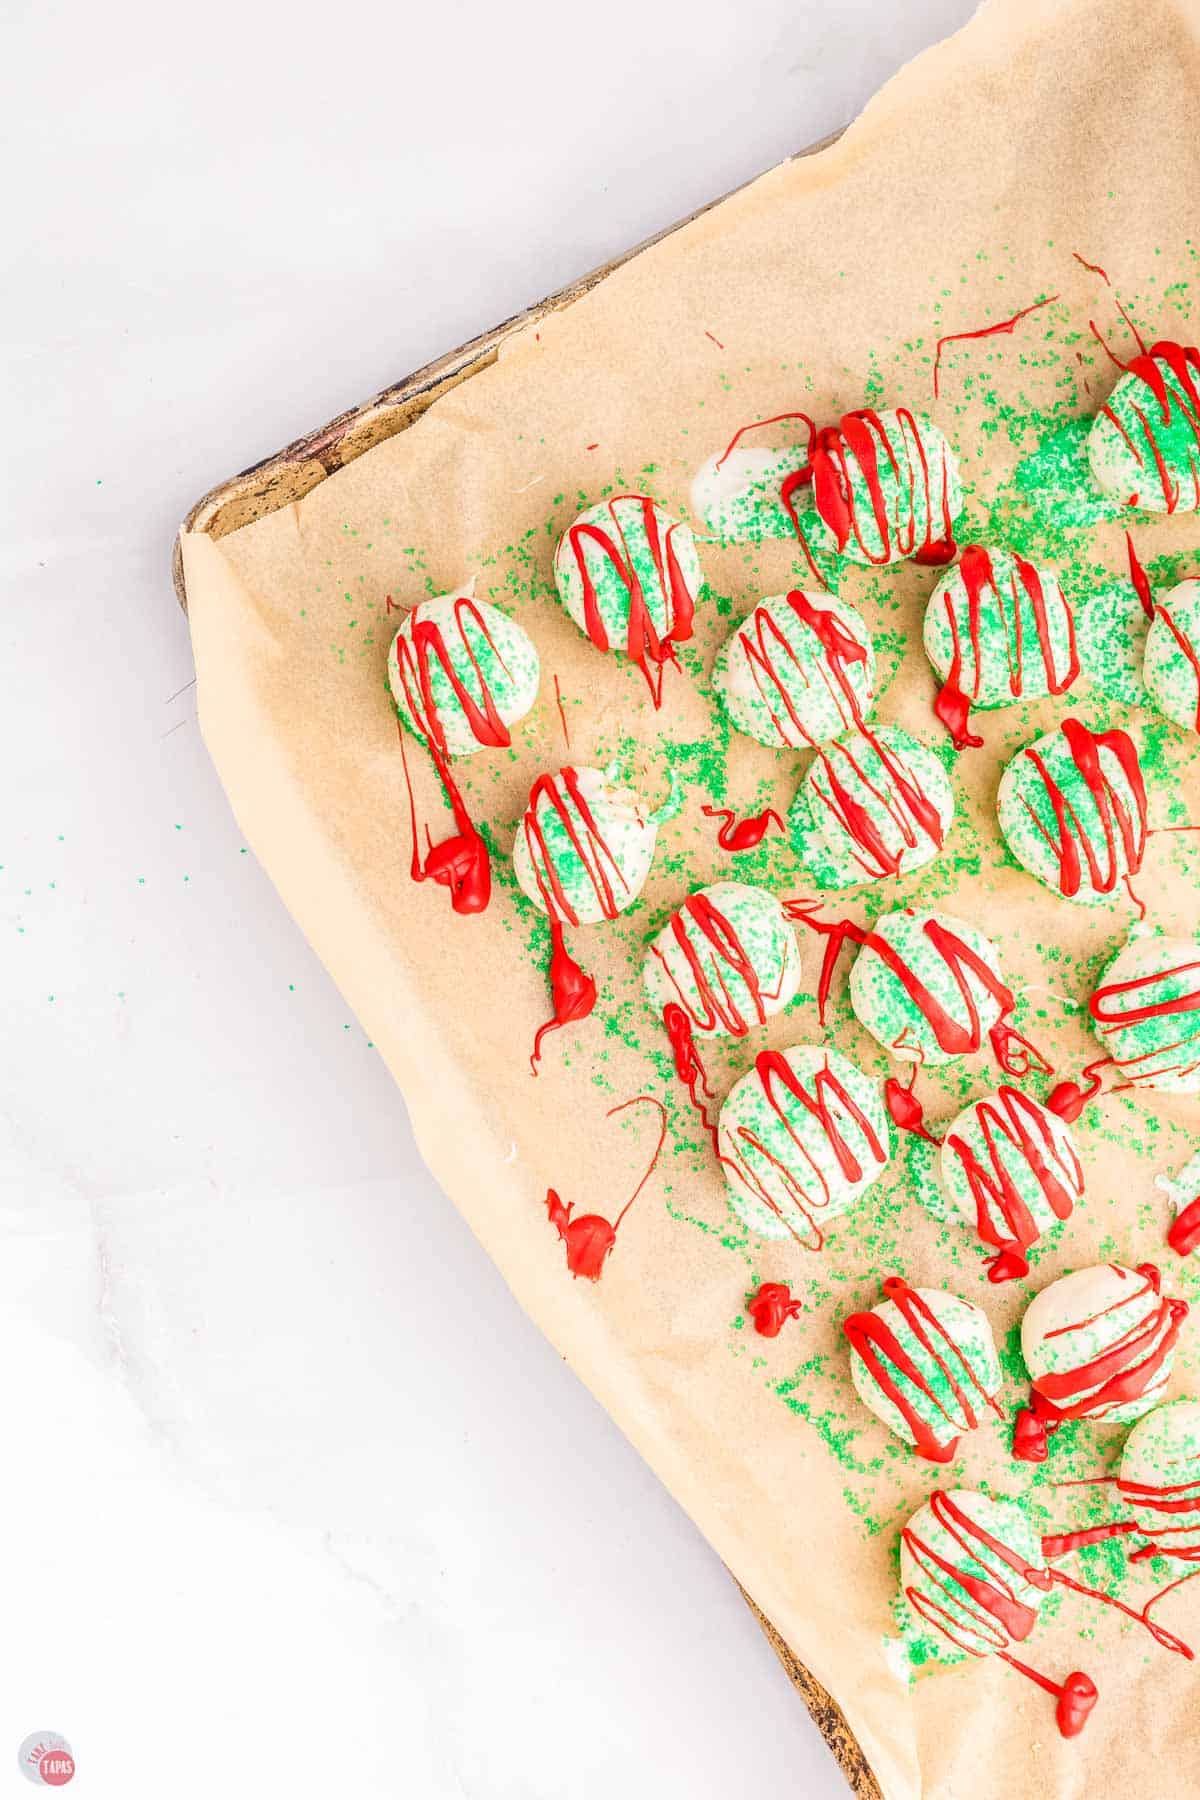
- Repeat until all the balls are coated. When the almond bark has hardened, drizzle the melted red candy melts over top of the cake balls.

- Let set up until hardened. Serve and enjoy!
For the full recipe and detailed instructions, please refer to the recipe card at the bottom of the post.
Storage
Once you dip them, you can store them in the fridge for up to 5 days. Be sure they are in an airtight container. If you are stacking them, place a layer of wax paper or parchment paper between them so they don’t stick to each other.
How To Freeze
You can make the dough and freeze in balls or go ahead and complete the recipe and freeze the cake balls decorated.
When you thaw them, you might get some condensation on the outside of the cake balls. This might cause the colors to run a little bit. I would let them sit at room temperature for 10-15 minutes so the moisture can evaporate a little. Or you can blot them with a paper towel.
Cake Pop Variations
- Turn into cake pops by adding a lollipop stick at the end.
- Use white or chocolate snack cakes.
- Dip the outside in white, red, green, or chocolate coating.
- Decorate with red, white, green, and even gold sprinkles or edible decorations.
Frequently Asked Questions
If you can only find the big cakes, you can use just 5 of them or one box. This recipe uses 10 of the small cakes.
You certainly can! Just be sure to work in batches so you don’t have a large mess. Make all the “dough” at one time, then scoop and freeze. Then you can dip and decorate at a later time and in batches.
Recipe Tips & Tricks
- Chill – Prep and scoop the dough into balls, chill in the fridge, on a baking sheet, so it’s not sticky and easier to handle. Do not freeze!
- Don’t crack up – Refrigerate the chocolate to set up the outside. If you freeze it can cause the coating to crack.
- Thick or thin – If the chocolate coating is too thick to dip or starts to clump, add 1 tablespoon vegetable shortening to thin it out.
- Dip right – Use a fork, toothpick, or candy dipping tool to make dipping easier. Remove excess chocolate before putting on the sheet to set up. It will keep them from getting that flat “pool” or foot at the bottom.
If you love this recipe as much as I do, please leave us a ⭐️⭐️⭐️⭐️⭐️ five-star review in the comment section below. Thanks!
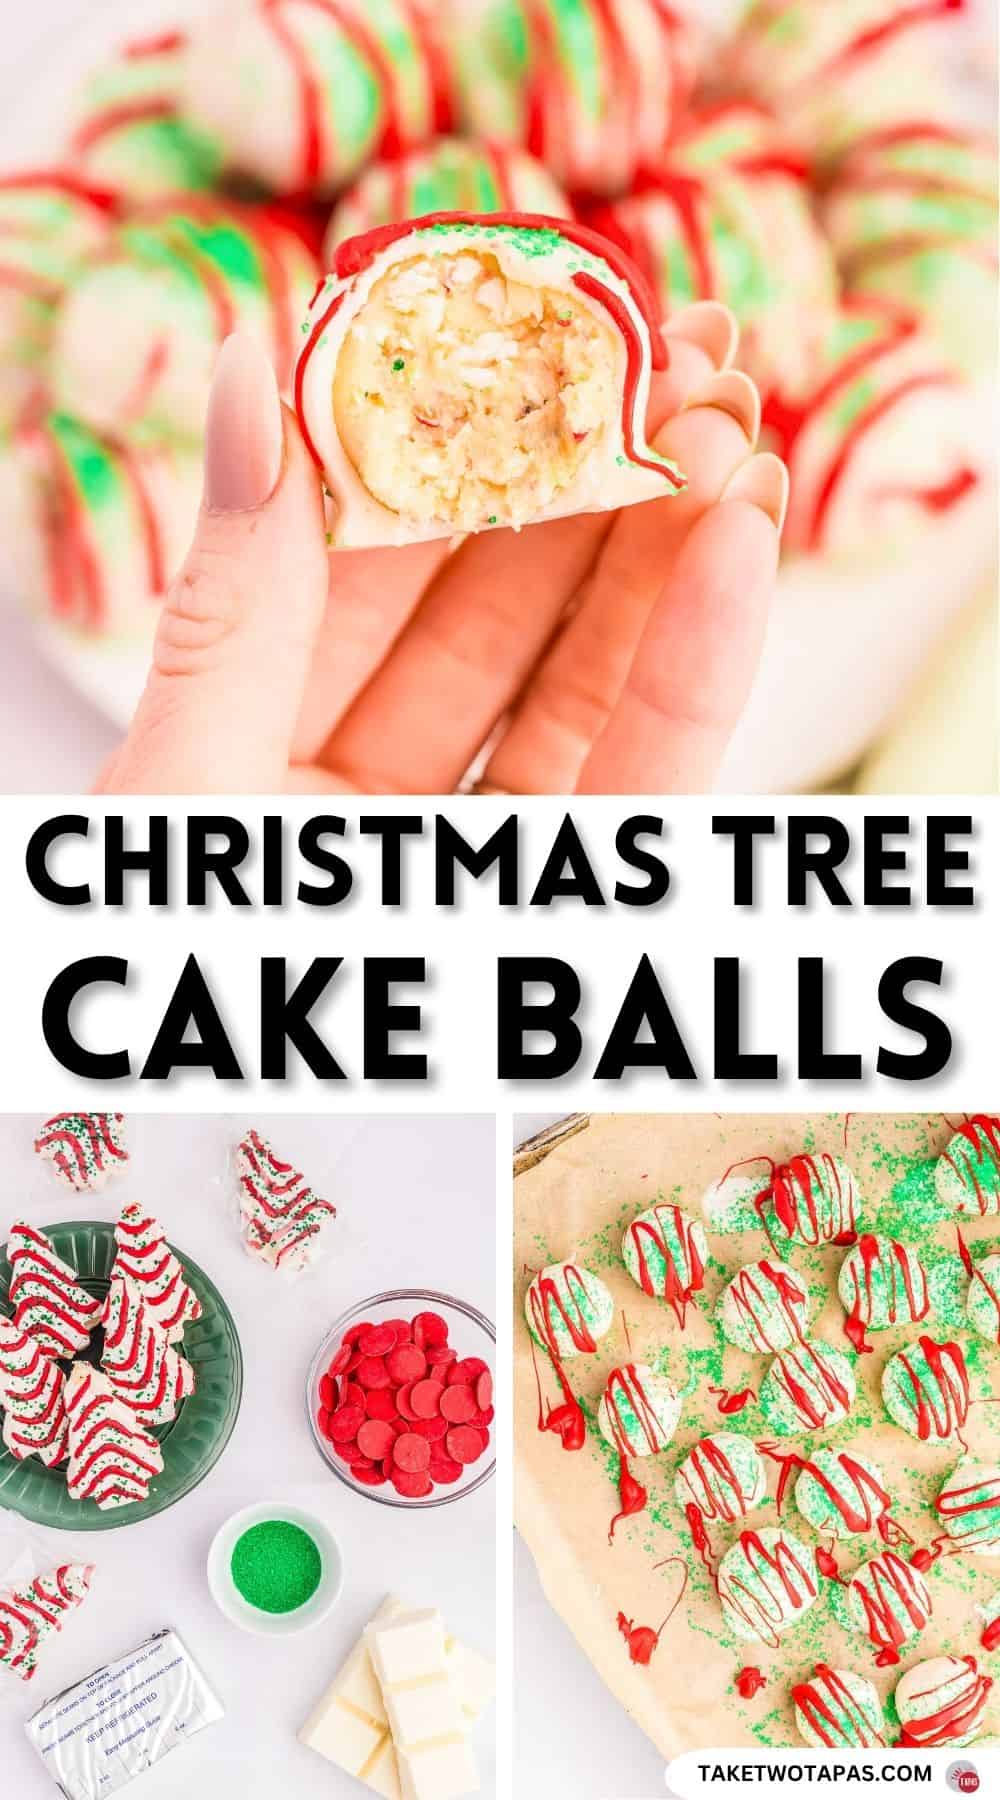
This Little Debbie Christmas Tree cake balls recipe is a fun and festive way to turn holiday snack cakes and turn them into delicious and beautiful cake balls. Perfect for gift giving or leaving for Santa!
Christmas Tree Cake Balls
Ingredients
- 17.24 ounces Little Debbie Christmas Tree Cakes 2 boxes small cakes, 1 box large
- 8 ounces cream cheese room temperature
- 16 ounces almond bark white
- 1/3 cup candy melts red
- 1/4 cup sprinkles green, or sanding sugar
Instructions
- In a medium sized bowl, beat the room temperature cream cheese until softened.
- Unwrap and roughly break up the snack cakes. Add to the cream cheese and mix to combine.
- Line a baking sheet with parchment paper and set aside.
- Using a small cookie scoop, shape them into 1 inch balls and place on the prepared baking sheet.
- Place the balls in the refrigerator or freezer for a minimum of 2 hours.
- Melt the white chocolate in the microwave in 30 second intervals, or by using a double boiler.
- In a separate bowl, melt the red candy melts. Transfer to a zip top or piping bag.
- Dip the chilled balls in the melted white almond bark and tap off the excess.
- Place onto the prepared baking sheet. Immediately sprinkle with the green sprinkles.
- Repeat until all the balls are coated.
- When the almond bark has hardened, drizzle the melted red candy melts over top of the cake balls. Let set up until hardened. Serve and enjoy!
Notes
- Chill – Prep and scoop the dough into balls, chill in the fridge, on a baking sheet, so it’s not sticky and easier to handle. Do not freeze!
- Don’t crack up – Refrigerate the chocolate to set up the outside. If you freeze it can cause the coating to crack.
- Thick or thin – If the chocolate coating is too thick to dip or starts to clump, add 1 tablespoon vegetable shortening to thin it out.
- Dip right – Use a fork, toothpick, or candy dipping tool to make dipping easier. Remove excess before putting on the sheet to set up. It will keep them from getting that flat “pool” or foot at the bottom.
Nutrition
©TakeTwoTapas.com. Content and photographs are copyright protected. Sharing of this recipe is both encouraged and appreciated. Copying and/or pasting full recipes to any social media is strictly prohibited.