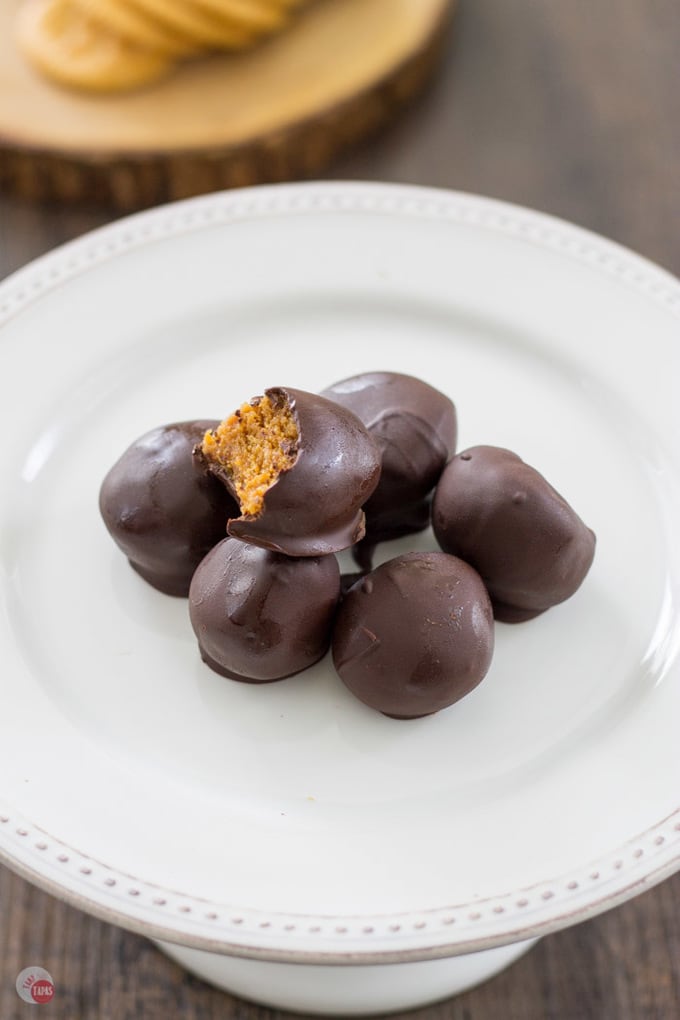
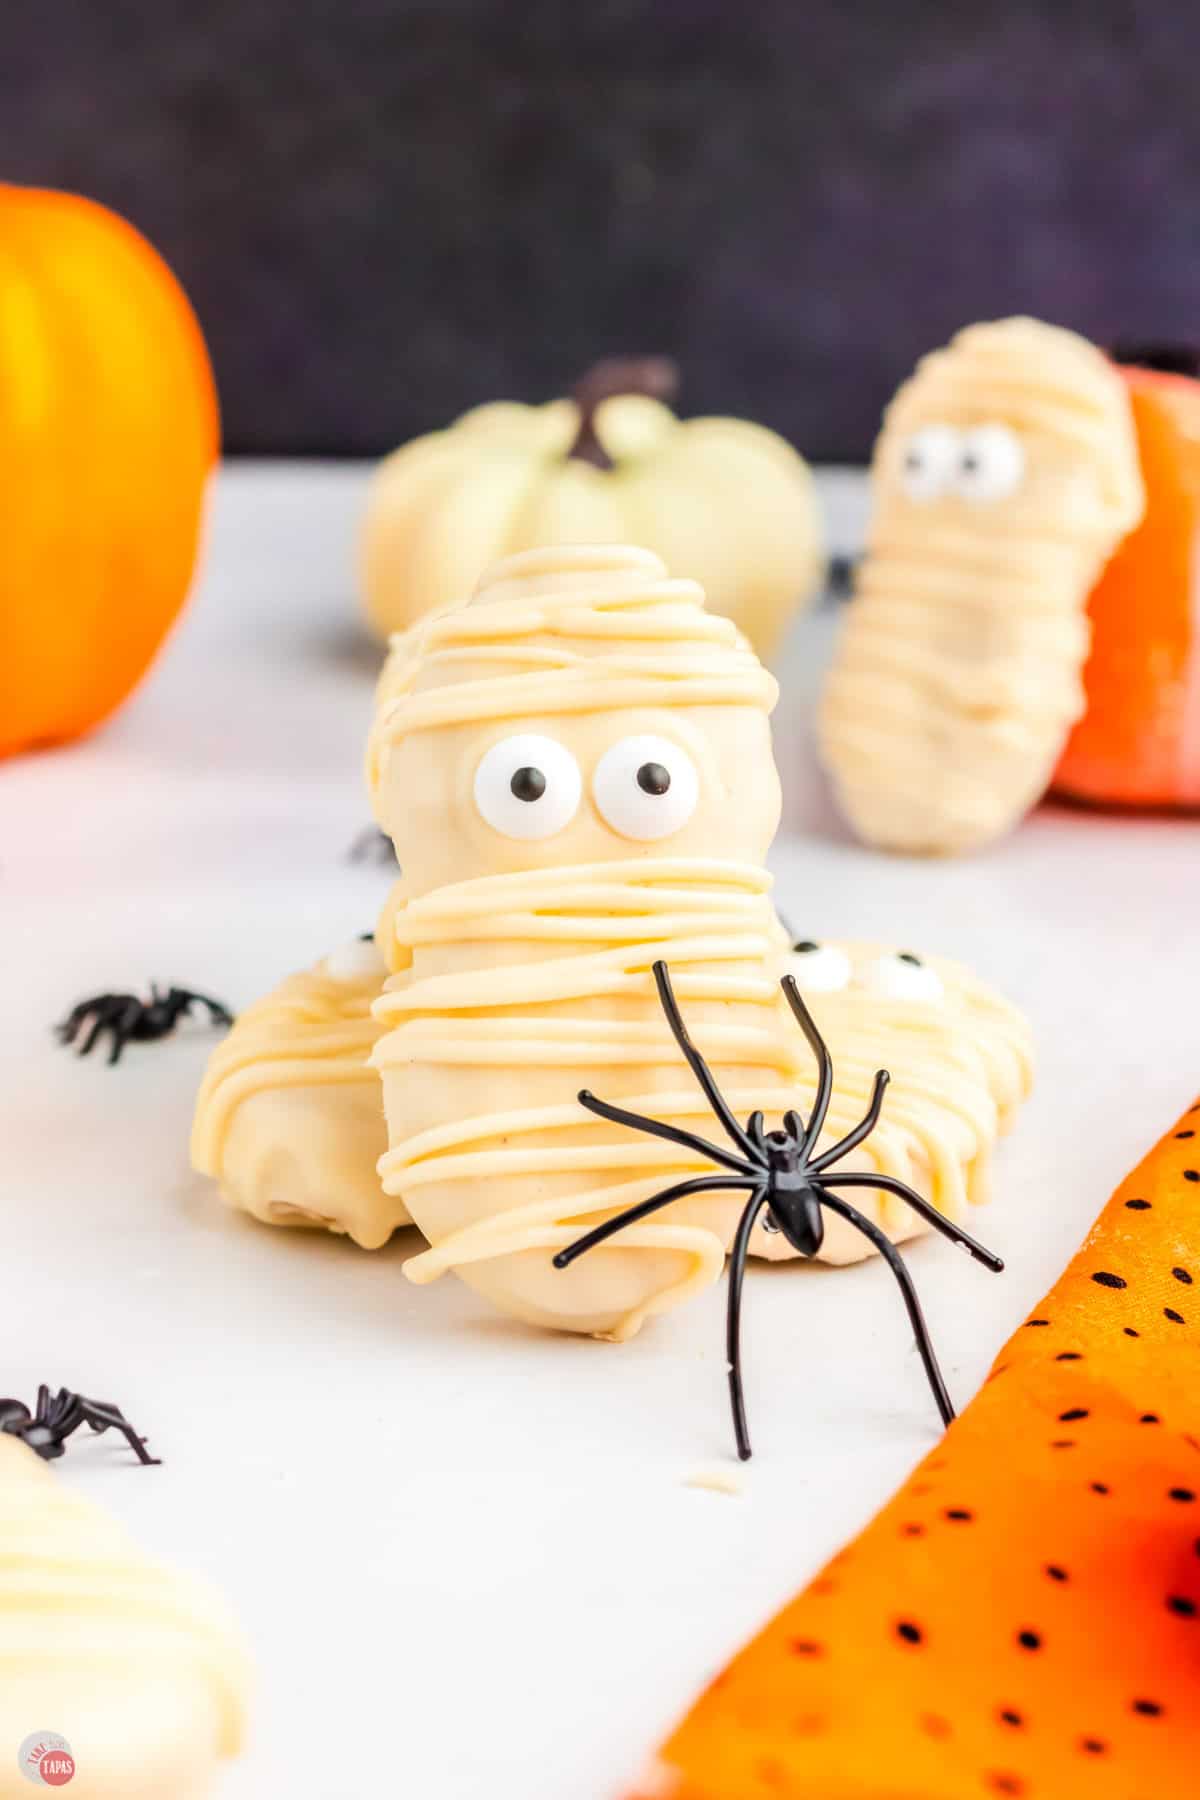
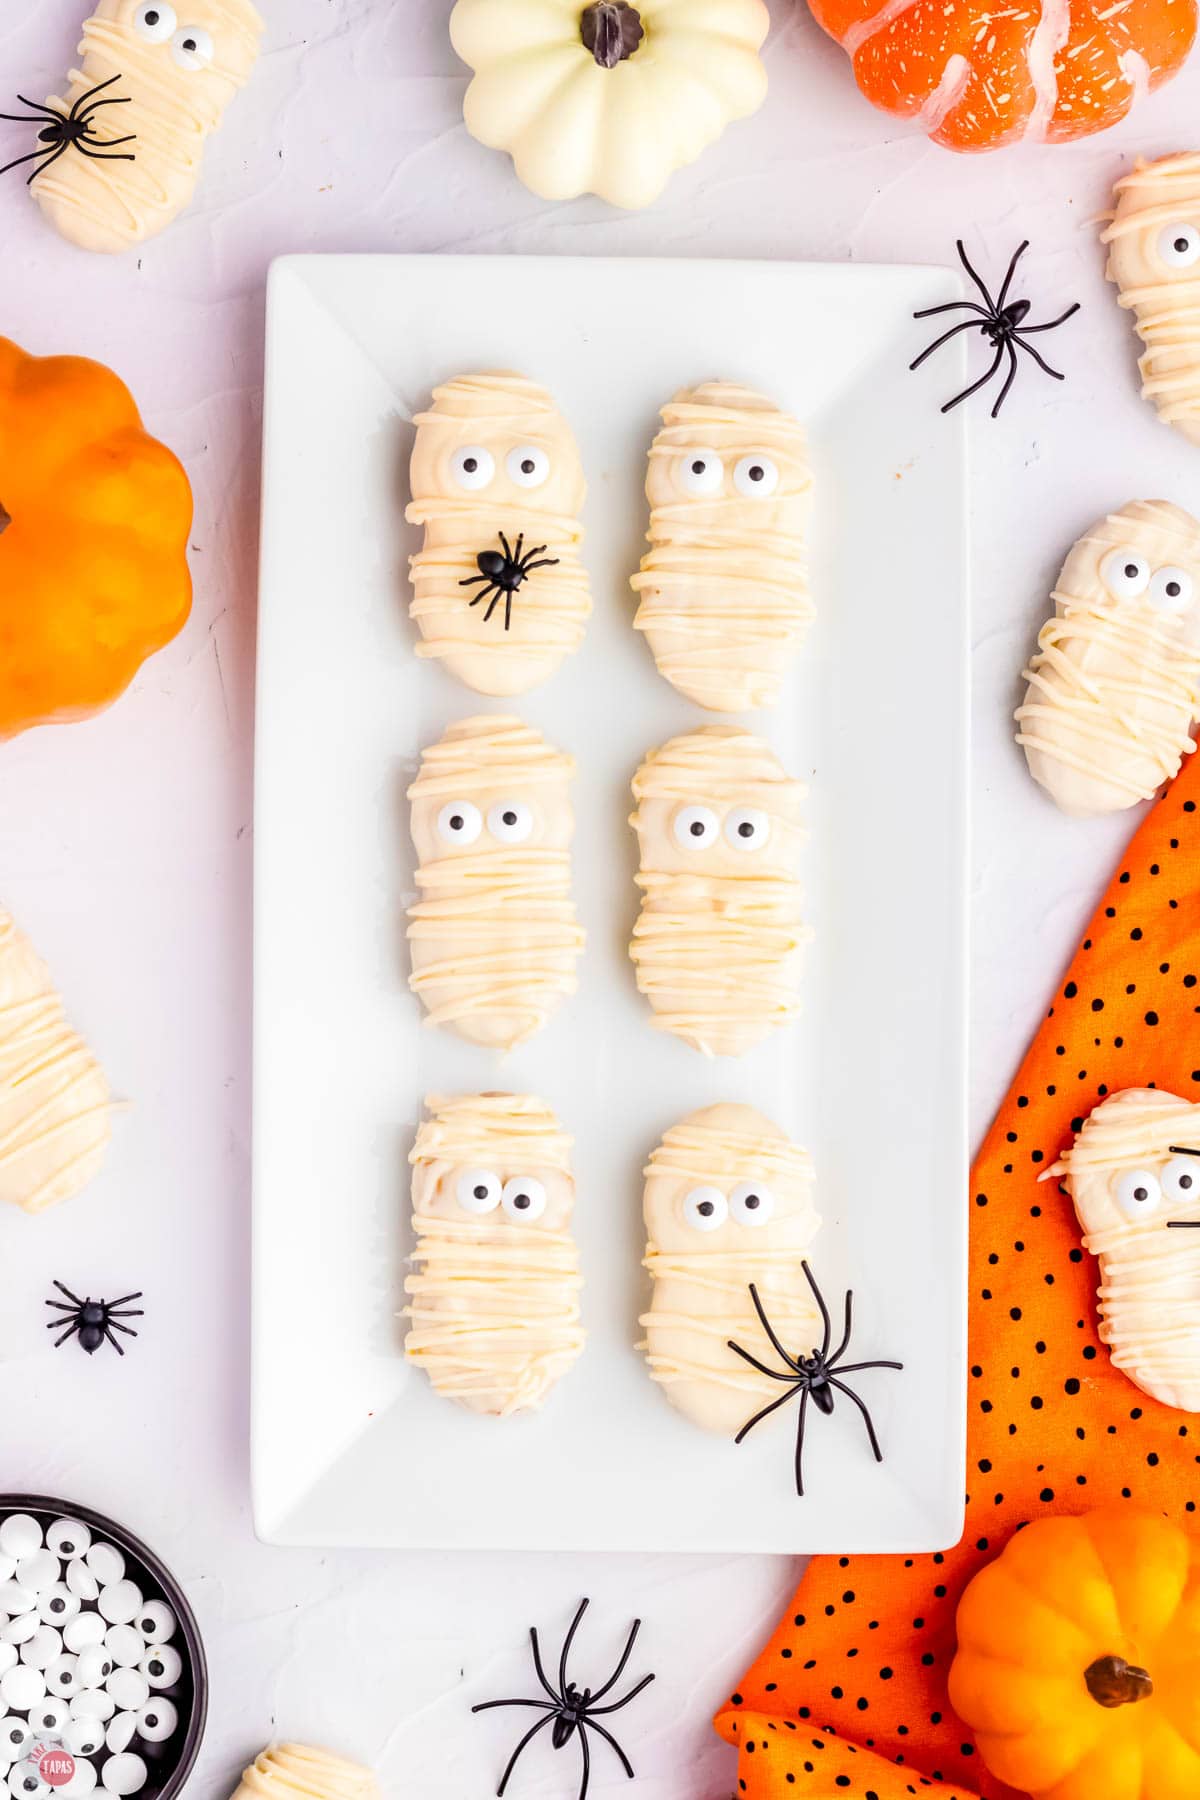
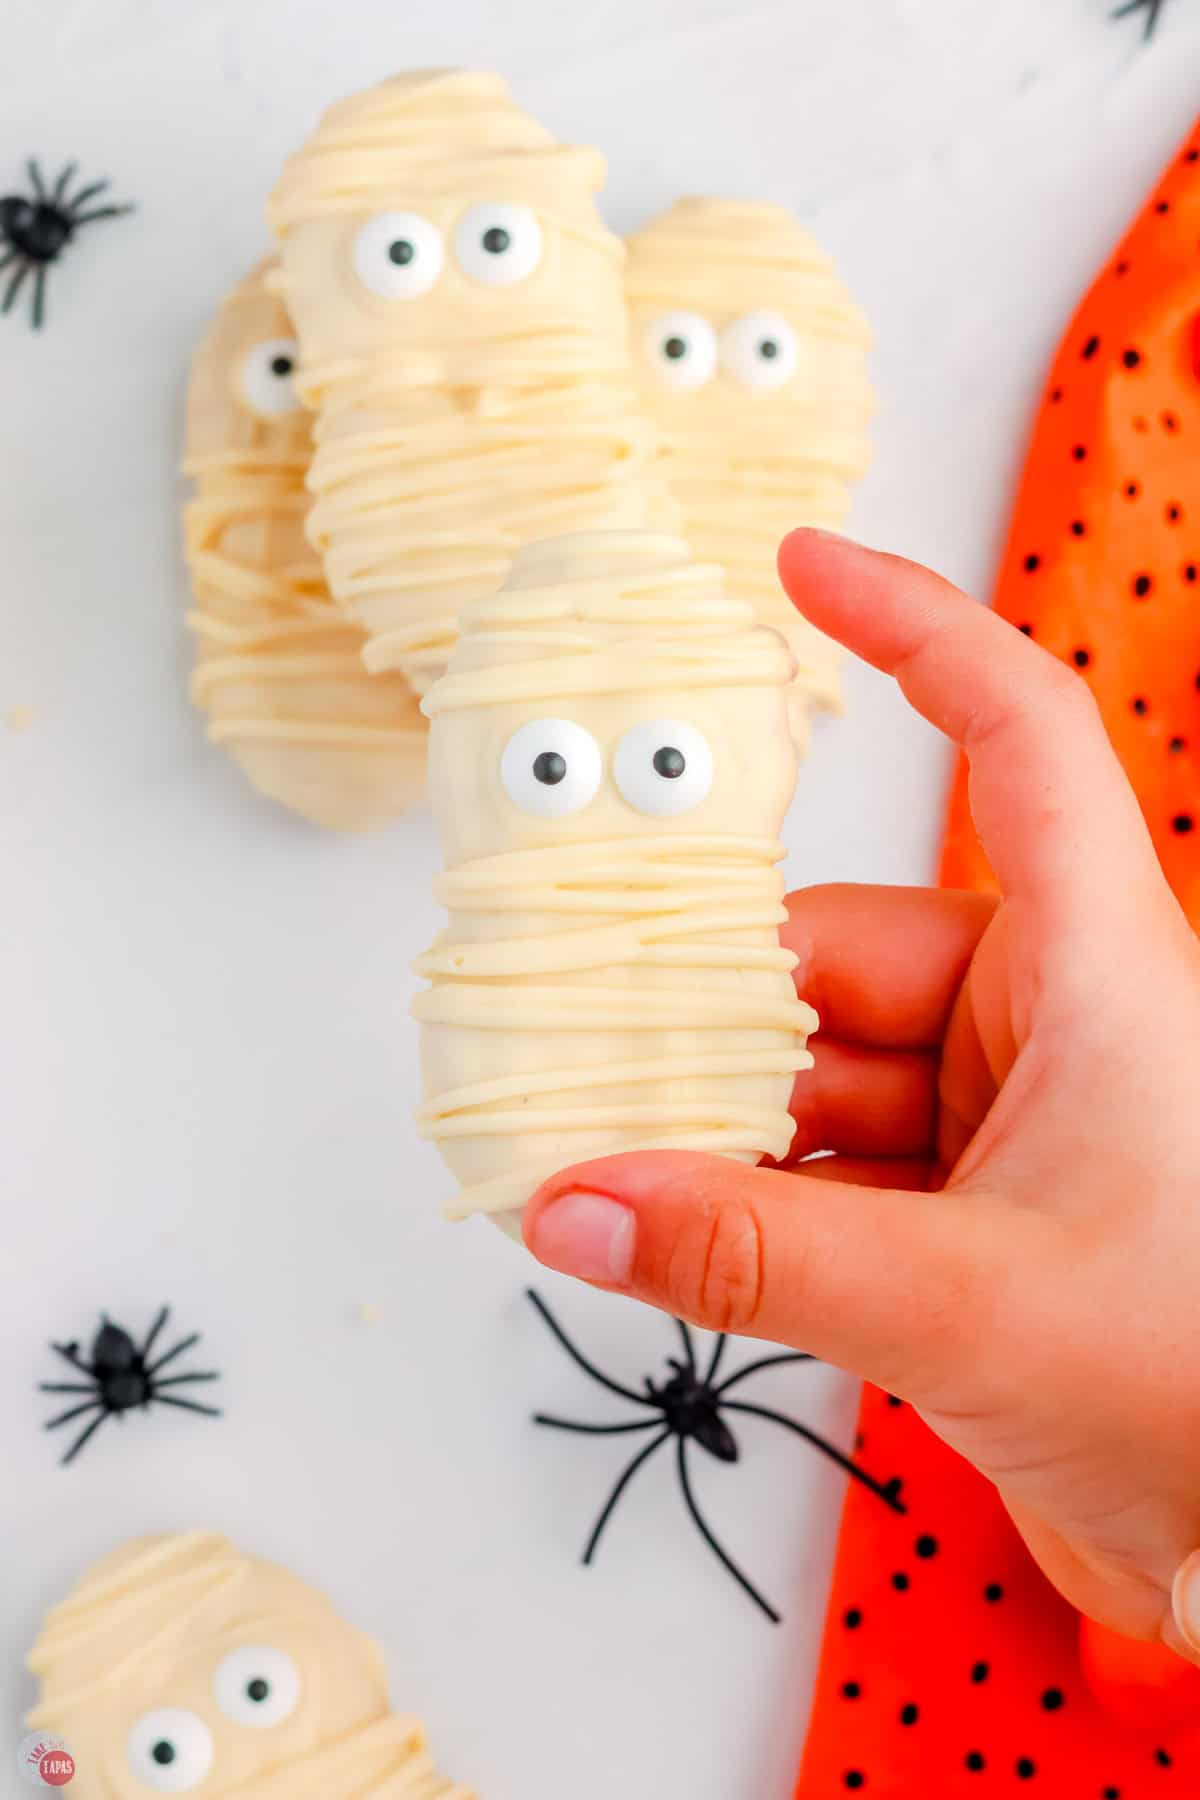
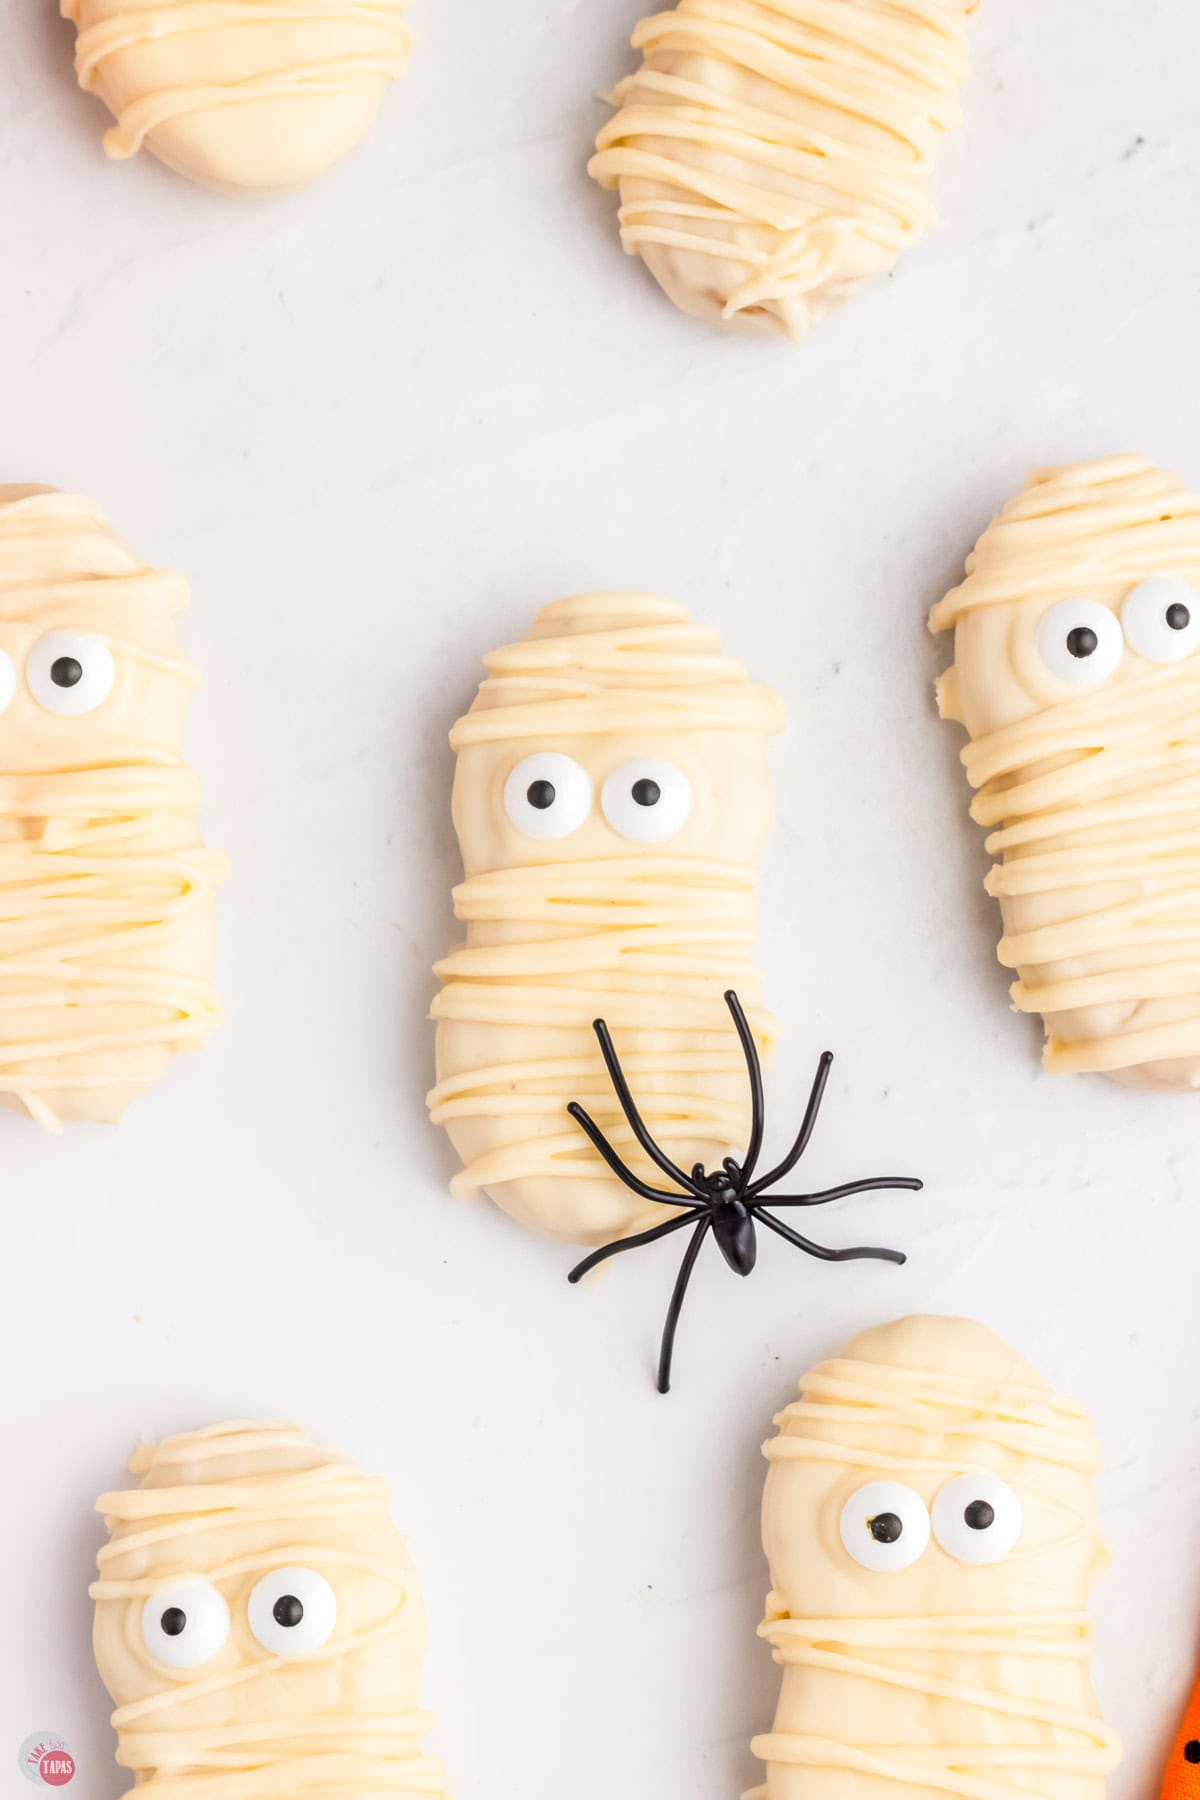
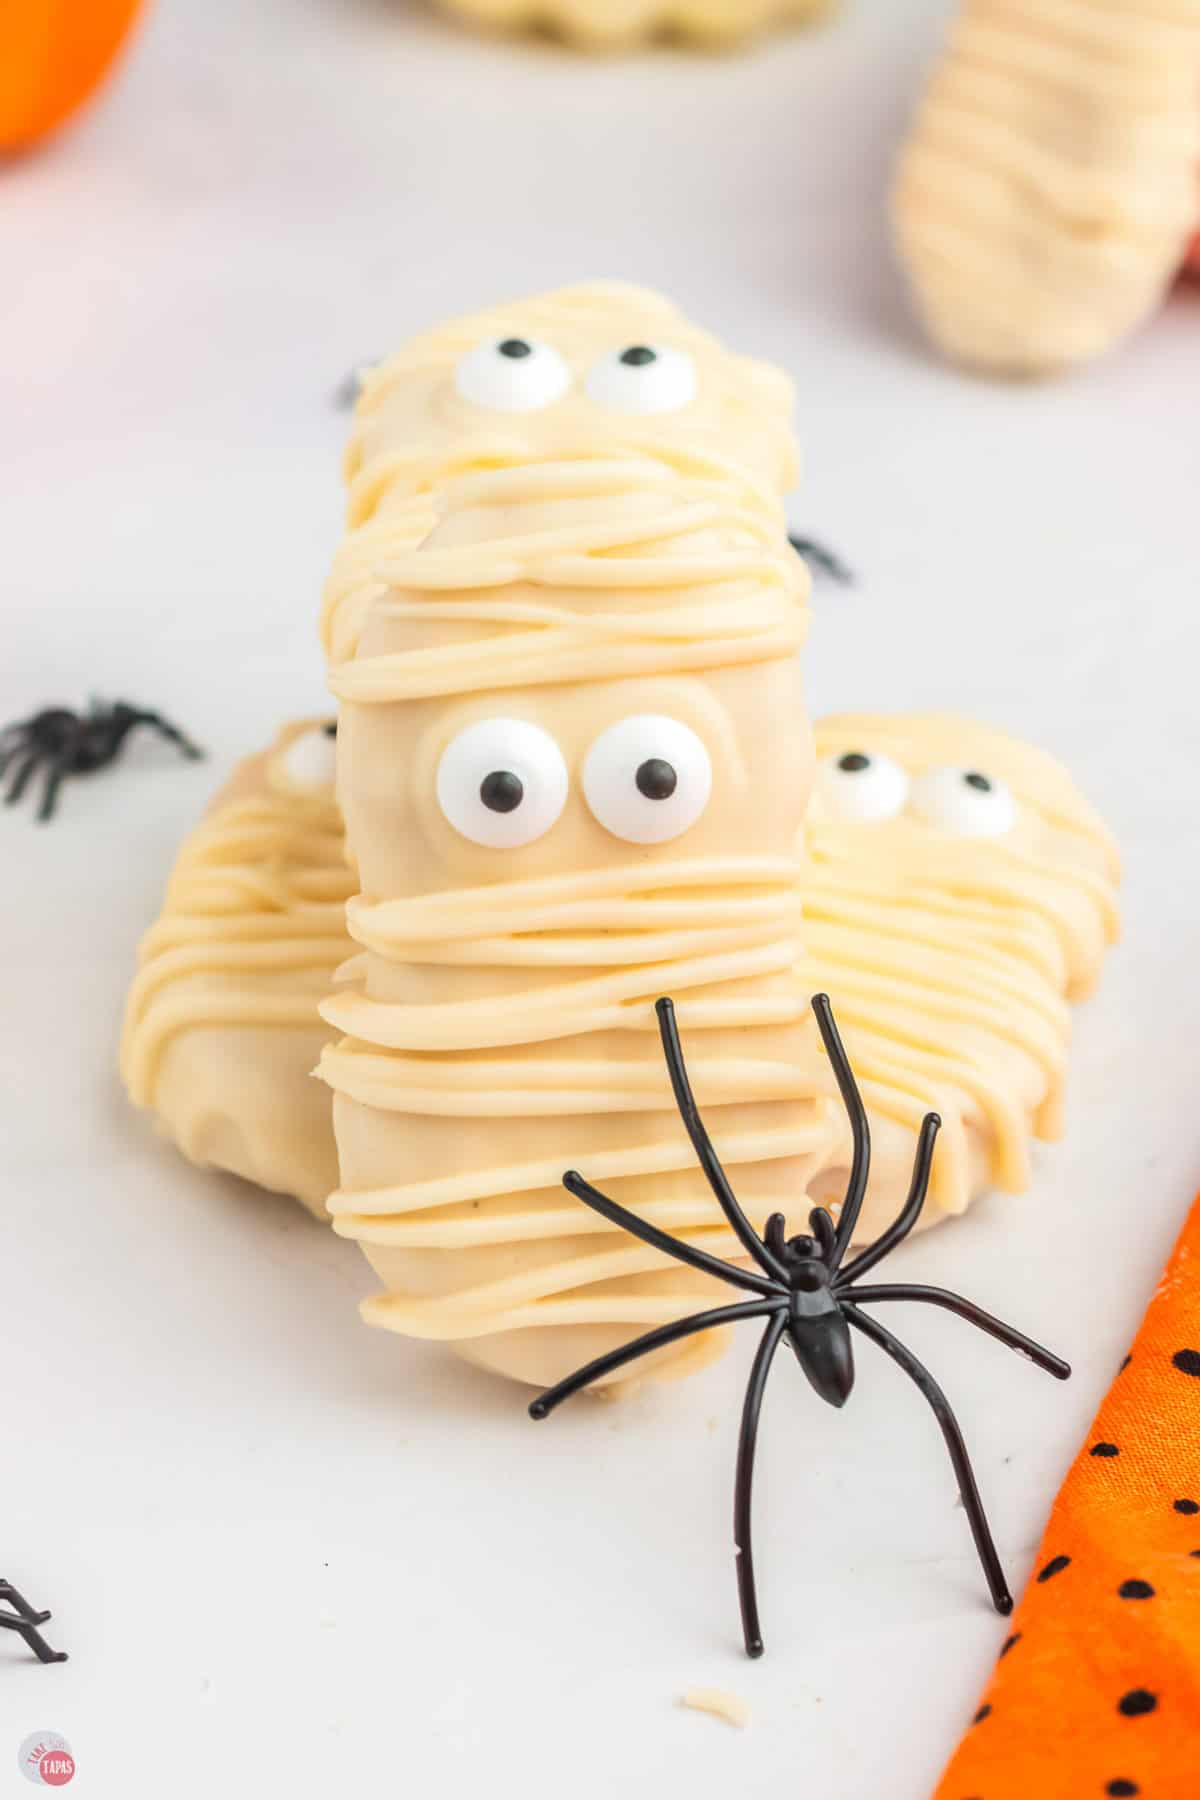
Nutter Butter Mummy Cookies
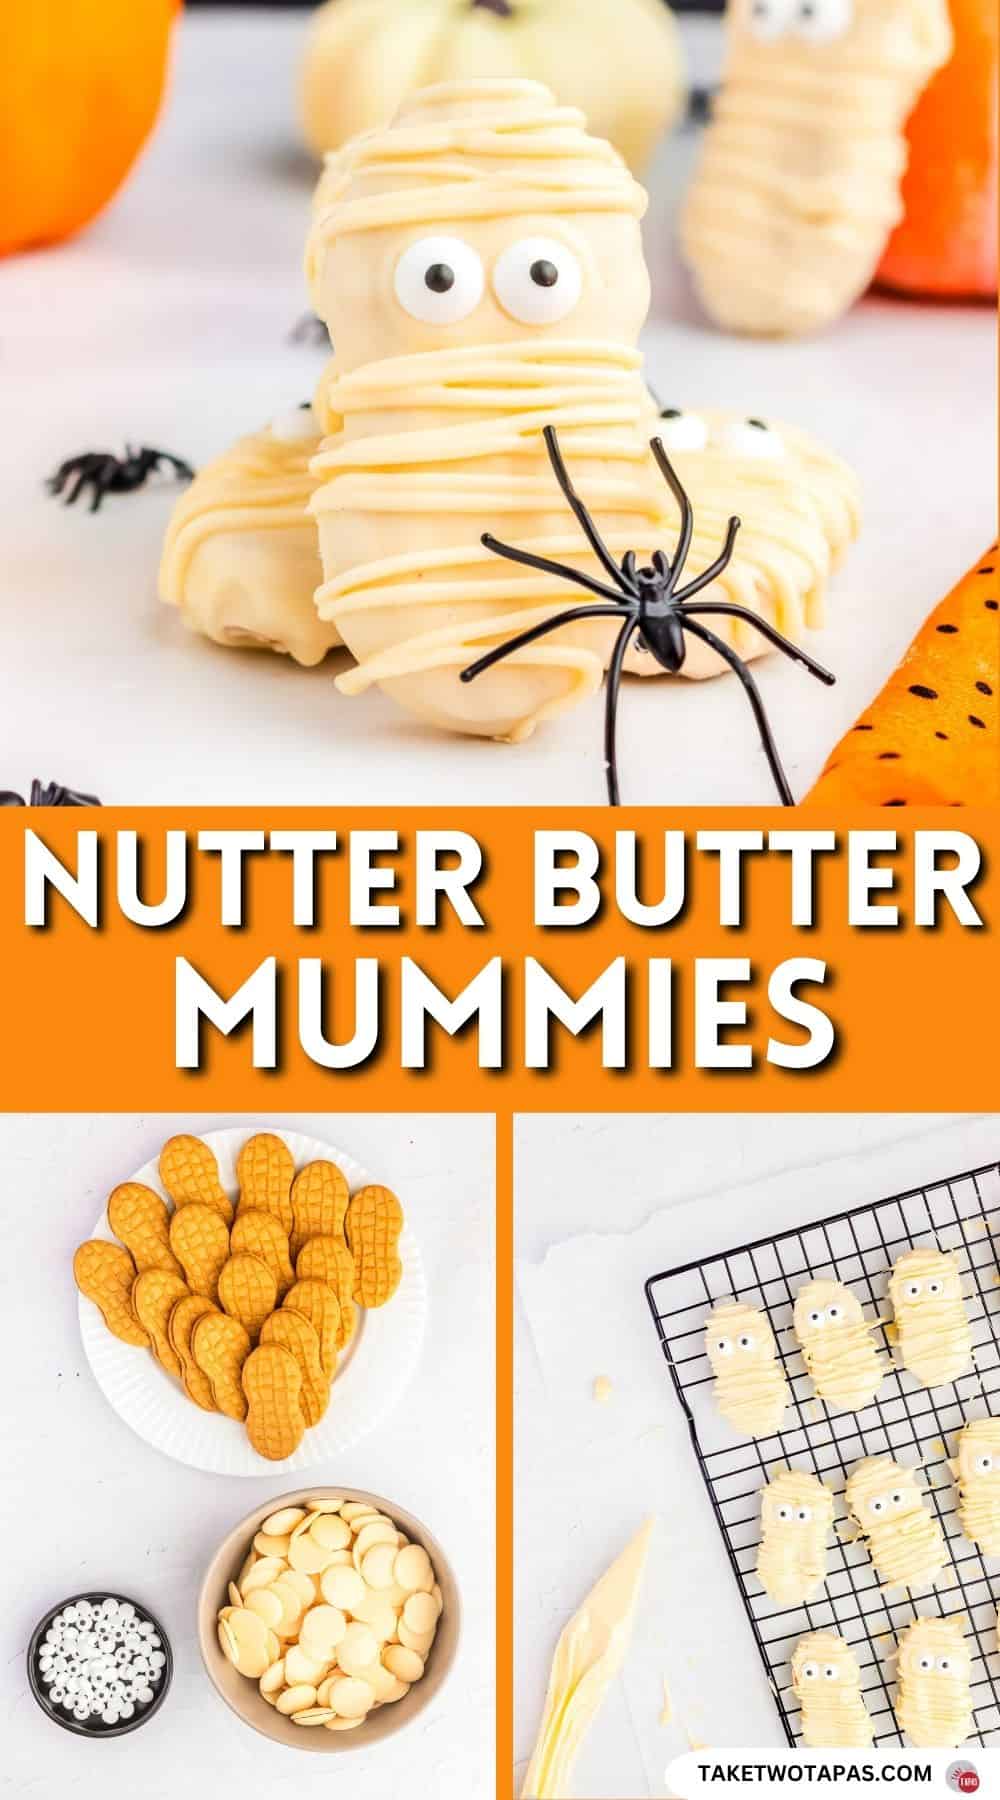
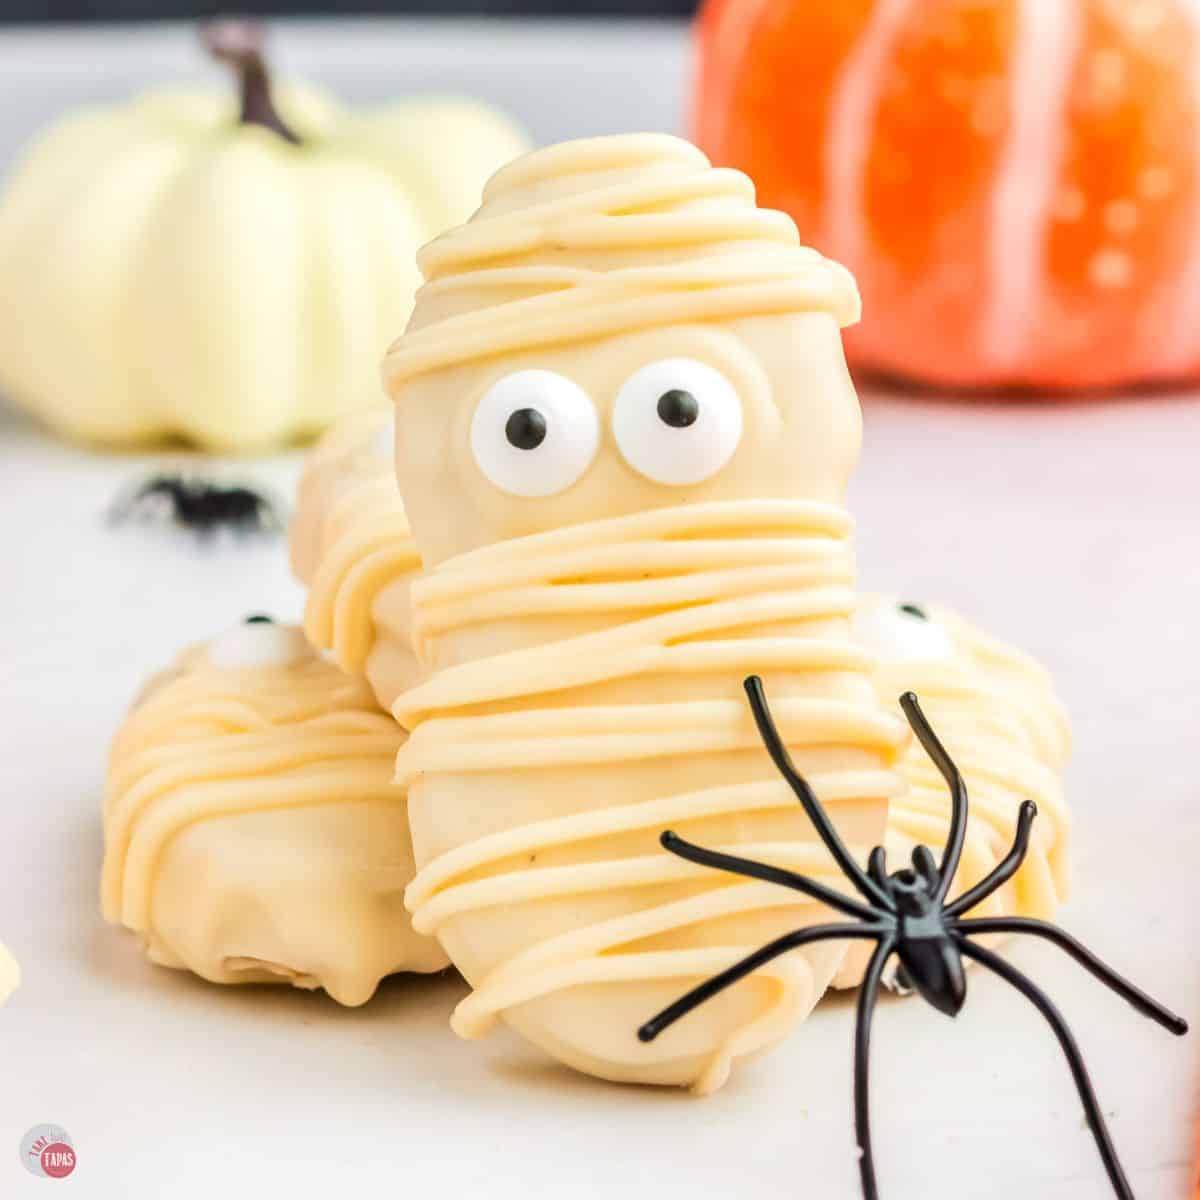
Nutter Butter mummy cookies are the cutest, easiest Halloween treats that look absolutely “spook-tacular” but require zero baking skills. Start with store-bought Nutter Butter cookies, dip them in melted white chocolate, and finished with candy eyeballs and chocolate “bandage” drizzles.
What makes these cookies so great is how simple they are to make. Just three ingredients and some microwave time to melt the chocolate coating and you’re good to go!
No mixing cookie dough, no waiting for ovens to preheat, or worrying about perfectly shaped cookies. Just pure Halloween decorating fun that anyone can join in on.
These no-bake treats are perfect for getting the kids in the holiday spirit without any extra stress for you. The hardest part is waiting for the chocolate to set before you can start snacking on them! Maximum cuteness, minimum effort.
They’re perfect for bringing treats to a Halloween party, making something fun for trick-or-treaters, or just want to add some fun to your holiday snack time.
The best part? No special decorating skills required! If you can drizzle chocolate and stick on candy eyes, you’re basically a Halloween cookie artist!
Serve them along with these Halloween popcorn balls, these monster Rice Krispie treats, and this candy corn fudge for the alongside ultimate spooky spread. They also make delicious gifts for teachers, neighbors, or anyone who deserves a little Halloween magic!
This post may contain affiliate links. As an Amazon Associate, I earn from qualifying purchases at no additional cost to you. Read my disclosure policy.
See recipe card for complete information on ingredients and their quantities.
Ingredient Notes
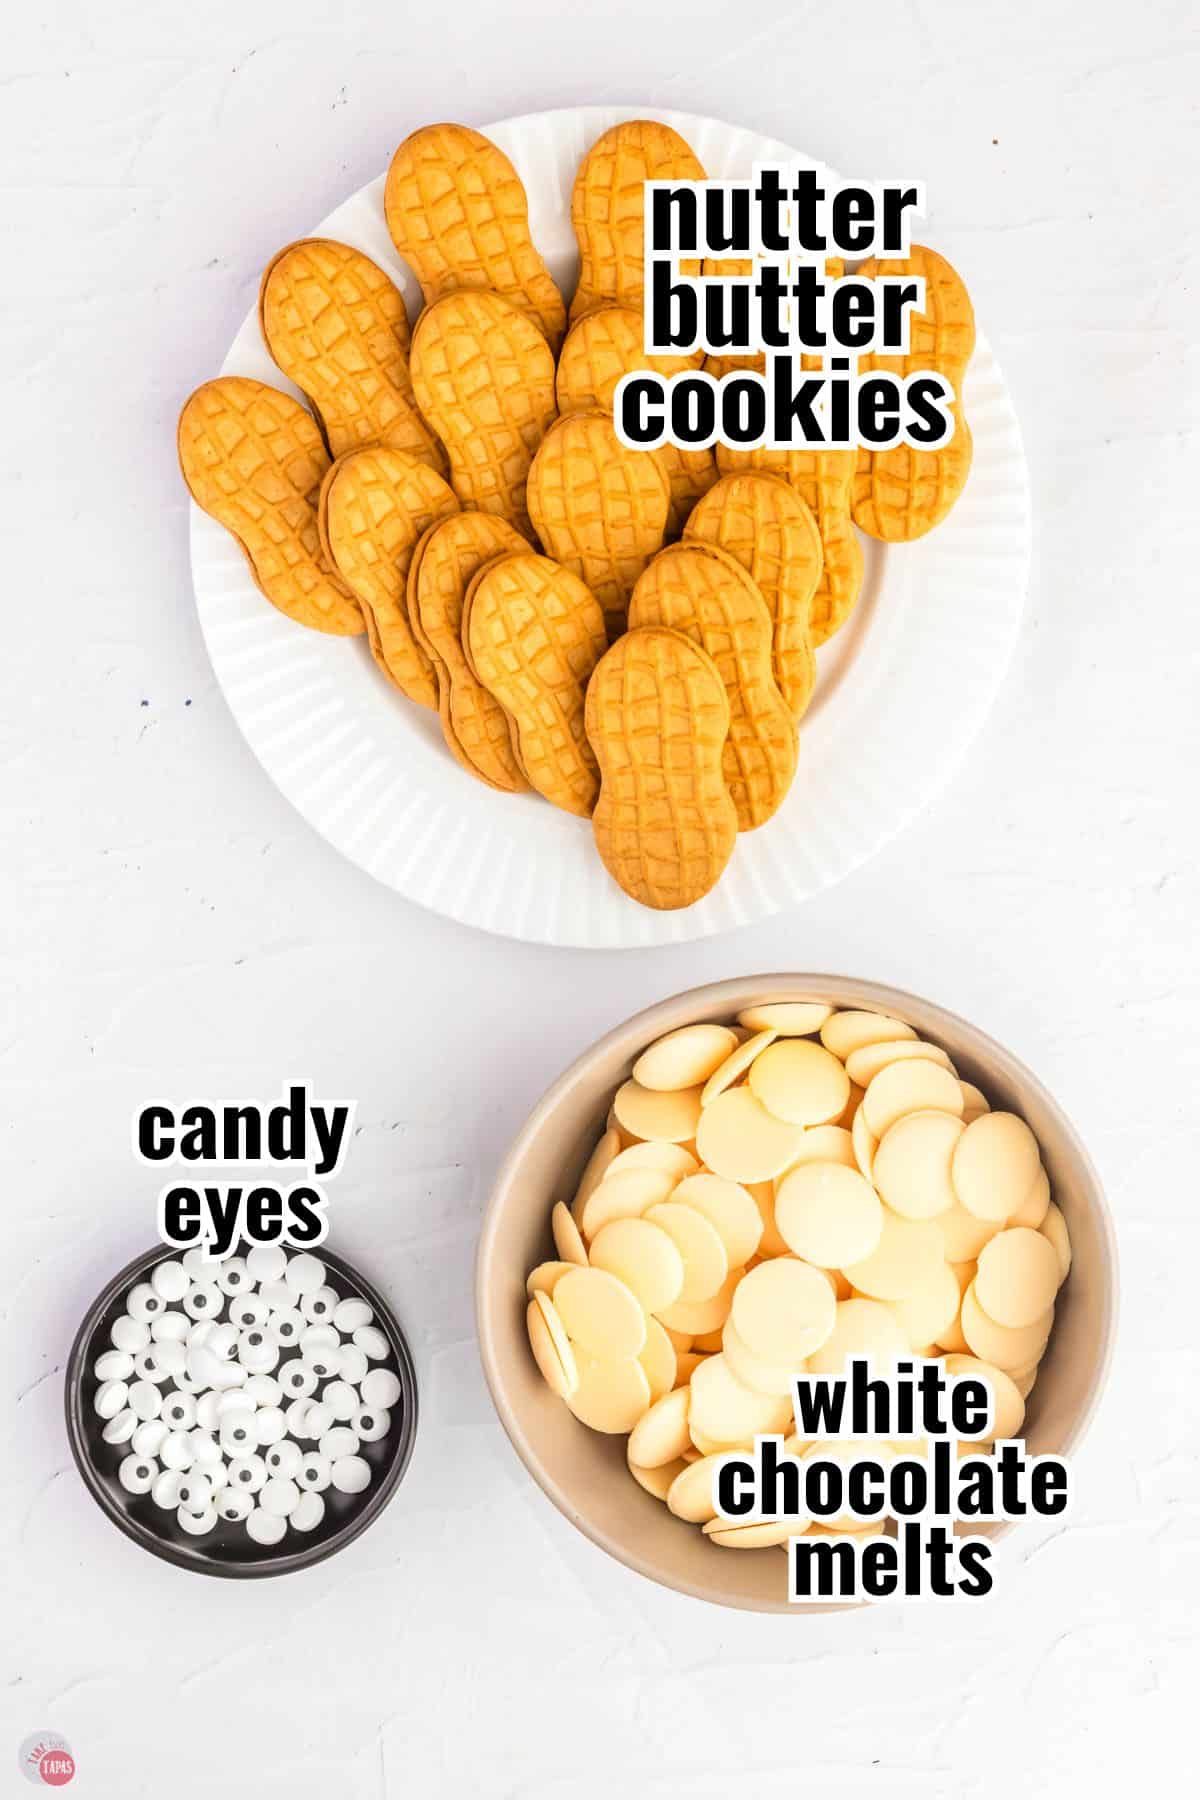
- Nutter Butter cookies – I love that these have the perfect shape! If you can’t find these or don’t like peanut butter, feel free to use Milano cookies, sugar wafers, Keebler Vienna fingers, or any other cookie you like.
- Candy coating – The white chocolate candy melts work perfect for this recipe. They have the off white color of bandages! You can also use the bright white ones if you prefer. I try to stay away from white chocolate chips because they don’t like to melt. If you want to use actual white chocolate, use a chocolate bar or high quality chocolate for melting.
- Candy eyeballs – These are easy to find at the grocery store (I see them year round!). Check the local craft store if you don’t see them. You can also use mini chocolate chips, mini M&M candies, or your favorite small round candy. Red Hots make fun red eyes!
For more insider tips, tricks, and a behind the scenes look, follow me on Pinterest, Facebook, Instagram, & X.
How To Make Nutter Butter Mummy Cookies
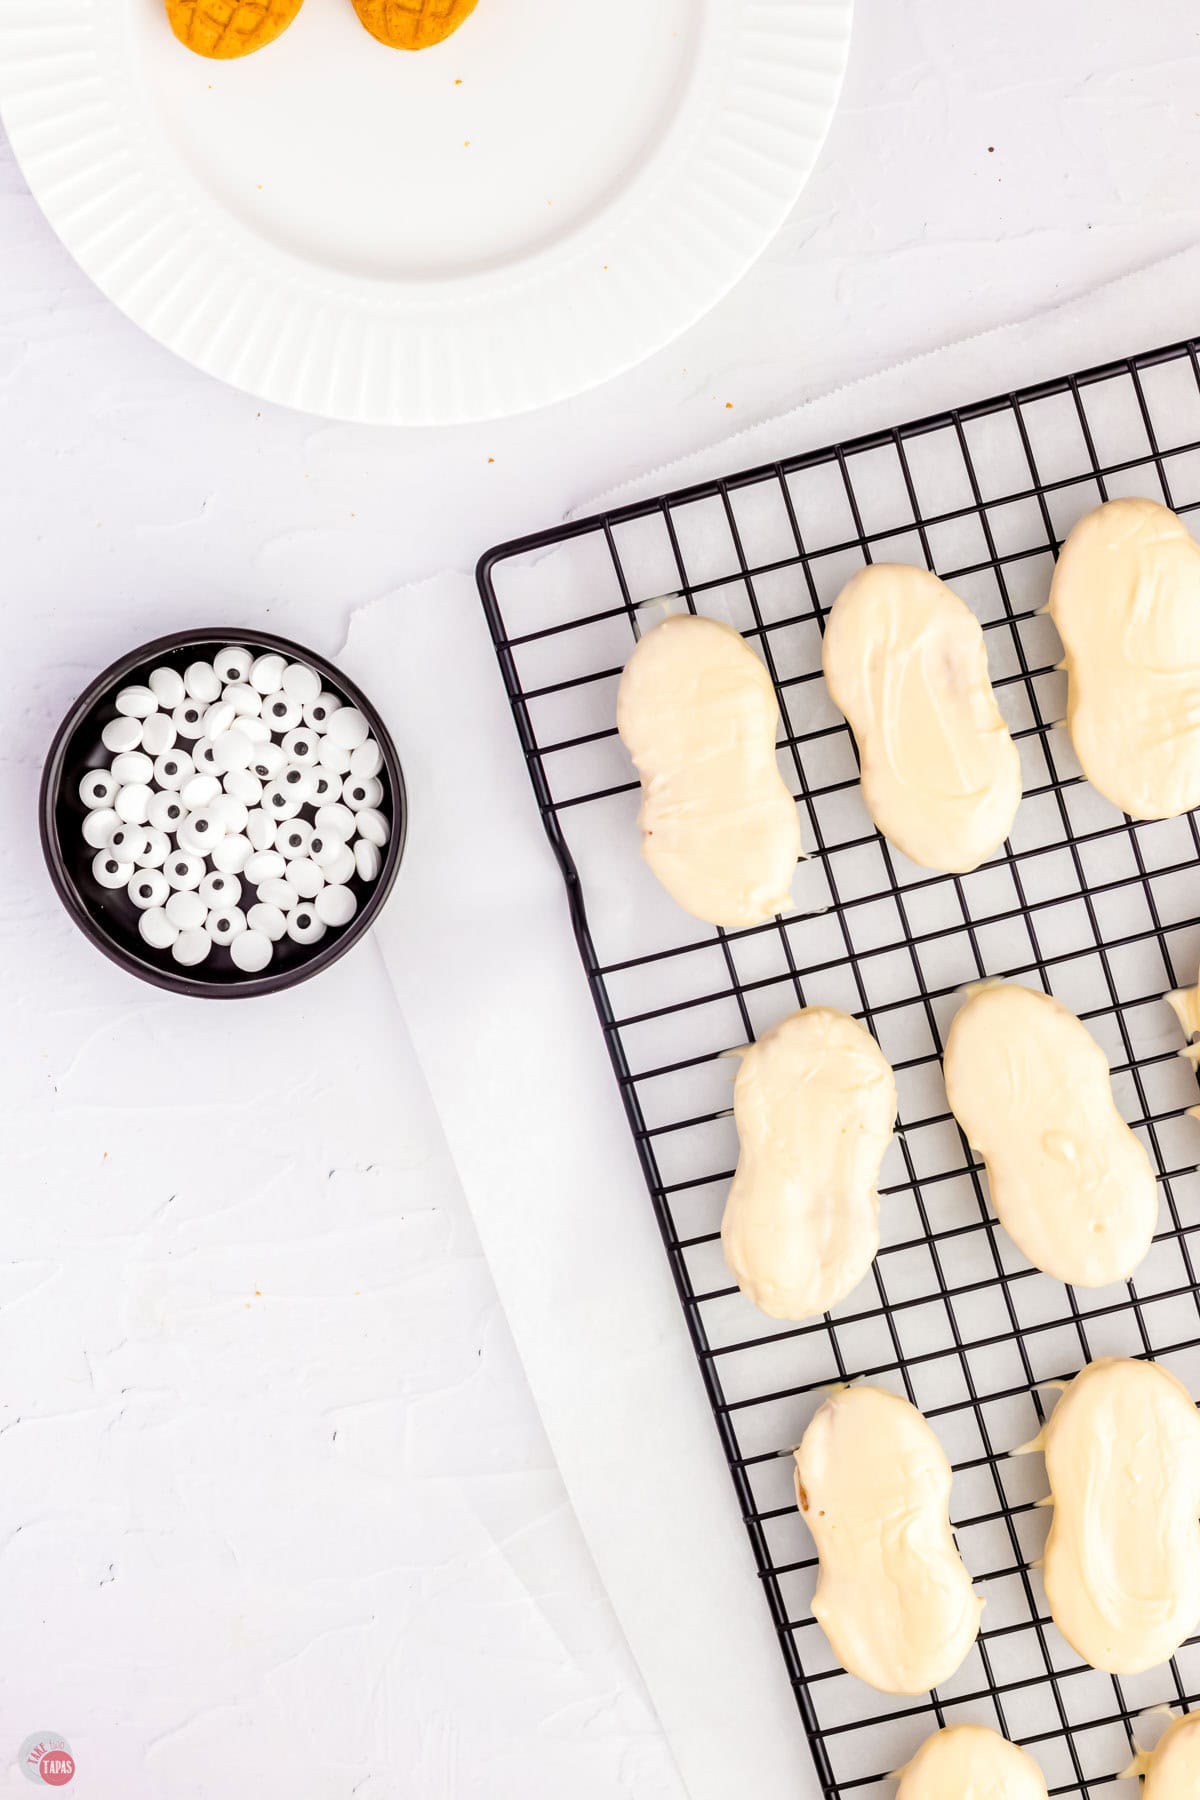
- Melt the candy coating in the microwave or in a double boiler. One at a time, dip the cookies in the chocolate and place on the rack to cool.

- While the coating is still soft, press in the two eyes.
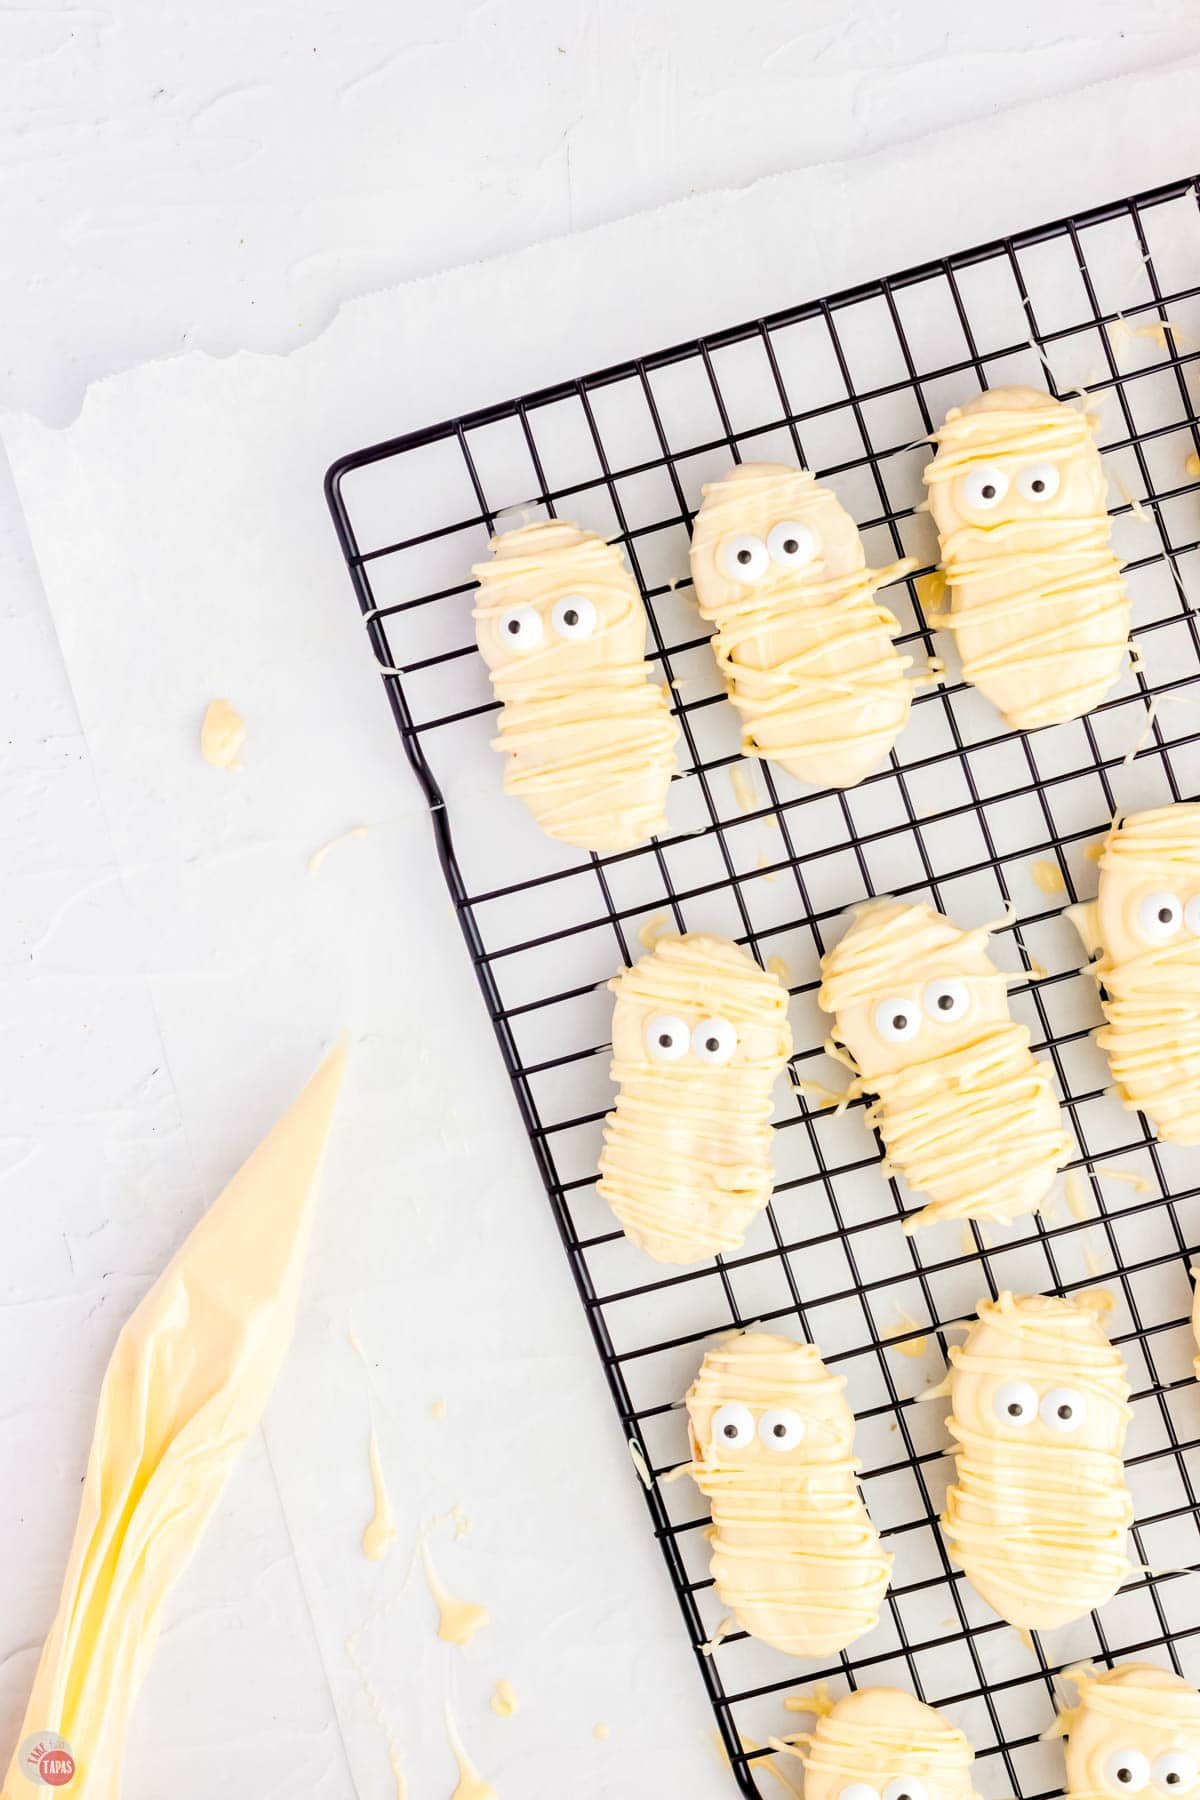
- Place the remaining melted chocolate in a piping bag or zip top bag. Cut a small hole and drizzle the chocolate over the cookies to make the bandages.
- Let the cookies set up and store until ready to enjoy.
For the full recipe and detailed instructions, please refer to the recipe card at the bottom of the post.

Storage
Once the cookies cool to room temperature and the white chocolate coating is completely set, place them in an airtight container for up t0 4 days.
I don’t recommend freezing them. While you can, once you thaw them, they tend to get a layer of moisture on them that can make them soft. This can also make the colors on the candy eyeballs run.
Tips For Melting Chocolate
- Place the candy melts in a microwave safe glass bowl. Microwave at 50% in 15-20 second intervals to avoid hot spots and burning the coating.
- Stir often during the melting process to keep it smooth. You will find that stirring melts the chocolate faster and you don’t have to heat it quite as many times.
- My favorite way is to add some water to my crockpot and heat it to low. Place the candy melts in a tall glass or bowl and set it down in the hot water. This will allow you to work with the candy while the crockpot keeps it warm and melted.
- Use a tall glass or tumbler as it makes it easier to dip the long cookie in it all at once.
- Try not to use chocolate chips. They have stabilizers in them so they hold their shape when you bake them. This makes them harder to melt smooth. Use candy melts or high quality white chocolate if you can.
- If you don’t have a piping bag you can use a ziptop bag and cut a hole in the tip. Or use a spoon and drizzle small amounts at a time.
Frequently Asked Questions
I like the shape of the Nutter Butters but you can really use any cookie in any shape. I like Mint Milano cookies for this too! Just remember, if you use a chocolate cookie, you might need extra coating, or dip them twice, to cover all the dark cookie underneath.
Substitute chocolate chips, mini M&Ms, Red Hots, or any other small round candy.
Recipe Tips & Tricks
- Set up the wire rack or parchment paper before you start dipping.
- Keep the chocolate warm in a different container because once you cut a tip in the bag, it’s hard to reheat it again.
- Make a few more cookies than you need to if you are taking them for a special occasion. Plus, you always need to test them for quality control 🙂
- When drizzling the “bandages” I like to practice on the parchment paper or paper towel first to check the flow.
- To make the lines easies, have some space between the cookies and start drizzling just off the cookie and then over it and a little on the other side. Then you won’t have “loops” on the edges.
- Don’t worry about making them perfect. Mummies are supposed to be a little messy 😉
If you love this recipe as much as I do, please leave us a ⭐️⭐️⭐️⭐️⭐️ five-star review in the comment section below. Thanks!
I love making Halloween treats and these Nutter Butter Mummies are always on the top of my list. Perfect for kids of all ages, especially my husband who LOVES peanut butter!
Nutter Butter Mummy Cookies
Ingredients
- 20 Nutter Butter cookies
- 15 ounces white candy melts
- 40 candy eyeballs
Instructions
- Set out a wire rack over a baking sheet or line a sheet with parchment paper for the cookies to set up on.
- In a microwave or a double boiler, melt the candy melts until smooth. I like to microwave at 50% and stir often to avoid any hot spots.
- Using a fork or. your fingers, dip each cookie into the melted chocolate.
- Tap on the edge to remove any excess.
- Place on a wire rack or parchment paper.
- While the chocolate is still slightly soft, add the candy eyes.
- Place the leftover chocolate in a piping bag or zip top bag. Cut a small hole in the end.
- Drizzle over the top to make the "bandages."
- Let cool until the chocolate is set. Store until ready to eat.
Notes
- Set up the wire rack or parchment paper before you start dipping.
- Keep the chocolate warm in a different container because once you cut a tip in the bag, it’s hard to reheat it again.
- Make a few more cookies than you need to if you are taking them for a special occasion. Plus, you always need to test them for quality control 🙂
- When drizzling the “bandages” I like to practice on the parchment paper or paper towel first to check the flow.
- To make the lines easies, have some space between the cookies and start drizzling just off the cookie and then over it and a little on the other side. Then you won’t have “loops” on the edges.
- Don’t worry about making them perfect. Mummies are supposed to be a little messy 😉
Nutrition
©TakeTwoTapas.com. Content and photographs are copyright protected. Sharing of this recipe is both encouraged and appreciated. Copying and/or pasting full recipes to any social media is strictly prohibited.