Stained Glass Cookies
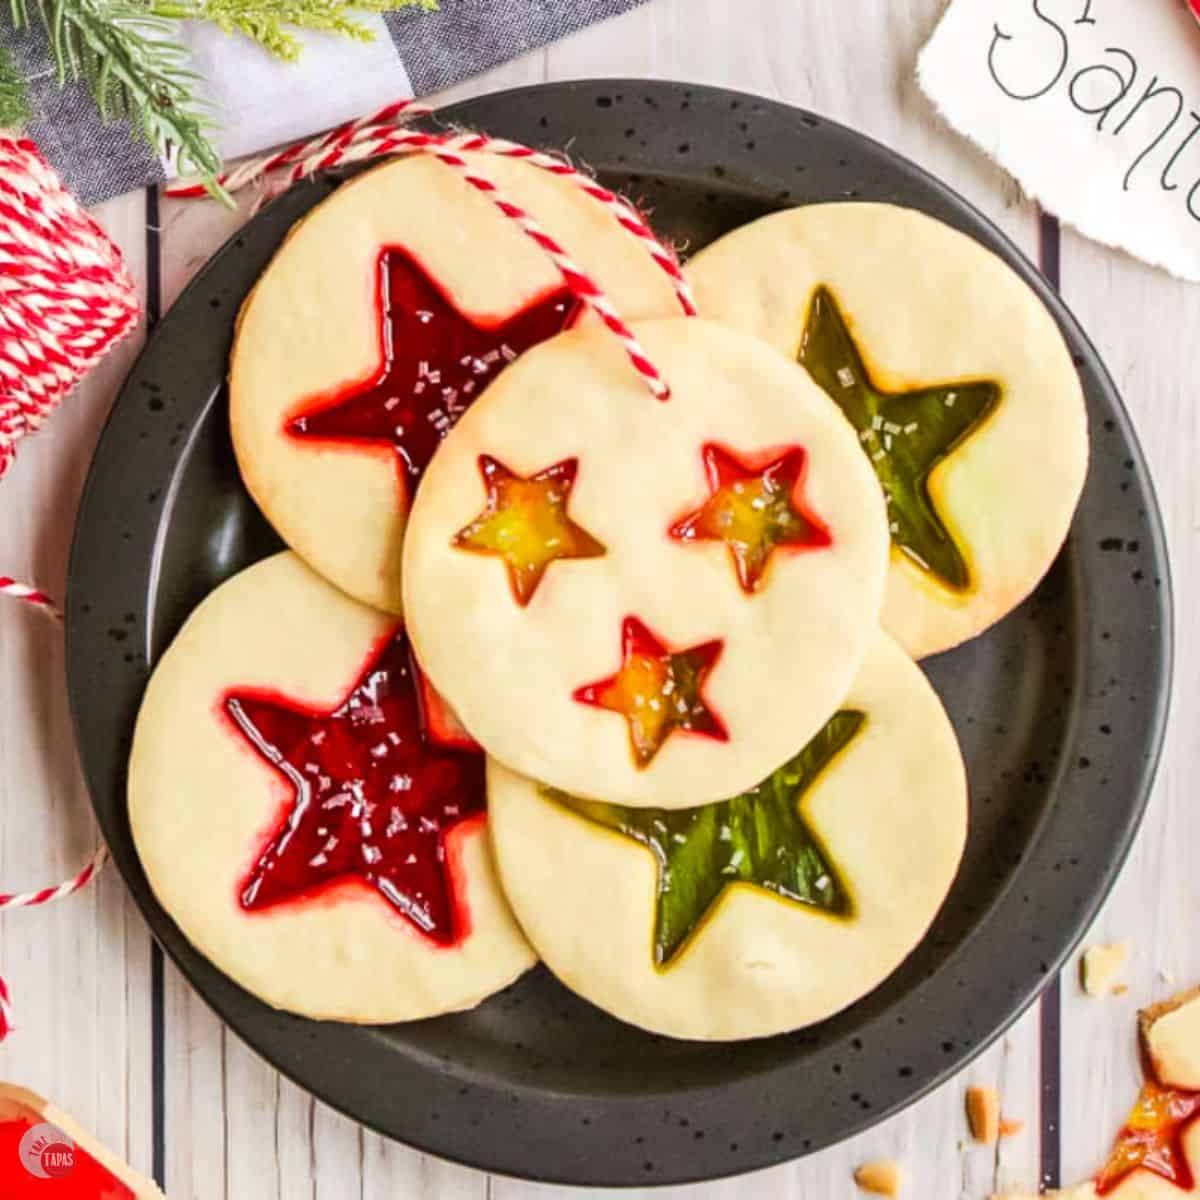
Stained glass cookies are buttery sugar cookies with beautiful candy centers that look festive and fun. These treats work as delicious cookies and edible ornaments. Perfect for giving as gifts, decorating your tree, or a fun treat to bring to the holiday cookie exchange!

I grew up decorating Christmas cookies every year with my mom and Ma who always had different colored frosting in bags from all the cakes she decorated. We had the best time coming up with new ways to decorate the reindeer and Santa. It always turned into a contest and mine were not always the most “appropriate” the older I got.
I never stopped decorating cookies, I just learned a few new tricks. Like these! What makes these cookies special is how they double as dessert, Santa treats, and ornaments. You can even attach them as gift tags on those holiday party hostess gifts.
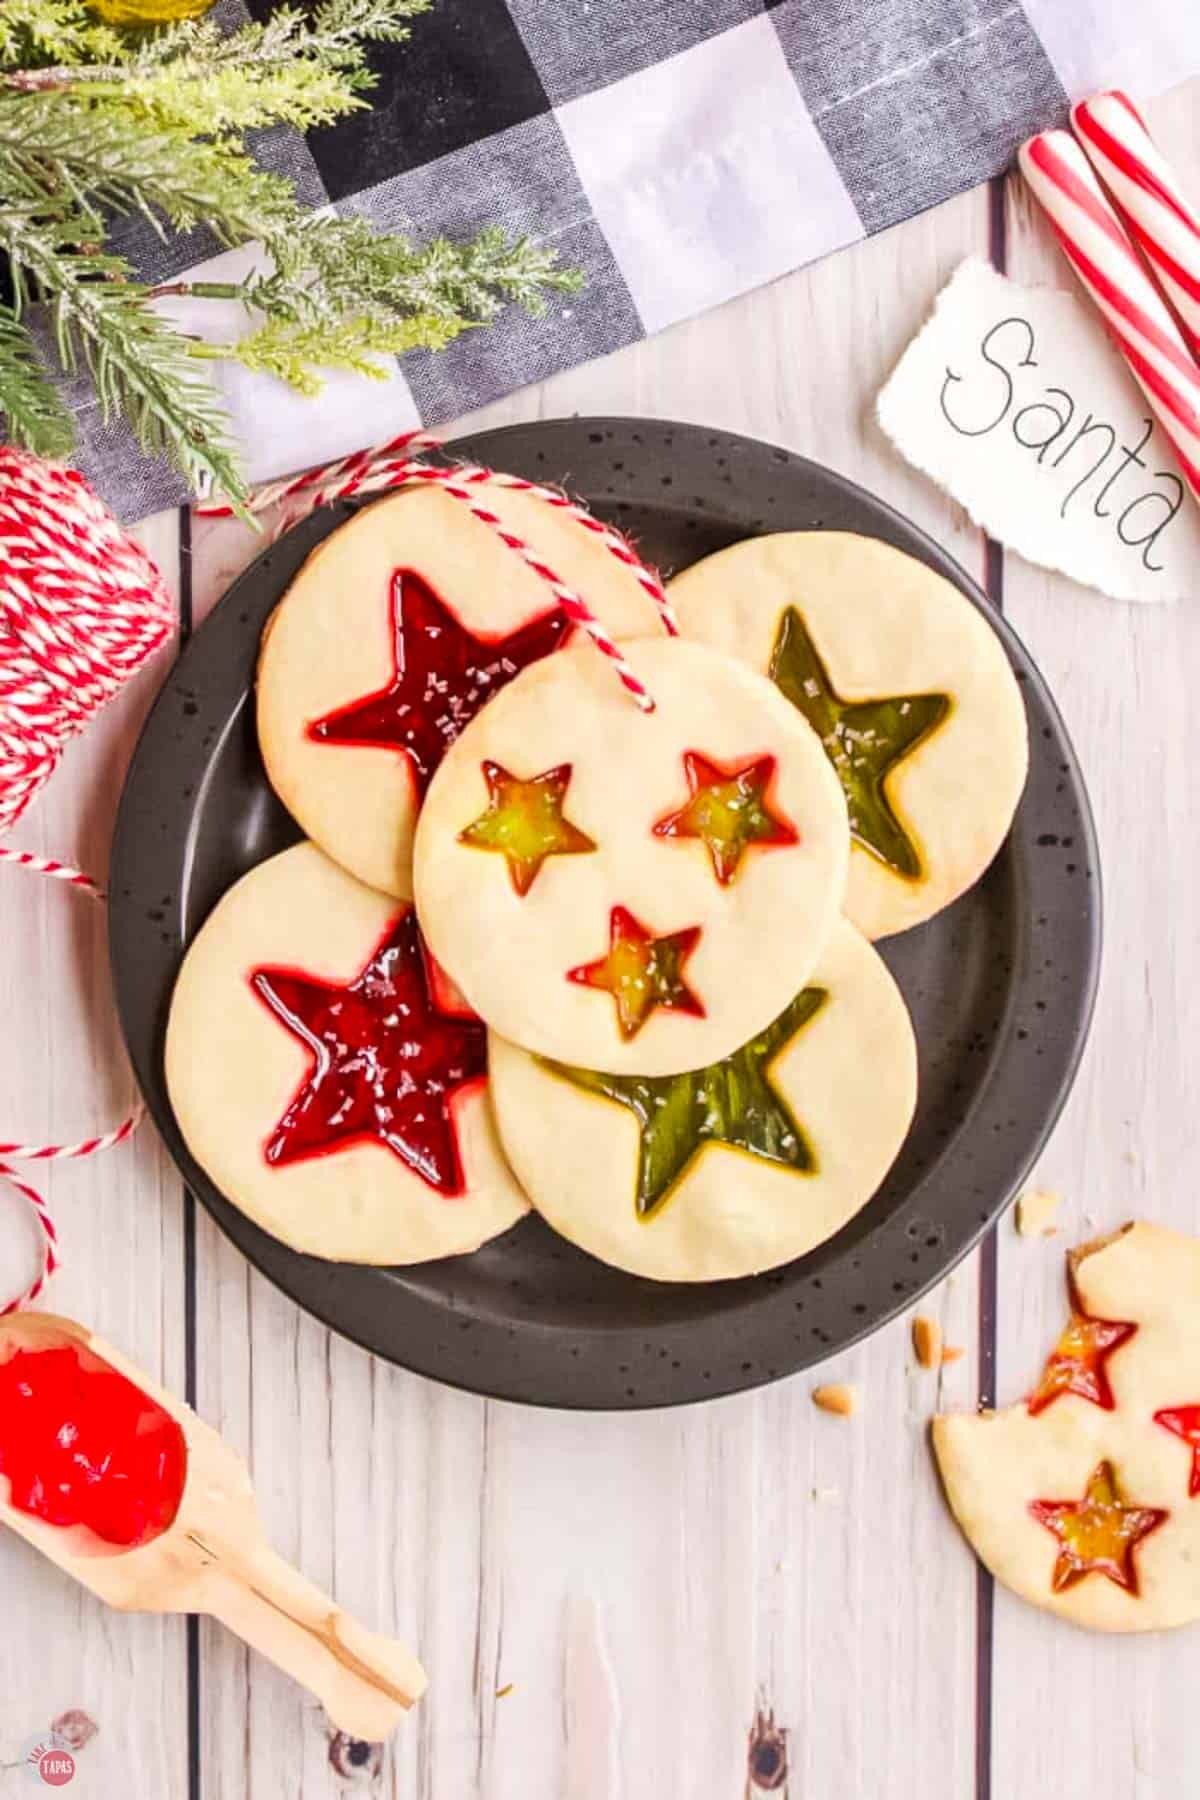
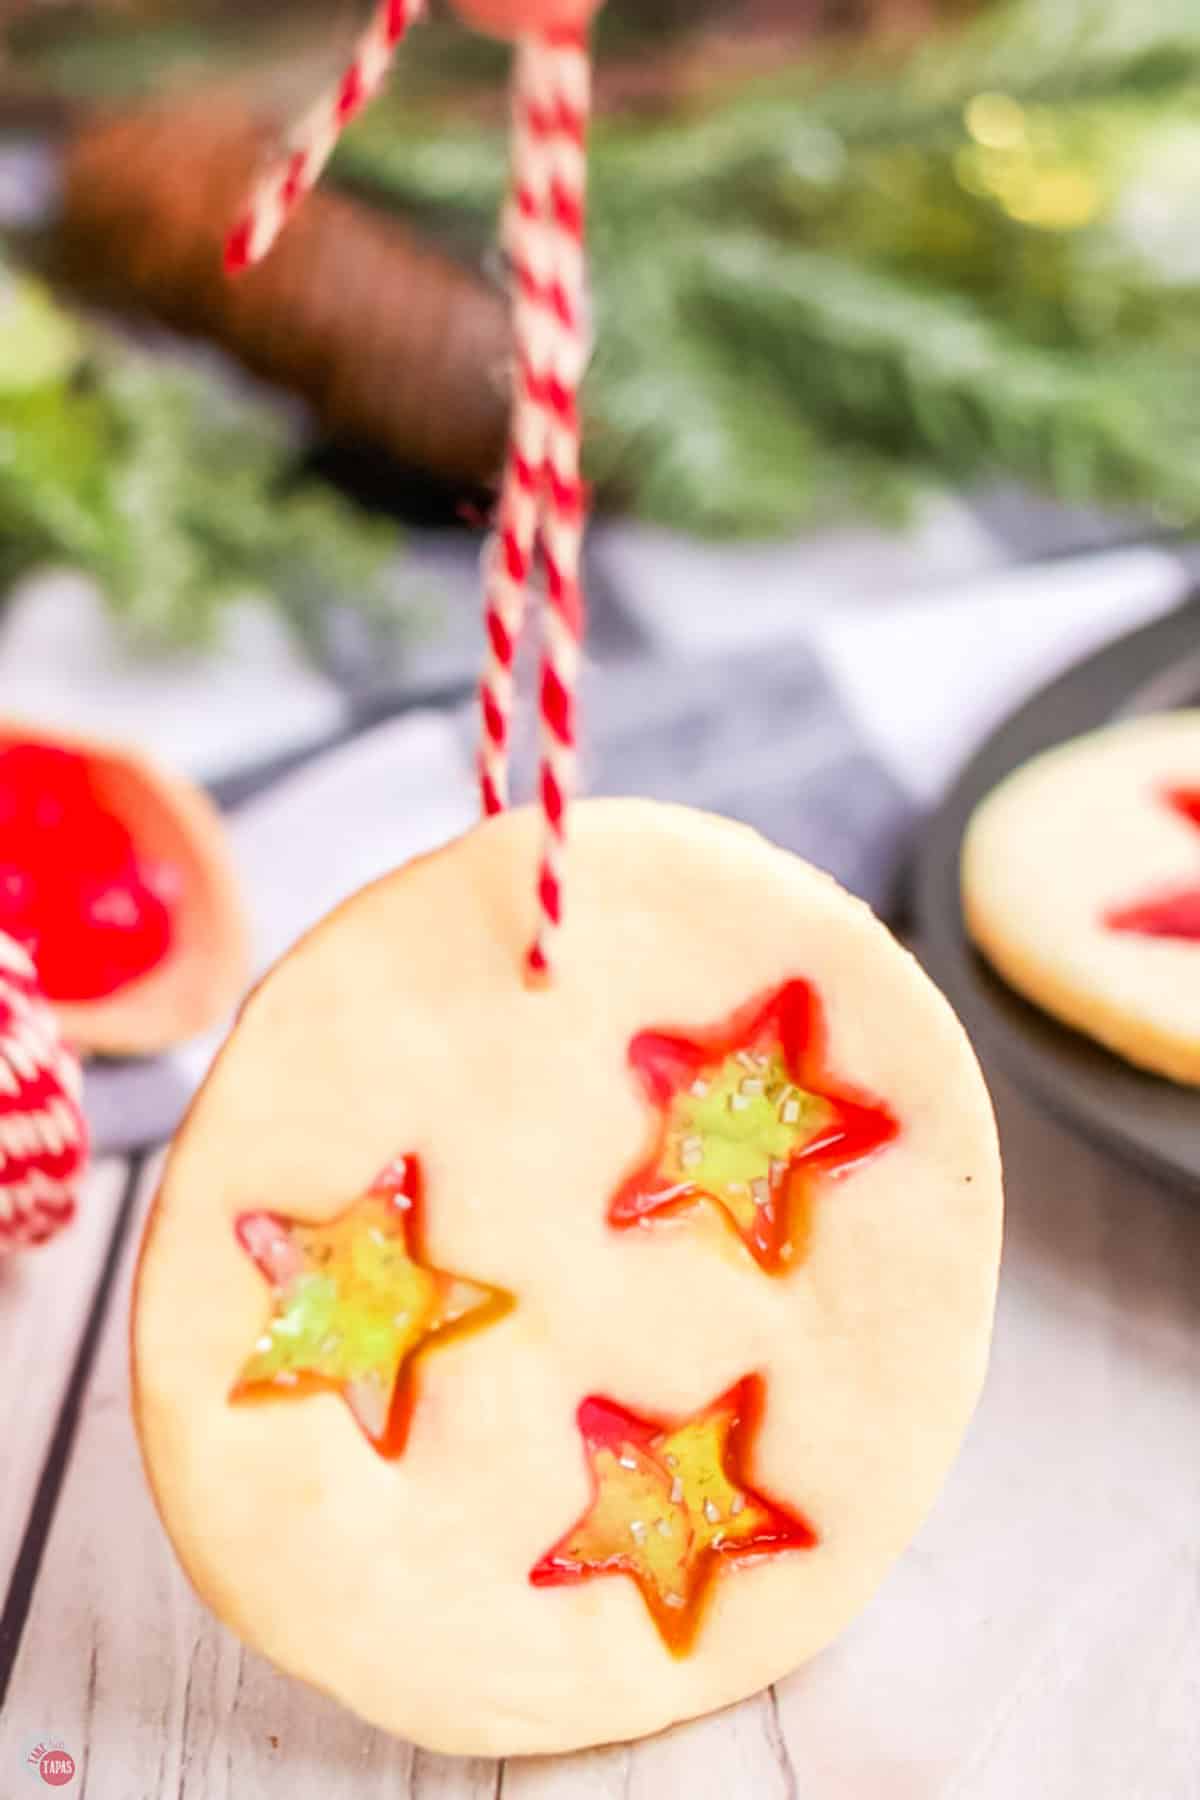
The candy centers make the cookies look like a stained glass window, making them perfect for hanging on your tree or packaging up as thoughtful homemade gifts. They’re almost too pretty to eat… almost!
Just imagine how impressed Santa will be when he finds these gorgeous cookies instead of regular ones on Christmas Eve! You might even get bumped up to the nice list for extra credit.
These festive cookies are perfect with some hot chocolate, some Christmas Chex mix, and a Christmas snack platter.
This post may contain affiliate links. As an Amazon Associate, I earn from qualifying purchases at no additional cost to you. Read my disclosure policy.

See recipe card for complete information on ingredients and their quantities.
Ingredient Notes
- Flour – I use all purpose flour for this recipe and Martha White is my favorite brand. You can also use whole wheat flour. But I have not tested this recipe with gluten free or other flour alternatives. If you do, comment and let me know how it works out.
- Butter – Always use unsalted butter unless the recipe specifically asks for salted butter. This way you can control the level of salt in the recipe.
- Eggs – Use large eggs and bring them to room temperature before mixing them in the dough.
- Vanilla – Switch this up and make it them with almond extract or peppermint extract.
Best Candy To Use
Personally, I use Jolly Ranchers because they are bright colored and clear at the same time. Feel free to use other hard candies like peppermints or butterscotch but you won’t be able to see through them.
Be sure to crush the candy into the smallest pieces you can without turning them into powder. They will melt faster and evenly and the cookies won’t burn while baking.
For more insider tips, tricks, and a behind the scenes look, follow me on Pinterest, Facebook, Instagram, & X.
How To Make Stained Glass Cookies
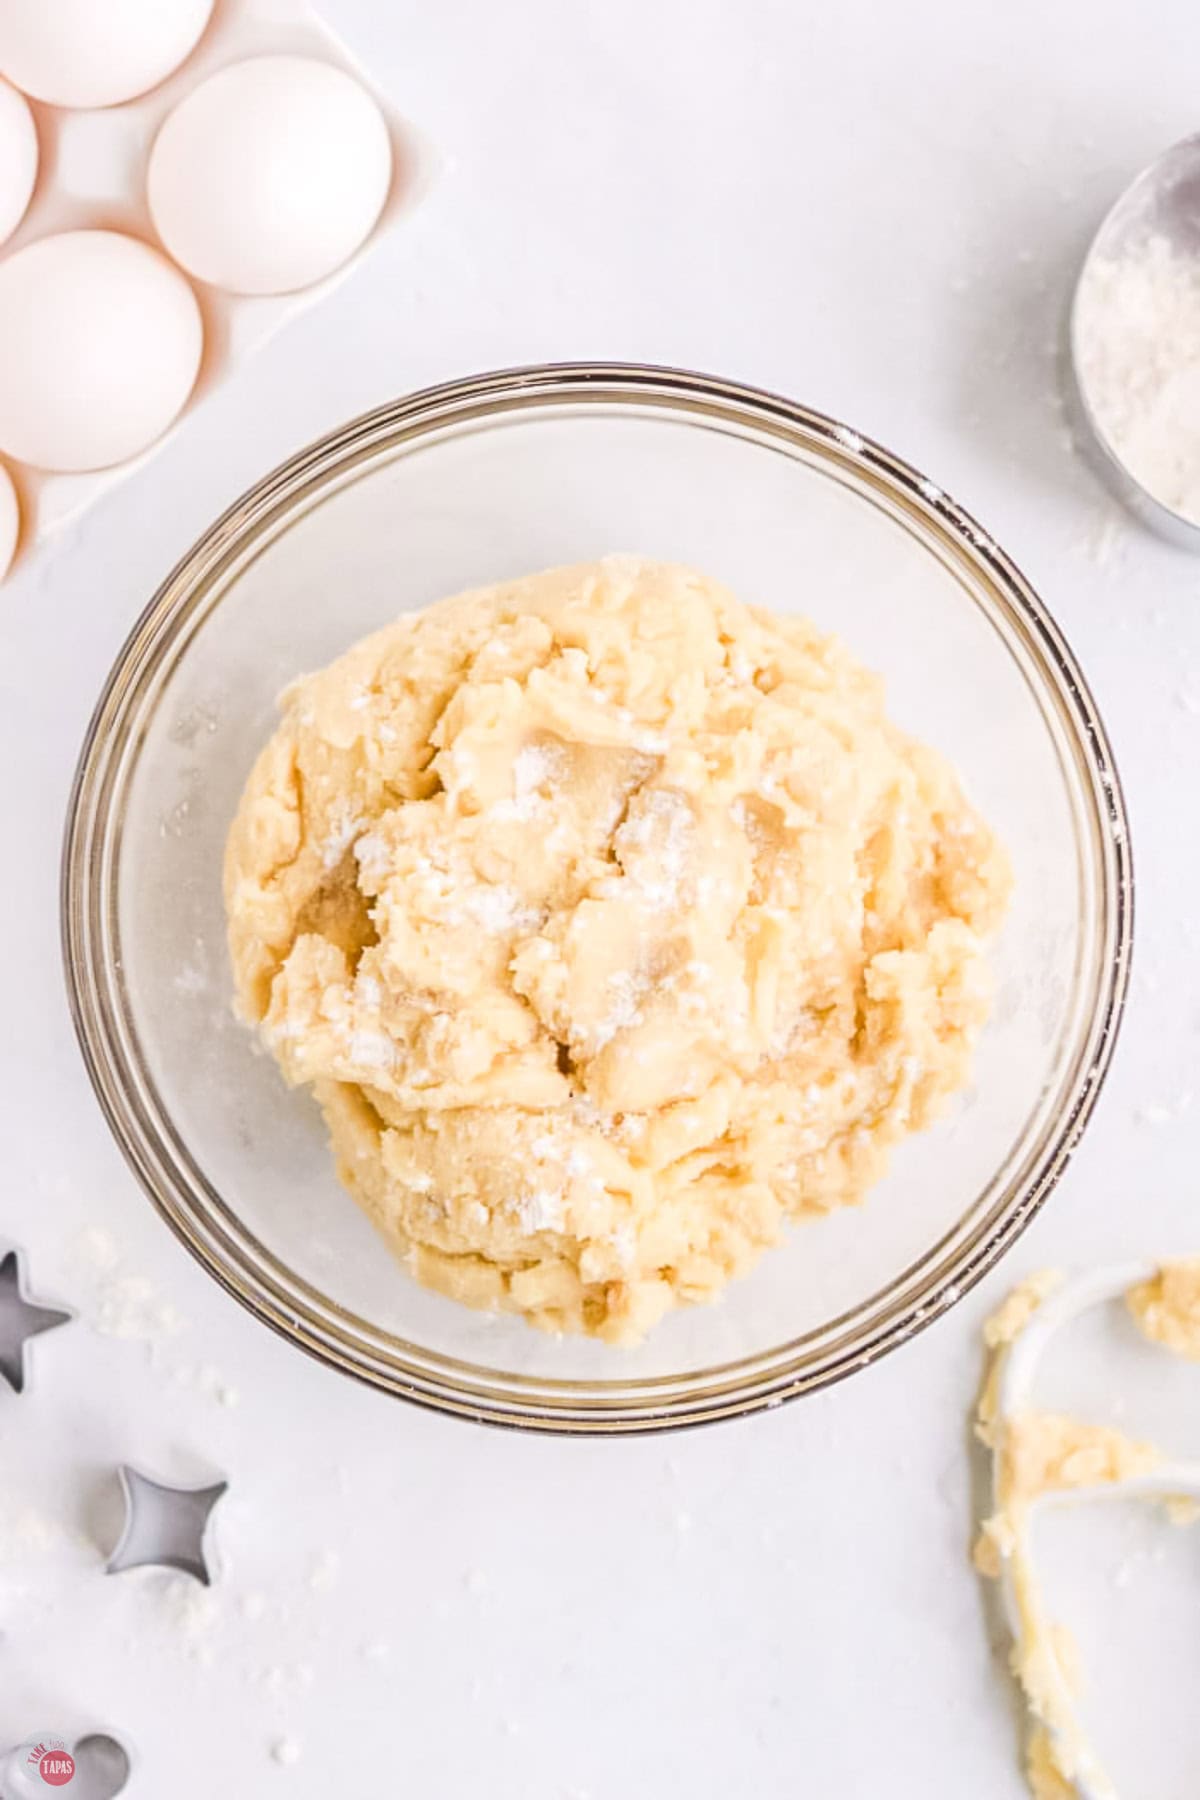
- Cream together the butter and sugar in a large bowl. Add the eggs one at a time, mixing between each one. Fold in the vanilla and salt until completely combined.
- Slowly add the flour, mixing just until combined. Don’t over mix! Cover the dough with plastic wrap and place in the fridge for one hour. Preheat the oven to 350 degrees F and line a baking sheet with parchment paper or silicone baking mat.
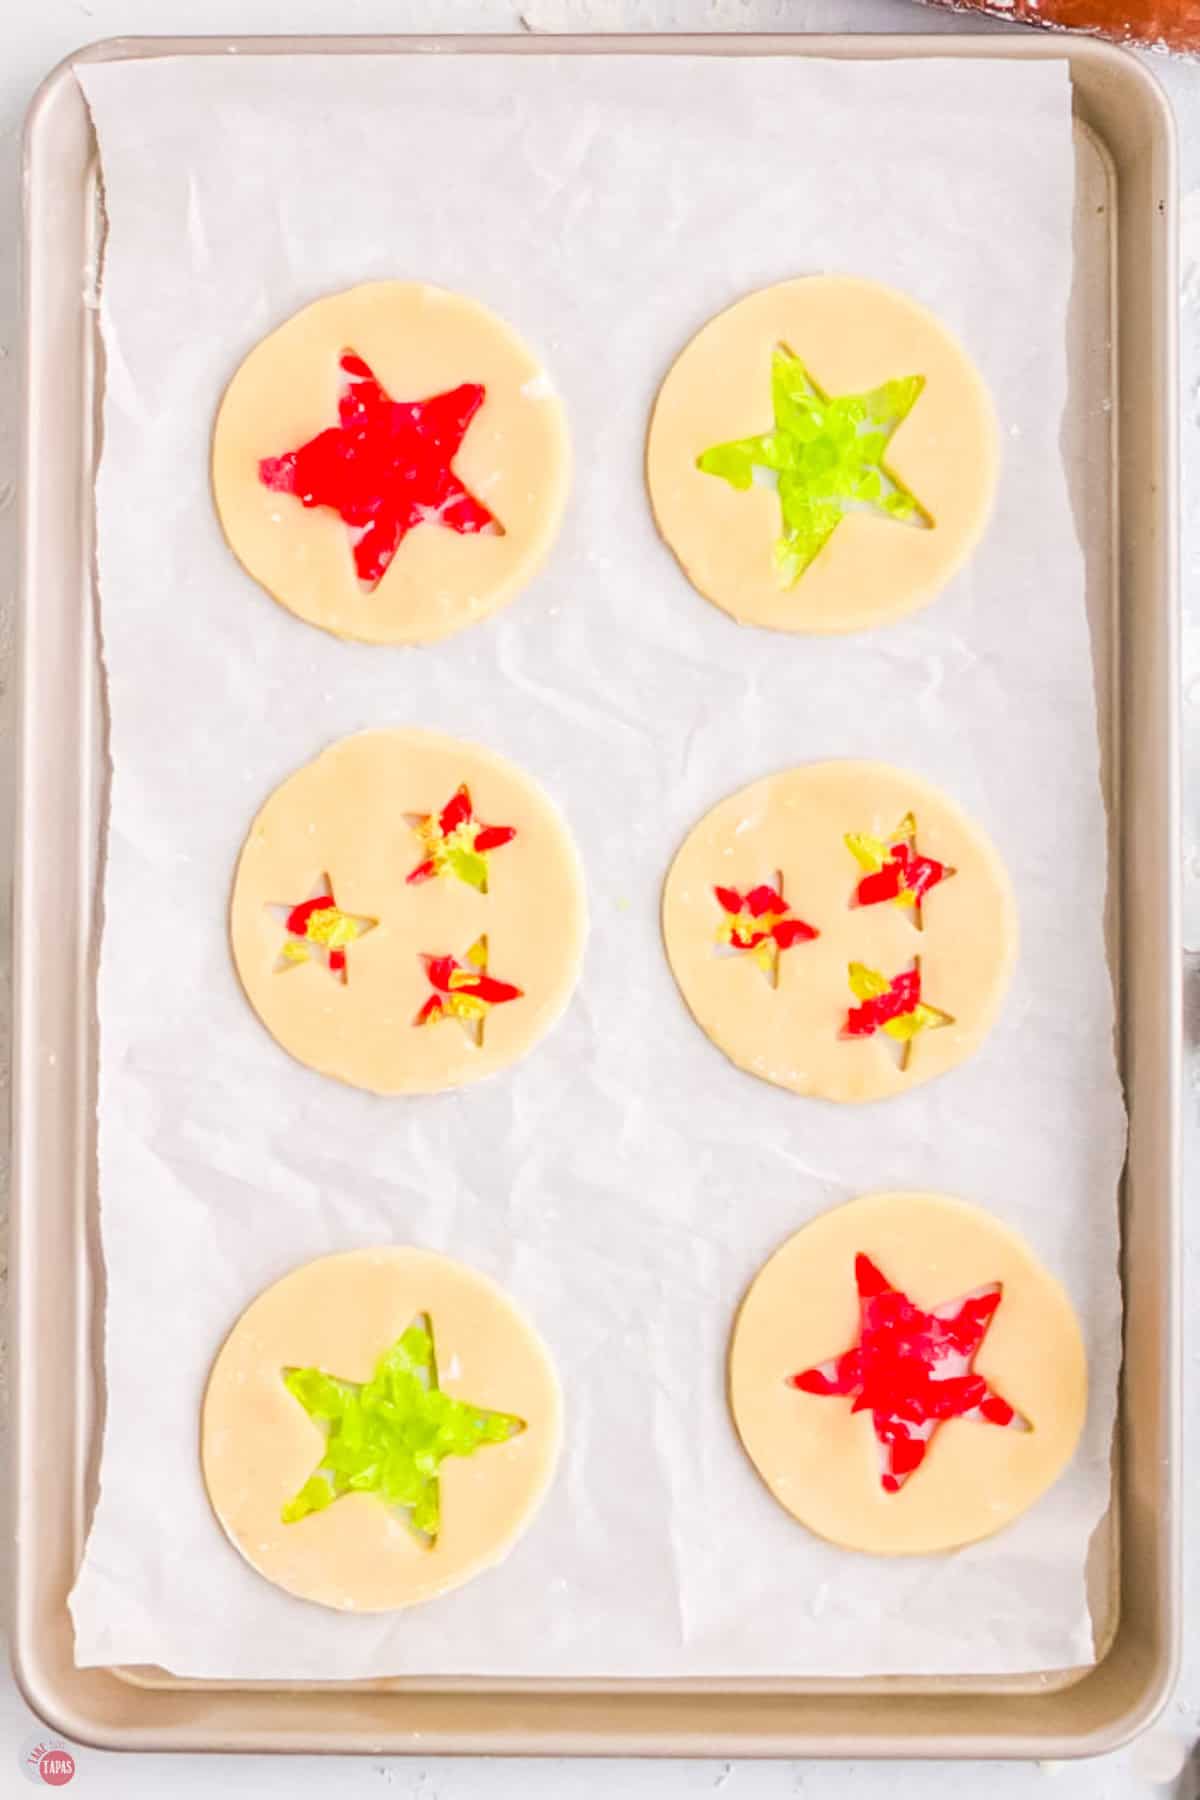
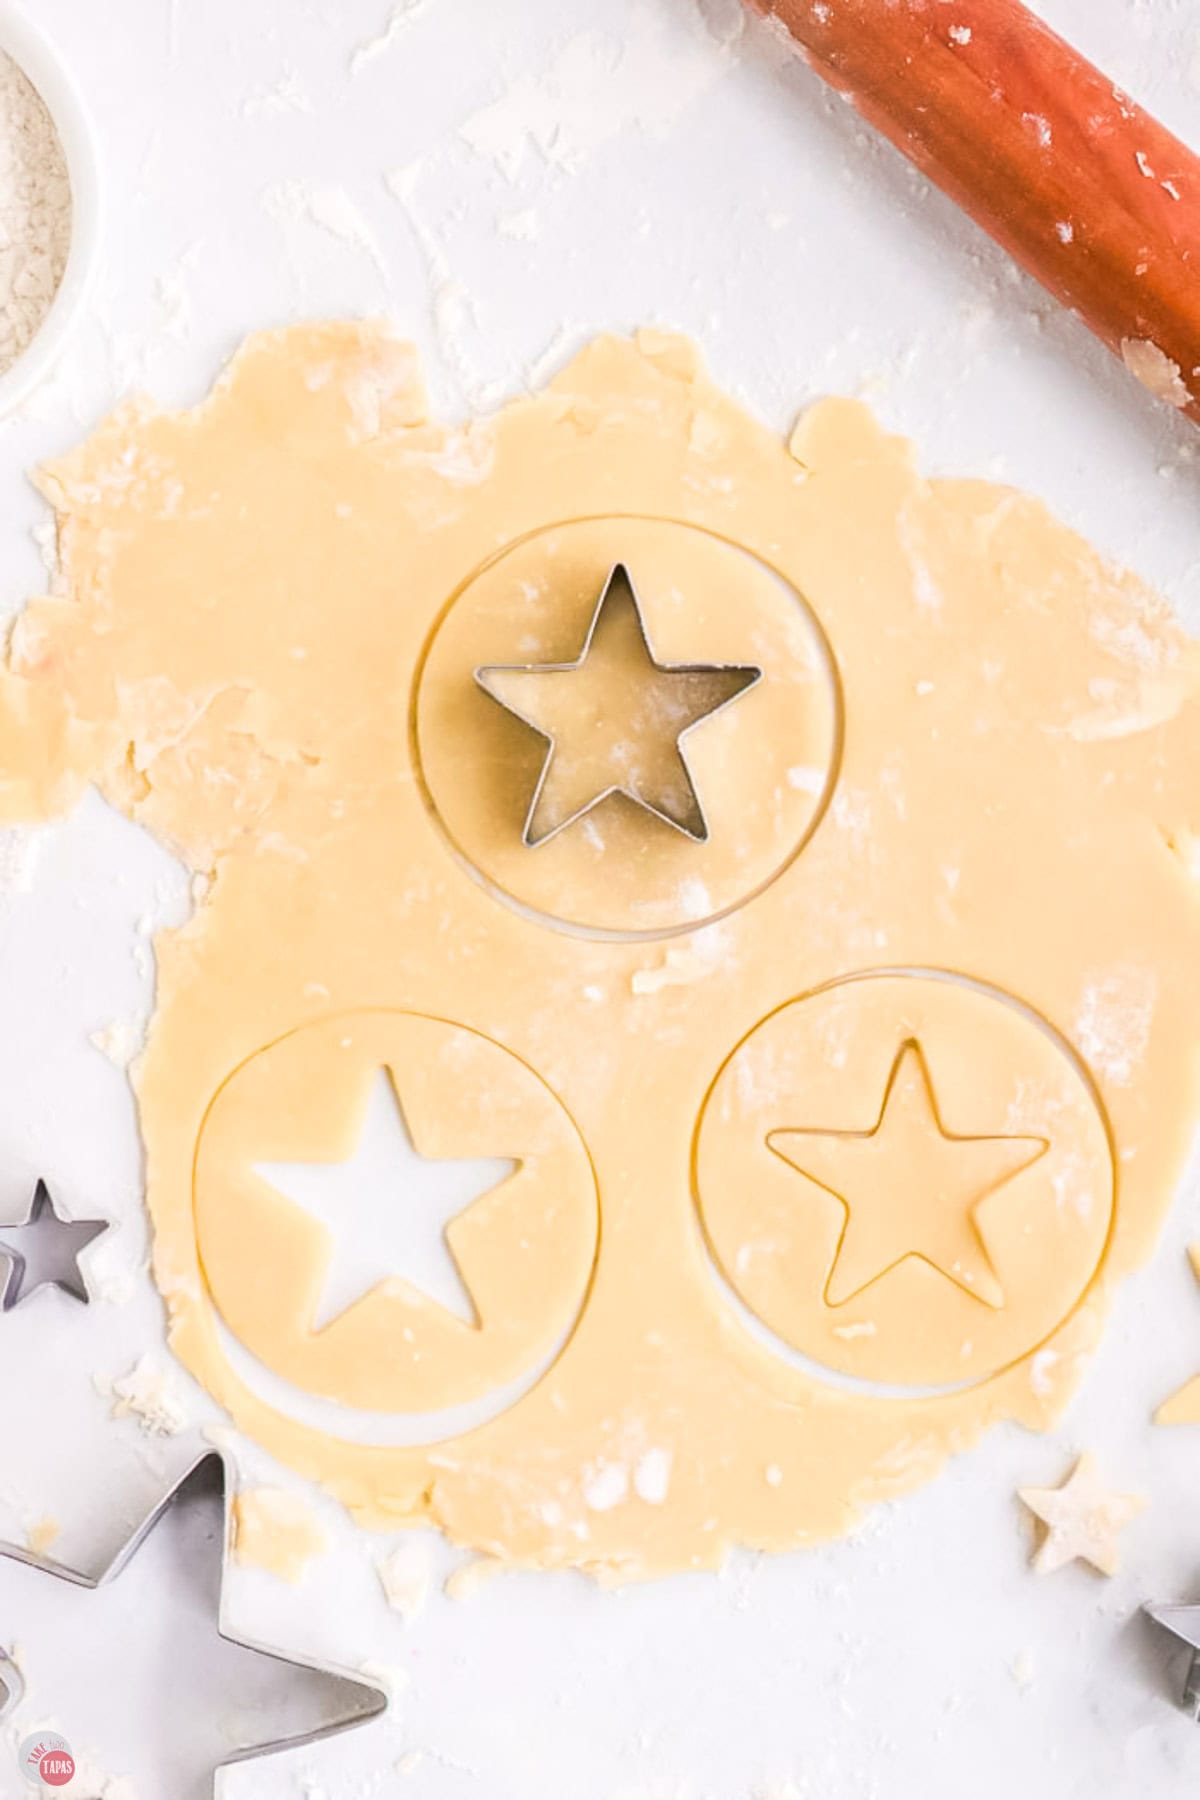
- Remove the dough from the fridge. Lightly flour the counter and roll the dough out to 1/2 inch thick. Cut shapes out of the centers. Place cookies on the lined baking sheets. Fill the empty shapes in the cookies with the crushed candies.

- Bake for 10 to 12 minutes or until the cookies are a very light golden brown, set, and the candy is melted. Do not over bake! Remove from the oven and let the cookies cool completely on the baking sheet before taking them off.
For the full recipe and detailed instructions, please refer to the recipe card at the bottom of the post.
Storage Suggestions
Cool the cookies completely and store them at room temperature. I like to keep them in an airtight container with a layer of parchment paper between them so they don’t stick together. They will last up to 7 days if you don’t eat them first.
If you want to keep them longer, store them in the fridge. The candy center might be a little sticky when you take them out but let the air dry at room temperature and they will be fine.
Best Tools To Use
- Cookie cutters – Use any shape you prefer.
- Parchment paper – I prefer these sheets over the roll because they are cut to fit my baking sheets and don’t roll up when baking.
- Silicone baking mats – I love these for this recipe since the melted candy can get messy.
- Rolling pin or meat mallet – This is for crushing the candy. Use a hammer if that’s all you have at home.
- Baking sheets – These are hands down my favorite baking sheets. They are commercial grade and cook evenly. I have had mine for 20 years and they are still in amazing shape.
Frequently Asked Questions
Stars are my favorite for these but feel free to use circles, trees, or your favorite shape! Just be sure to use a small cookie cutter so you leave plenty of cookie to bake 🙂

Recipe Tips & Tricks
- Ornament prep – Poke holes with a straw BEFORE baking to avoid breaking cookies. Use smaller cookie cutters for inside shapes.
- Clear candy – Jolly Ranchers work great, but any clear hard candy (Life Savers, lollipops) or sanding sugar works. Keep crushed candies separated by color and brush off excess before baking.
- Dough handling – Chill dough well so cookies keep their shape when baking. Roll to equal thickness for even cooking.
- Baking perfection – Bake only until edges just start to brown (longer causes caramelizing or burning). Pop any candy bubbles immediately with a pin after removing from oven.
- Crucial cooling – Let cookies cool completely on the baking sheet to prevent tearing and the candy sticking. Humid weather may keep candy sticky longer and take longer to set.
If you love this recipe as much as I do, please leave us a ⭐️⭐️⭐️⭐️⭐️ five-star review in the comment section below. Thanks!

This stained glass cookies recipe is super fun to make with the kids and they make great ornaments to hang on the Christmas tree right next to the candy canes!
Stained Glass Cookies Recipe
Ingredients
- 1 cup butter unsalted, softened
- 1 cup granulated sugar
- ½ teaspoon salt
- 2 large eggs room temperature
- 1 ½ teaspoons vanilla extract
- 3 ½ cups all purpose flour divided
- 24 clear hard candies
Instructions
- In a large bowl, cream together the butter and sugar with an hand or stand mixer on medium speed.
- Add the eggs, vanilla and salt and continue blending until thoroughly combined.
- Slowly add the flour, mixing just until combined. Cover the dough and place in the refrigerator for one hour.
- While the dough is chilling, preheat the oven to 350 degrees and line a baking sheet with parchment paper.
- Remove dough from the refrigerator and roll out onto a floured surface about a half of an inch thick. Cut into shapes, being sure to cut out hollow areas to place candy. Place shapes onto a baking sheet lined with parchment paper.
- Unwrap the hard candies and place into a plastic bag. Crush into small pieces. Place the candy in the hollowed out areas.
- Bake for 10-12 minutes or until the cookies are set and the candy centers are melted.
- Cool cookies completely before removing from the baking sheet.
Notes
- Ornament prep – Poke holes with a straw BEFORE baking to avoid breaking cookies. Use smaller cookie cutters for inside shapes.
- Clear candy – Jolly Ranchers work great, but any clear hard candy (Life Savers, lollipops) or sanding sugar works. Keep crushed candies separated by color and brush off excess before baking.
- Dough handling – Chill dough well so cookies keep their shape when baking. Roll to equal thickness for even cooking.
- Baking perfection – Bake only until edges just start to brown (longer causes caramelizing or burning). Pop any candy bubbles immediately with a pin after removing from oven.
- Crucial cooling – Let cookies cool completely on the baking sheet to prevent tearing and the candy sticking. Humid weather may keep candy sticky longer and take longer to set.
Nutrition
©TakeTwoTapas.com. Content and photographs are copyright protected. Sharing of this recipe is both encouraged and appreciated. Copying and/or pasting full recipes to any social media is strictly prohibited.