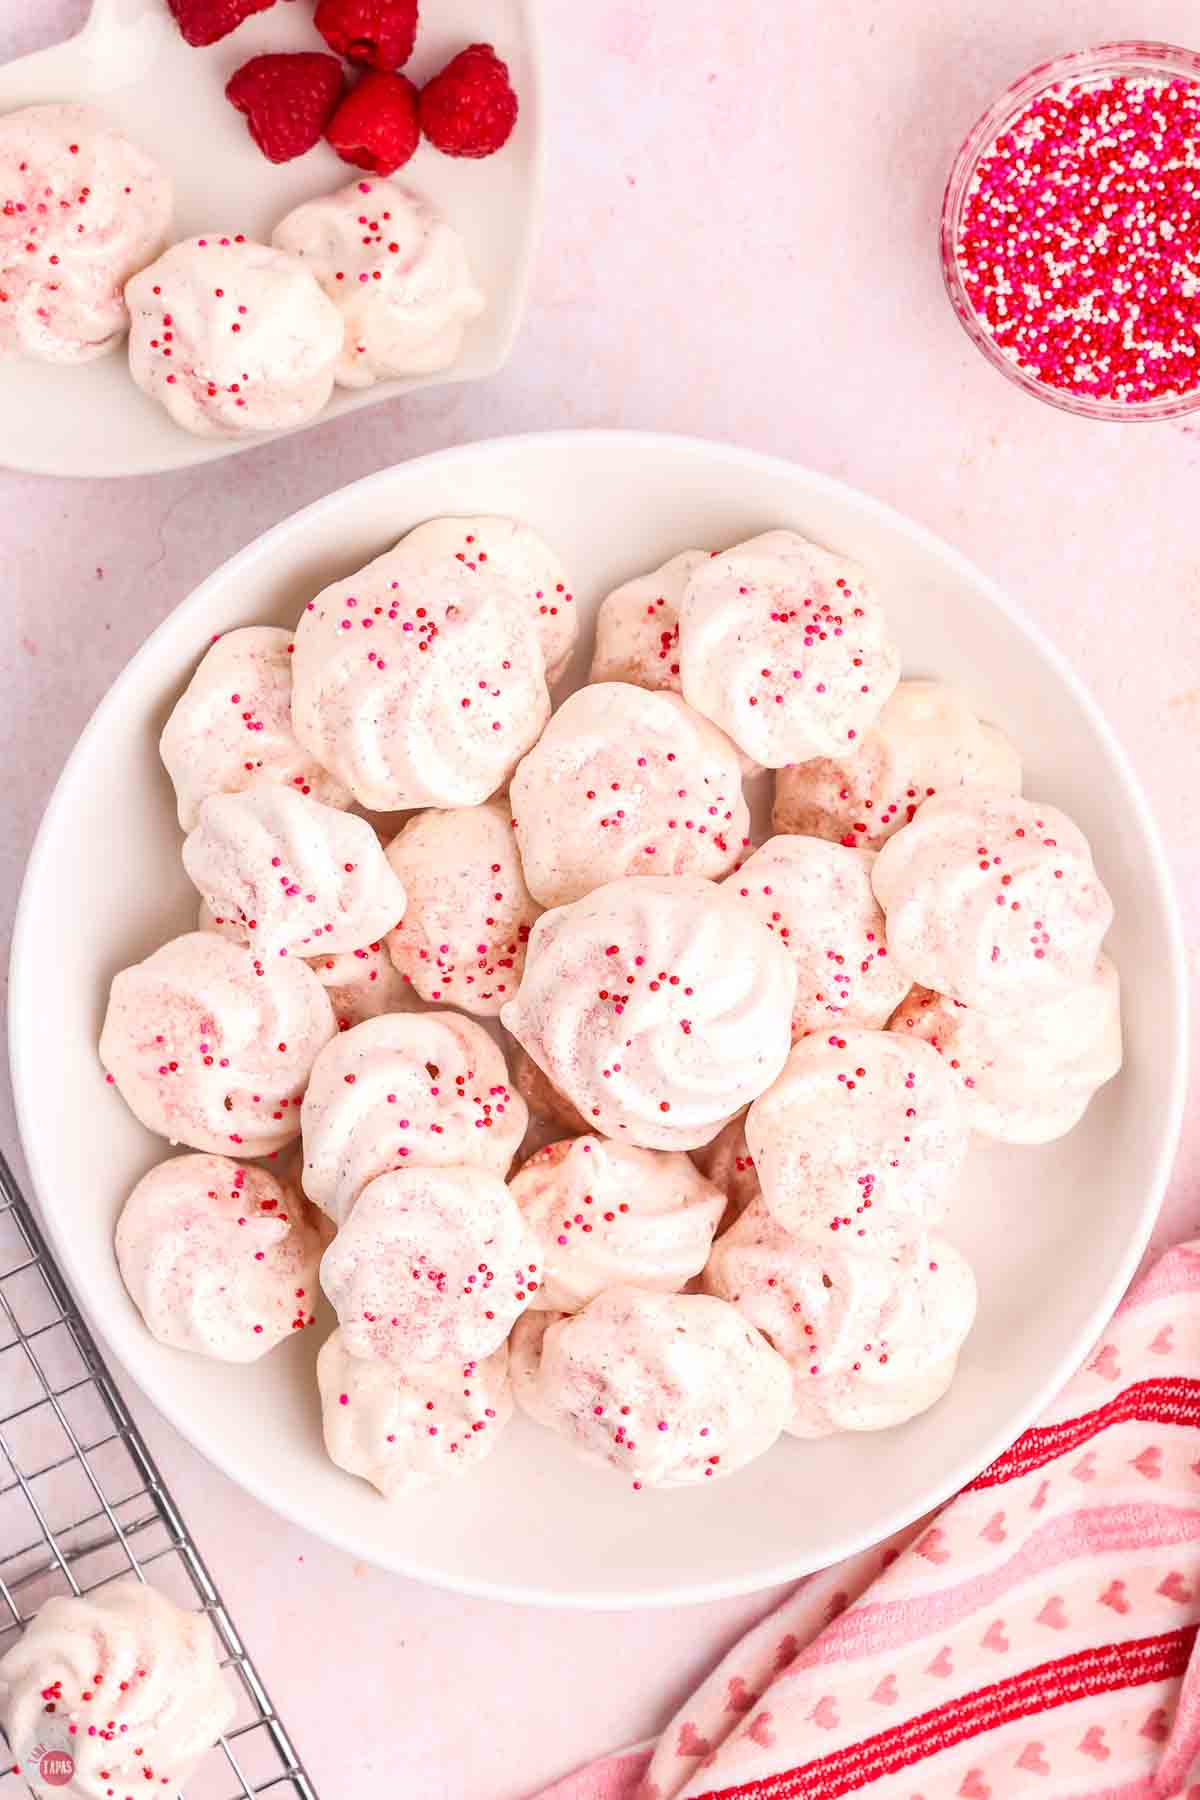
Raspberry Meringues
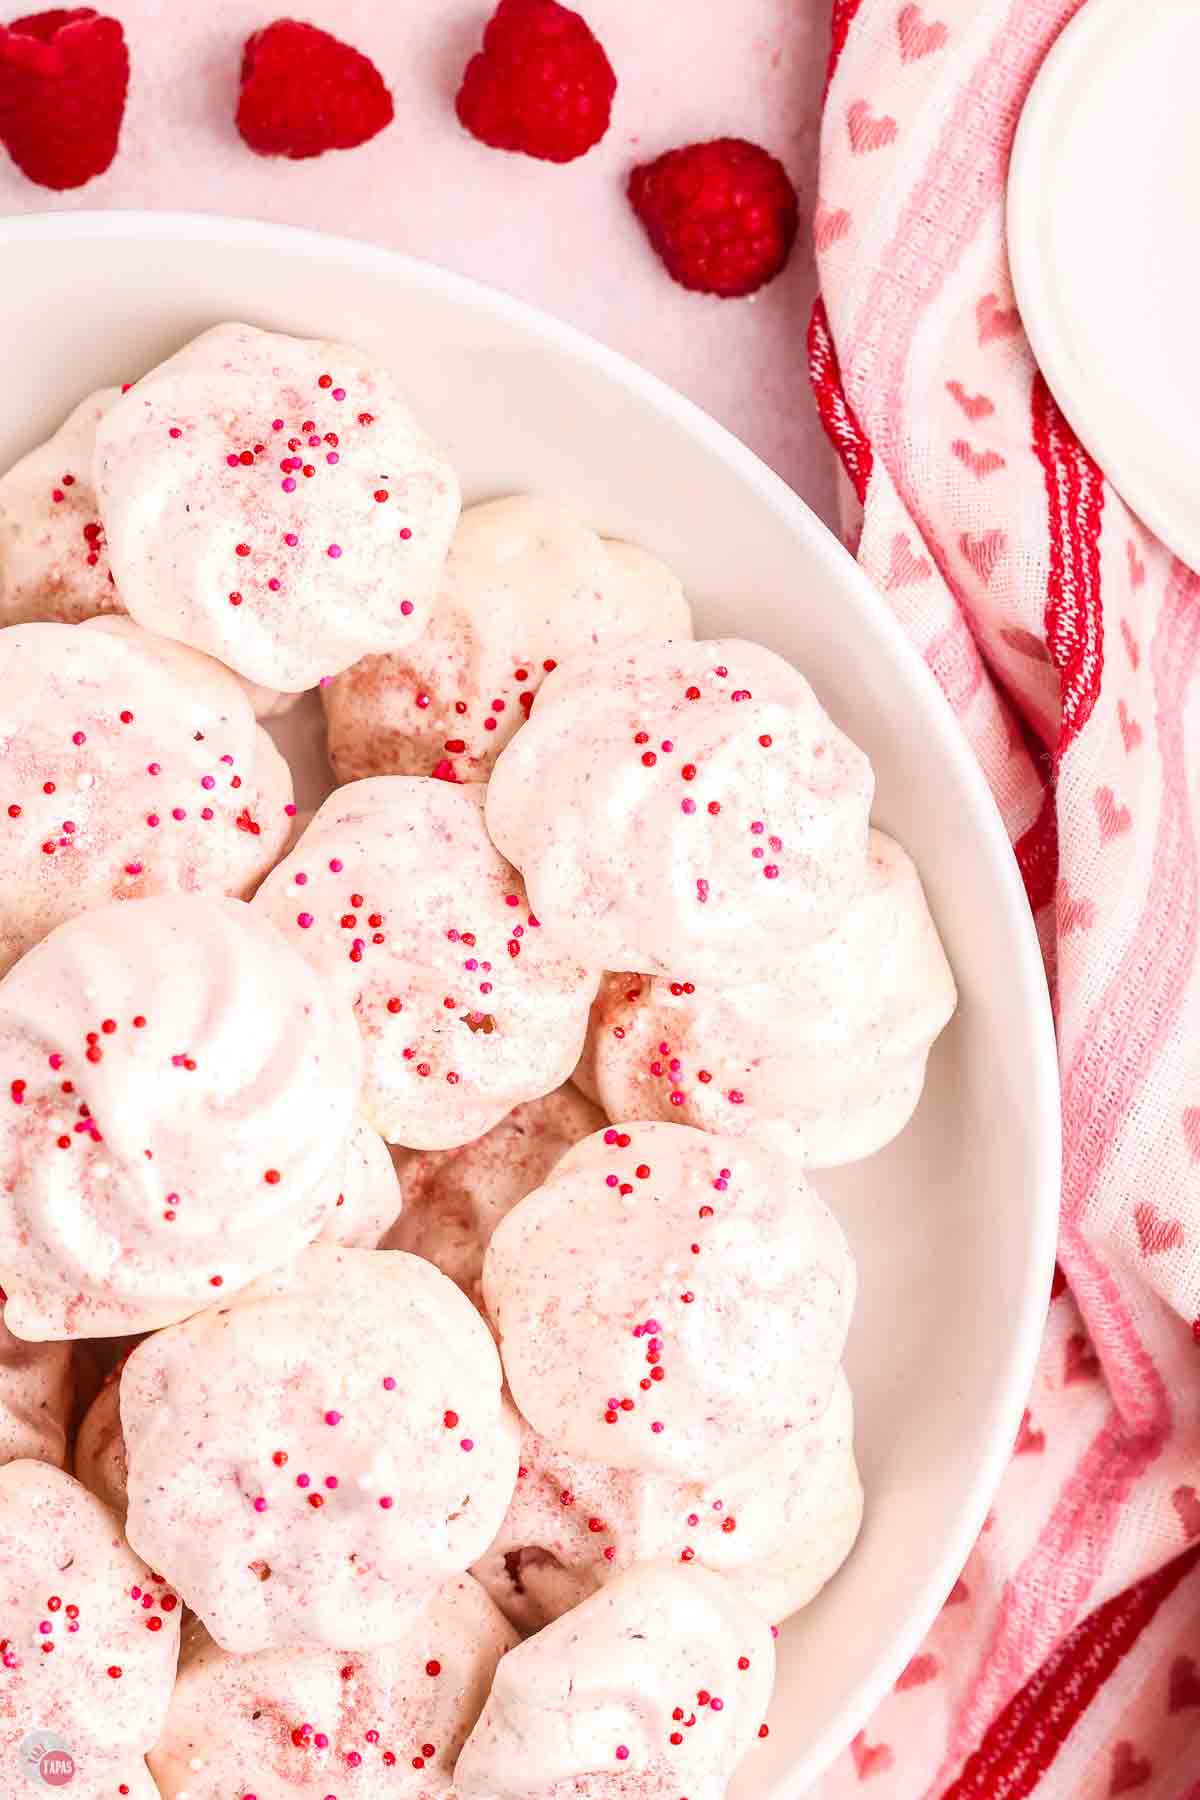
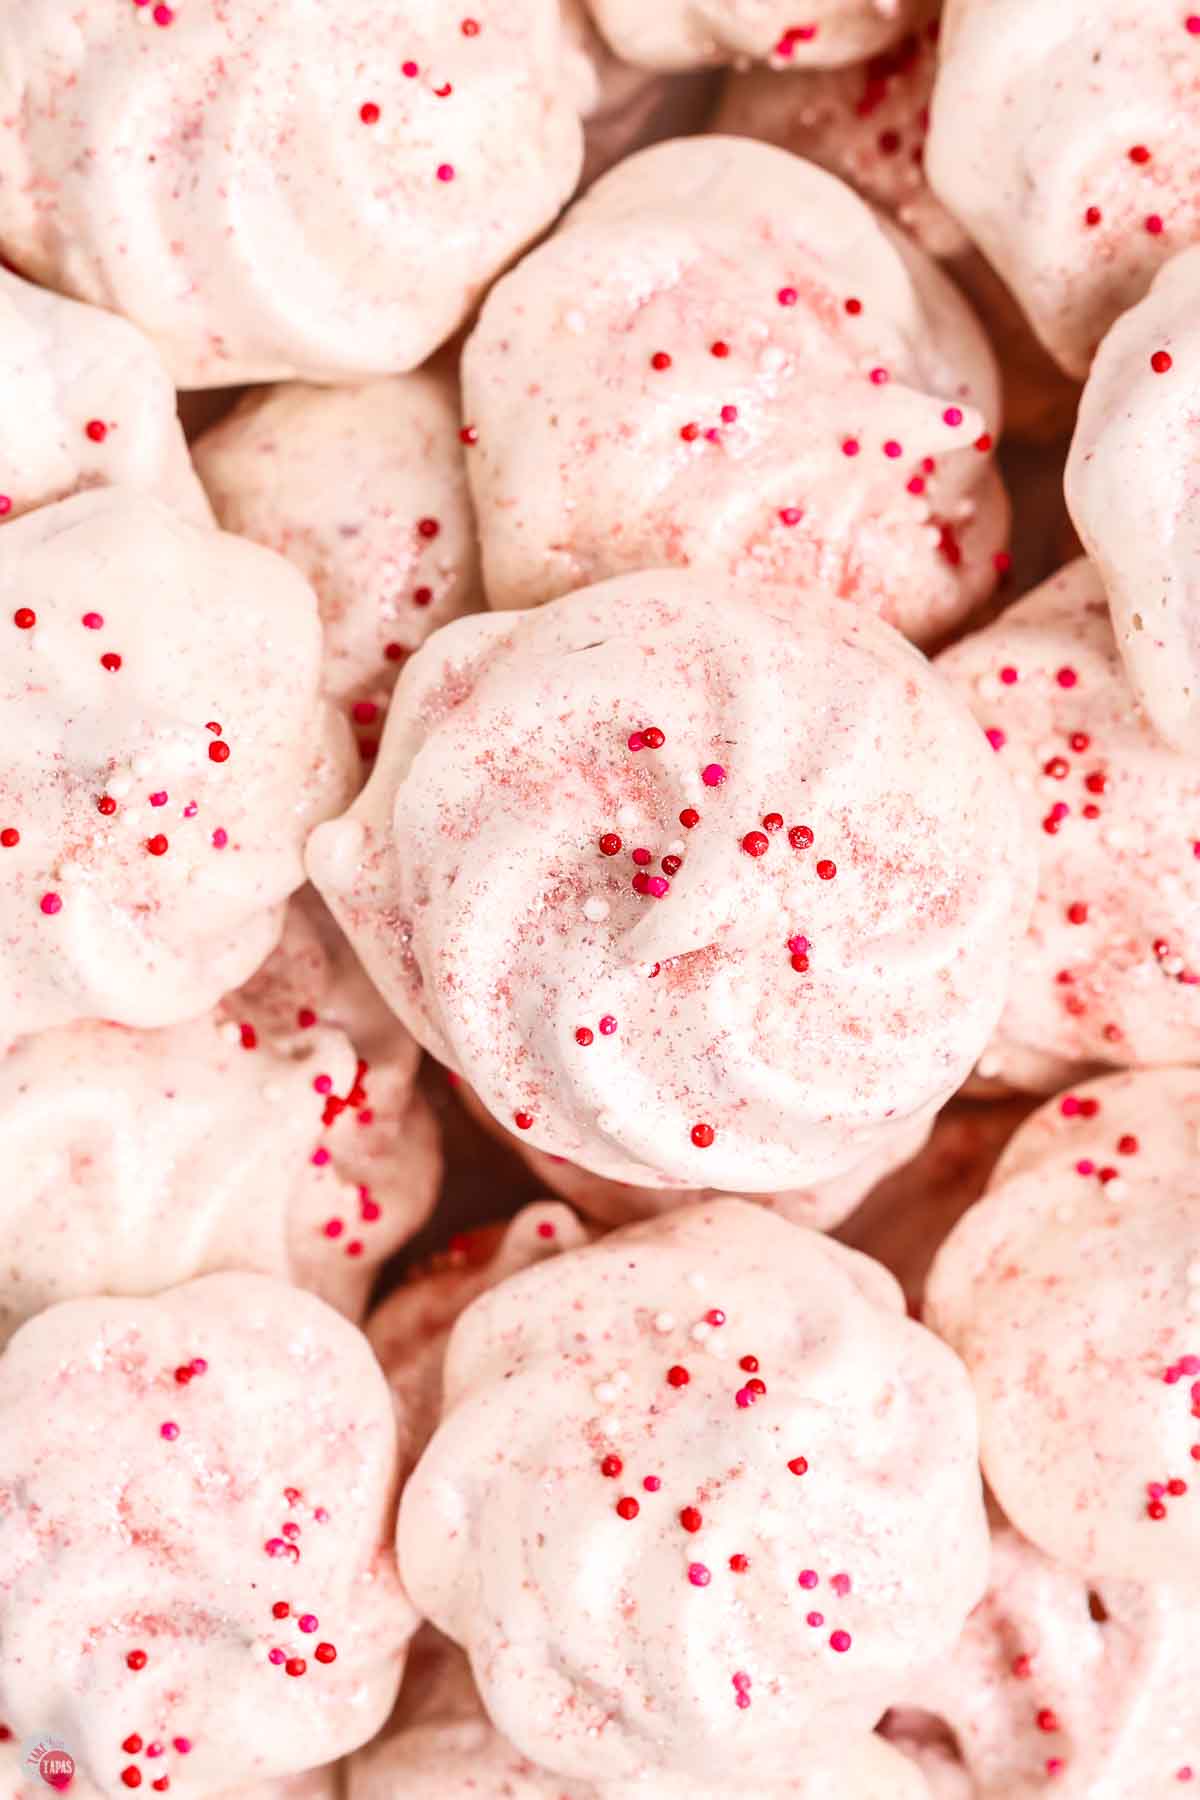
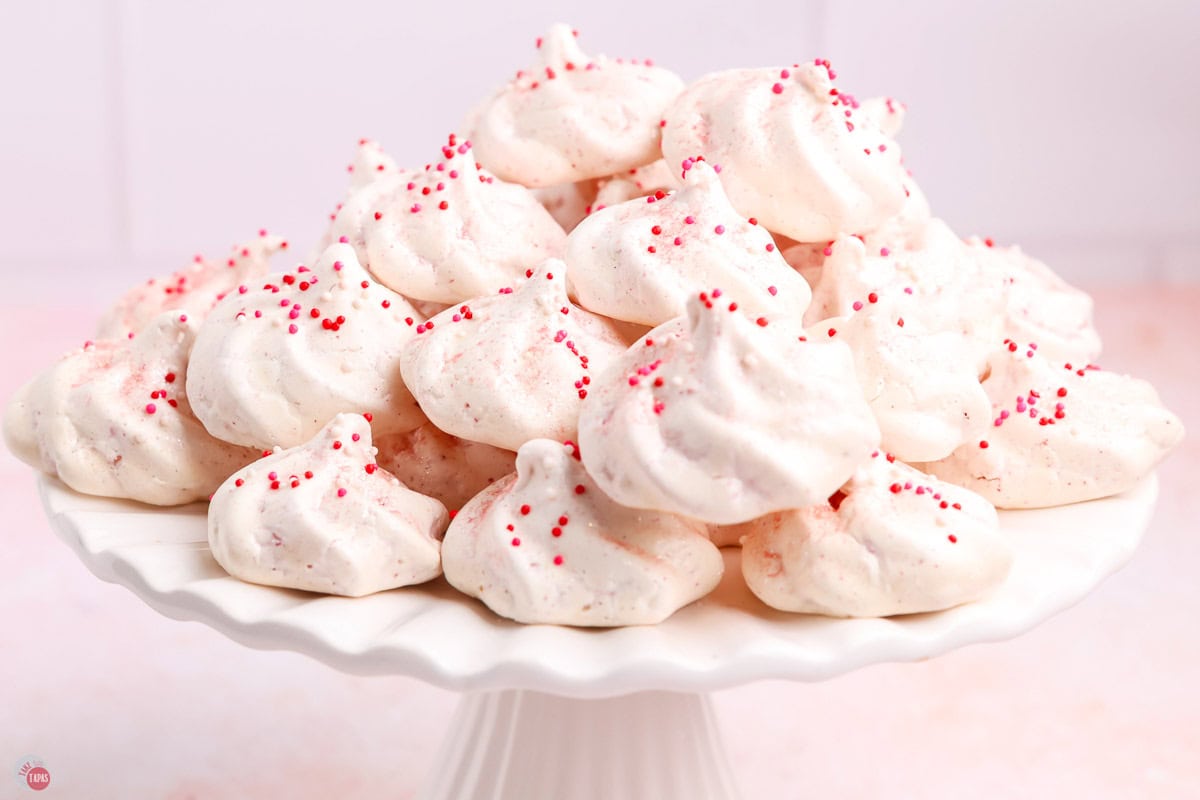
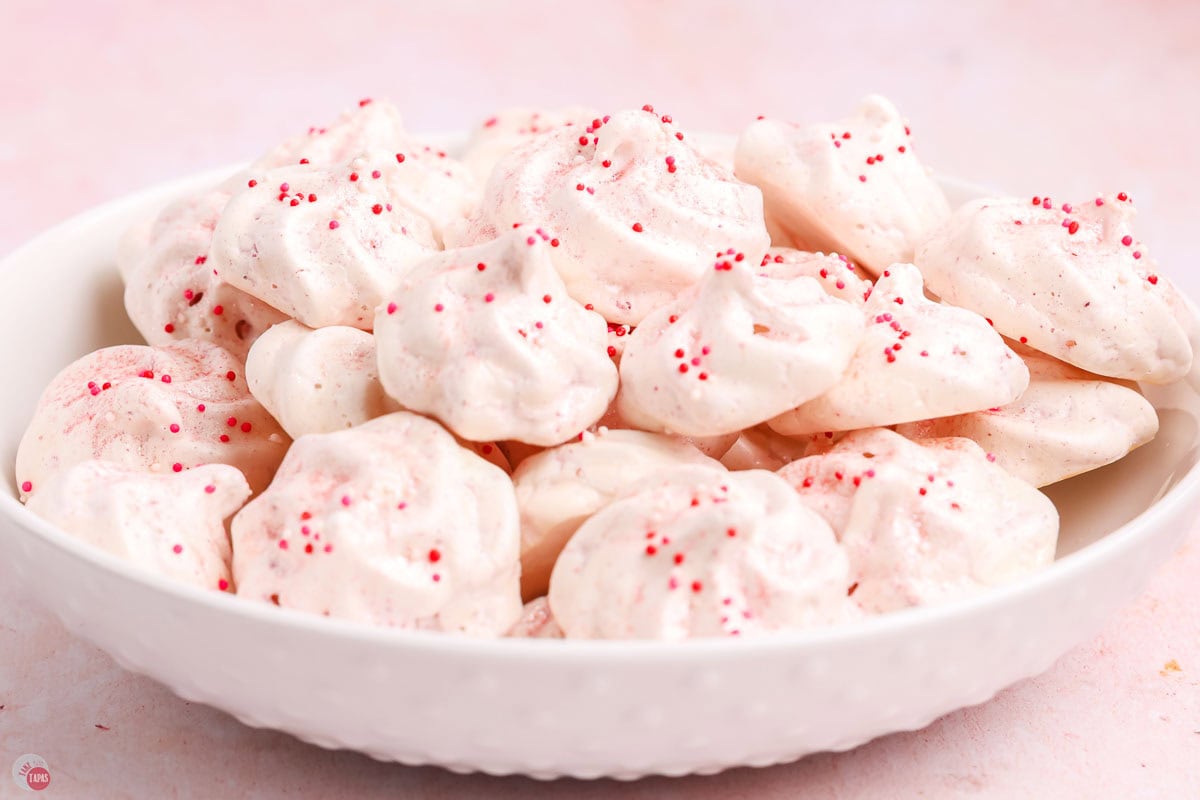
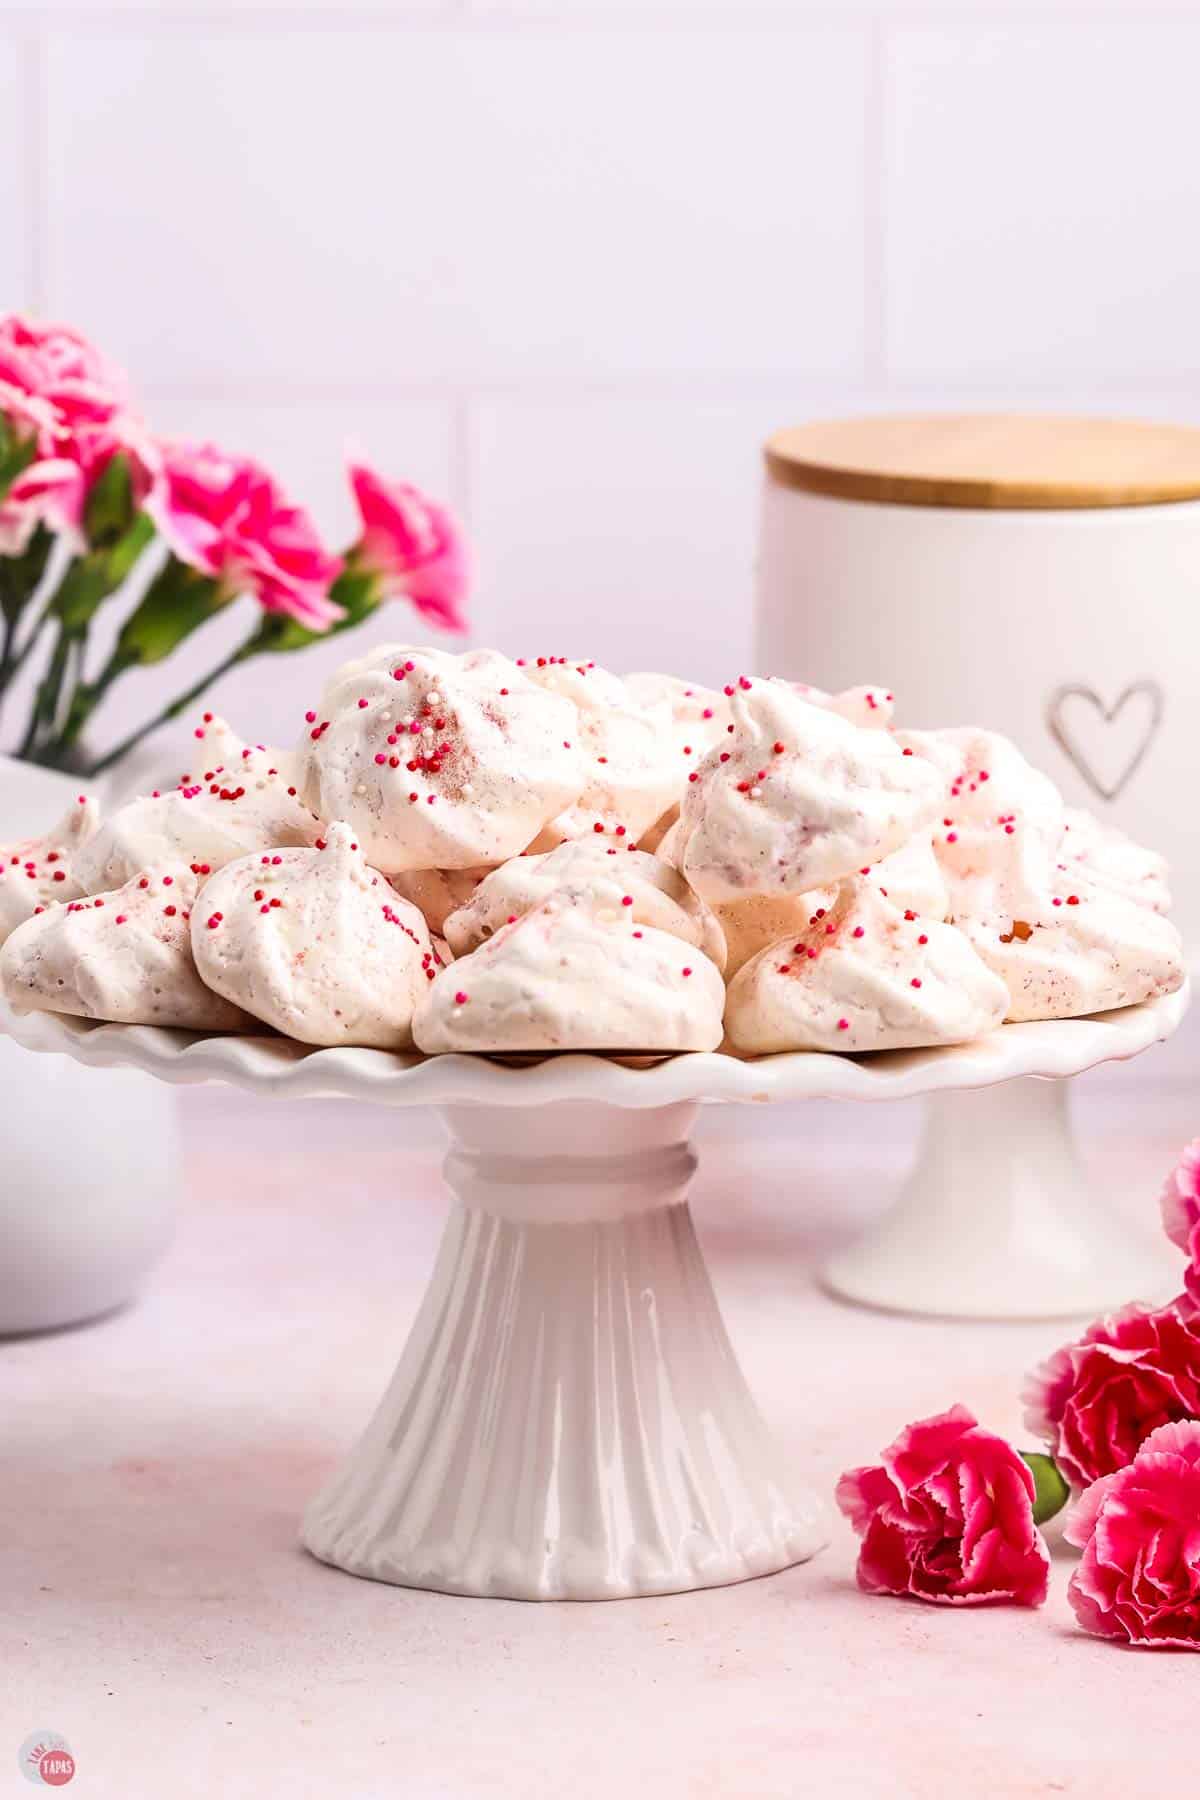
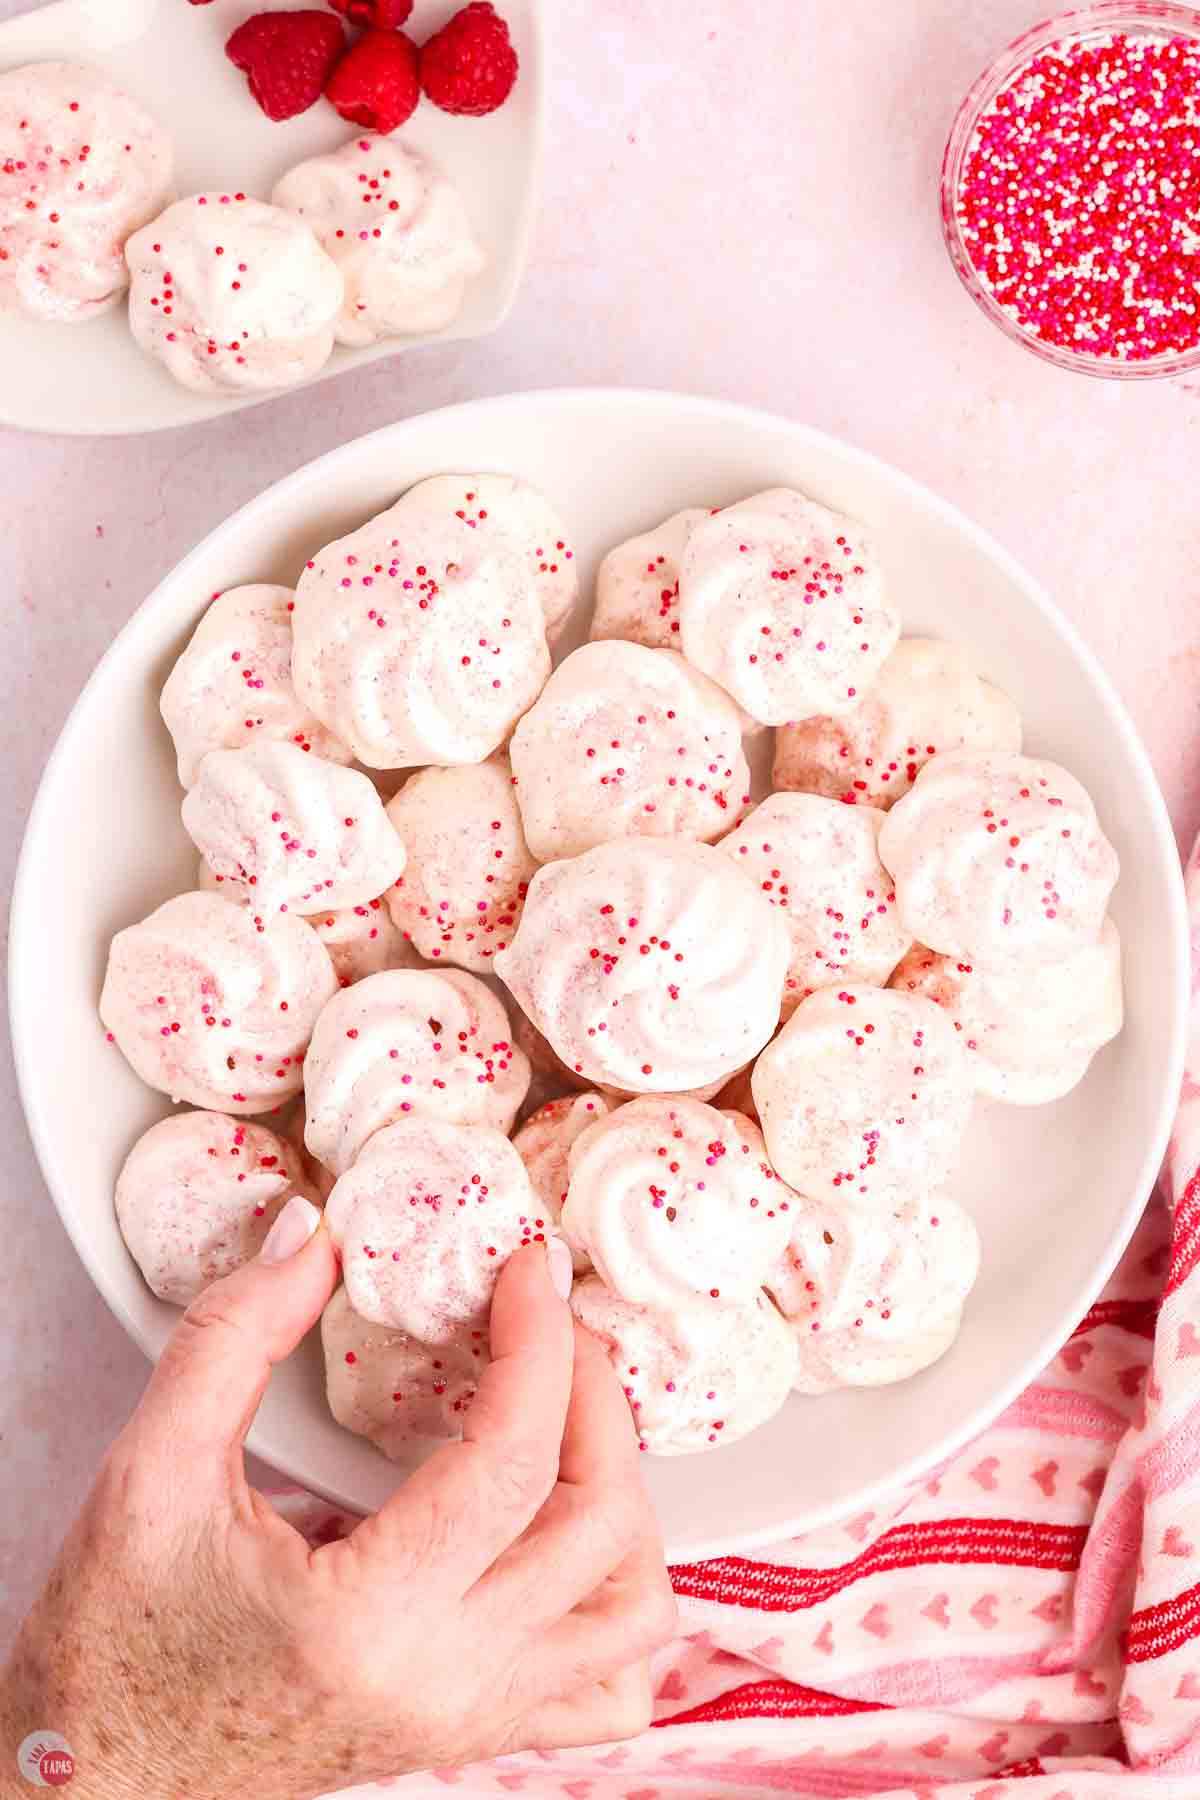
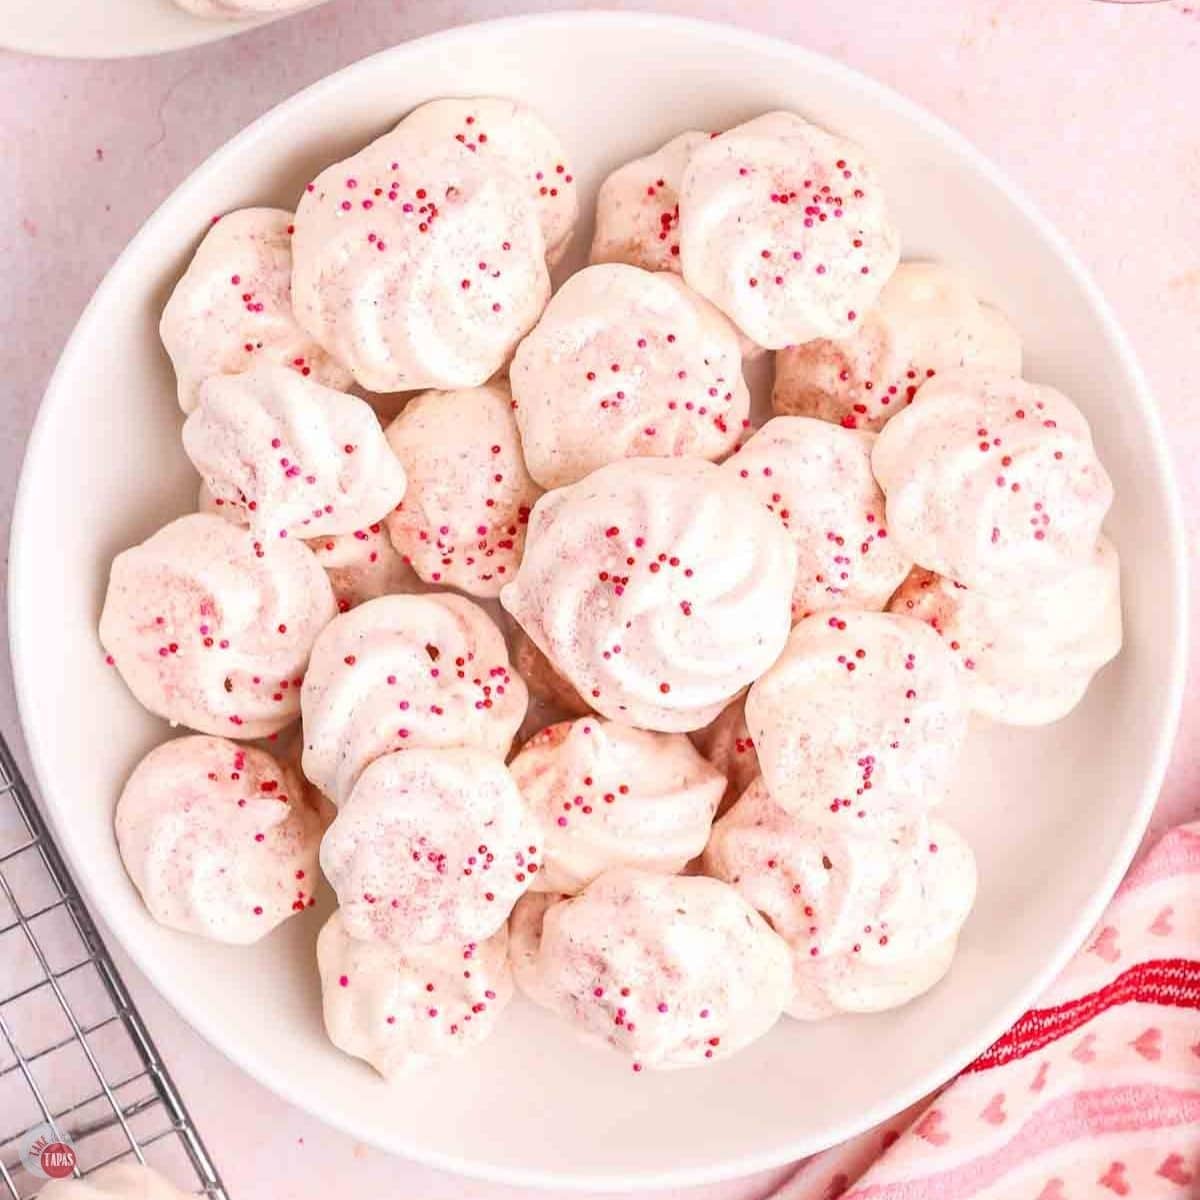
Raspberry meringue cookies are light, airy bites with a hint of raspberry flavor from freeze-dried raspberries. Pink and white swirled meringues are piped with star tip to create a stunning two-toned effect. They’re easy to make with just 4 ingredients and ready in 2 hours (mostly hands-off baking time). Decorate them with sprinkles or edible glitter for sparkle. Store them up to 2 weeks at room temperature.
I love to eat meringues, but I have always been scared of them. The light and crispy texture is amazing, but when I look at them, I have a mini panic attack at the thought of actually making these at home.
But, don’t worry, they are super easy. You just need to follow some rules and they will come out perfect every time. And it’s only a few minutes of actual “hands on” time because the mixer does all the whipping and the oven does all the baking.
Once the egg whites are whipped and creamy, color them with real fruit powder, pipe them in pretty star shapes and decorate them with sprinkles, edible glitter, or drizzle them with chocolate.
They look like a professional pastry chef lives at your home!
More Easy Cookie Recipes
- Key Lime Cookies – Tangy citrus with tender shortbread
- Pistachio Cookies – Soft cookies with chopped nuts
- Lemon Drop Cookies – Sweet & tart with a glaze
- Whipped Shortbread Cookies – Melt-in-your-mouth buttery texture
This post may contain affiliate links. As an Amazon Associate, I earn from qualifying purchases at no additional cost to you. Read my disclosure policy.
See recipe card for complete information on ingredients and their quantities.
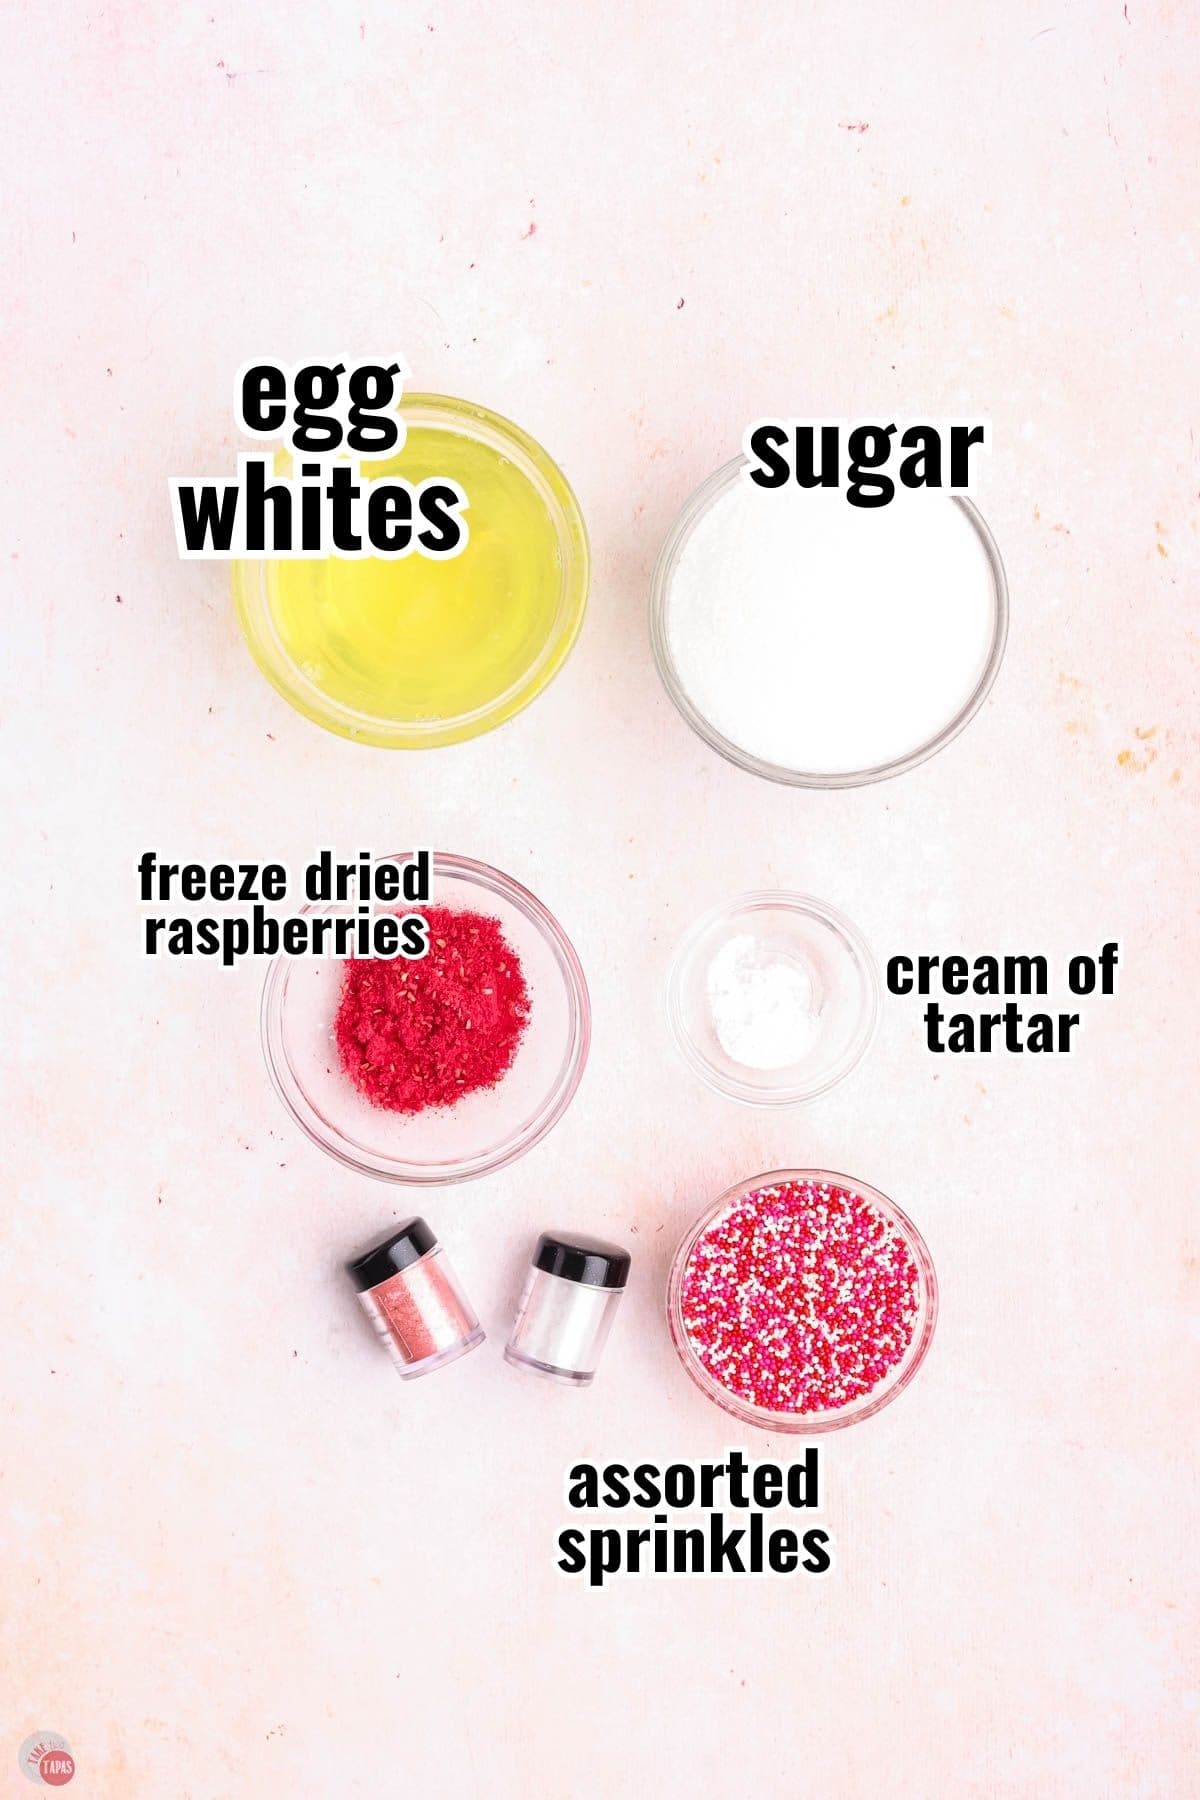
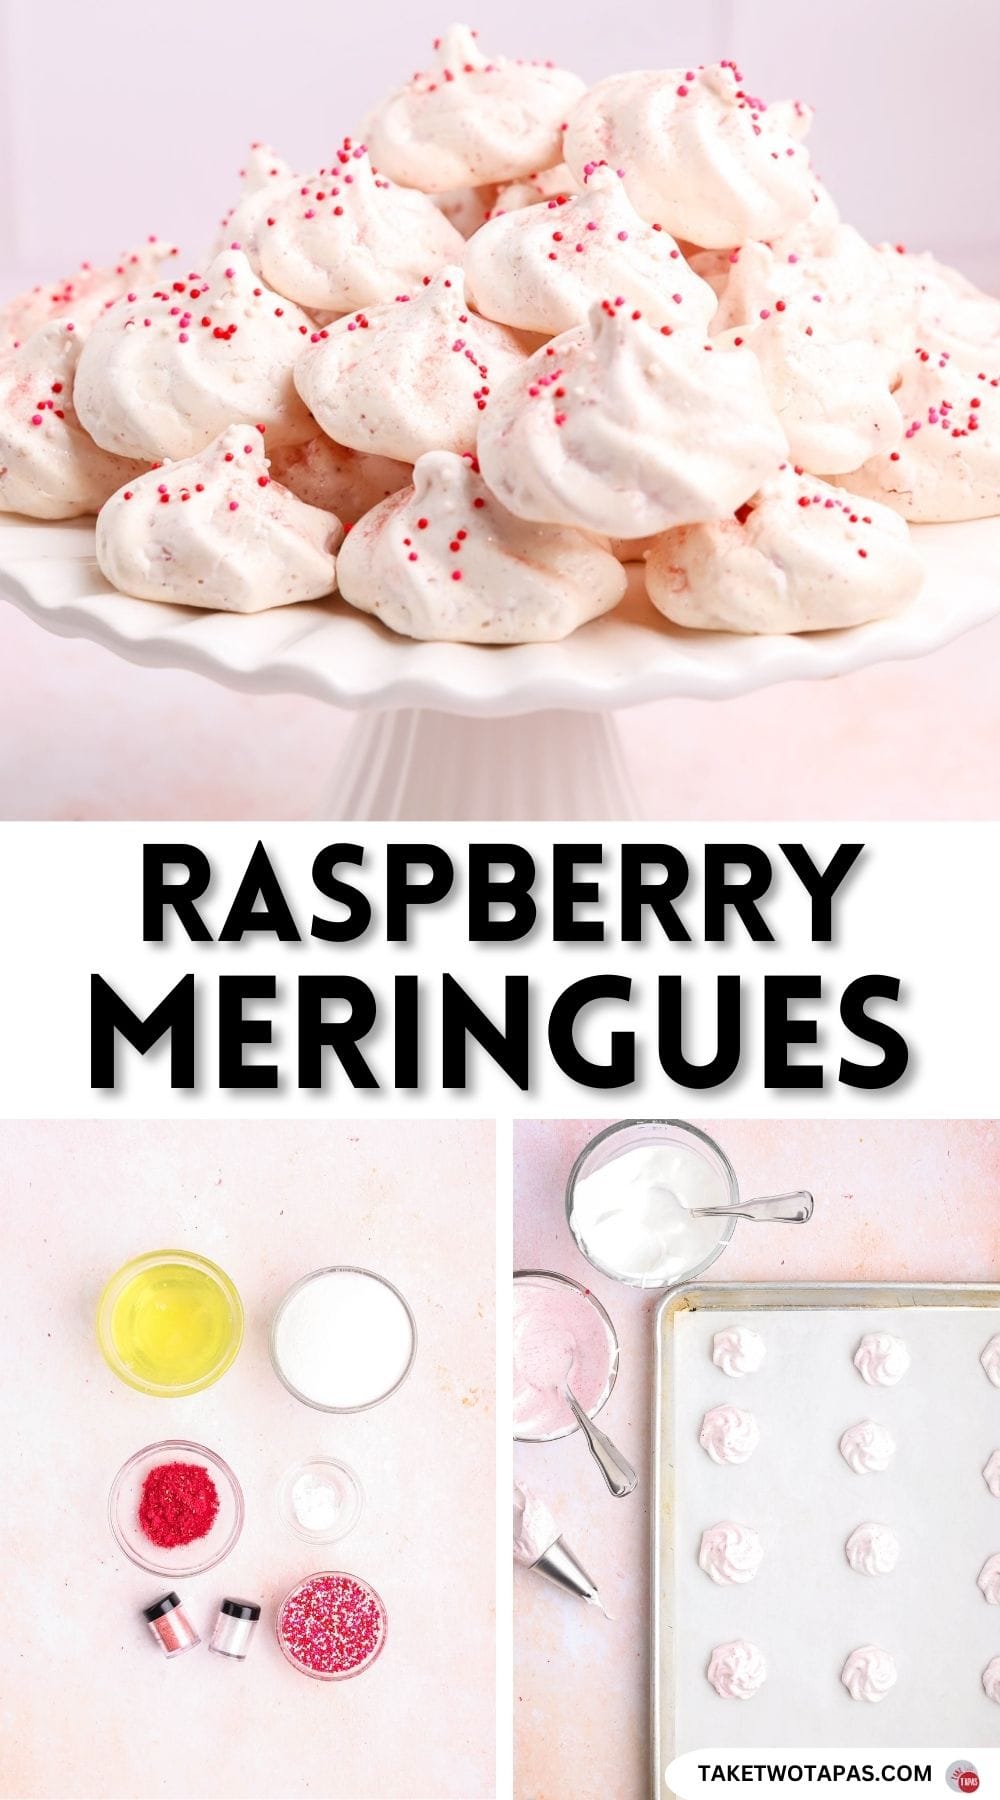
Ingredient Notes
- Egg whites: Use room temperature egg whites and be sure there is no yolk in them or they won’t whip up correctly.
- Raspberries: Use freeze-dried raspberries that are crushed into a powder.
- Sugar: Use regular white granulated sugar. This won’t work with sugar substitutes.
- Cream of tartar: This is absolutely necessary or they meringue won’t stabilize and stay in those pretty star shapes.
For more insider tips, tricks, and a behind the scenes look, follow me on Pinterest, Facebook, Instagram, & X.
How To Make Raspberry Meringues
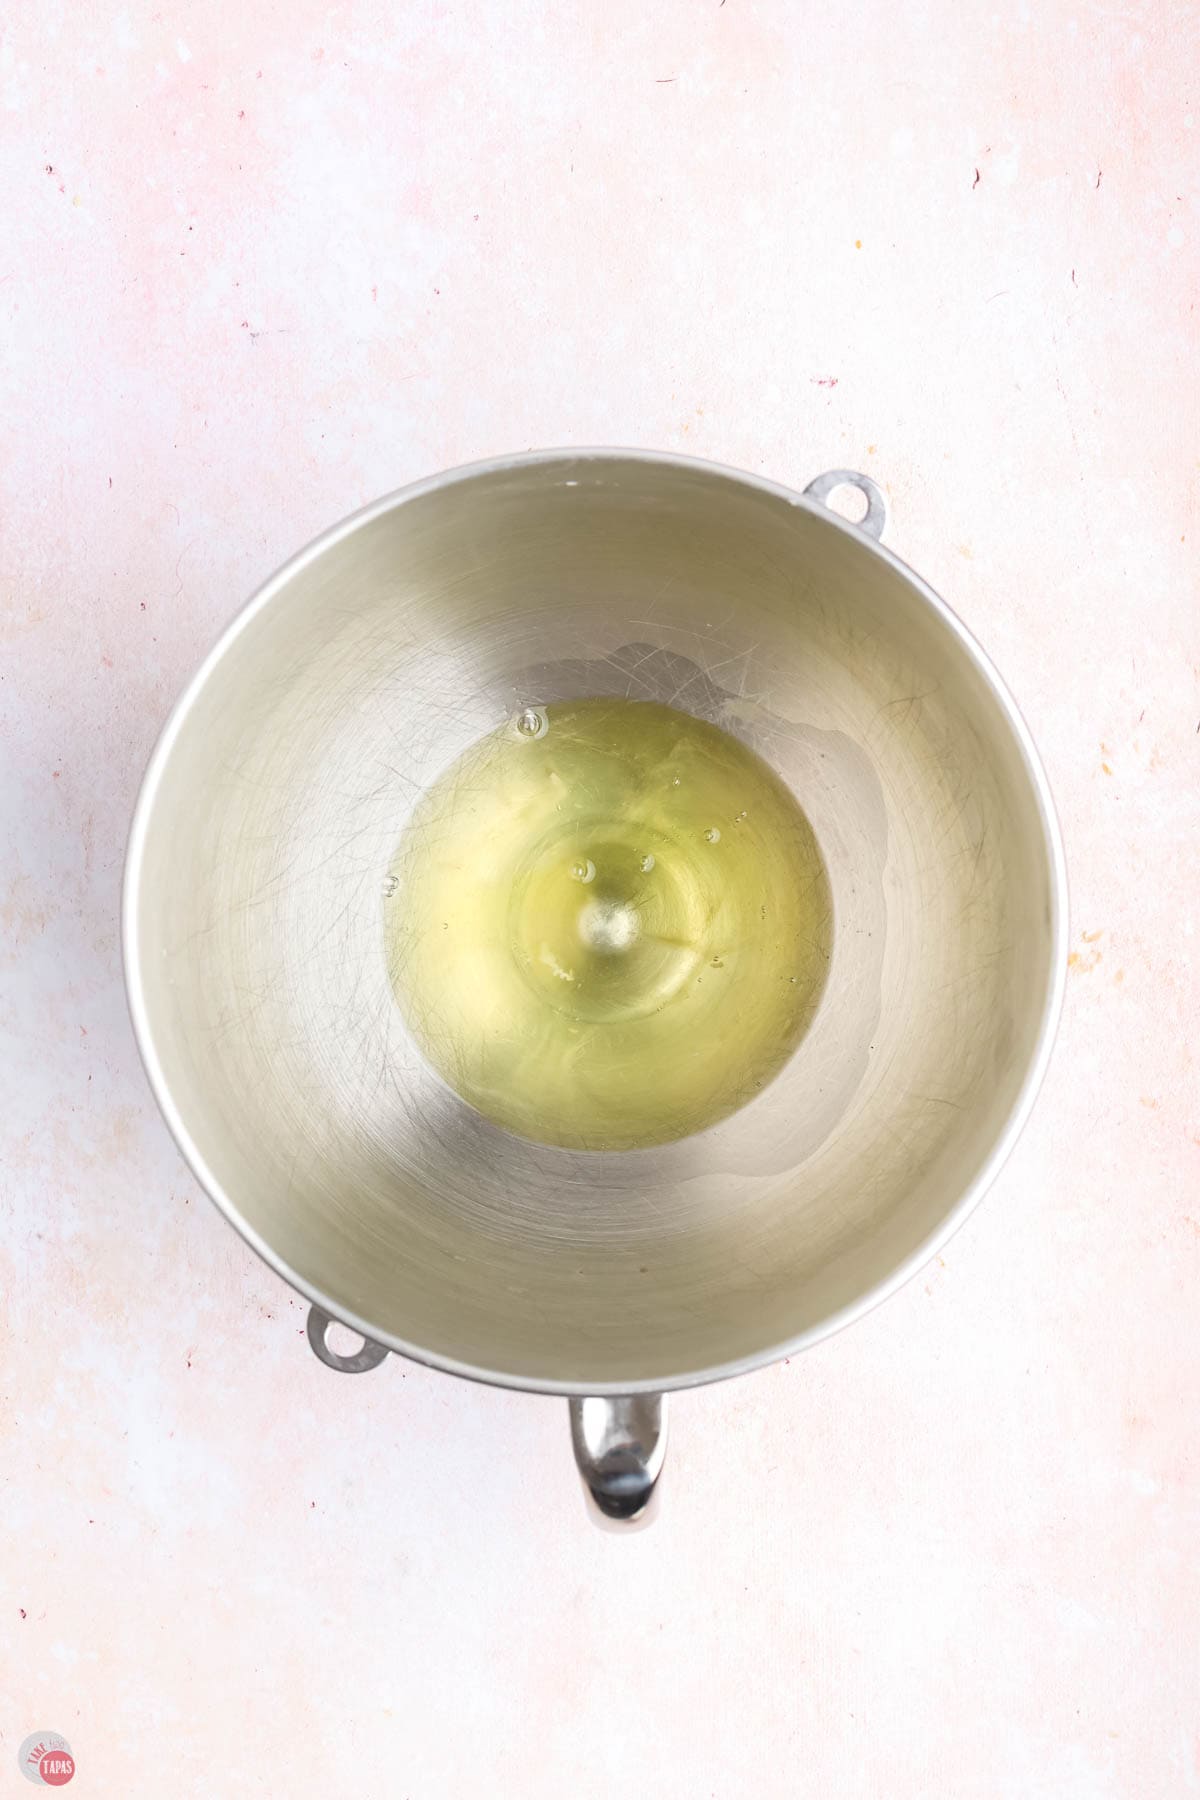
- Preheat the oven to 200F. Prepare 2 baking sheets by lining them with parchment paper. Place egg whites in the bowl of a stand mixer fitted with the whisk attachment. Turn the mixer on medium high speed and whisk until egg whites become frothy.
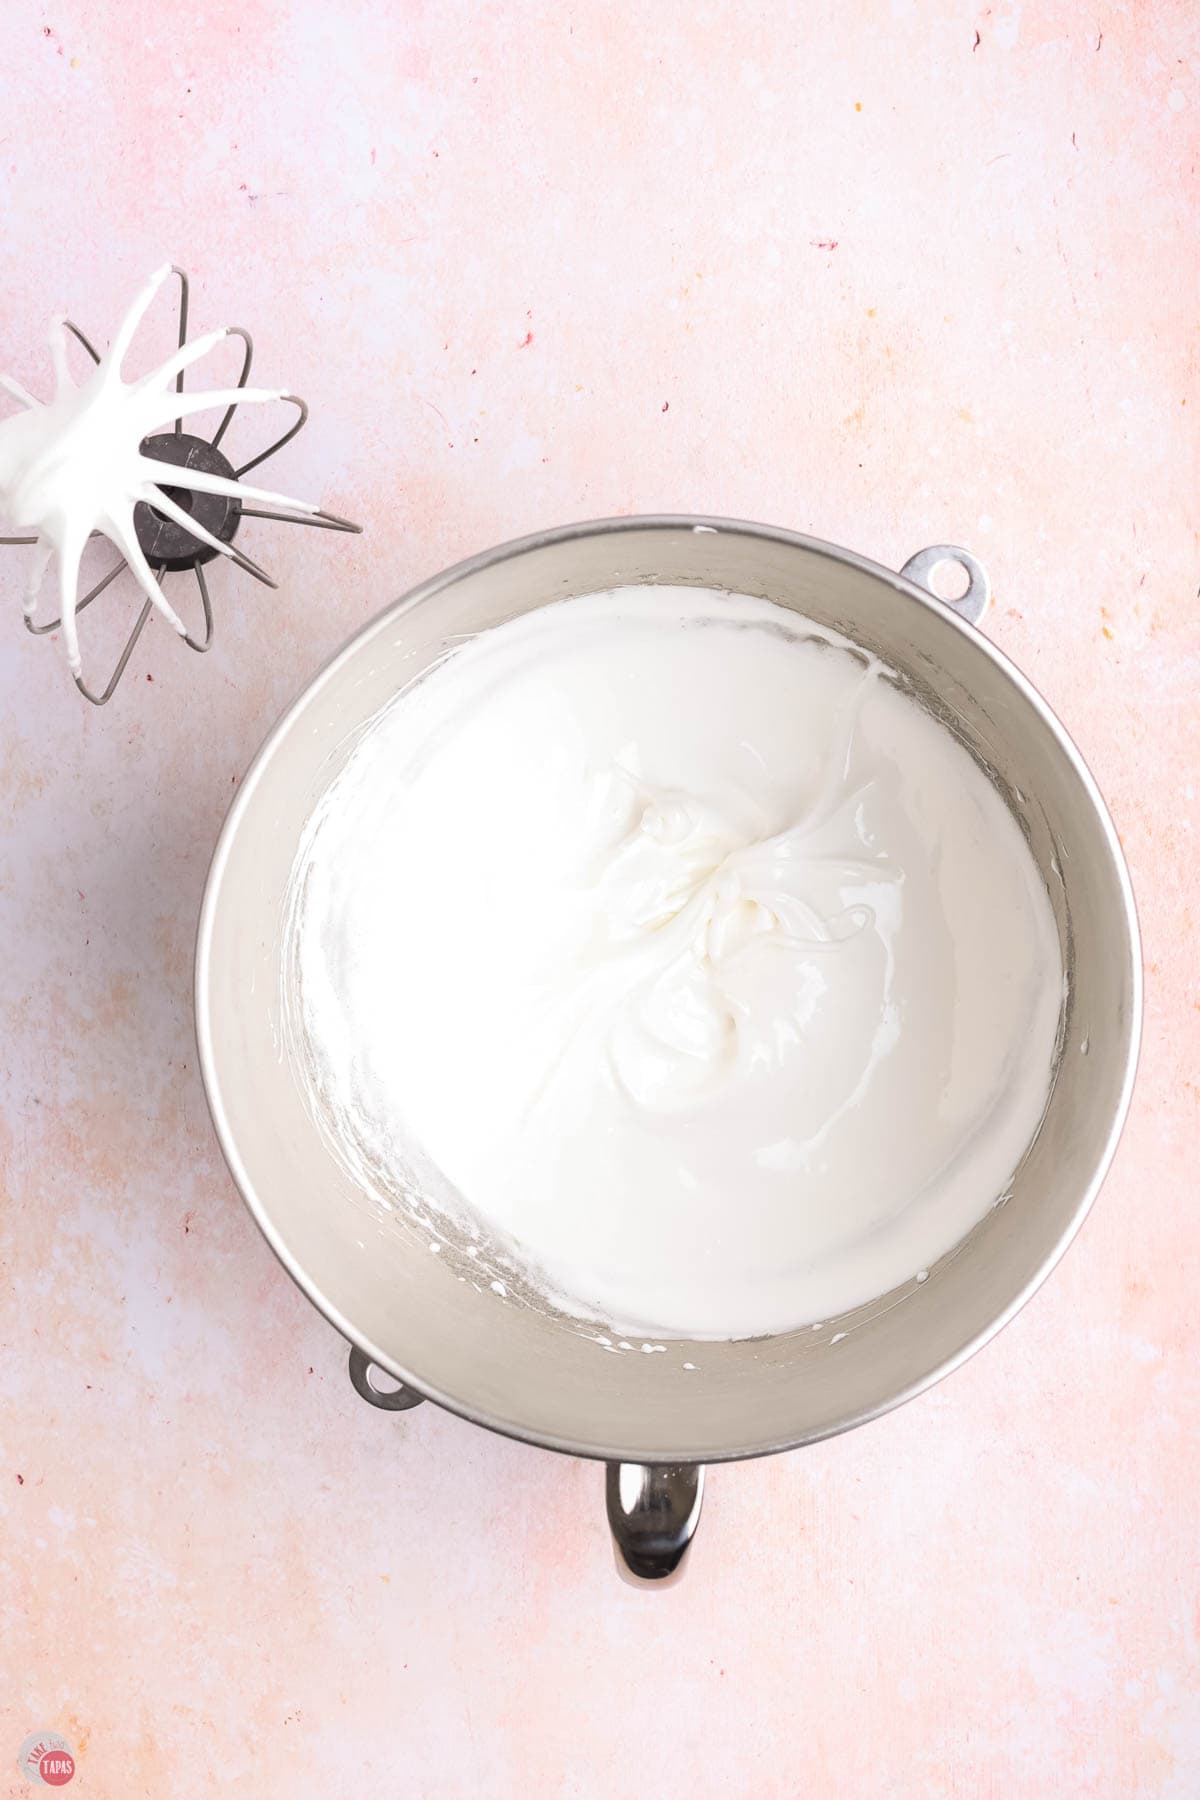
- Continue to whisk while adding the cream of tartar. Turn the mixer up to high speed and gradually add the sugar, 1 tablespoon at a time. Continue whisking at high speed until mixture forms stiff, shiny peaks. (This may take about 10 minutes).
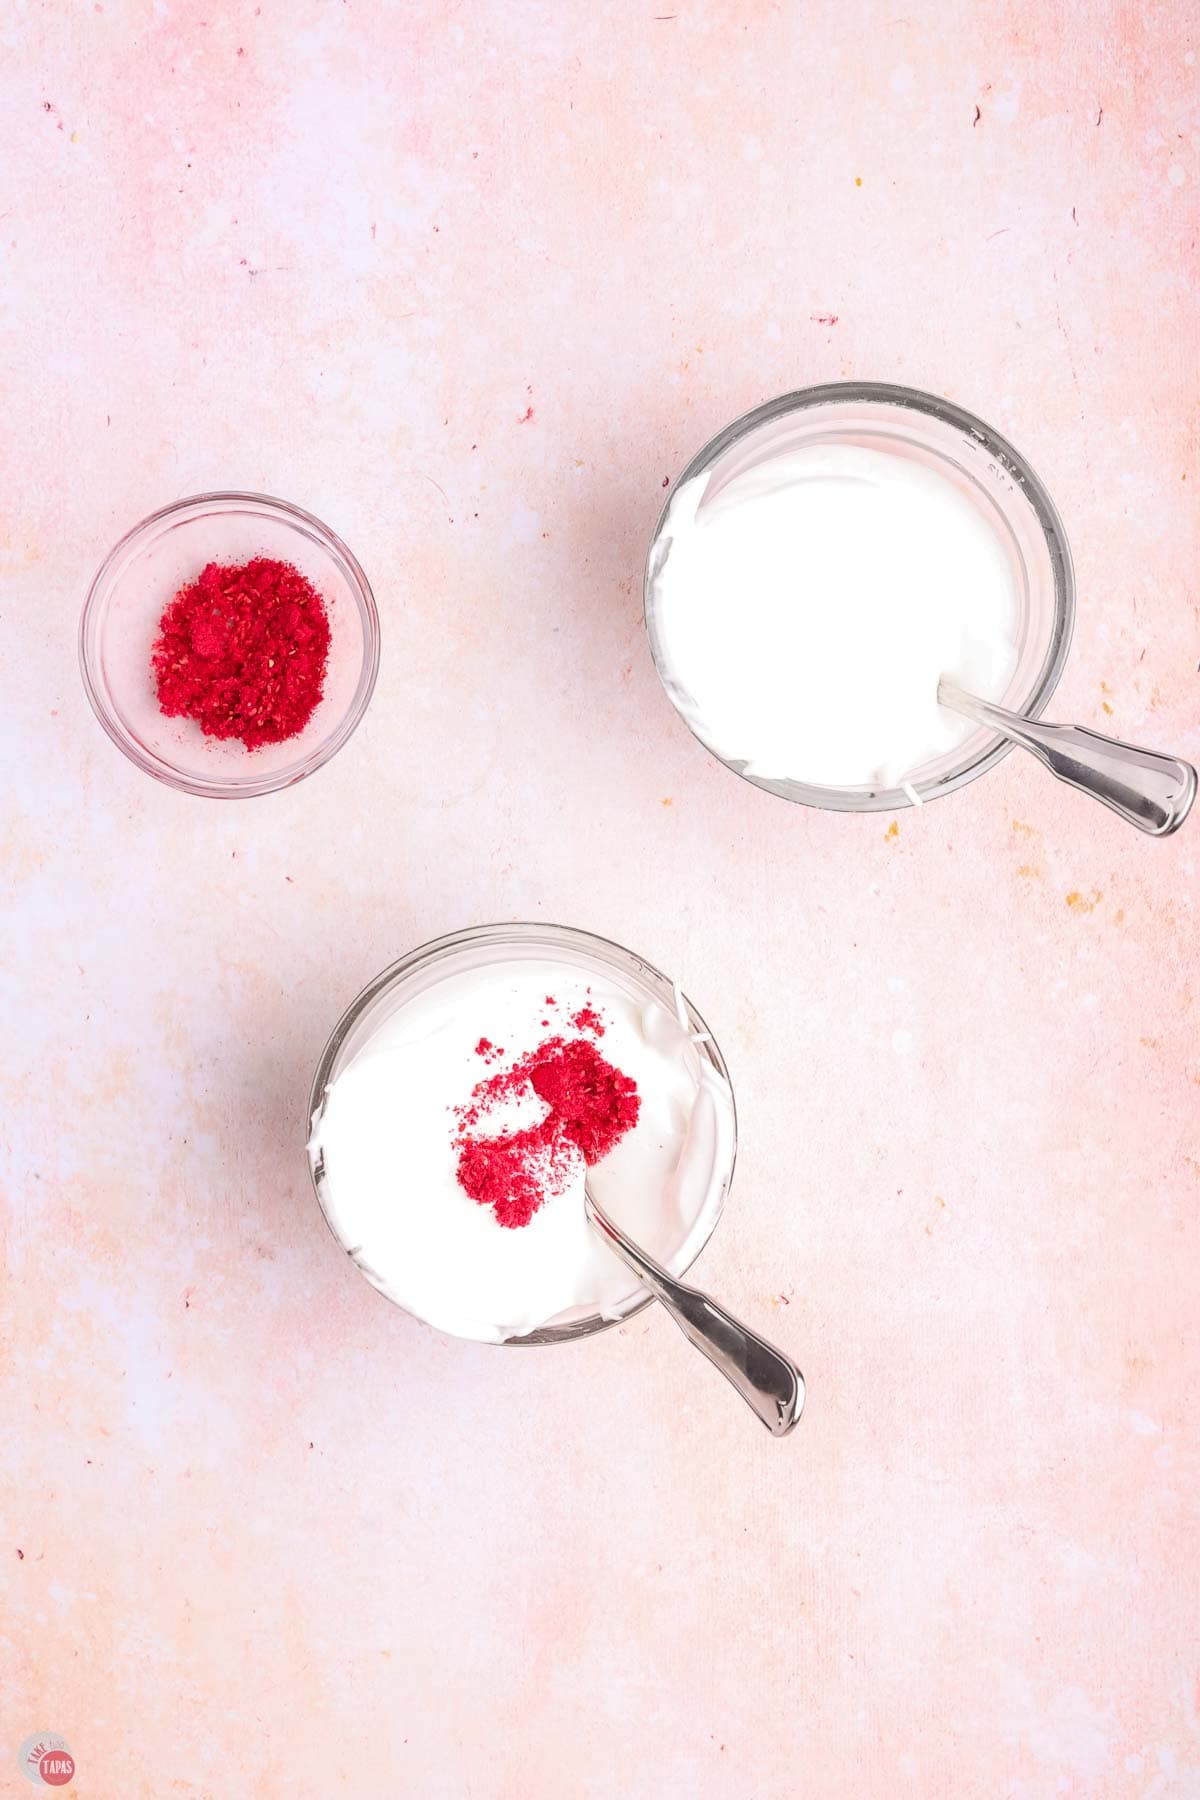
- Separate mixture into 2 bowls and add the raspberry powder to one of the bowls, mixing well. (I opted for a pale pink but if you want a more vibrant color you can add more).
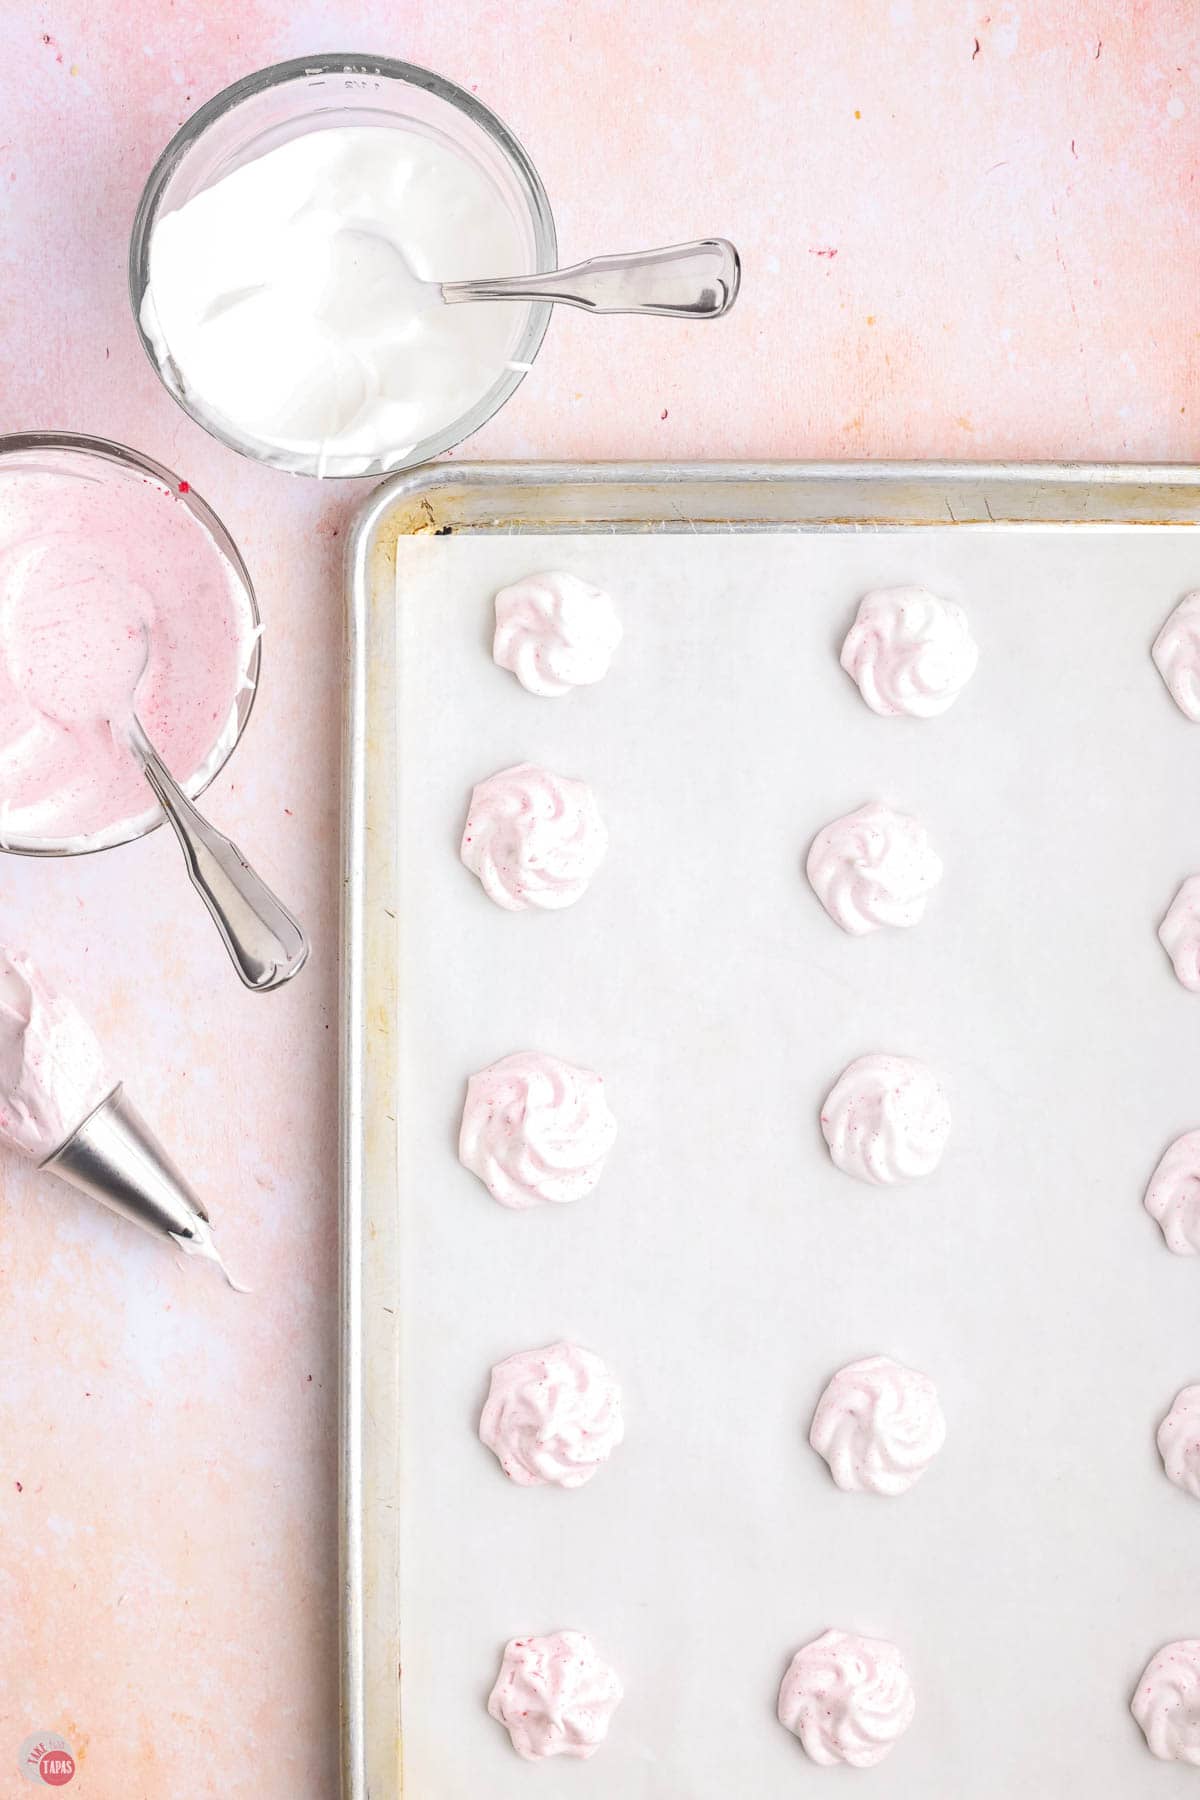
- In a piping bag fitted with a large star tip, spoon both the white and pink meringue, alternating pink, white, pink, white, into the bag.
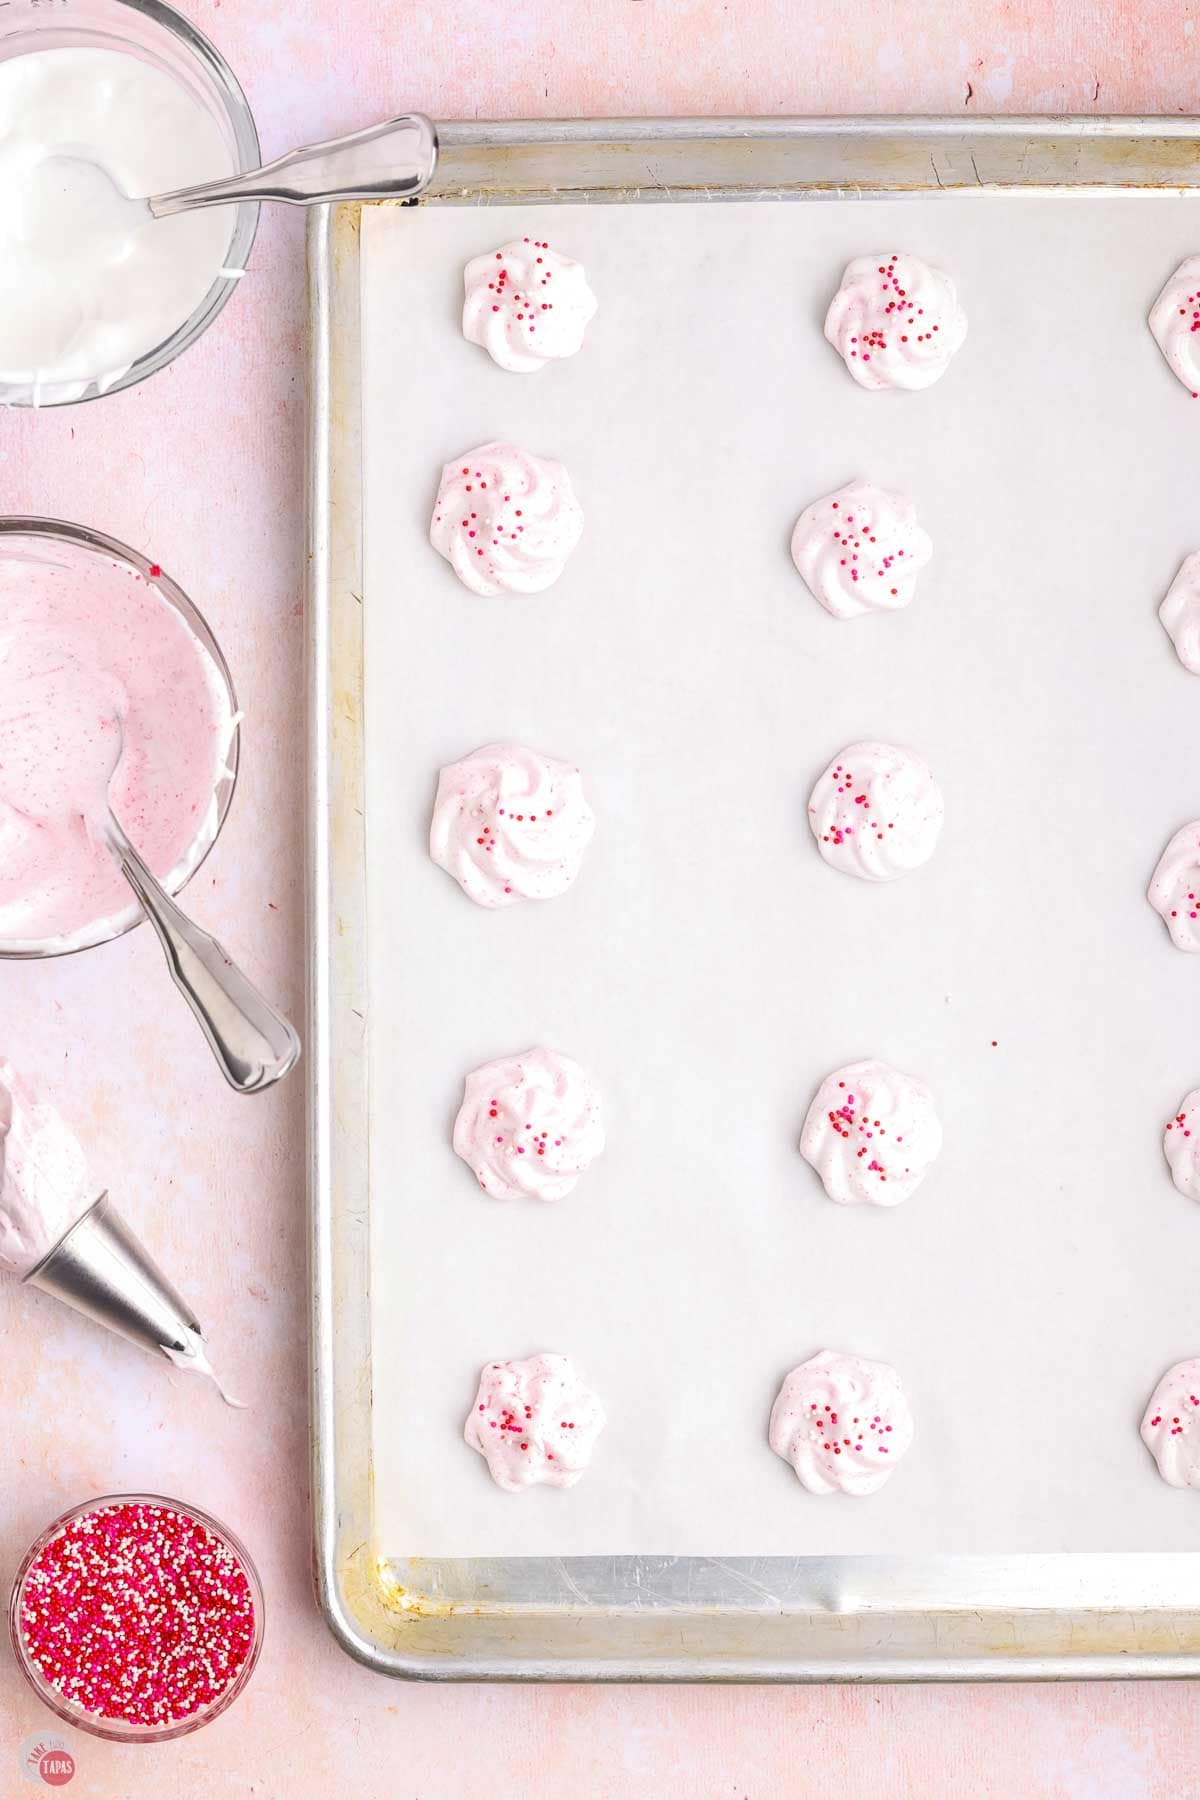
- Pipe a star onto prepared pans and top with sprinkles. Make sure you allow about 1-2” in between each meringue. Bake for about 80-90 minutes or until meringues are dry and can easily lift off of the parchment paper with a spatula.
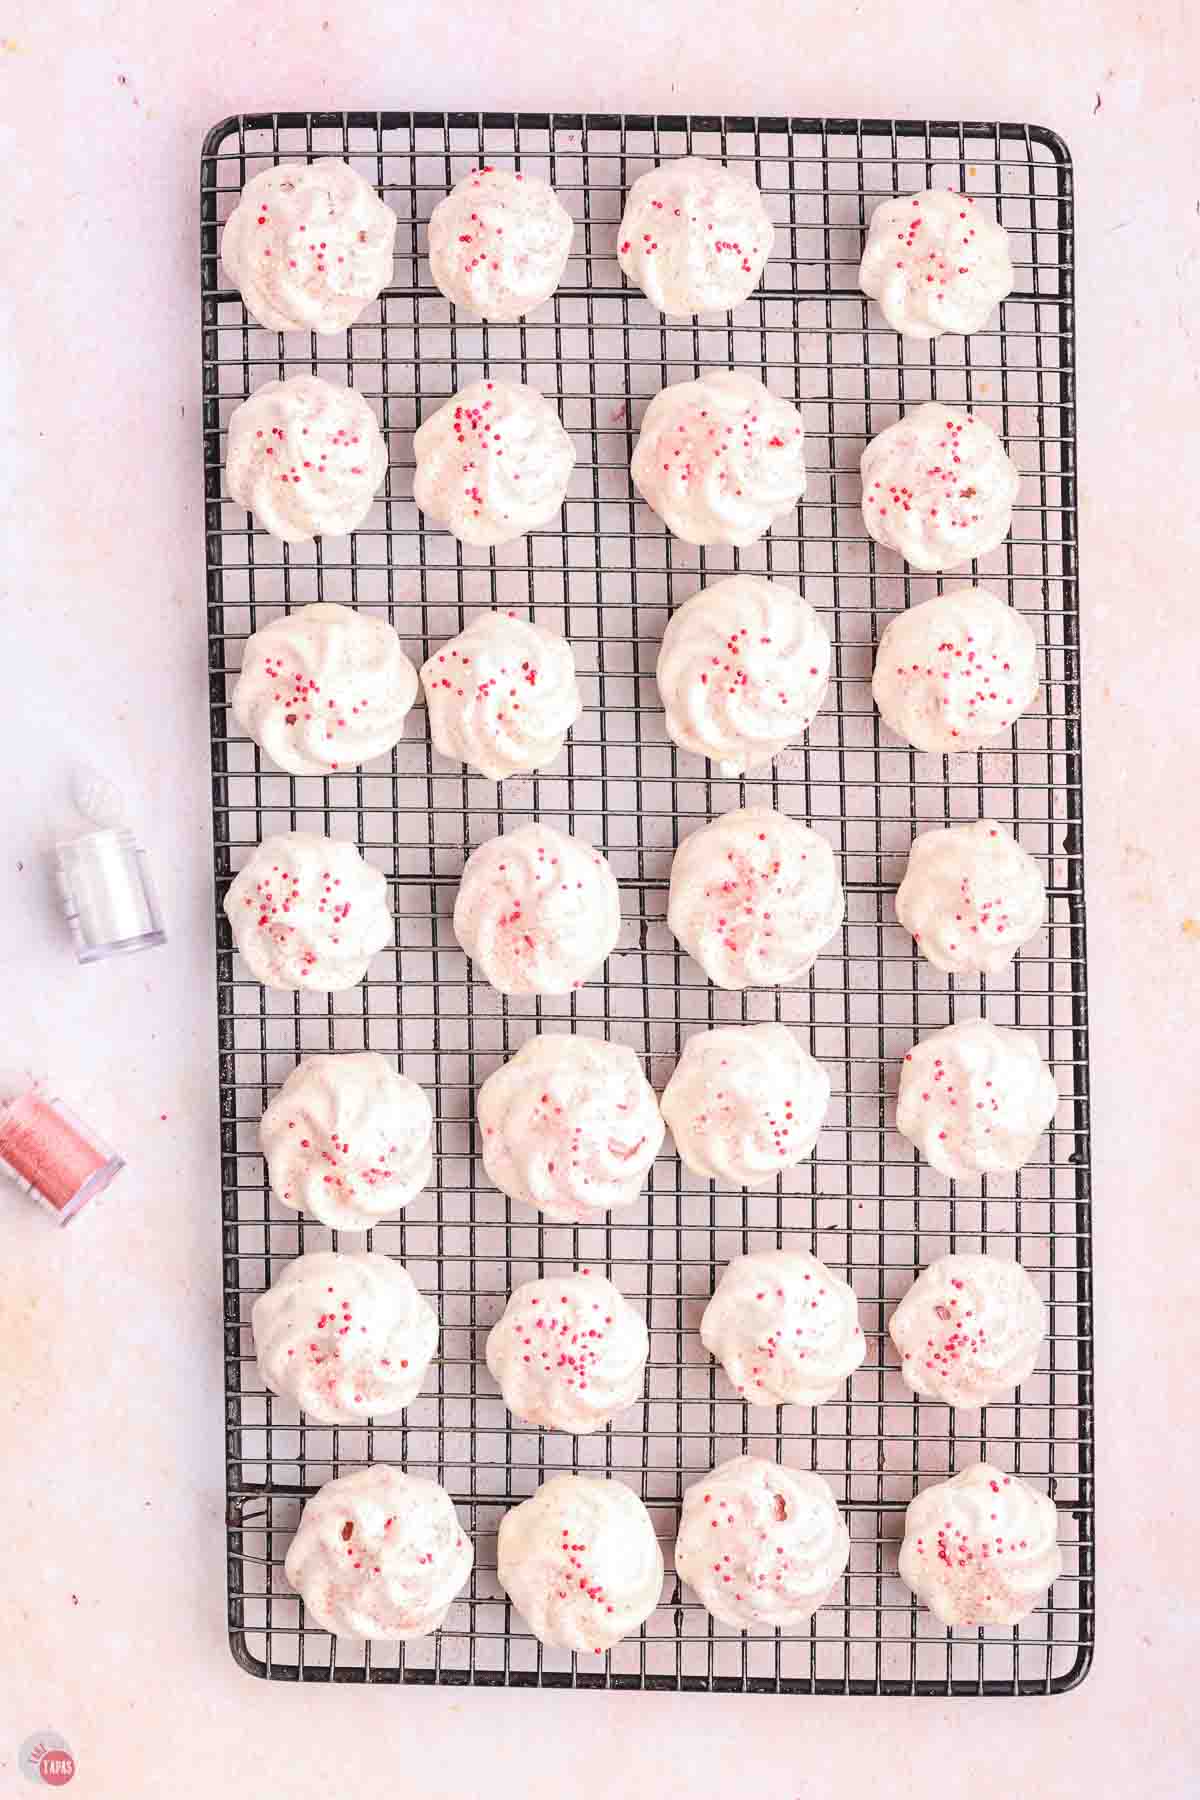
- Turn the oven off but leave the meringues in the oven until they are completely cool. (This prevents them from cracking) Don’t open the oven door! After about an hour, you can remove them from the oven and transfer them to a wire rack. Cool completely.
For the full recipe and detailed instructions, please refer to the recipe card at the bottom of the post.
Storage
Room Temperature: Store in an airtight container, at room temperature. If you don’t eat them all, they will last up to 2 weeks.
CRITICAL: Avoid moisture and avoid the refrigerator. Humidity makes the meringues sticky so keep them dry!
Freezer: For longer storage, freeze in single layer on parchment, then place in airtight, freezer-safe container. They will keep in the freeze for a few months so you can get ahead for the holidays.
Variations
- Different piping tips: Use round tip for “kisses,” different star tips for different shapes and textures.
- Different fruit: Try freeze-dried strawberries, blueberries, or blackberries for different colors and flavors.
- More color: Add a drop or 2 of gel food coloring or more raspberry powder for deeper color.
- All pink: Add raspberry powder to entire batch instead of splitting into two bowls.
- Chocolate drizzle: Drizzle cooled meringues with melted white or dark chocolate for more flavor.
- Peppermint version: Skip raspberry and add peppermint extract and crushed candy canes for the holidays.
The Two-Toned Piping Technique
Here’s how to get those gorgeous pink and white swirls:
- Make meringue, whip to stiff peaks
- Divide mixture into 2 bowls
- Add raspberry powder to one bowl, mix well
- In piping bag fitted with large star tip, alternate spooning: pink, white, pink, white into the bag
- Pipe stars onto prepared pans
- Natural swirls happen automatically
Pro tip: The way you load the piping bag creates the pattern. Alternating pink and white means every cookie has both colors swirled together. You can even add the colors to opposite sides of the bag and move in a circle when piping.
Why Low and Slow Baking Works
Meringues aren’t really “baked,” they’re dried out.
The 200°F trick: Low temperature dries the meringues without browning them. So they stay white (and pink) and crispy.
Leave in oven after baking: Turn the oven off and leave meringues inside until they’re completely cool (about 1 hour). This also prevents cracking. So don’t open the door!
Resist the urge: Every oven bakes differently. Check at 80 minutes to see if they lift easily off parchment with a spatula. Small meringues may be done at 80 minutes. Larger ones need a full 90 minutes.

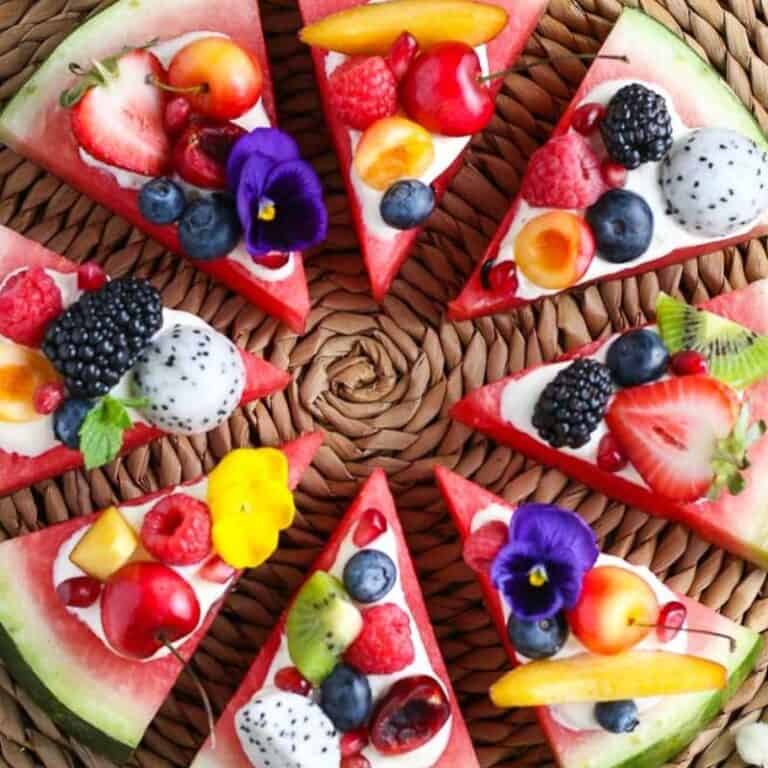
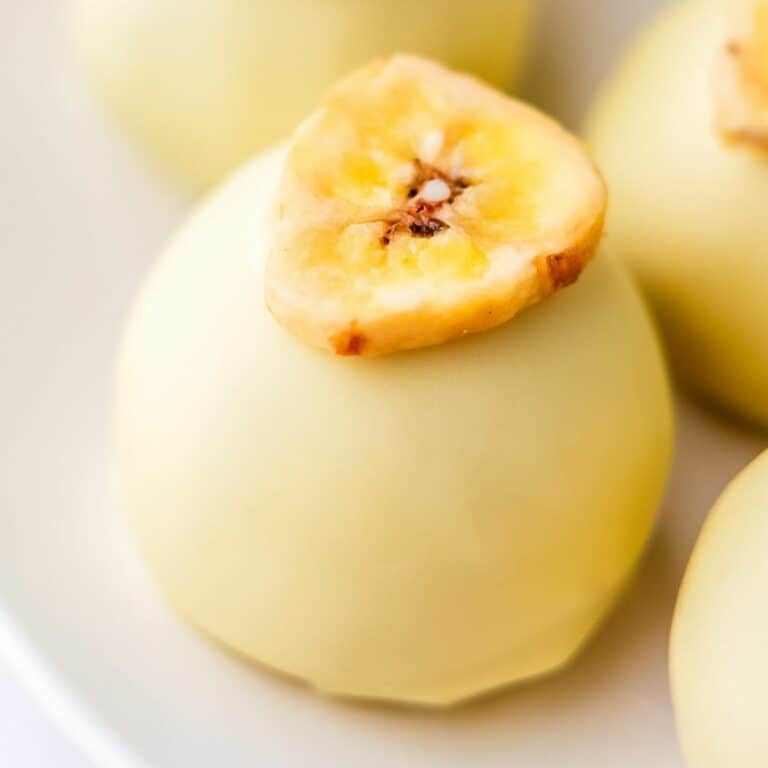
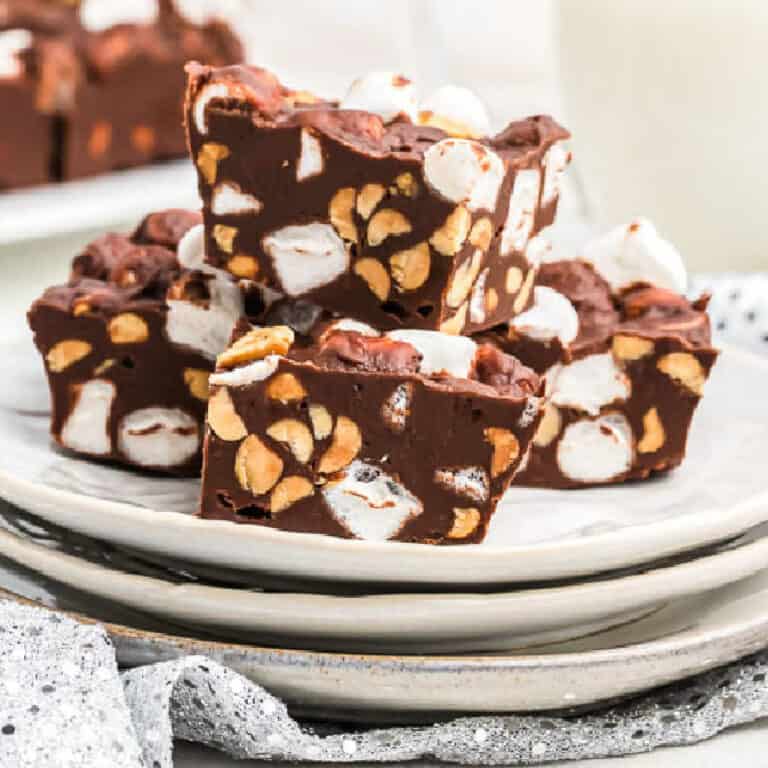
Valentine’s Day Treat Box
These raspberry meringue cookies are the third recipe in my Valentine’s Day Treat Box collection!
The Complete Collection includes:
- Heart Shaped Marbled Sugar Cookies
- Vanilla Oreo Truffles
- Raspberry Meringue Cookies (this recipe!)
- Chocolate Nut Clusters
These homemade treats are easy to make, delicious to eat, and perfect for sharing with your sweetheart.
Package them together in pretty boxes or tins for Valentine’s gifts, classroom treats, or Galentine’s Day celebrations!
Frequently Asked Questions
Opening the oven door during or after baking causes temperature shock. Leave meringues in oven with door closed until completely cool (about 1 hour after baking).
Yes, but it takes longer to reach stiff peaks. Your arm will get tired! Stand mixer makes it much easier.
They should lift easily off parchment with spatula and feel dry to touch. If they stick or feel soft, bake them a little longer.
Humidity is the enemy! Don’t store in the refrigerator it’s too humid. Keep them in an airtight container, at room temperature, in a dry environment.
You can substitute with equal amount of lemon juice or white vinegar. It helps to stabilize egg whites. You can also buy meringue powder.
Use a food processor to grind into a fine powder if you have one. If not, add them to a plastic bag and crush with a rolling pin.
Recipe Tips & Tricks
- Don’t open oven door: Resist the urge during baking. This prevents cracking.
- Check at 80 minutes: Every oven is different. Small meringues may be done at 80 minutes, larger need a full 90.
- Grind raspberries finely: Use food processor to get powder fine.
- Piping bag technique: Alternate pink and white meringue when loading the bag for automatic swirls.
- Space them out: Allow 1-2 inches between meringues on the pan. They don’t spread but need air circulation to dry.
- Cool completely in oven: Turn oven off, leave door closed about 1 hour.
- Store properly: Room temperature in airtight container. Avoid moisture and humidity.
Raspberry Meringue Cookies are light, airy, and so fun to make! Just a few ingredients create delicious little bites with hint of raspberry flavor and pretty pink and white swirls.
If you love this recipe as much as I do, please leave us a ⭐️⭐️⭐️⭐️⭐️ five-star review in the comment section below. Thanks!
Raspberry Meringue Cookie Recipe
Ingredients
- 4 large egg whites
- 1 cup granulated sugar
- ½ teaspoon cream of tartar
- 2 tablespoons freeze dried raspberries finely crushed to powder consistency.
- Sprinkles optional
- Edible glitter optional
Instructions
- Preheat the oven to 200 degrees f.
- Prepare 2 baking sheets by lining them with parchment paper.
- Place egg whites in the bowl of a stand mixer fitted with the whisk attachment.
- Turn the mixer on medium high speed and whisk until egg whites become frothy.
- Continue to whisk while adding the cream of tartar.
- Turn the mixer up to high speed and gradually add the sugar, 1 tablespoon at a time.
- Continue whisking at high speed until mixture forms stiff, shiny peaks. (This may take about 10 minutes).
- Separate mixture into 2 bowls and add the raspberry powder to one of the bowls, mixing well. (I opted for a pale pink but if you want a more vibrant color you can add more).
- In a piping bag fitted with a large star tip, spoon both the white and pink meringue, alternating pink, white, pink, white…
- Pipe a star onto prepared pans and top with sprinkles. Make sure you allow about 1-2” in between each meringue.
- Bake for about 80-90 minutes or until meringues are dry and can easily lift off of the parchment paper with a spatula.
- Turn the oven off but leave the meringues in the oven until they are completely cool. (This prevents them from cracking) Don’t open the oven door!
- After about an hour, you can remove them from the oven and transfer them to a wire rack. Add edible glitter if desired for a glittery look.
Notes
- Don’t open oven door: Resist the urge during baking. This prevents cracking.
- Check at 80 minutes: Every oven is different. Small meringues may be done at 80 minutes, larger need a full 90.
- Grind raspberries finely: Use food processor to get powder fine.
- Piping bag technique: Alternate pink and white meringue when loading the bag for automatic swirls.
- Space them out: Allow 1-2 inches between meringues on the pan. They don’t spread but need air circulation to dry.
- Cool completely in oven: Turn oven off, leave door closed about 1 hour.
- Store properly: Room temperature in airtight container. Avoid moisture and humidity.
Nutrition
©TakeTwoTapas.com. Content and photographs are copyright protected. Sharing of this recipe is both encouraged and appreciated. Copying and/or pasting full recipes to any social media is strictly prohibited.