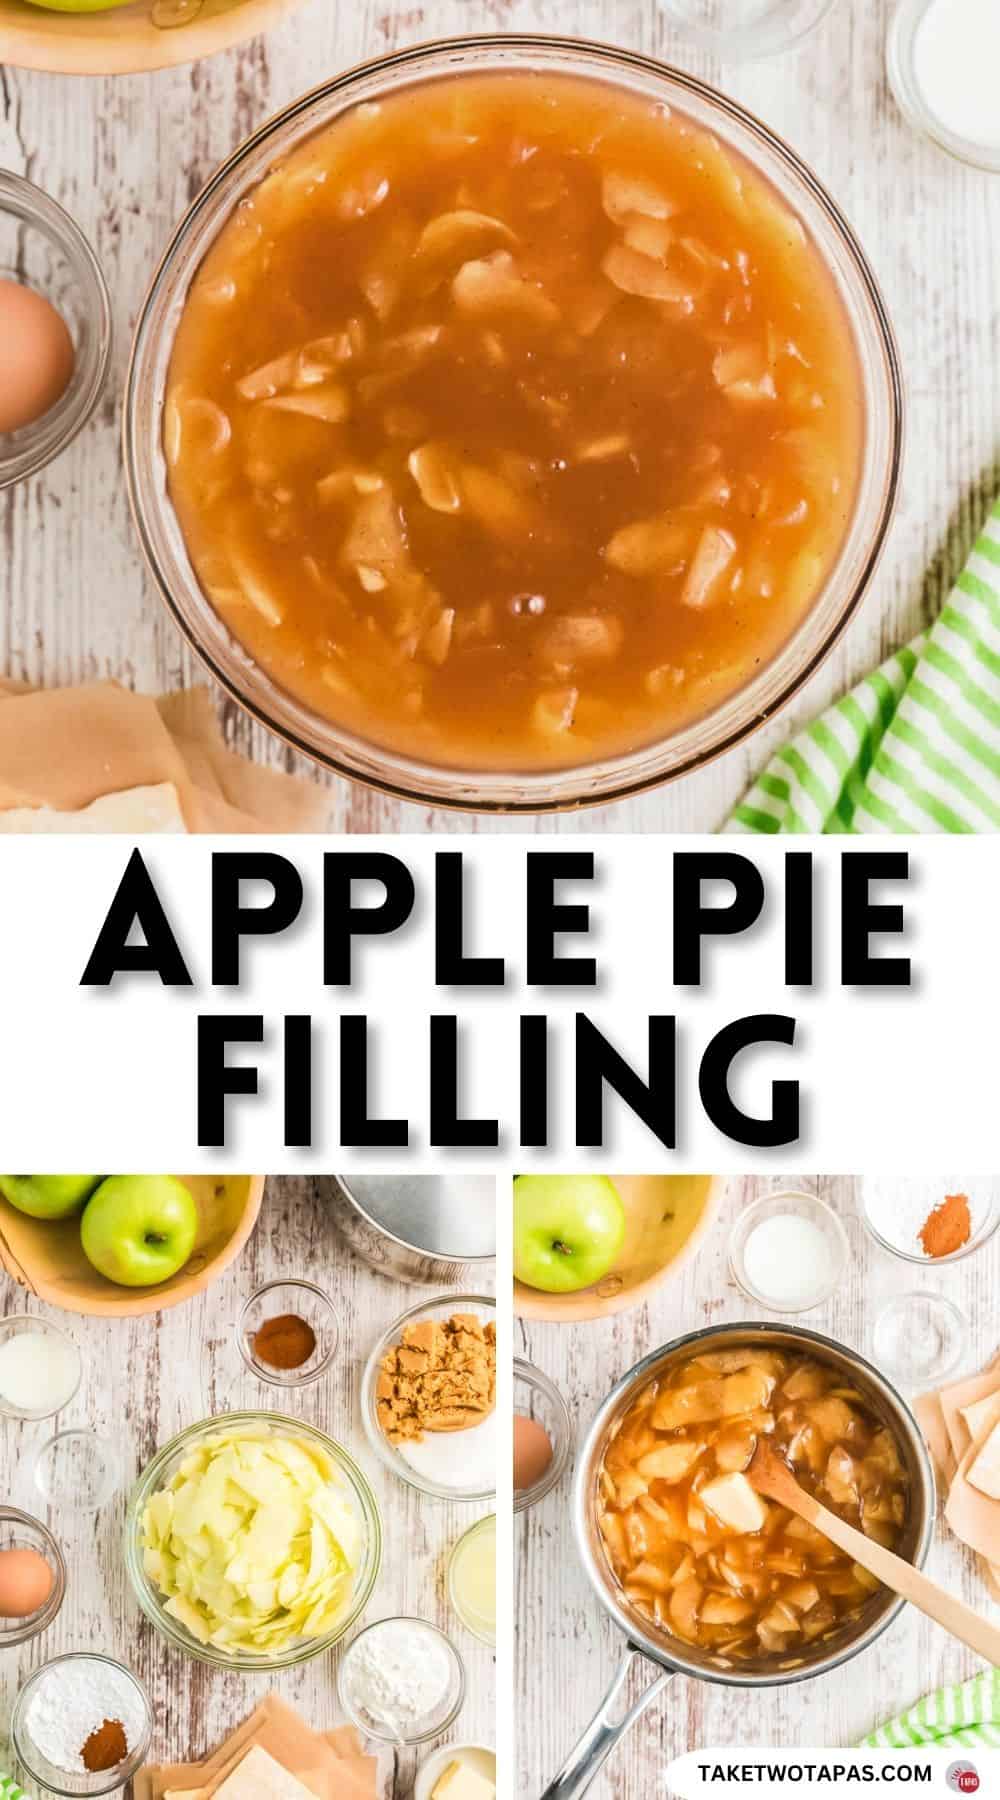
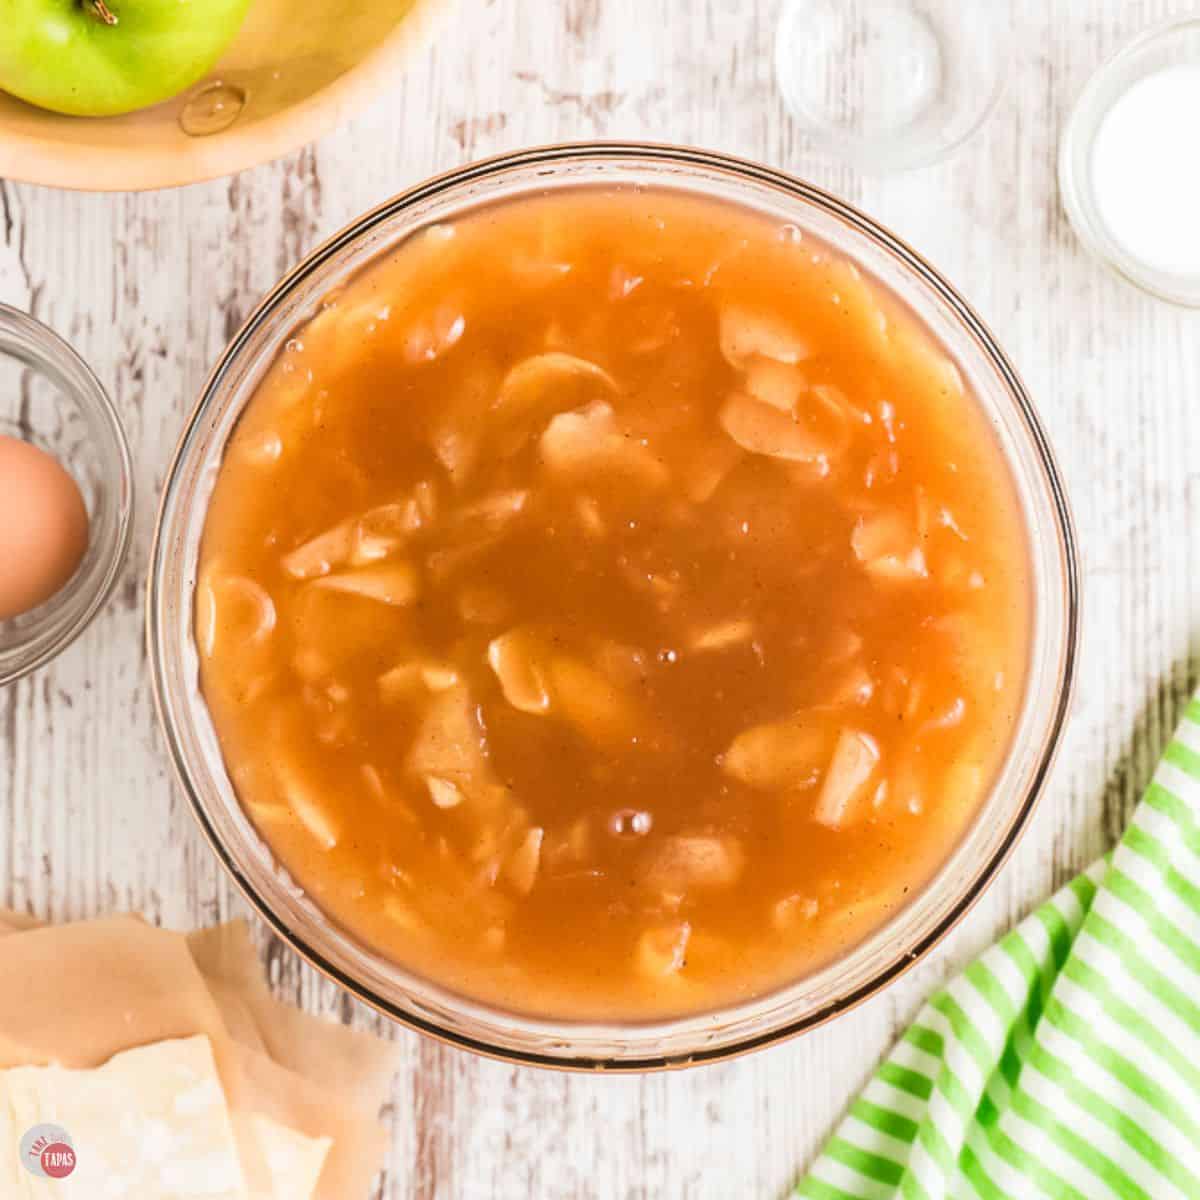
Homemade Apple Pie Filling
Homemade apple pie filling is super simple to make and puts any canned version to shame! Ready in under 30 minutes, perfectly sweetened with tender apples, and full of those warm cinnamon flavor that makes the best pies and desserts.
I love a pie with a flaky crust but it’s the filling that really makes it great. Cherry is my absolute favorite pie but apple is a close second! And nothing better than a homemade one for sure.
Sure, you can grab a can from the store, but once you taste homemade apple pie filling, there’s absolutely no going back. Even when I’m taking shortcuts with a store bought pie crust, I always make the filling from scratch because the difference undeniable.
Don’t worry, making apple pie filling from scratch is way easier than you think! The hard part is waiting for it to cool down enough to eat.
Not only does it work for apple pie, it’s delicious spooned over vanilla ice cream, as a topping for pancakes and french toast, or making quick apple turnovers!
This post may contain affiliate links. As an Amazon Associate, I earn from qualifying purchases at no additional cost to you. Read my disclosure policy.
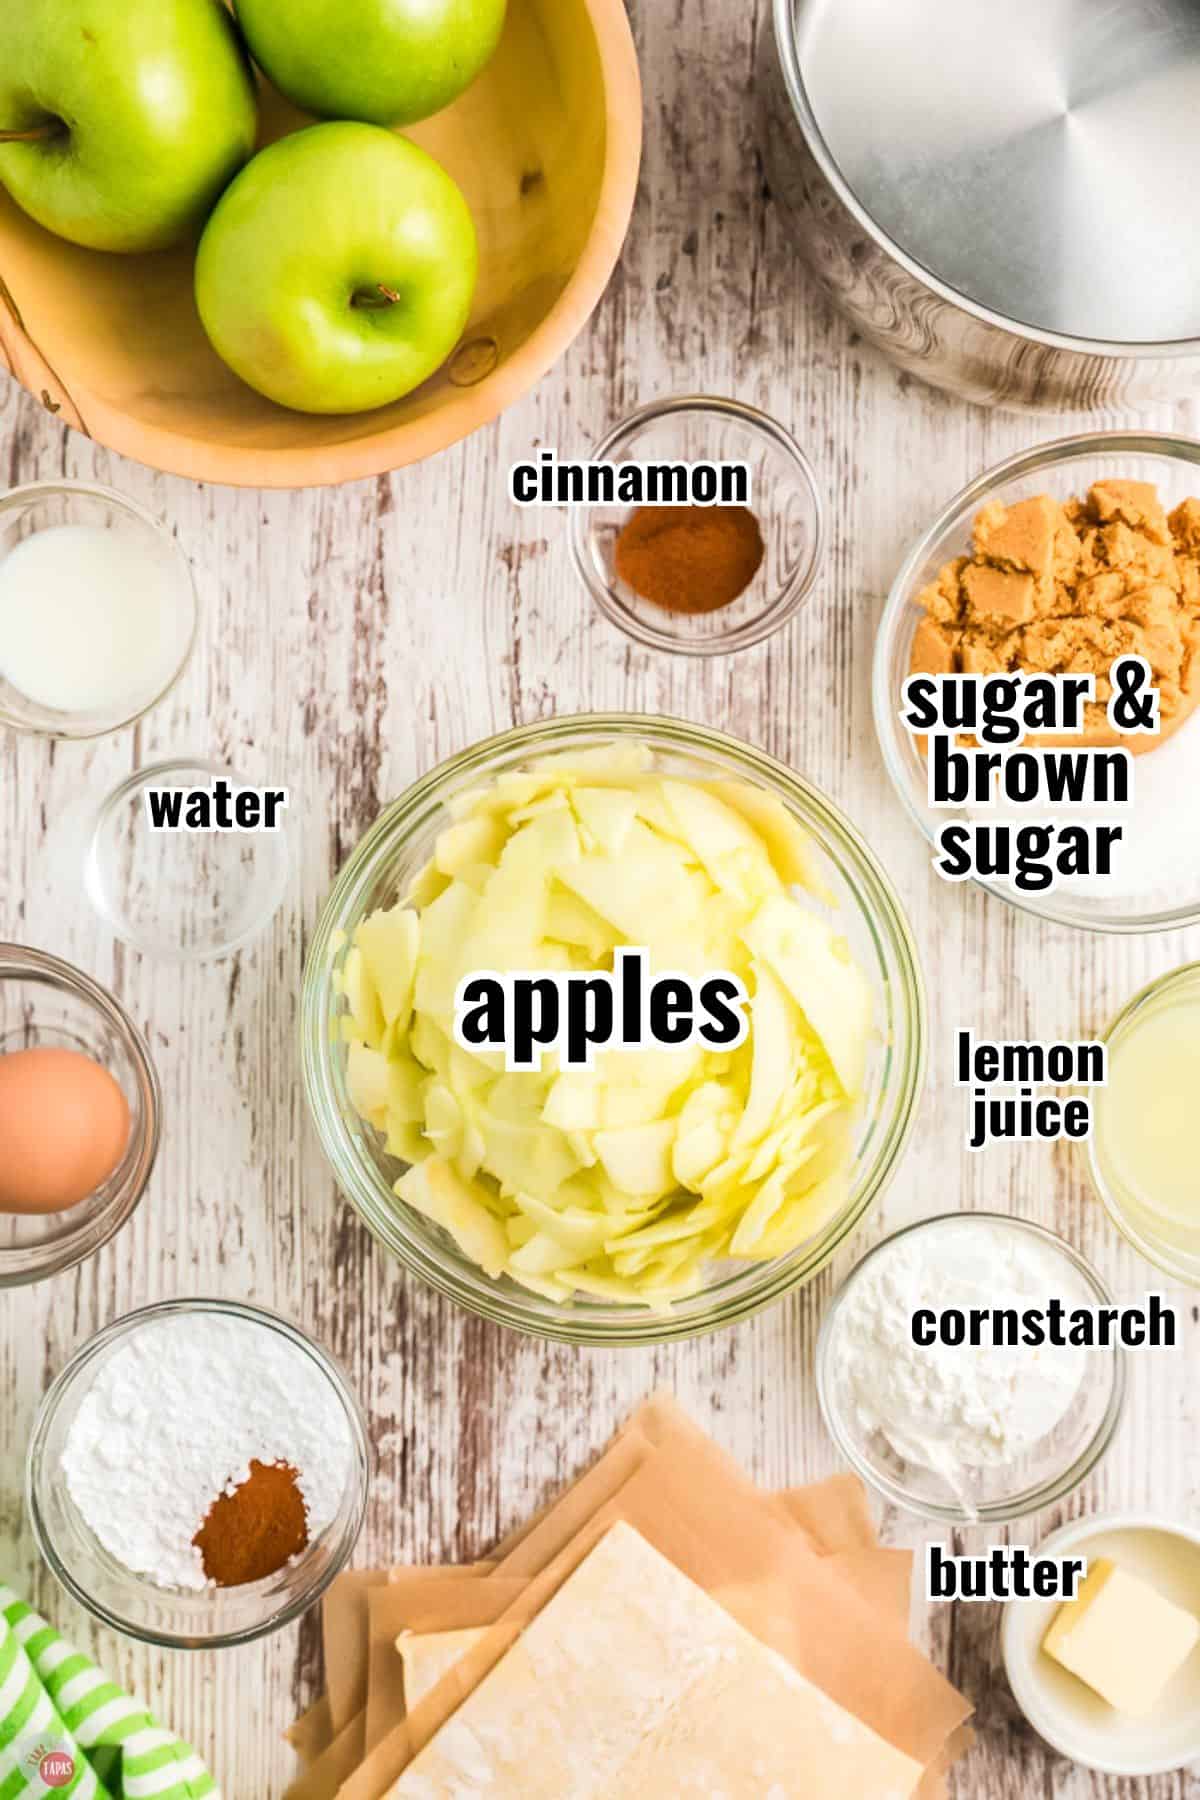
See recipe card for complete information on ingredients and their quantities.
Ingredient Notes
- Apples – I like Granny Smith apples because they are tart but any apple will work.
- Sugar – This recipe uses a combination of white and light brown sugar.
- Spices – Homemade apple pie spice or use your favorite fall spice blend. If you don’t have one, just add in some ground cinnamon and a hint of nutmeg.
The most important thing about apple pie filling is the apples! So which one do you choose when making it?
Best Apples To Use
- Granny Smith – The green ones that are tart and firm. They are the perfect baking apples in my opinion.
- Gala – These are mild and sweet and will work for all types of desserts.
- Honey Crisp – The name is deceiving because they have a tart flavor but with hints of honey.
- Golden Delicious – Just like the red ones but a little sweeter.
- Red Delicious – Reds are softer in texture and break down quicker.
- Fuji – If I can’t find my favorite apple, I use these because they are a yummy combo of sweet & juicy.
For more insider tips, tricks, and a behind the scenes look, follow me on Pinterest, Facebook, Instagram, & X.
How To Make Homemade Apple Pie Filling
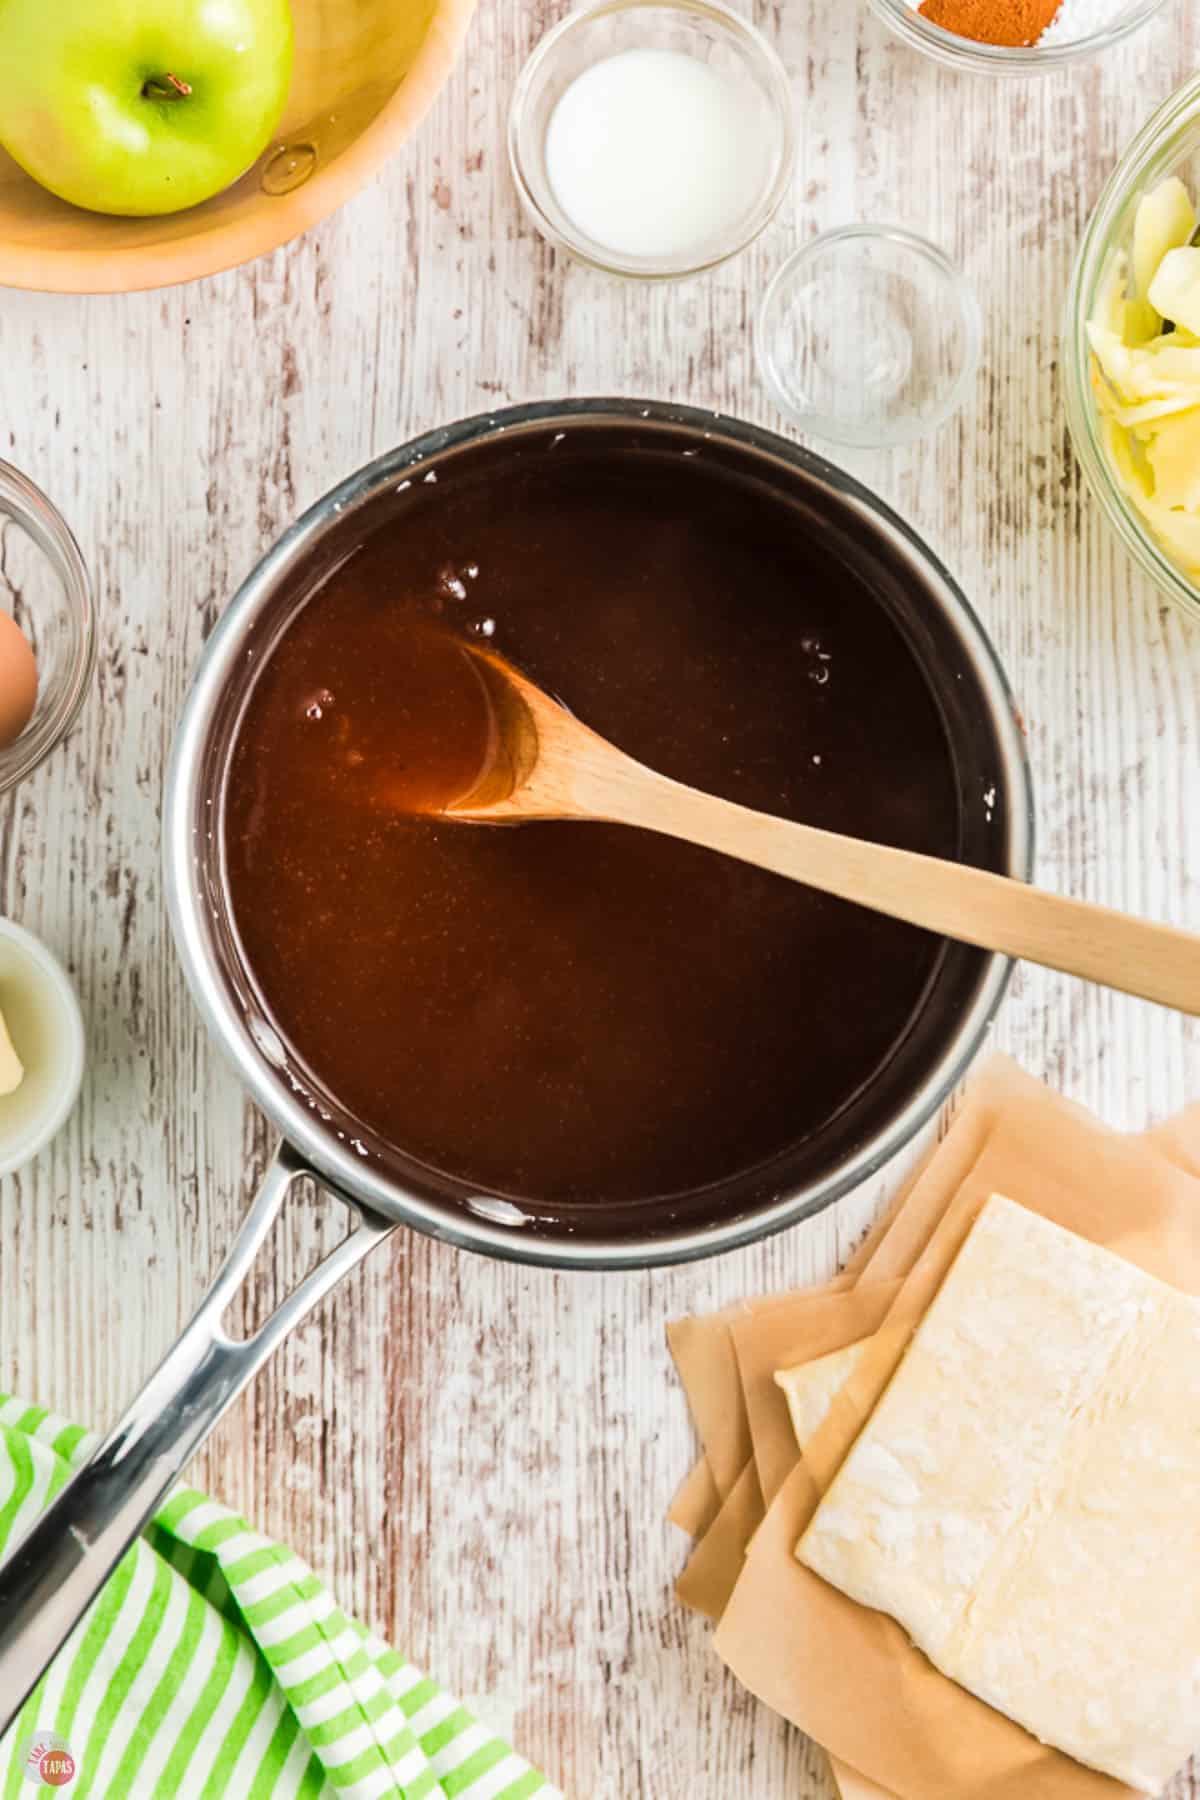
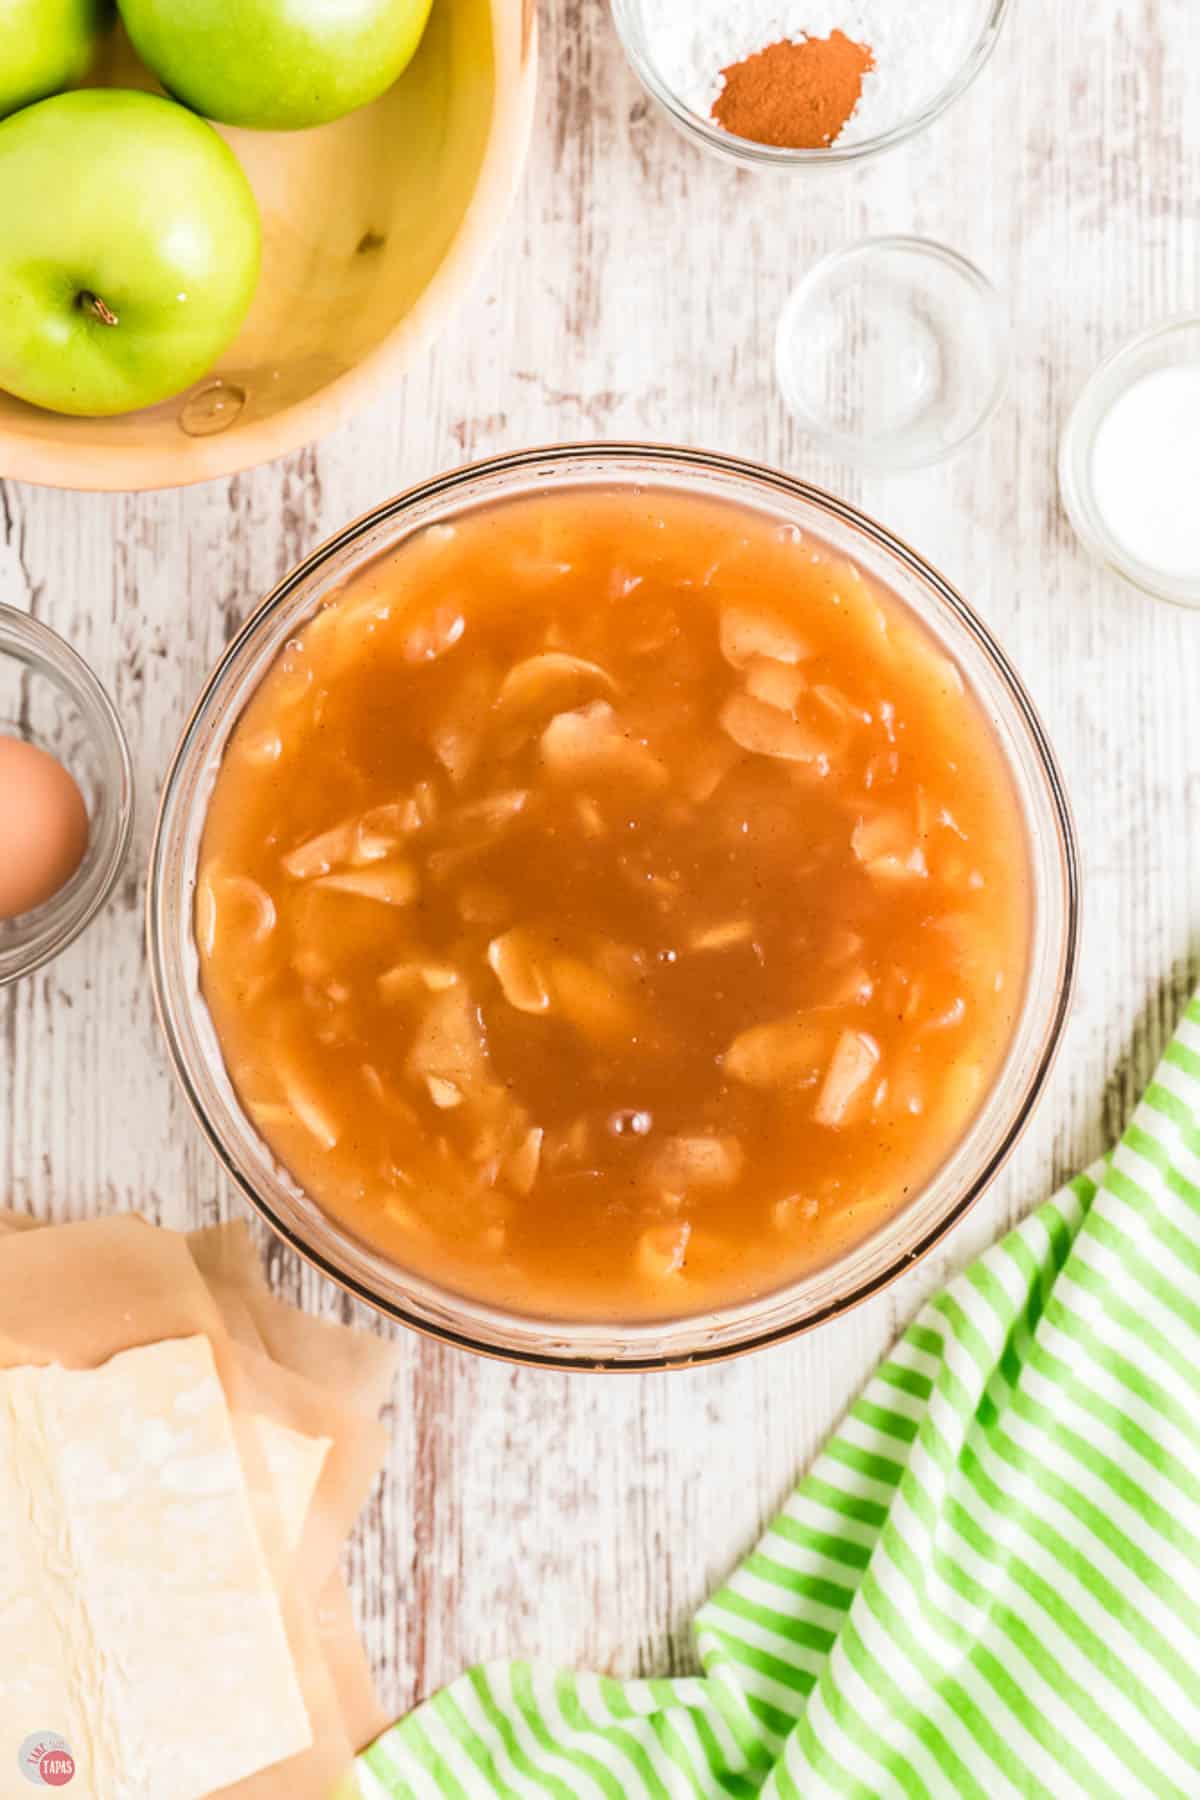
- In a large saucepan over medium heat, combine water, sugars, cornstarch, and spices. Bring to a simmer, stirring occasionally, until the mixture comes together. Peel and thinly slice the apples. Drizzle with lemon juice and toss to coat the apples in a large bowl.
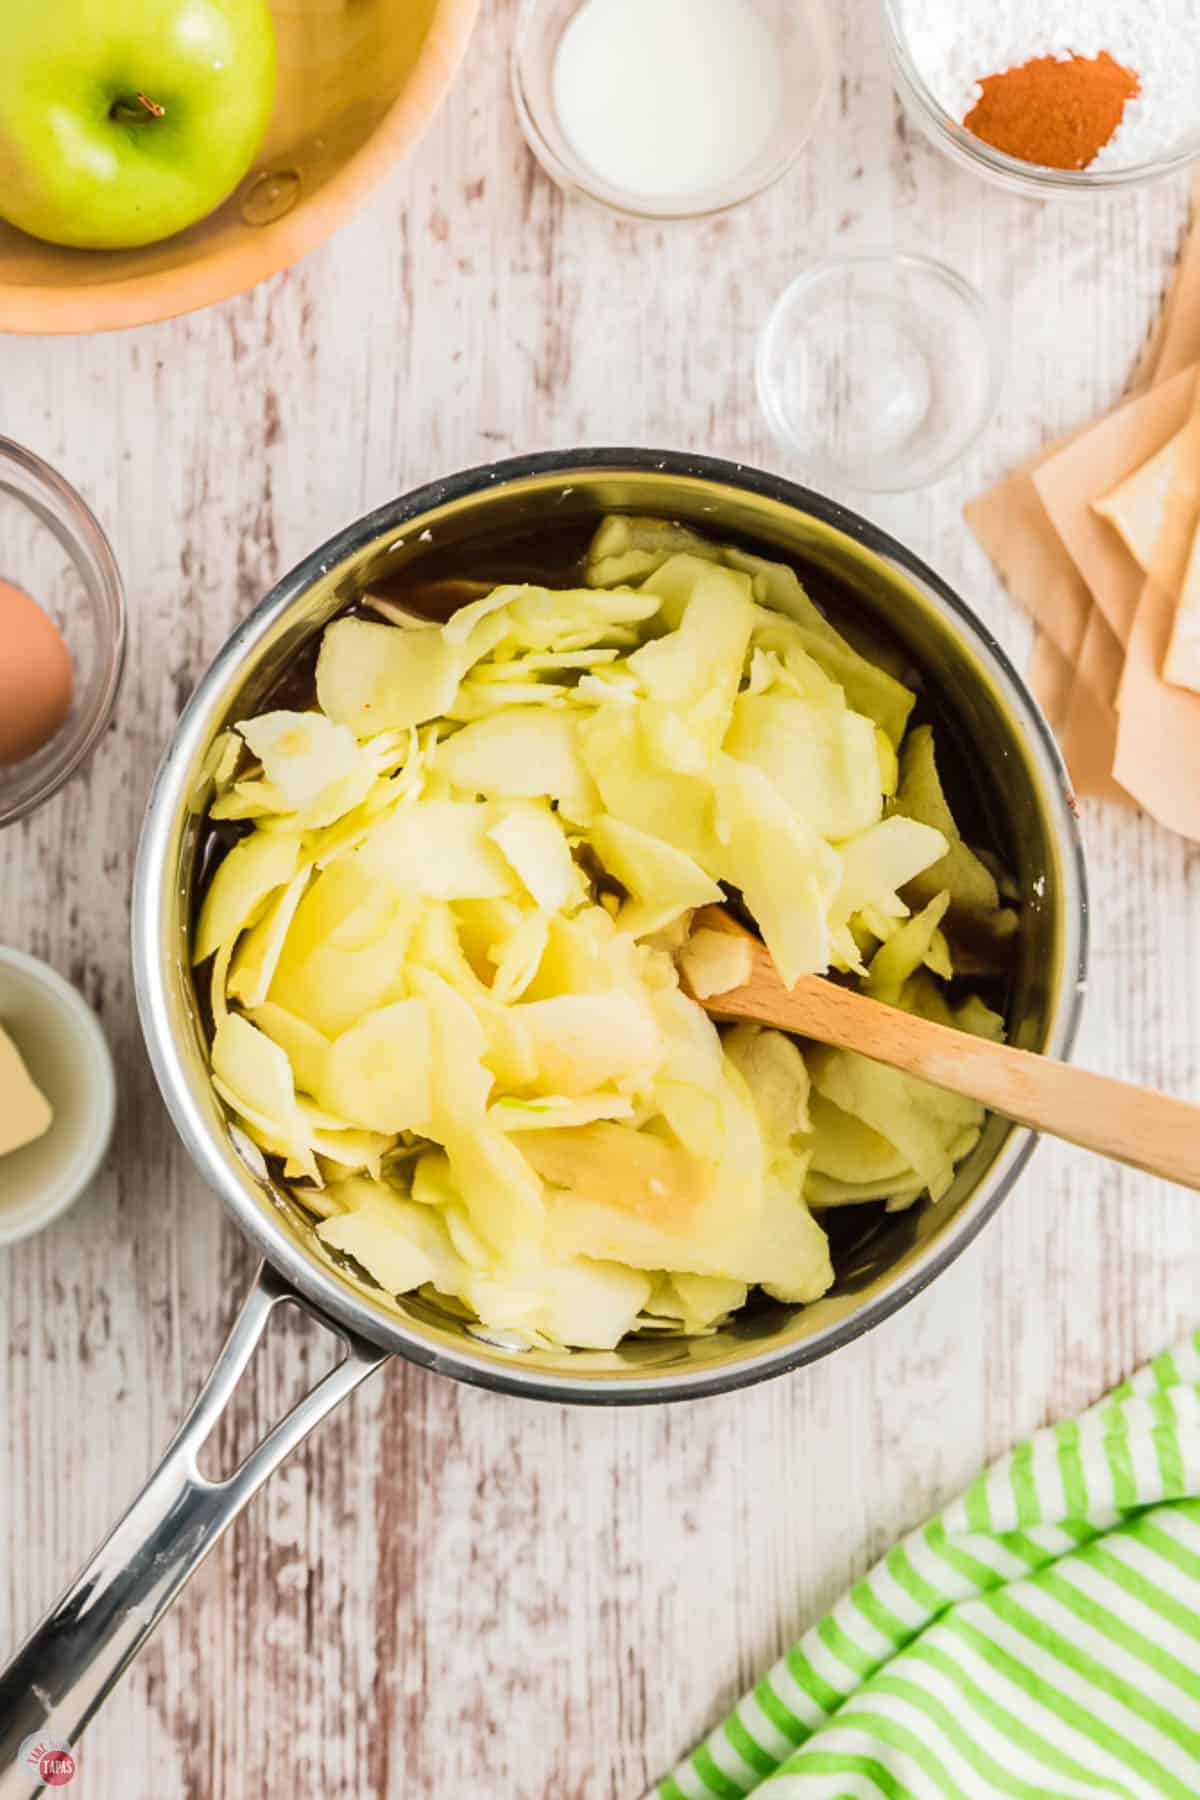
- Increase the heat to medium high and bring to a boil. Cook for 1 minute or until the mixture thickens. Add the apples and stir to coat them with the sugar mixture.
- Lower the heat to medium and cook until the apples are tender, roughly 10 minutes.
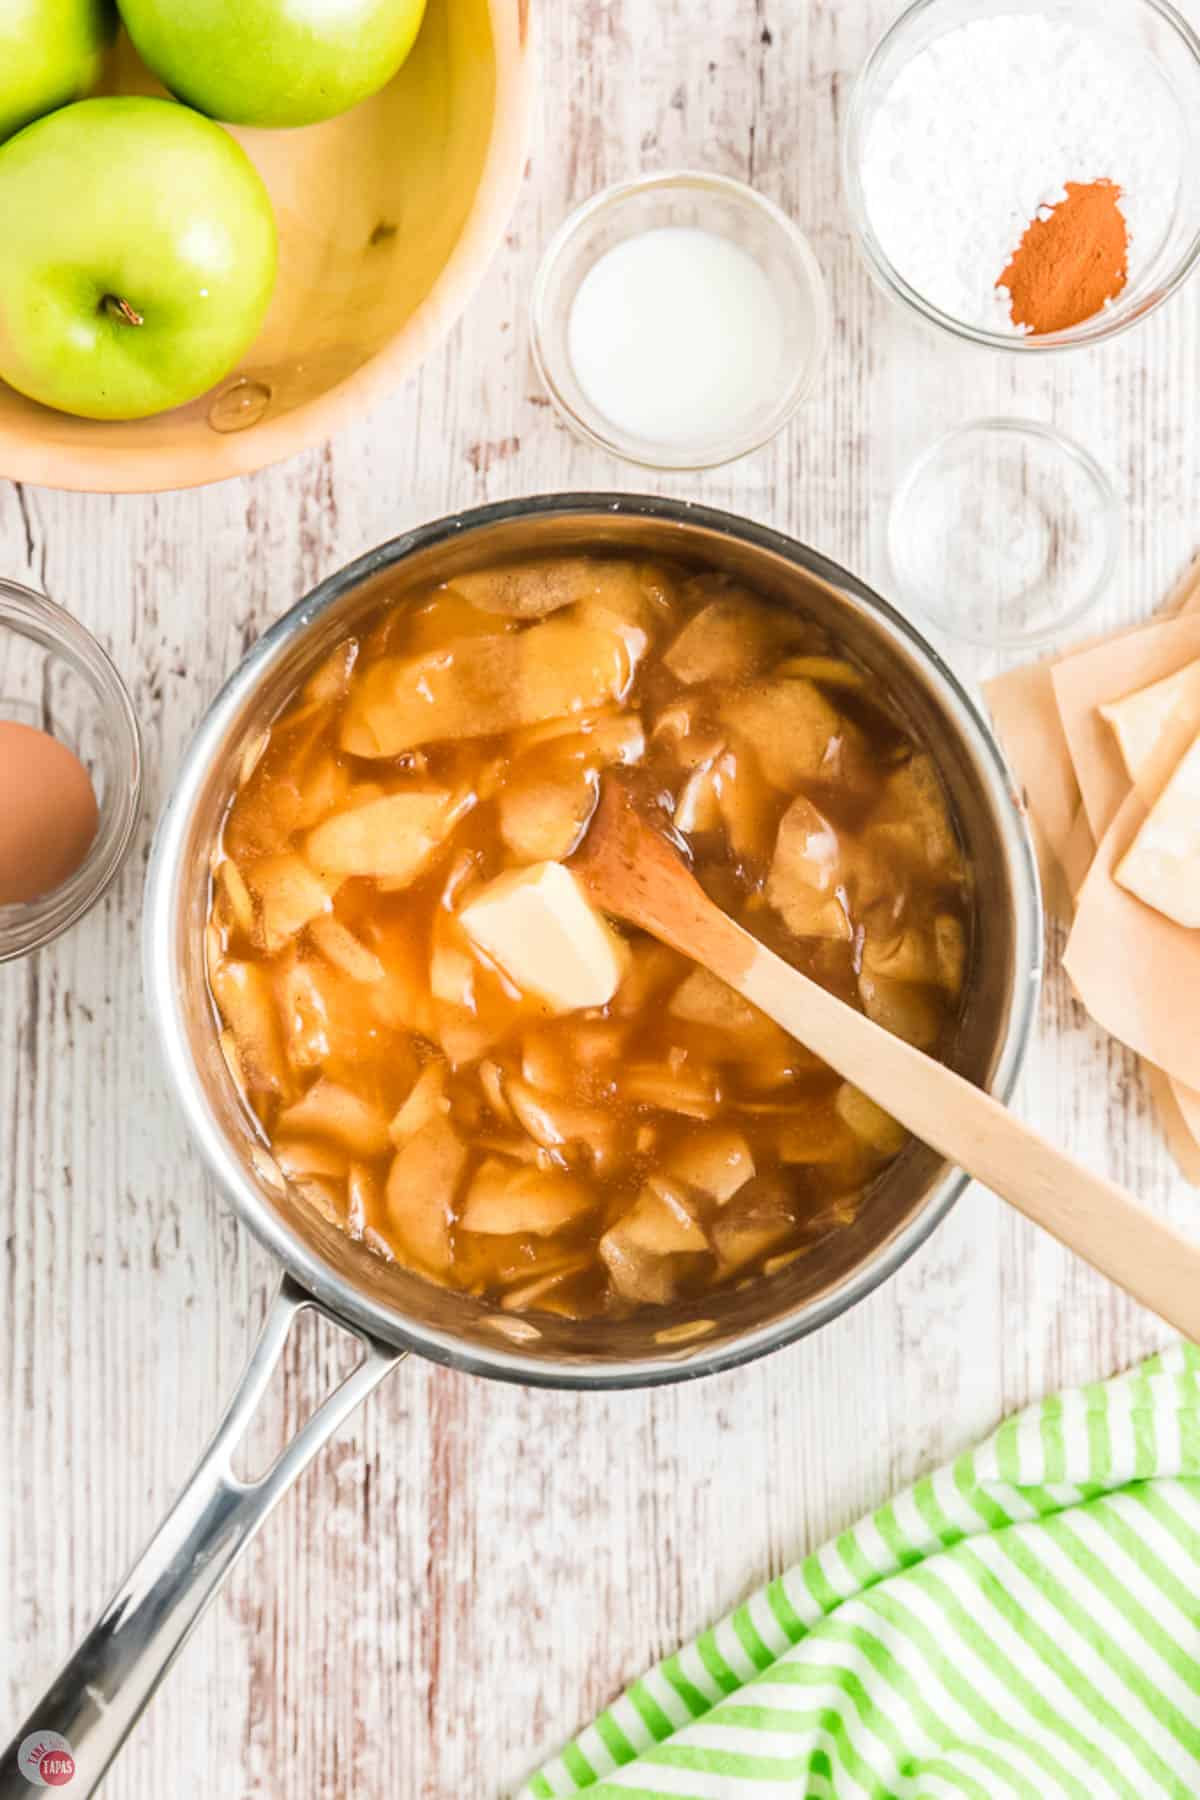
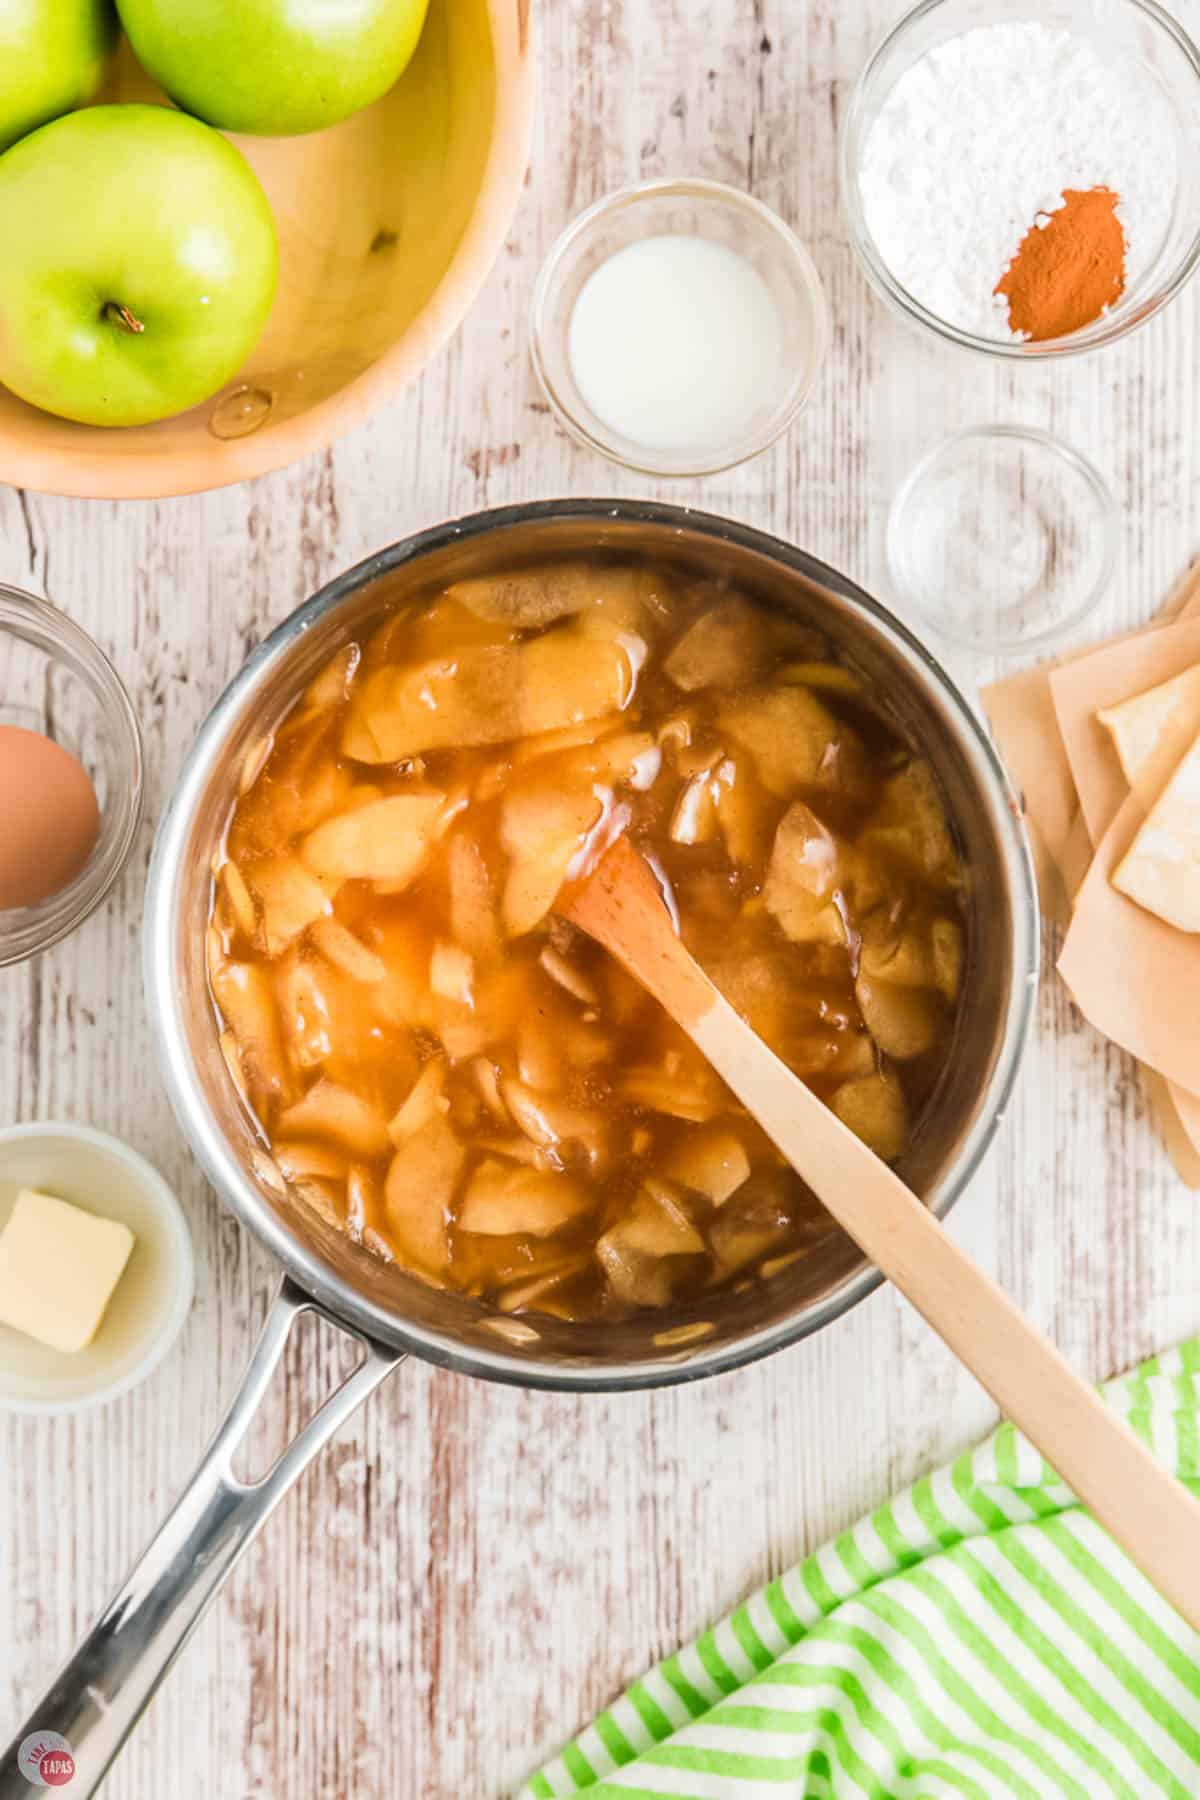
- Add the butter to the pan and stir until it has melted. Remove the pan from the heat and cool the apple filling to room temperature. Refrigerate or freeze until you’re ready to use it.
For the full recipe and detailed instructions, please refer to the recipe card at the bottom of the post.
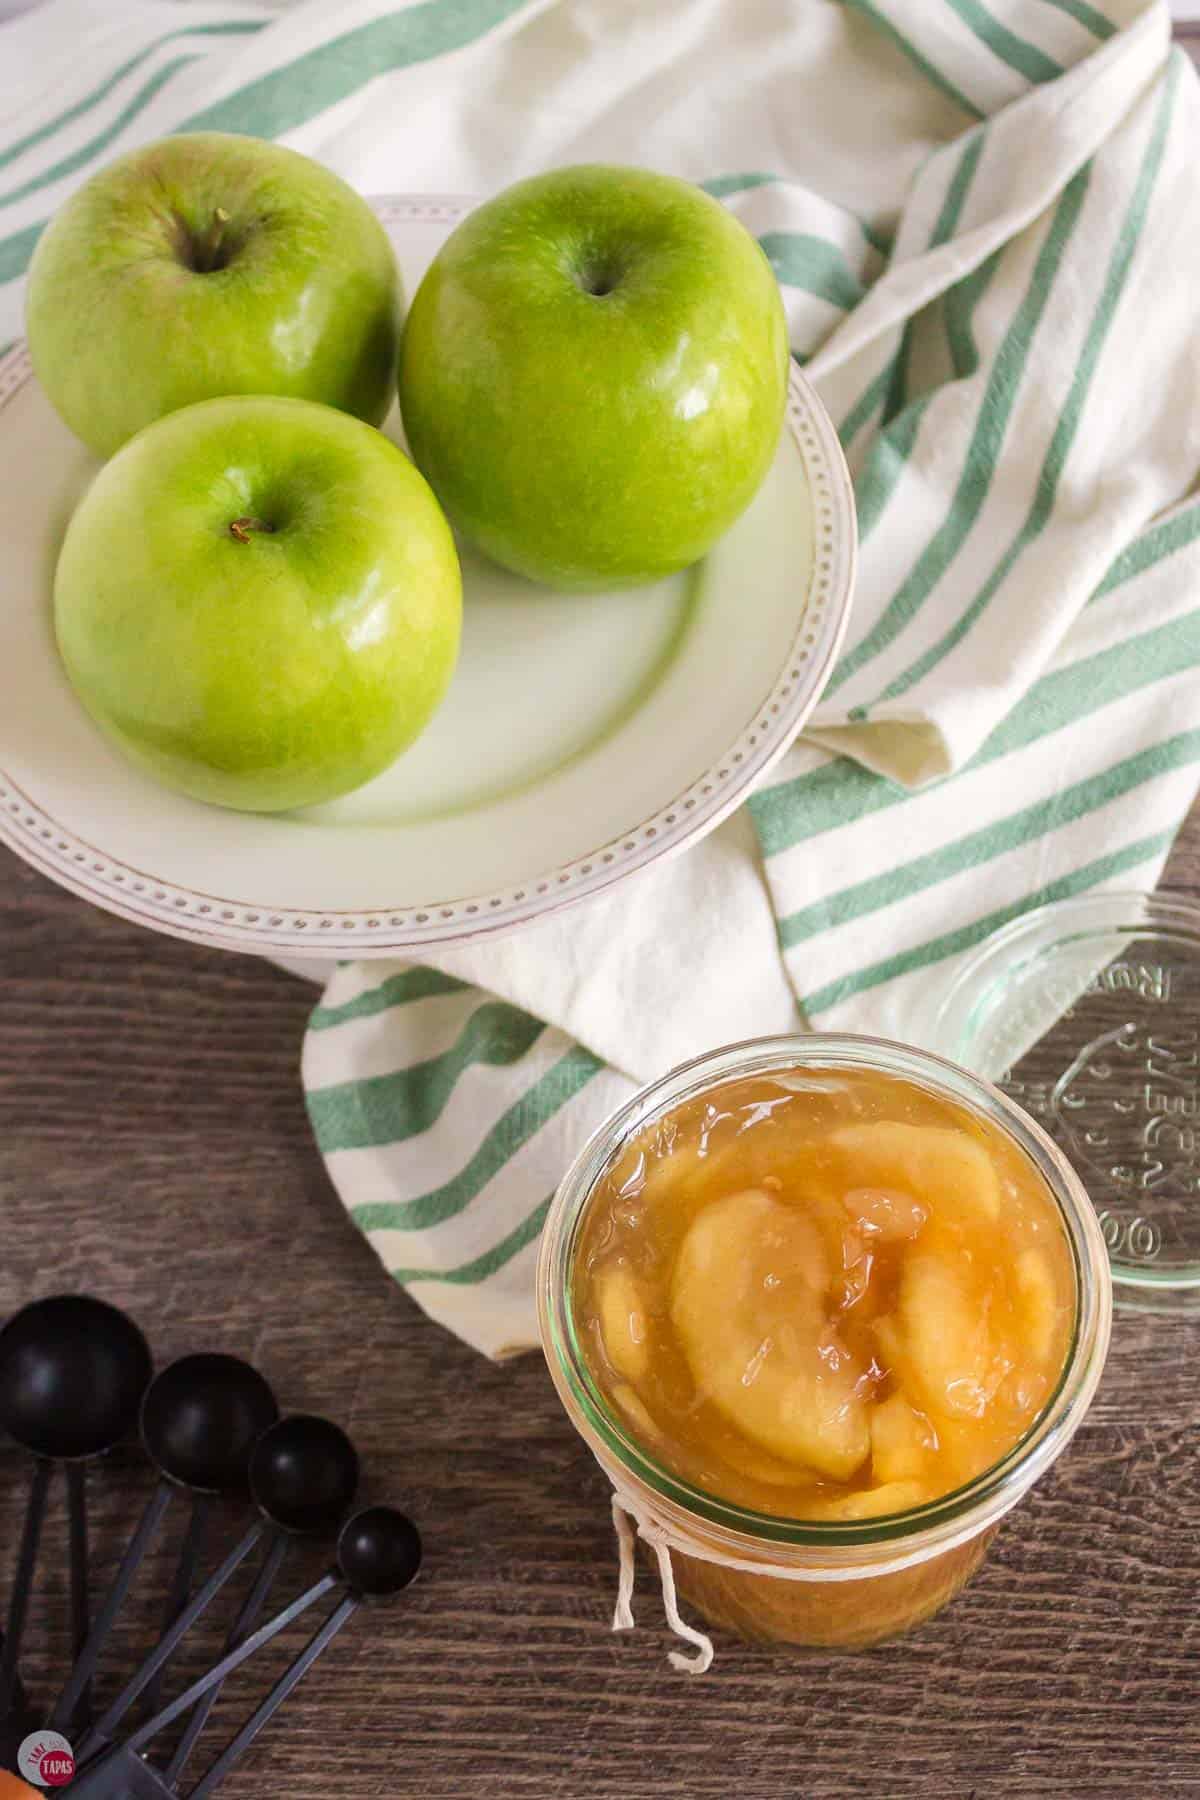
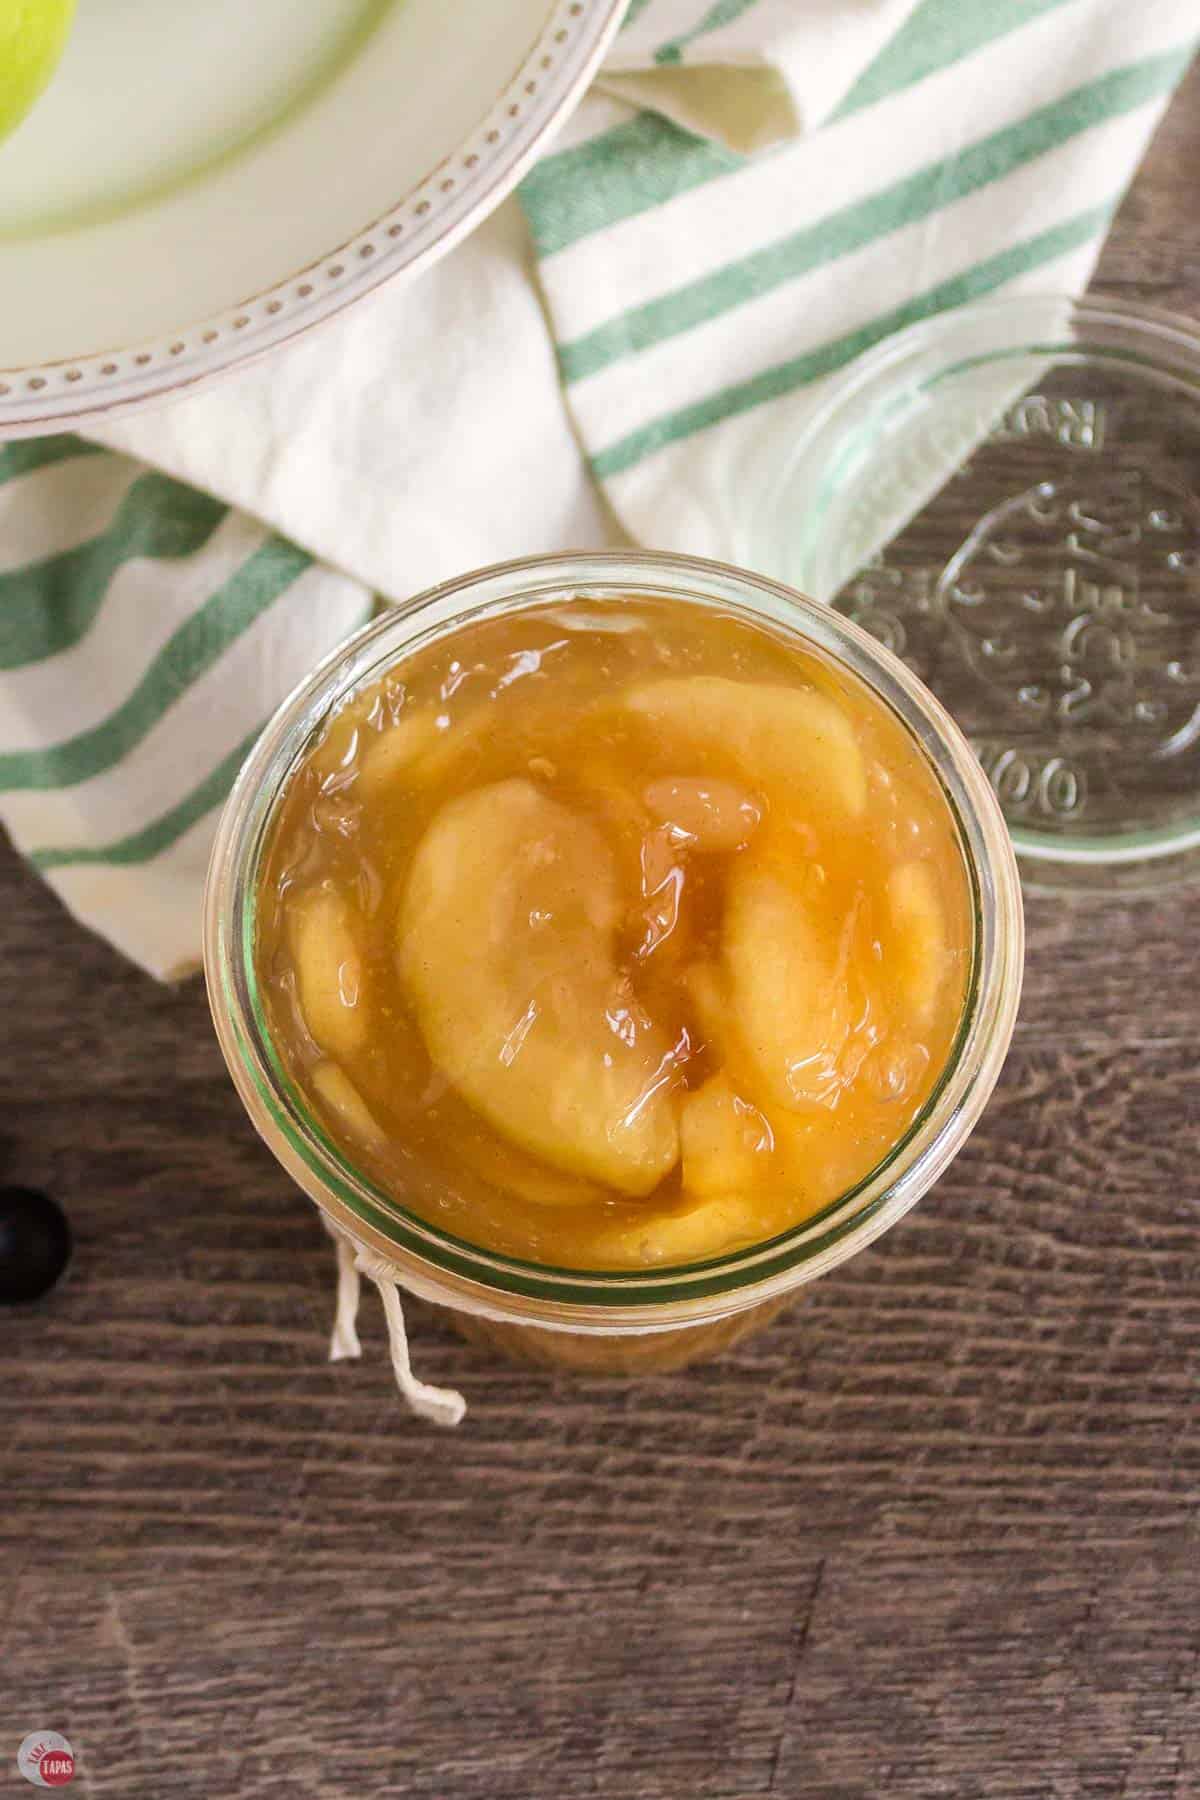
Storage
Once I cook it, I like to use it within a few hours. If I am not baking, I store it in an airtight container in the fridge. It will last for up to 5 days. I store mine in mason jars because they don’t take up much room on the shelf.
How To Freeze
After you make it, cool it completely. Store it in a freezer safe container for up 6 months. It will expand a little when it freezes so make sure there is a little extra room in the container.
Thaw overnight in the refrigerator or thaw in a saucepan over low heat. Do not use the microwave!
If it’s too think when you thaw it, add 2 teaspoons of a cornstarch slurry (1 tsp cornstarch/1 tsp water), and simmer for a few minutes until it thickens again.
This makes a great gift! If you want to give it or if you feel like making a really big batch, it’s best to can it for later.
How To Can It For Longer Storage
- Prep your water bath canner.
- Sterilize jars and lids in boiling water. Keep in simmering water while cooking pie filling.
- Add hot pie filling to jars with a ladle or funnel, leaving around 1 inch space.
- Gently stir or tap to remove air bubbles and clean the rims of the jars.
- Place lid on the jar and screw on rings.
- Process the jars in the canner for 20-25 minutes.
- Remove the jars and cool completely. Listen for lids to make the sucking noise when the vacuum forms.
- Check lids after 12 hours to make sure they don’t pop or move. If they do, move to the fridge and eat within a few days.
- If they are sealed, store for up to 1 year.
- When ready to use it just pour into a pie crust, add a top crust, and bake!

How To Use Apple Pie Filling
- Apple pie, of course!
- Caramel apple empanadas
- Ice cream or oatmeal topping
- Tarts
- Apple pie egg rolls
- Turnovers
- Cakes
- Top pancakes and waffles
- Spoon on pumpkin bread
- Eating with a spoon, in front of the fridge, when no one is looking!
Frequently Asked Questions
I haven’t tried this recipe with any sugar substitutes. Let me know if you do and how it turns out.
You can swap out the white sugar for brown sugar to give it a more caramel flavor. If you use dark brown sugar it will be even richer.
This recipe makes enough filling for one 9 inch deep dish pie and is the equivalent of one can of pie filling you get from the store.
Recipe Tips & Tricks
- Cut apples evenly – Slice or cut the apples into similar sized pieces so they cook evenly.
- Control sweetness – Try using all brown sugar for richer caramel flavor, and substitute individual spices (cinnamon, salt, nutmeg) for the apple pie spice.
- Let it cool – The filling will thicken as it cools, so be patient for the best consistency.
If you love this recipe as much as I do, please leave us a ⭐️⭐️⭐️⭐️⭐️ five-star review in the comment section below. Thanks!
This homemade apple pie filling recipe is the one I grab when all my Fall baking starts. A few batches later and I am ready for pie season!
Homemade Apple Pie Filling
Ingredients
- 4 cups apples peeled and thinly sliced
- ¼ cup lemon juice
- 3 cups water
- 1/2 cup brown sugar packed
- 1/2 cup granulated sugar
- 1/3 cup cornstarch
- 1 teaspoon apple pie spice
- 1 tablespoon butter
Instructions
- Drizzle the lemon juice over the apple slices and toss to coat. Place the water, brown sugar, granulated sugar, cornstarch, and apple pie spice in a large pan.
- Bring to a simmer, stirring occasionally to bring all the ingredients together. Increase heat to medium/medium-high and bring the mixture to a boil and cook for 1 minute or until just thickened.
- Add the apples to the pan and stir to coat with the sauce. Lower the heat to medium and cook until the apples are tender, roughly 10 minutes. Add the butter to the pan and stir until it has melted.
- Remove the pan from the heat and cool the apple filling. Refrigerate or freeze until you’re ready to use it.
Notes
- Cut apples evenly – Slice or cut the apples into similar sized pieces so they cook evenly.
- Control sweetness – Try using all brown sugar for richer caramel flavor, and substitute individual spices (cinnamon, salt, nutmeg) for the apple pie spice.
- Let it cool – The filling will thicken as it cools, so be patient for the best consistency.
Nutrition
©TakeTwoTapas.com. Content and photographs are copyright protected. Sharing of this recipe is both encouraged and appreciated. Copying and/or pasting full recipes to any social media is strictly prohibited.